
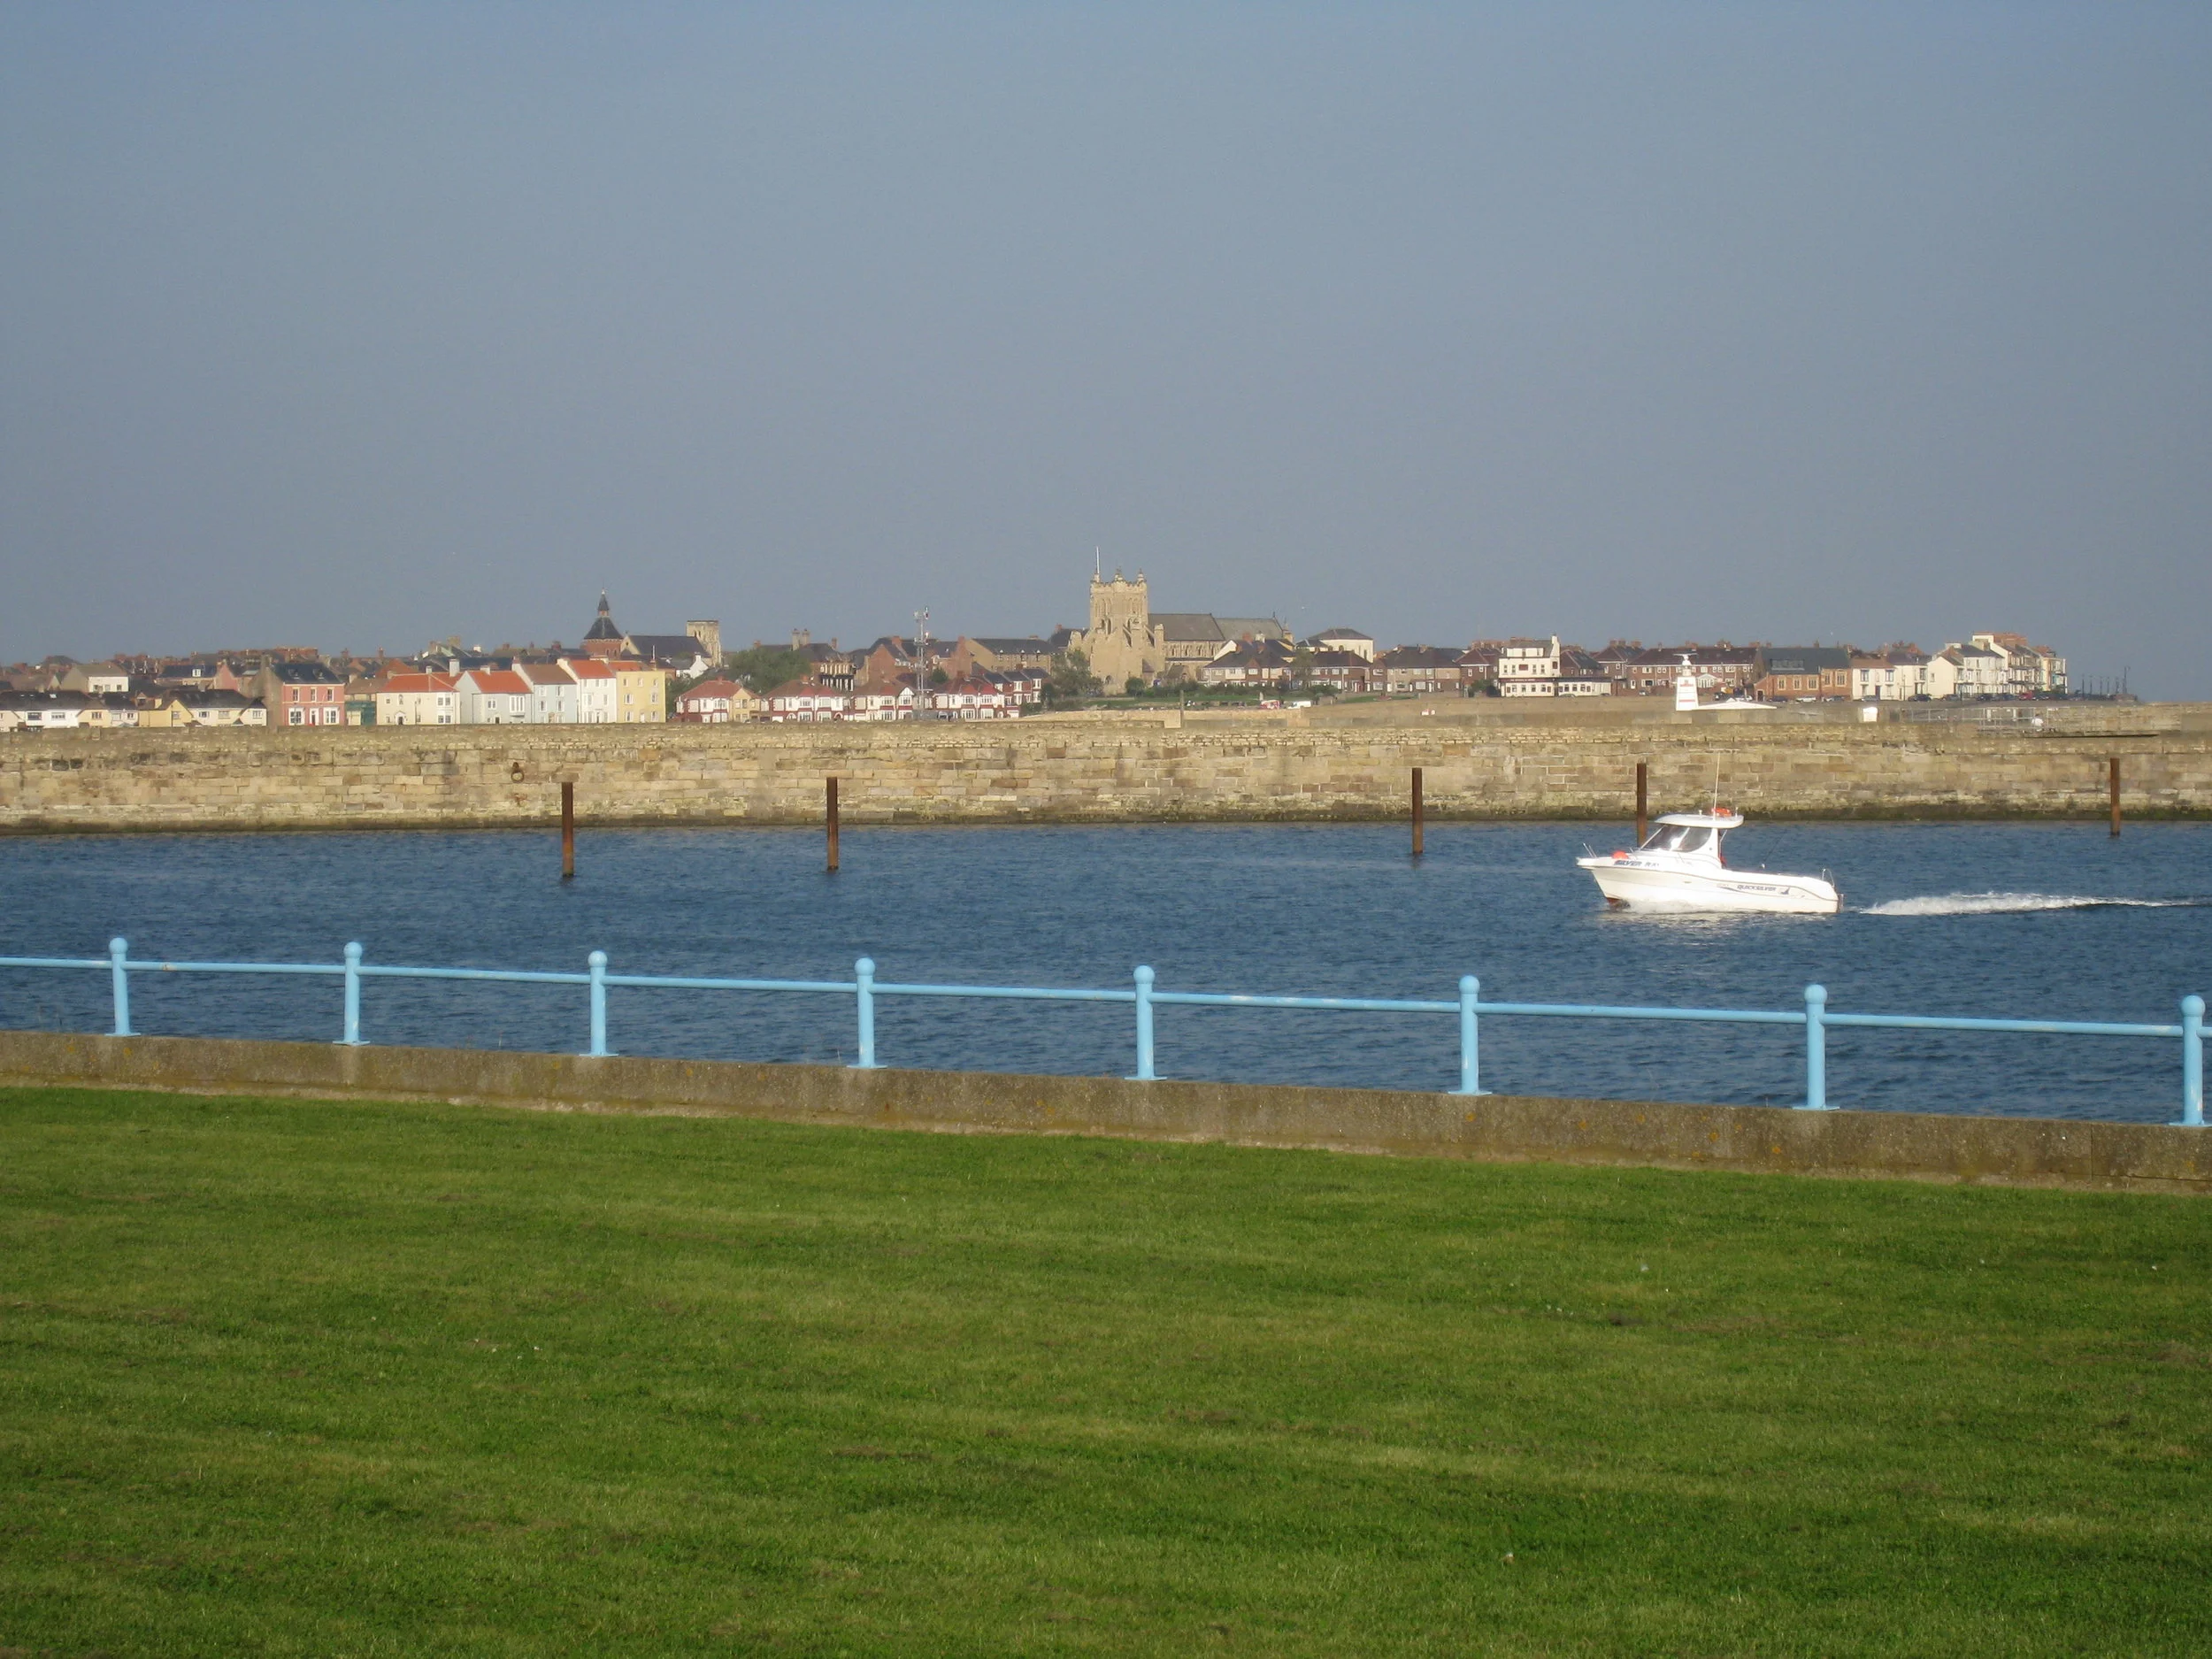
Hartlepool--Marina entrance looking towards The Headlands (St. Hilda's)
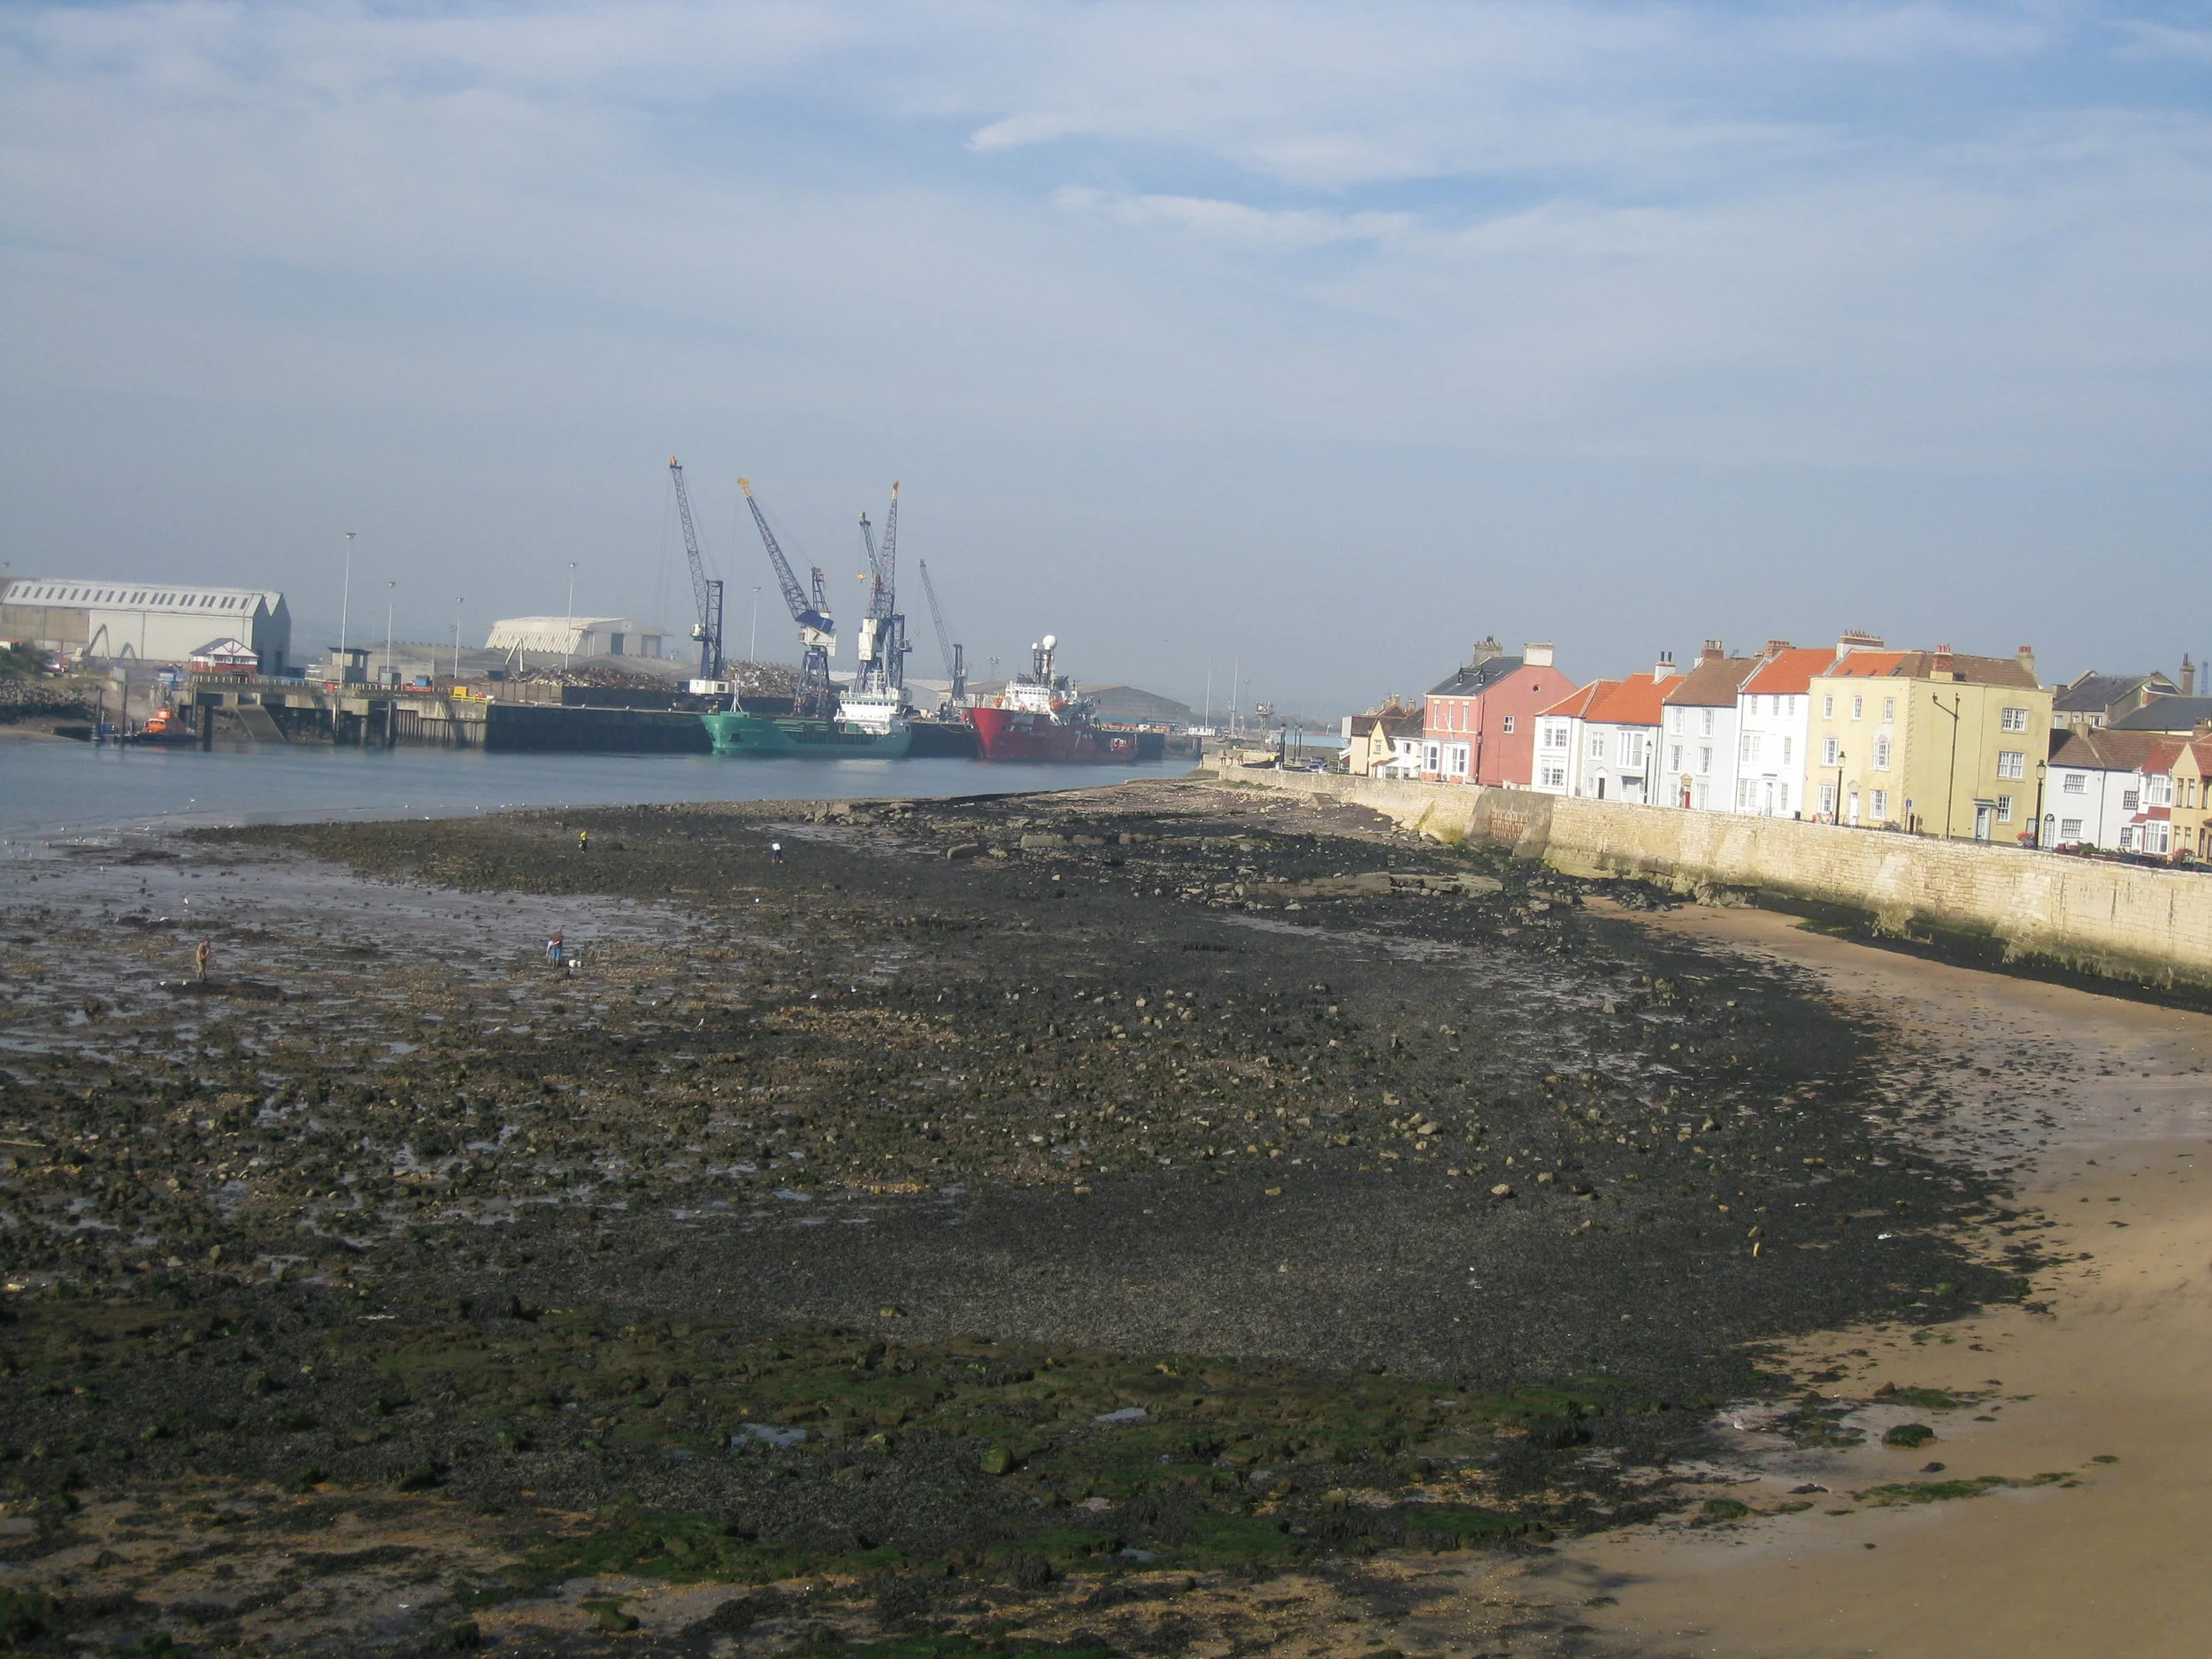
Hartlepool--Working harbor
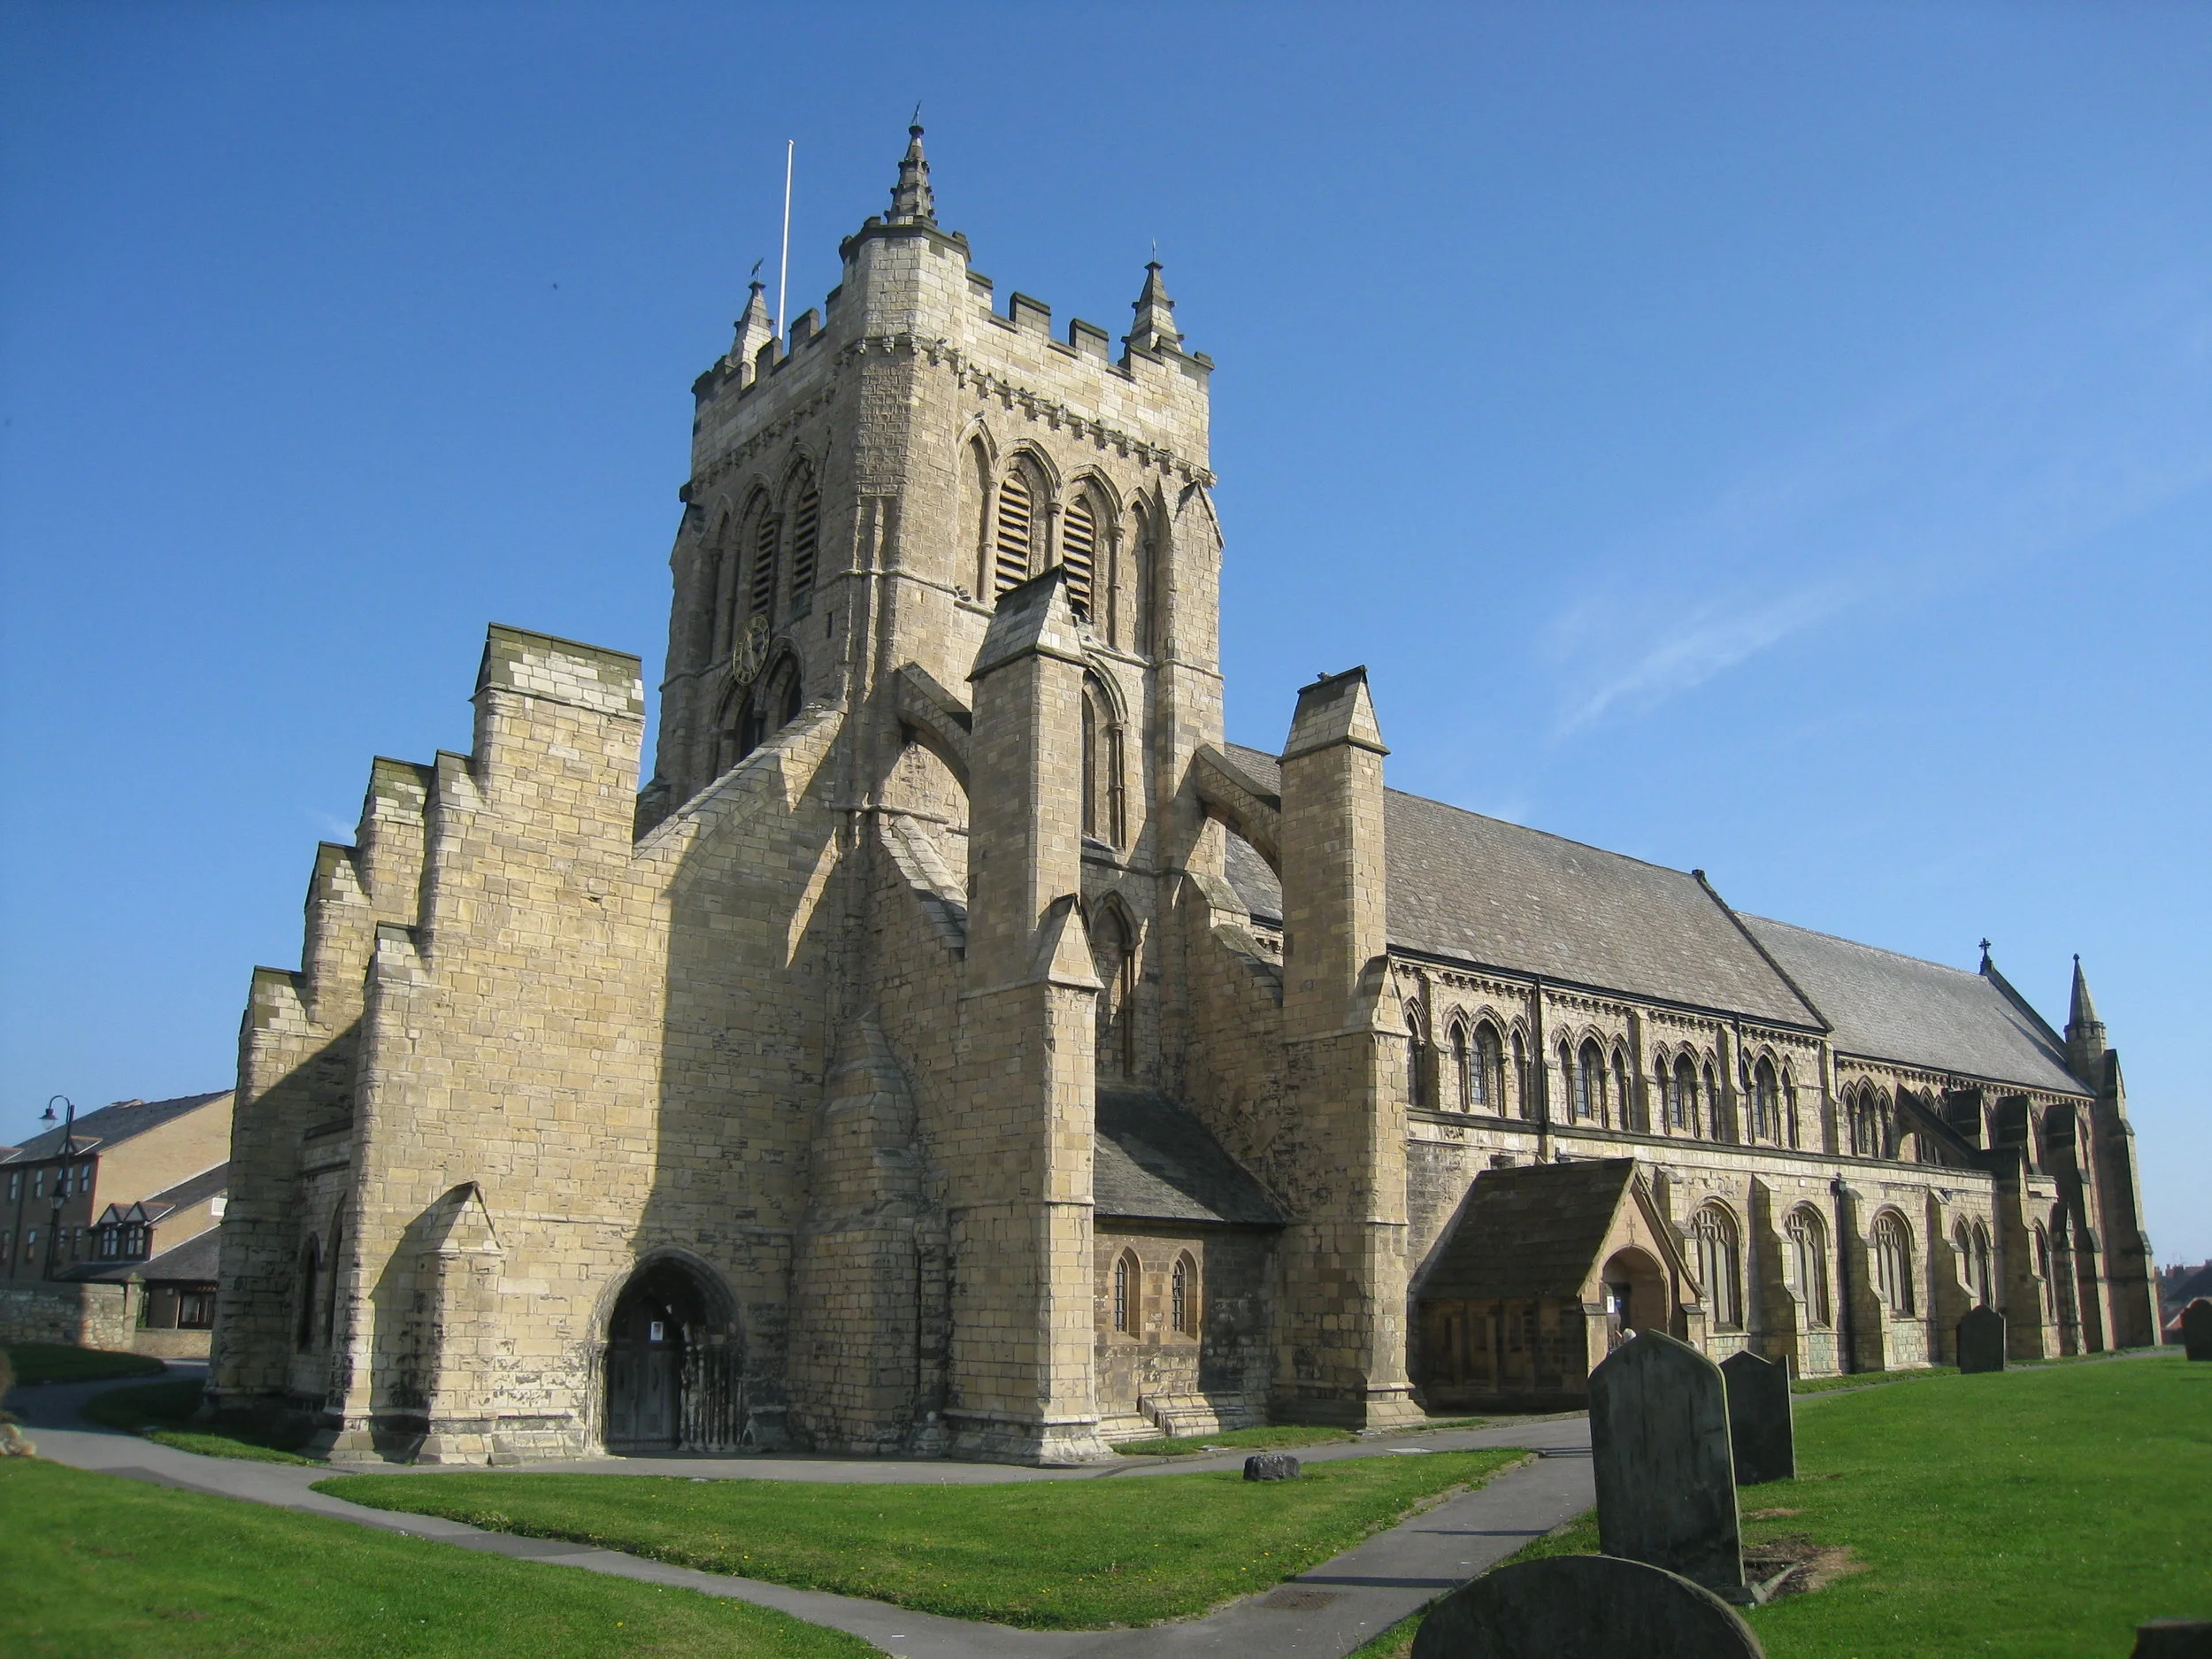
Hartlepool--St. Hilda's church
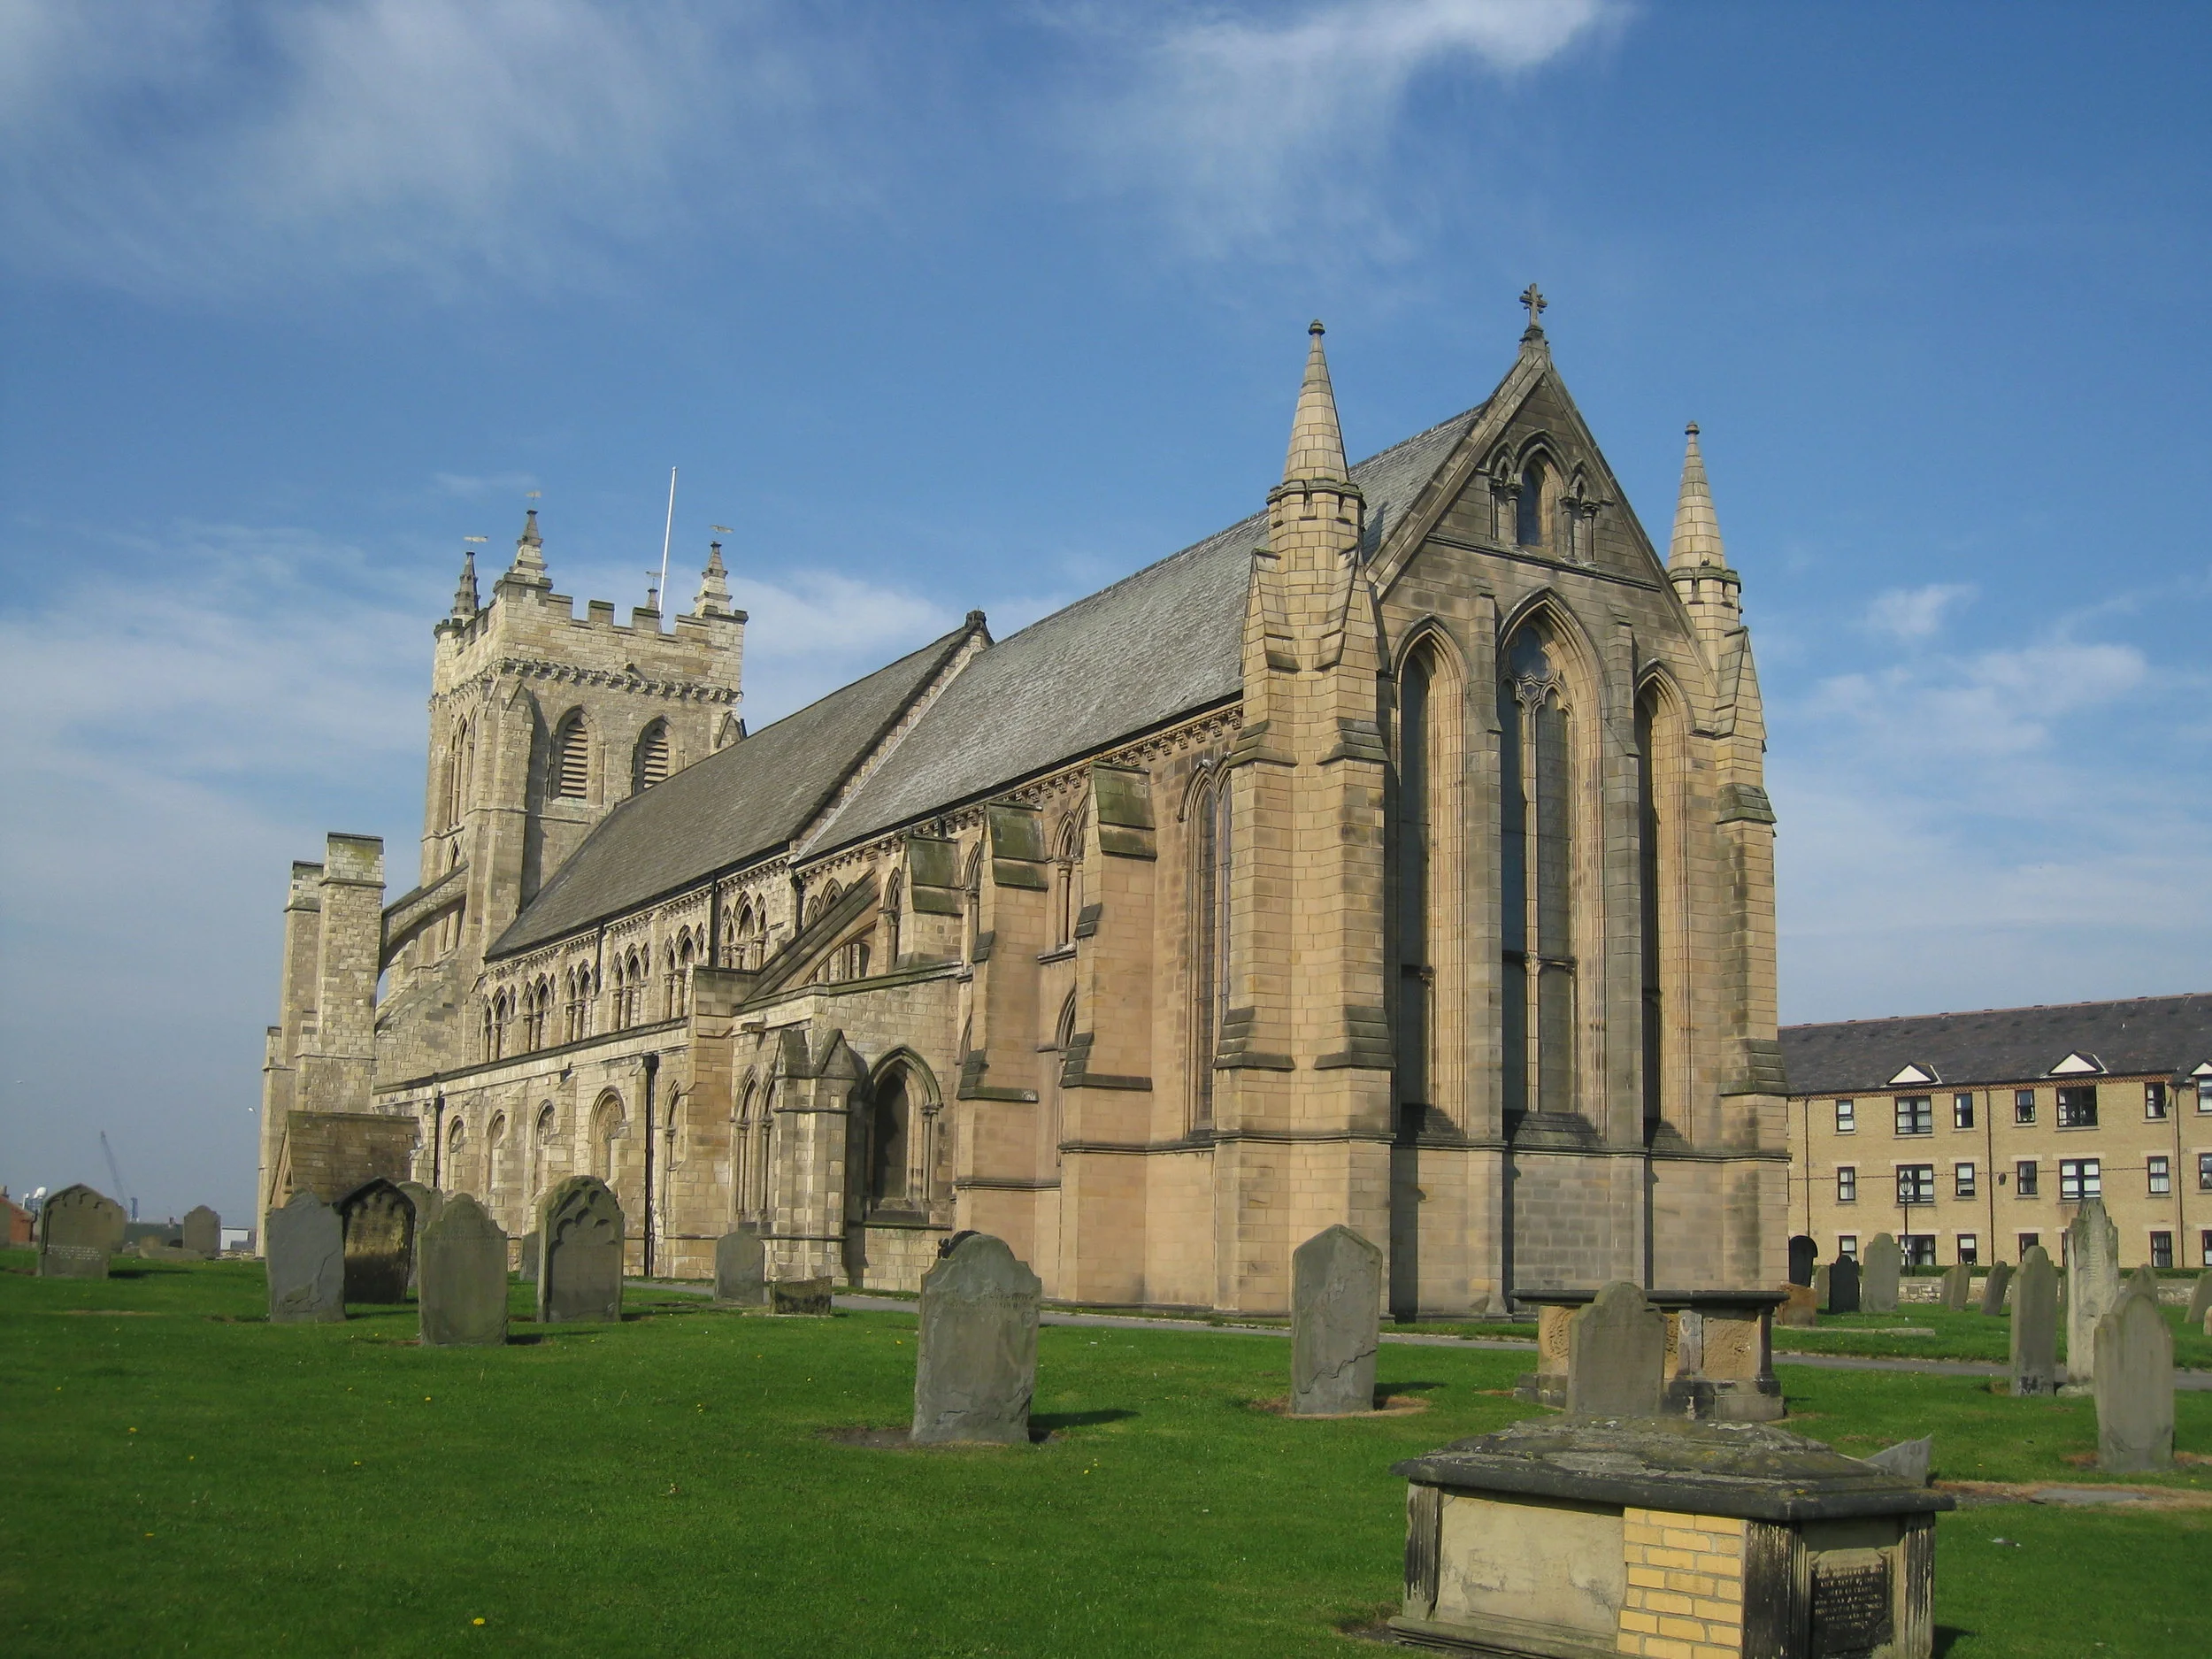
Hartlepool--St. Hilda's church
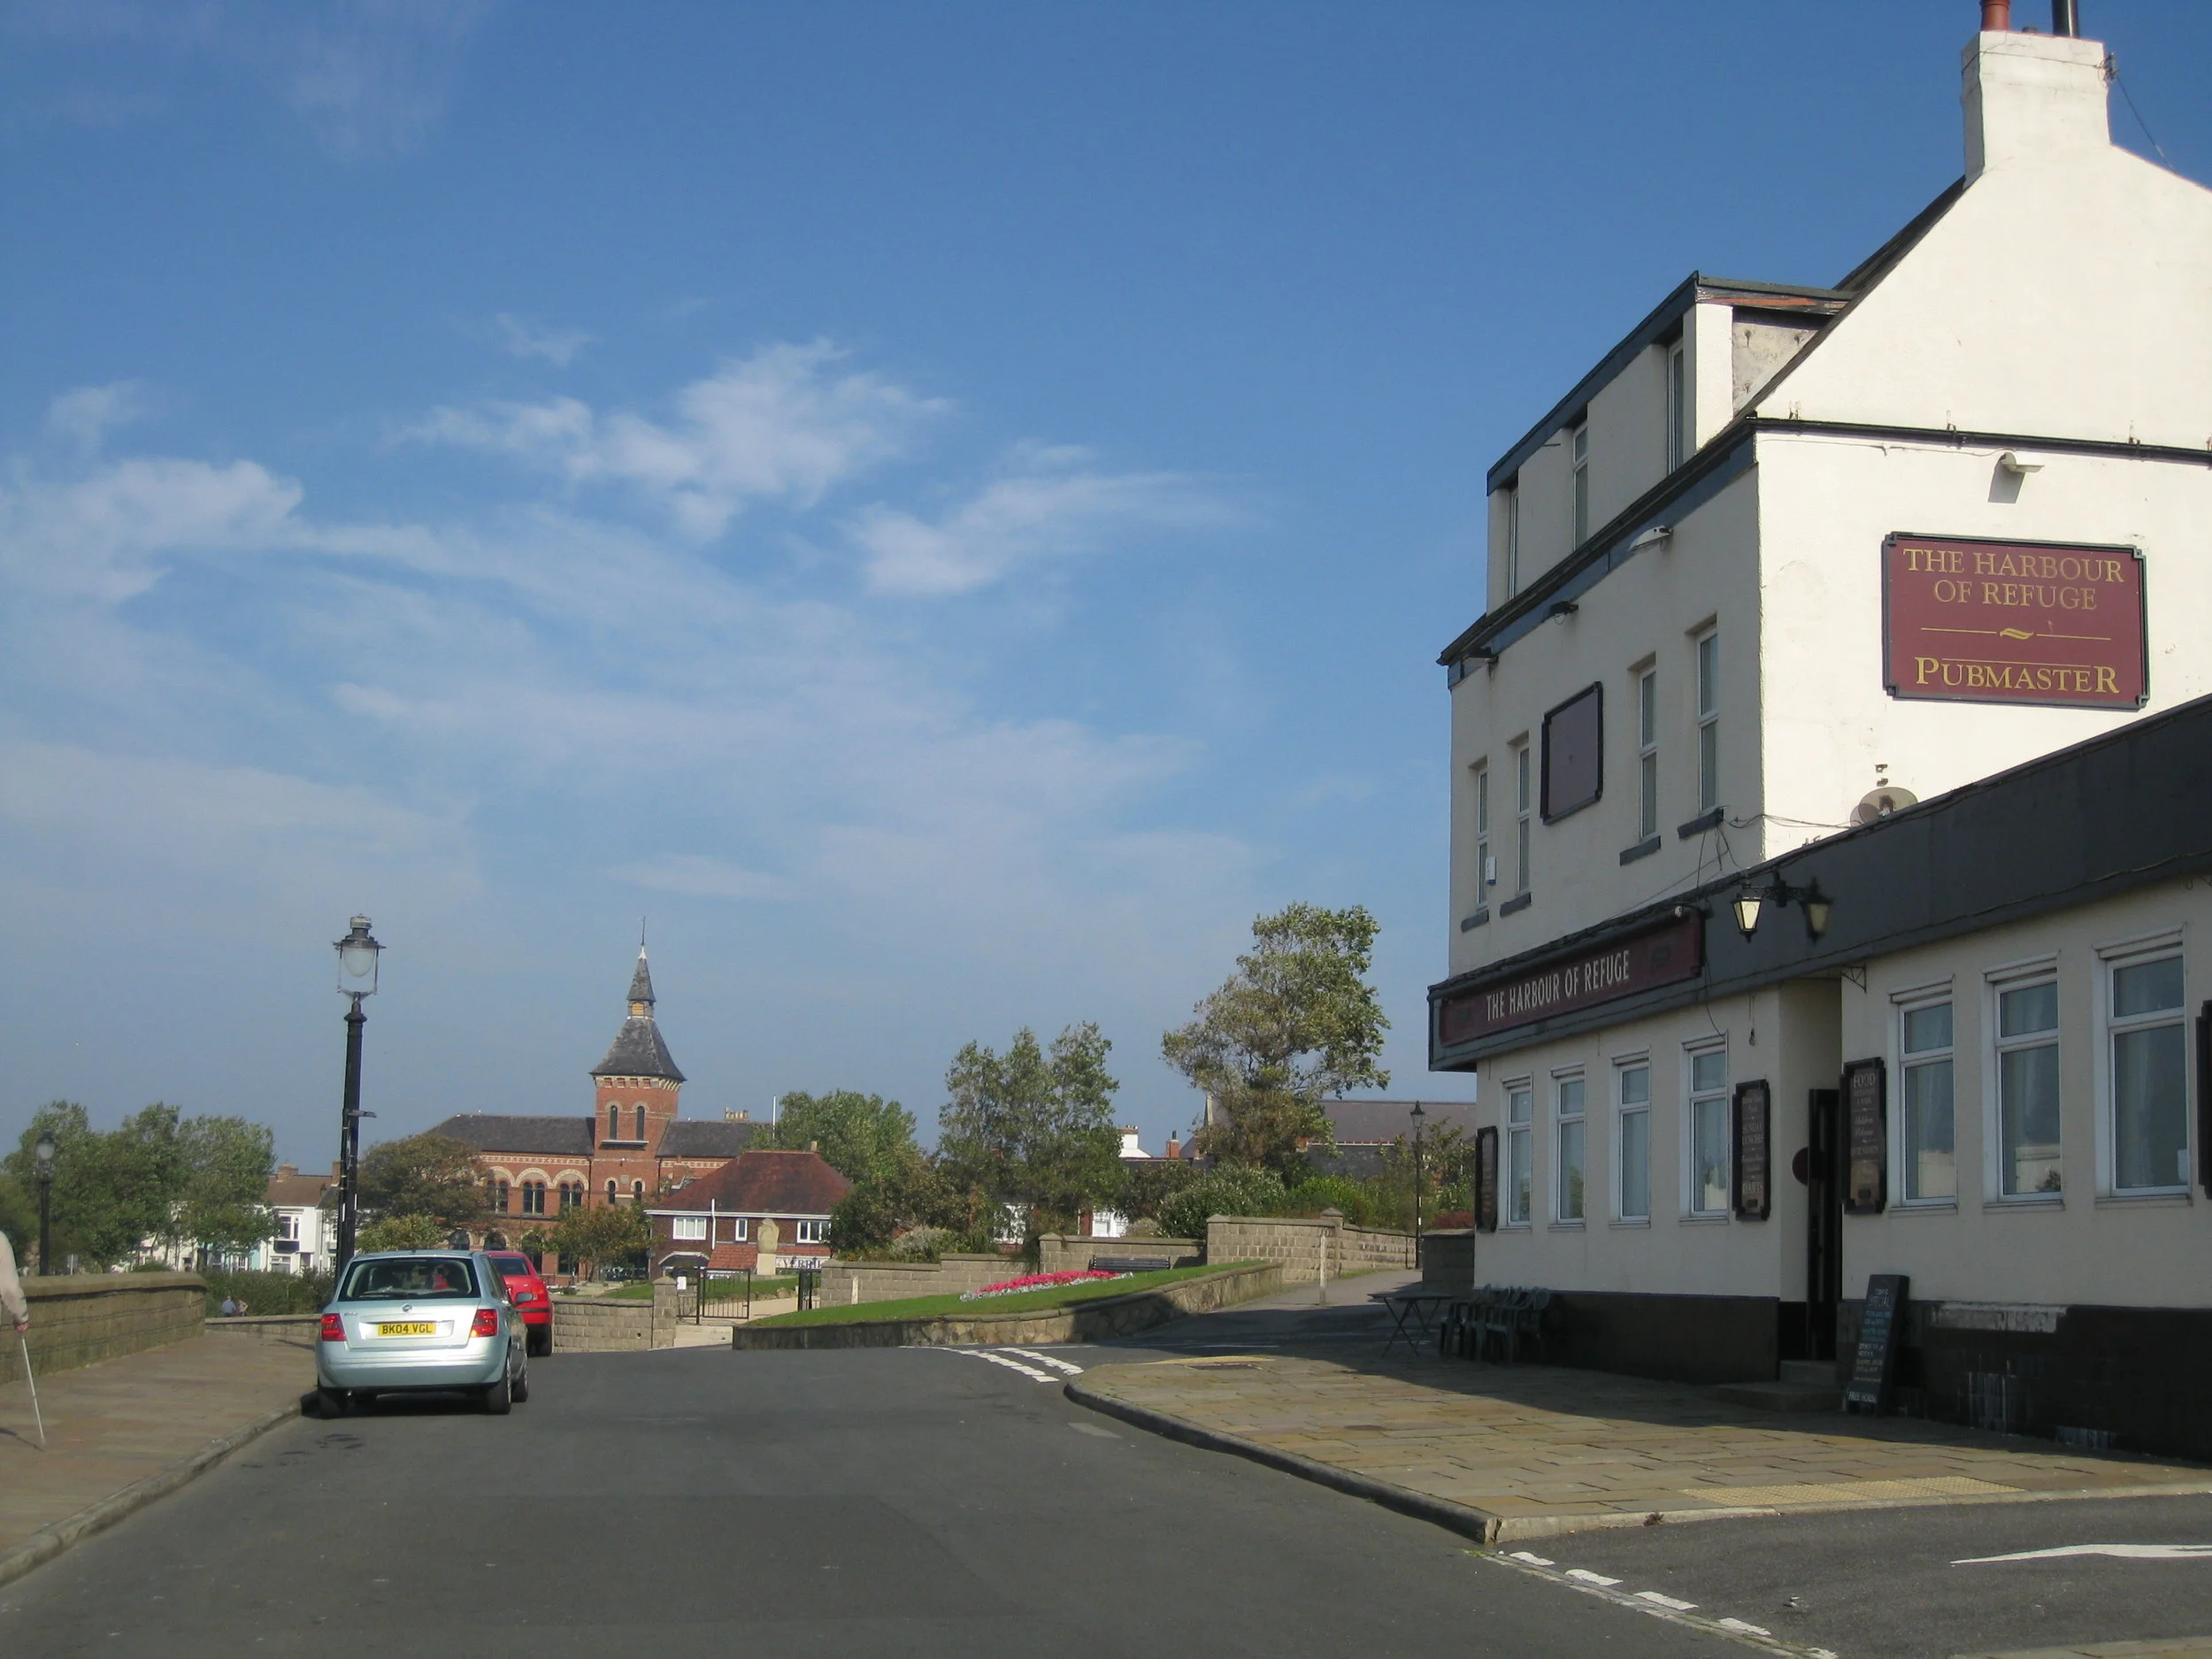
Hartlepool--The Headlands
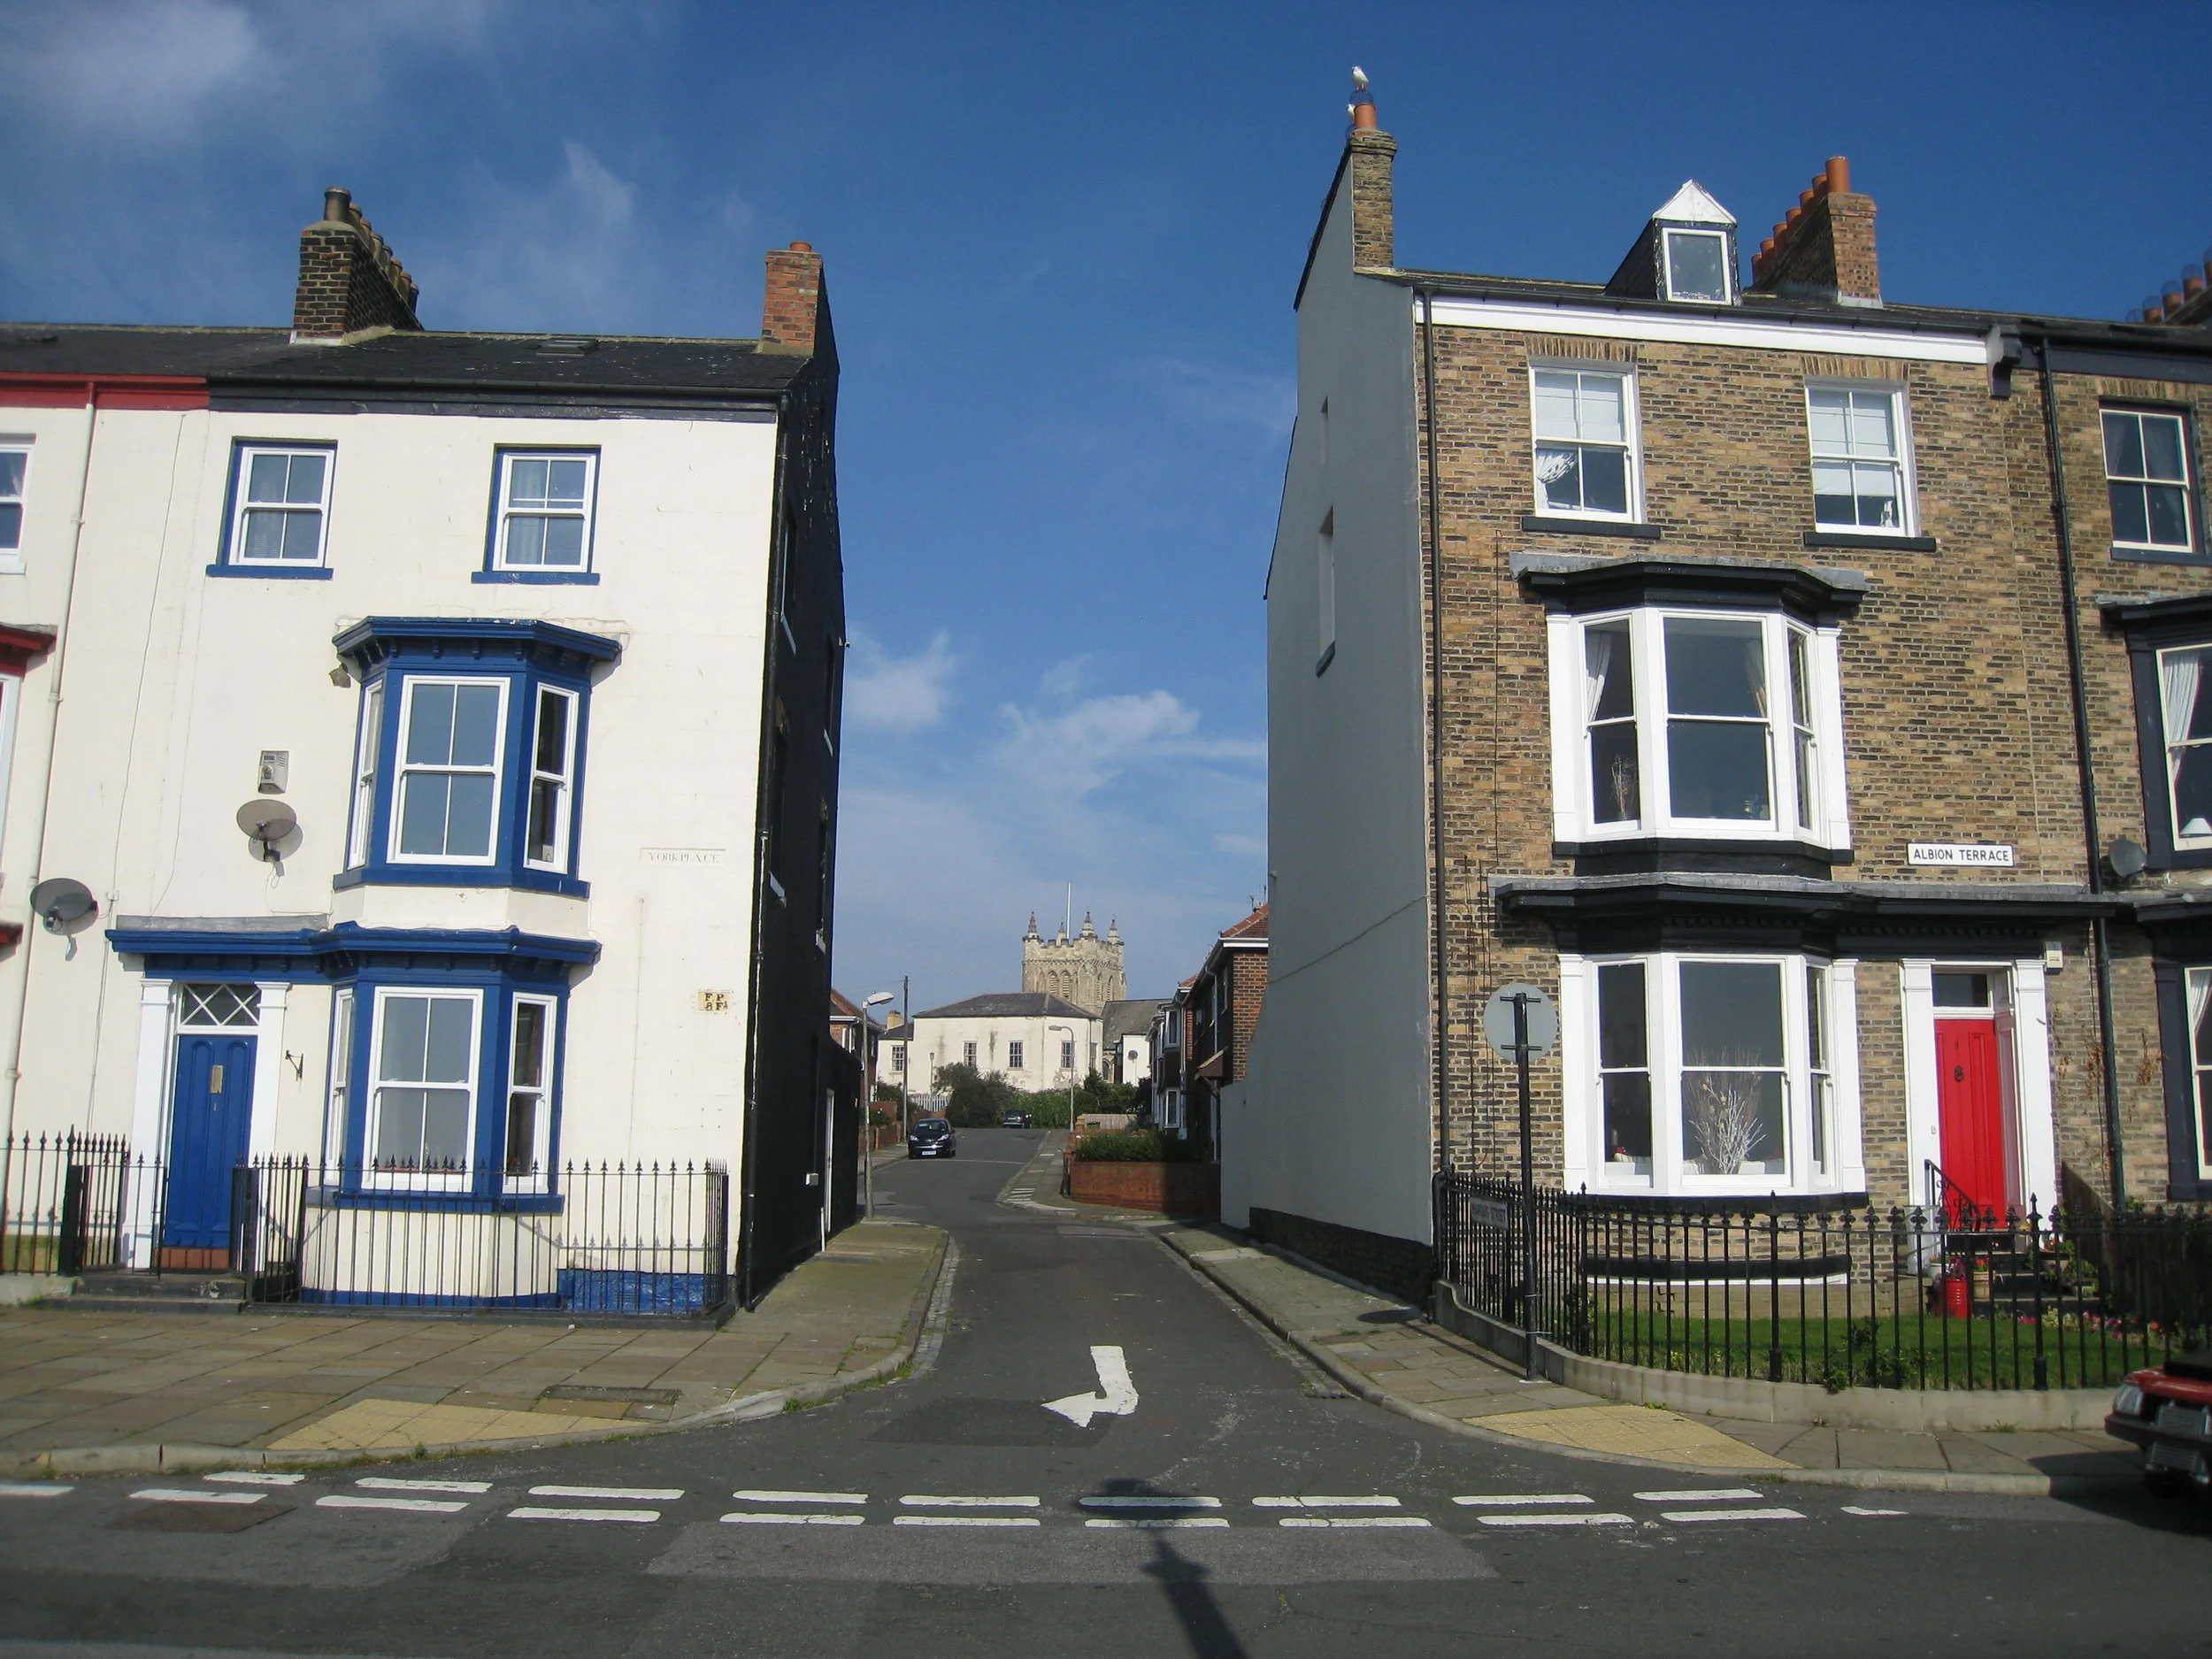
Hartlepool--The Headlands
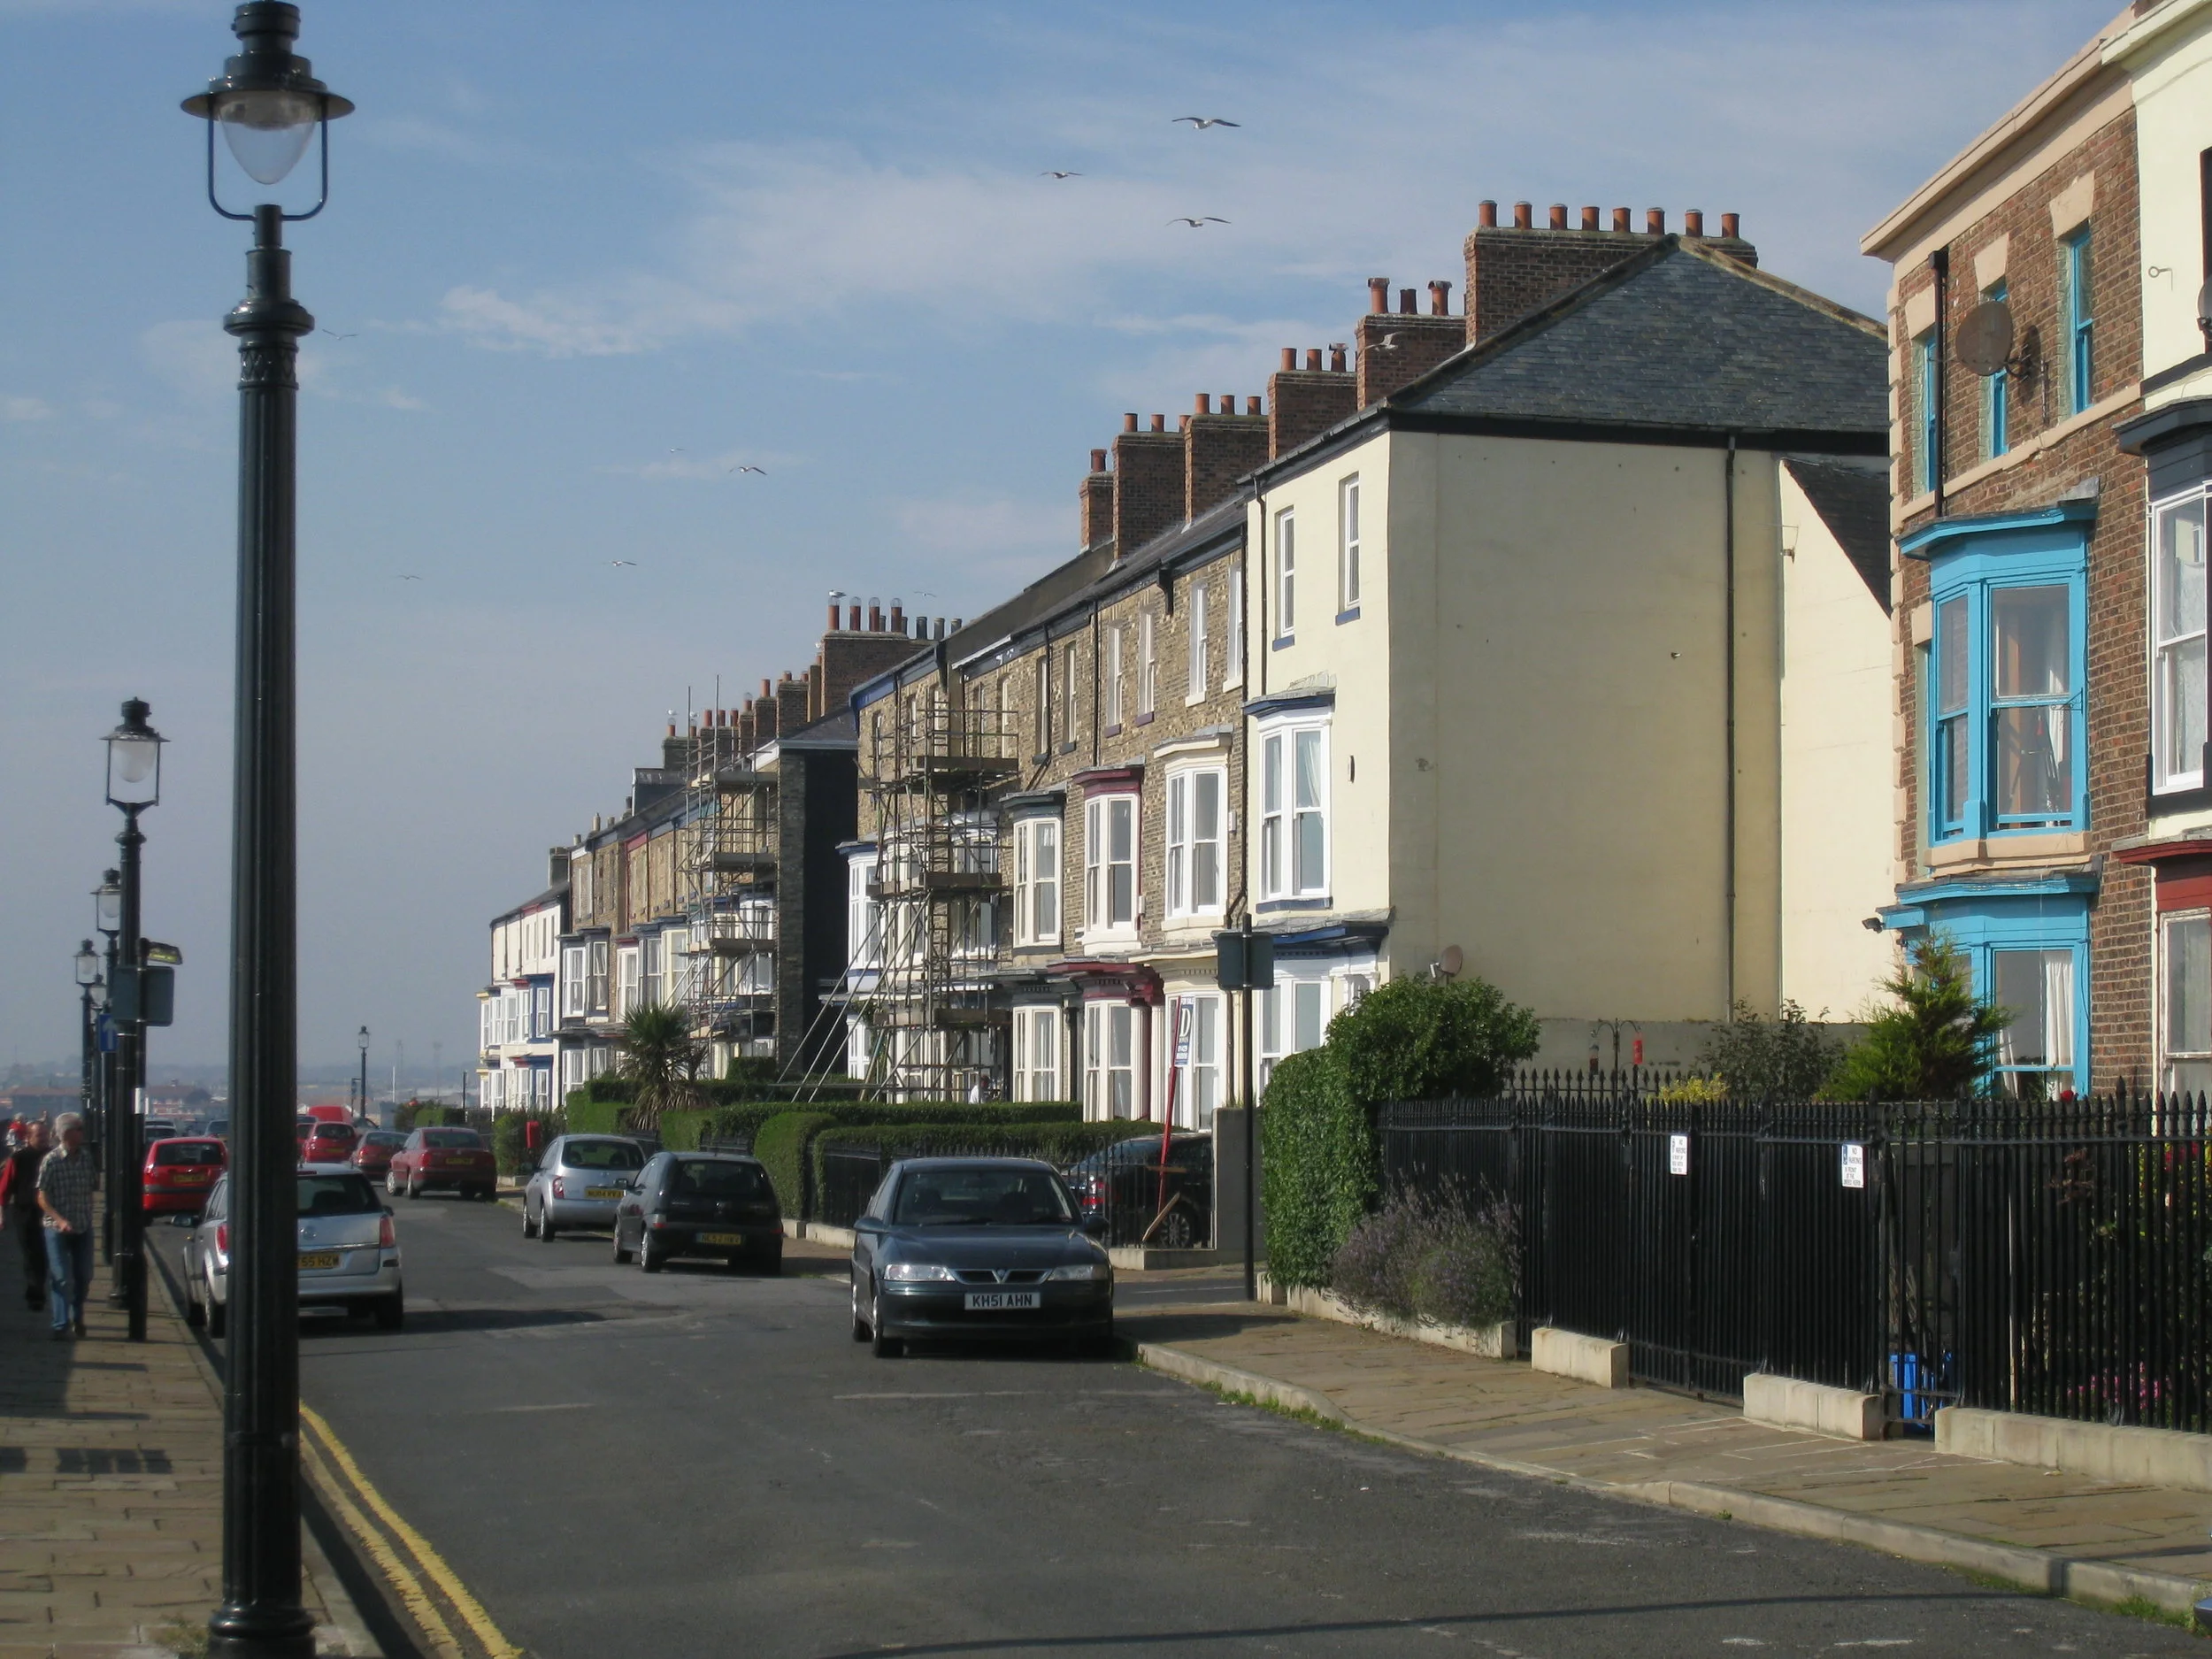
Hartlepool--The Headlands
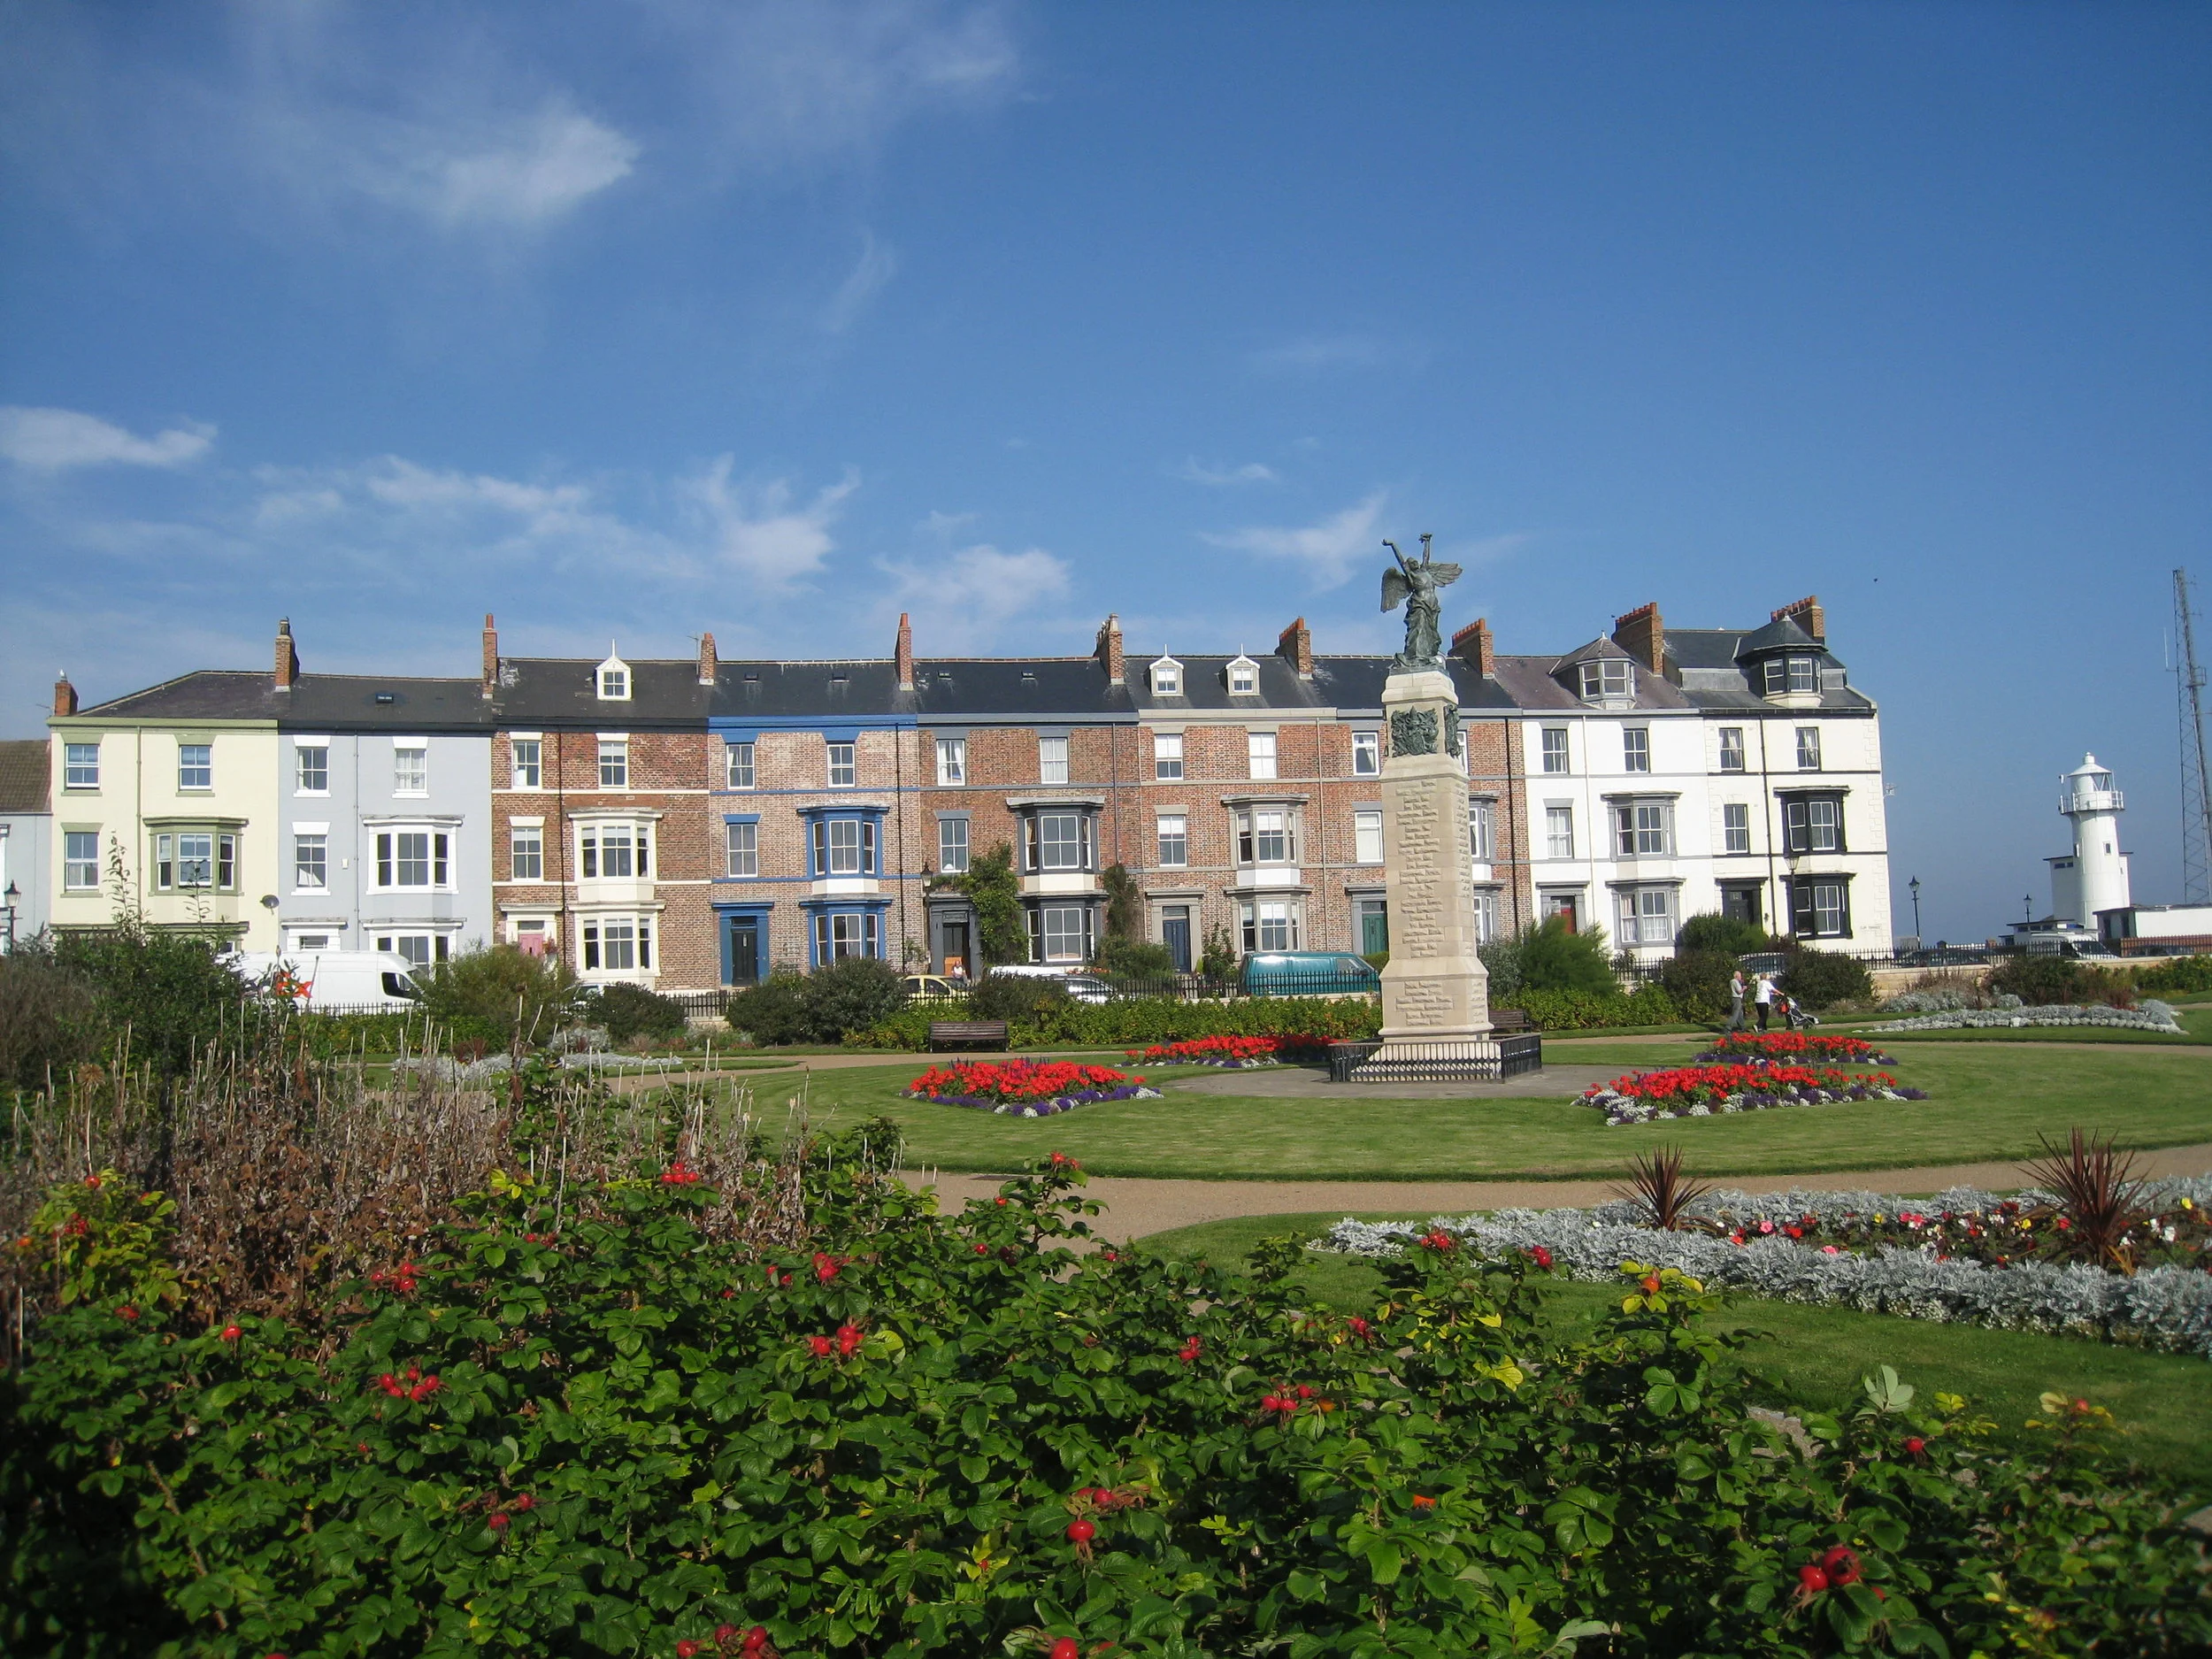
Hartlepool--The Headlands
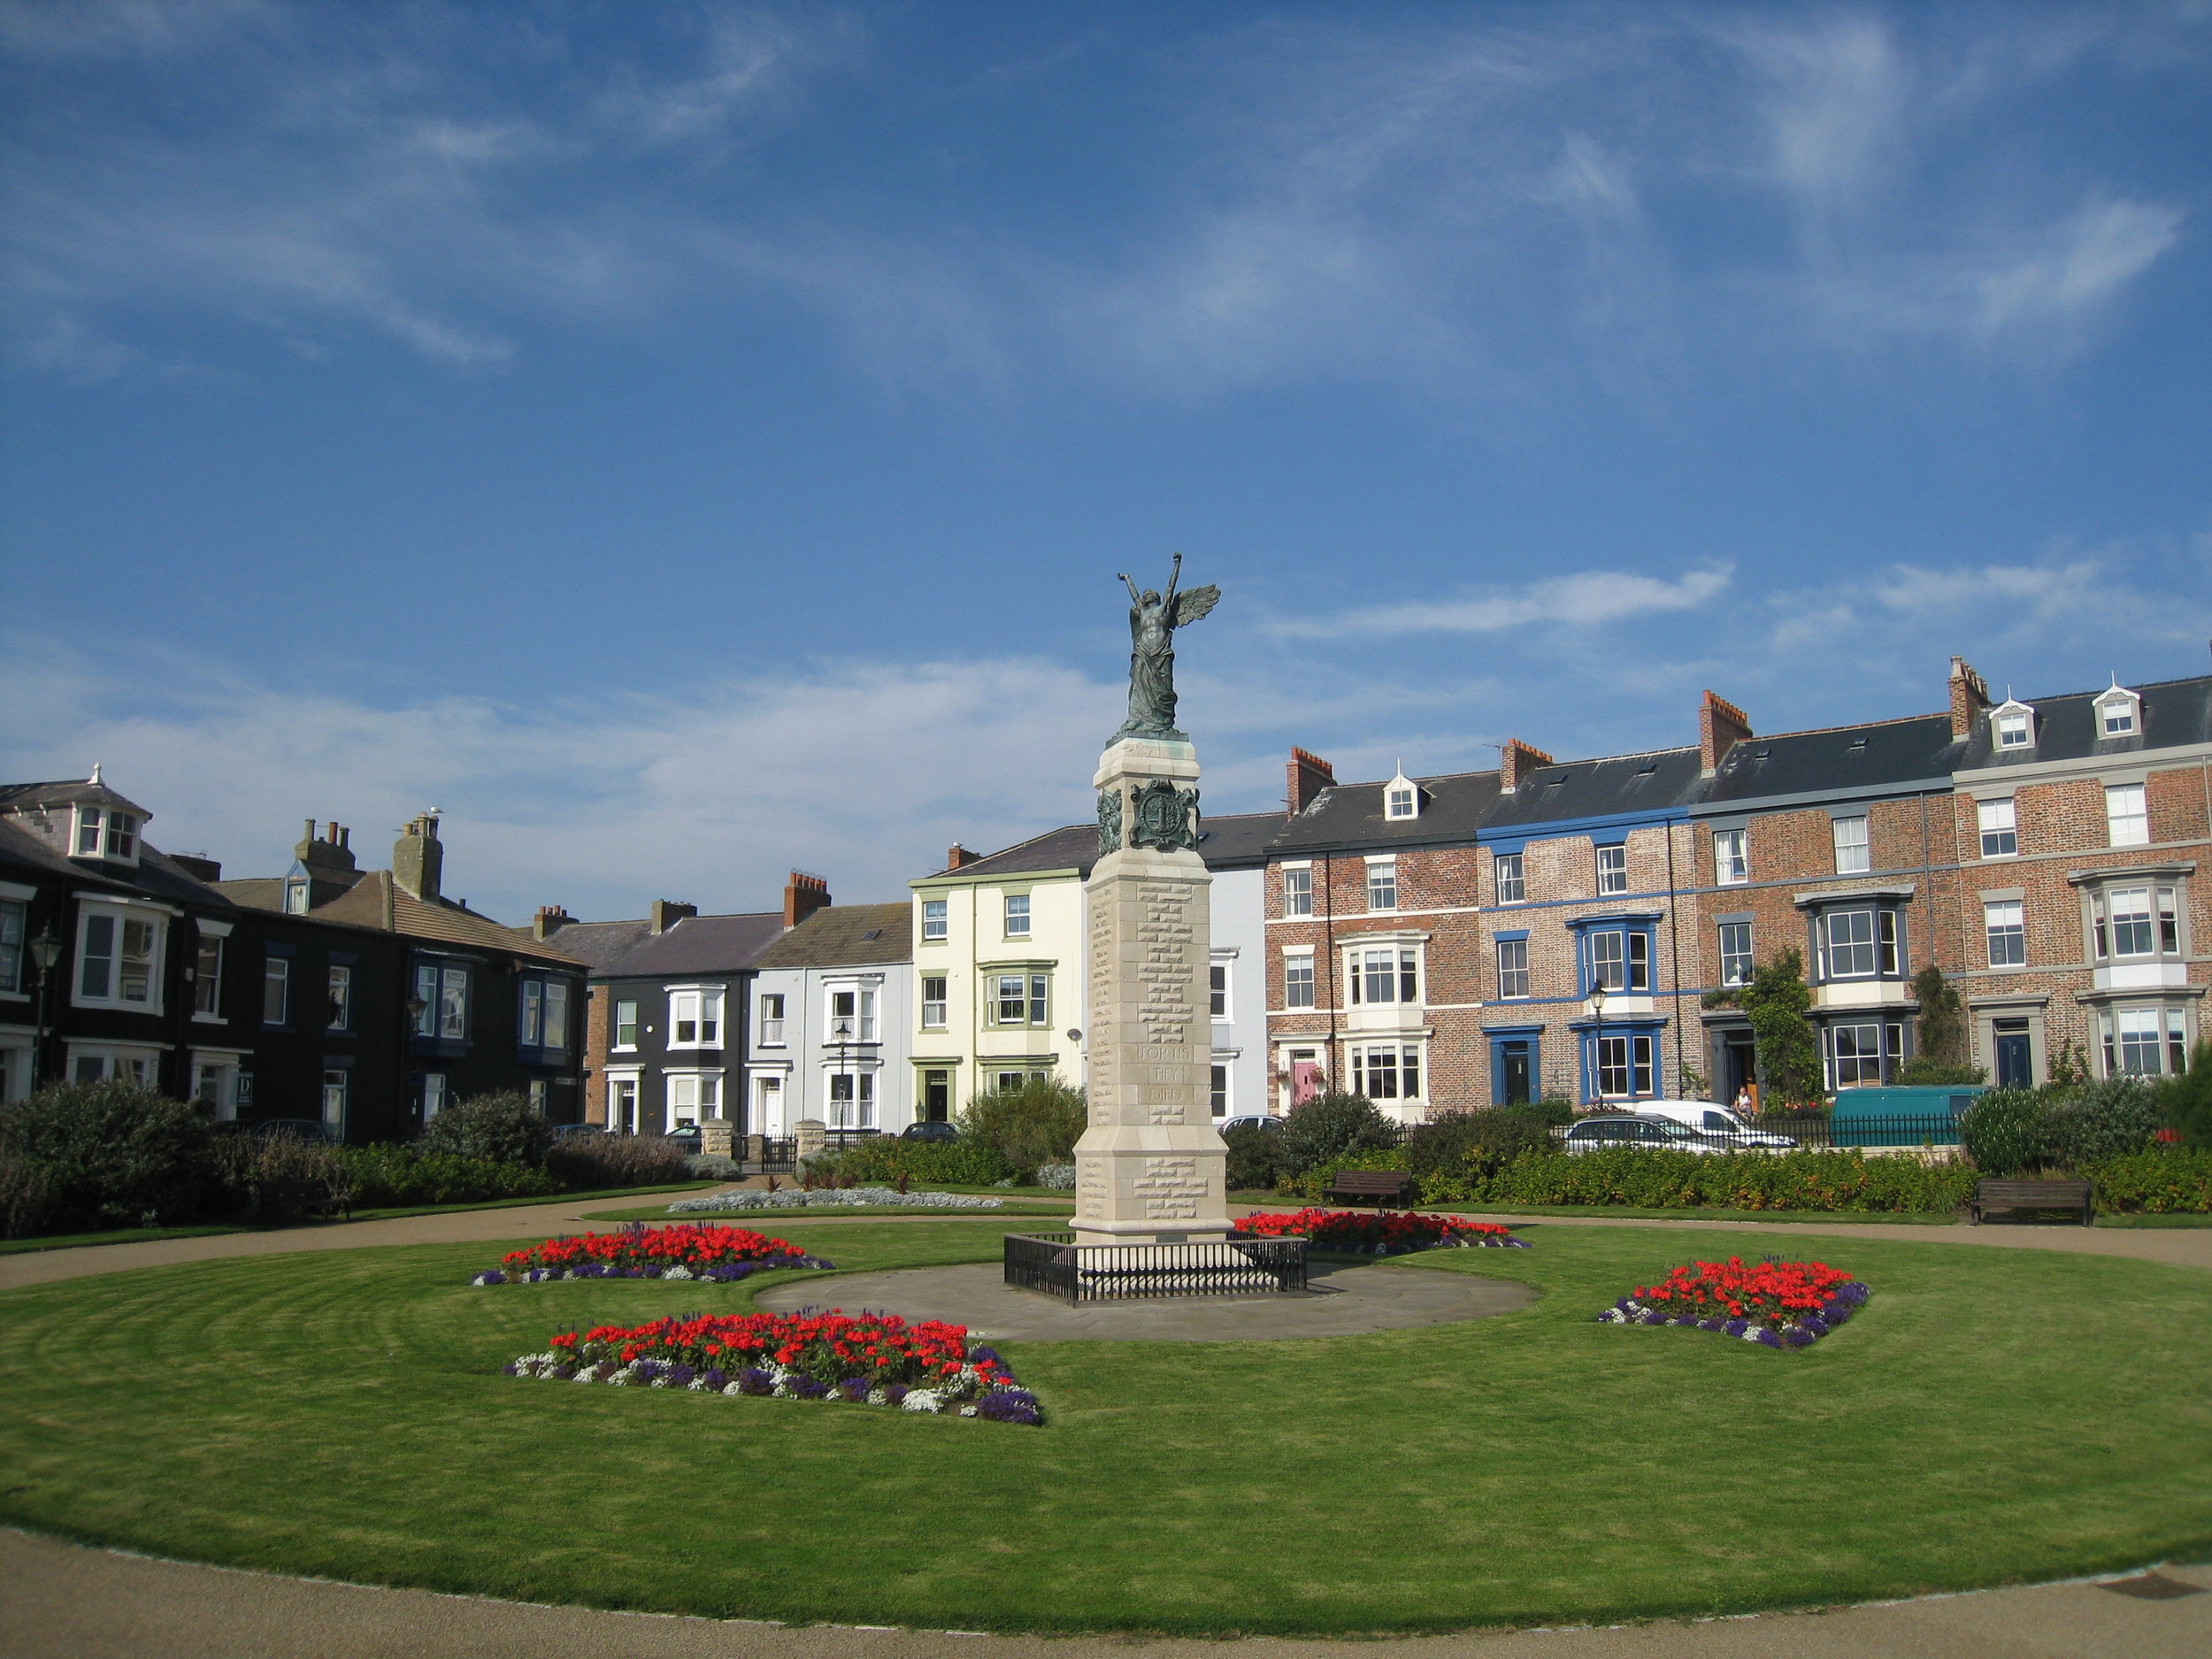
Hartlepool--The Headlands
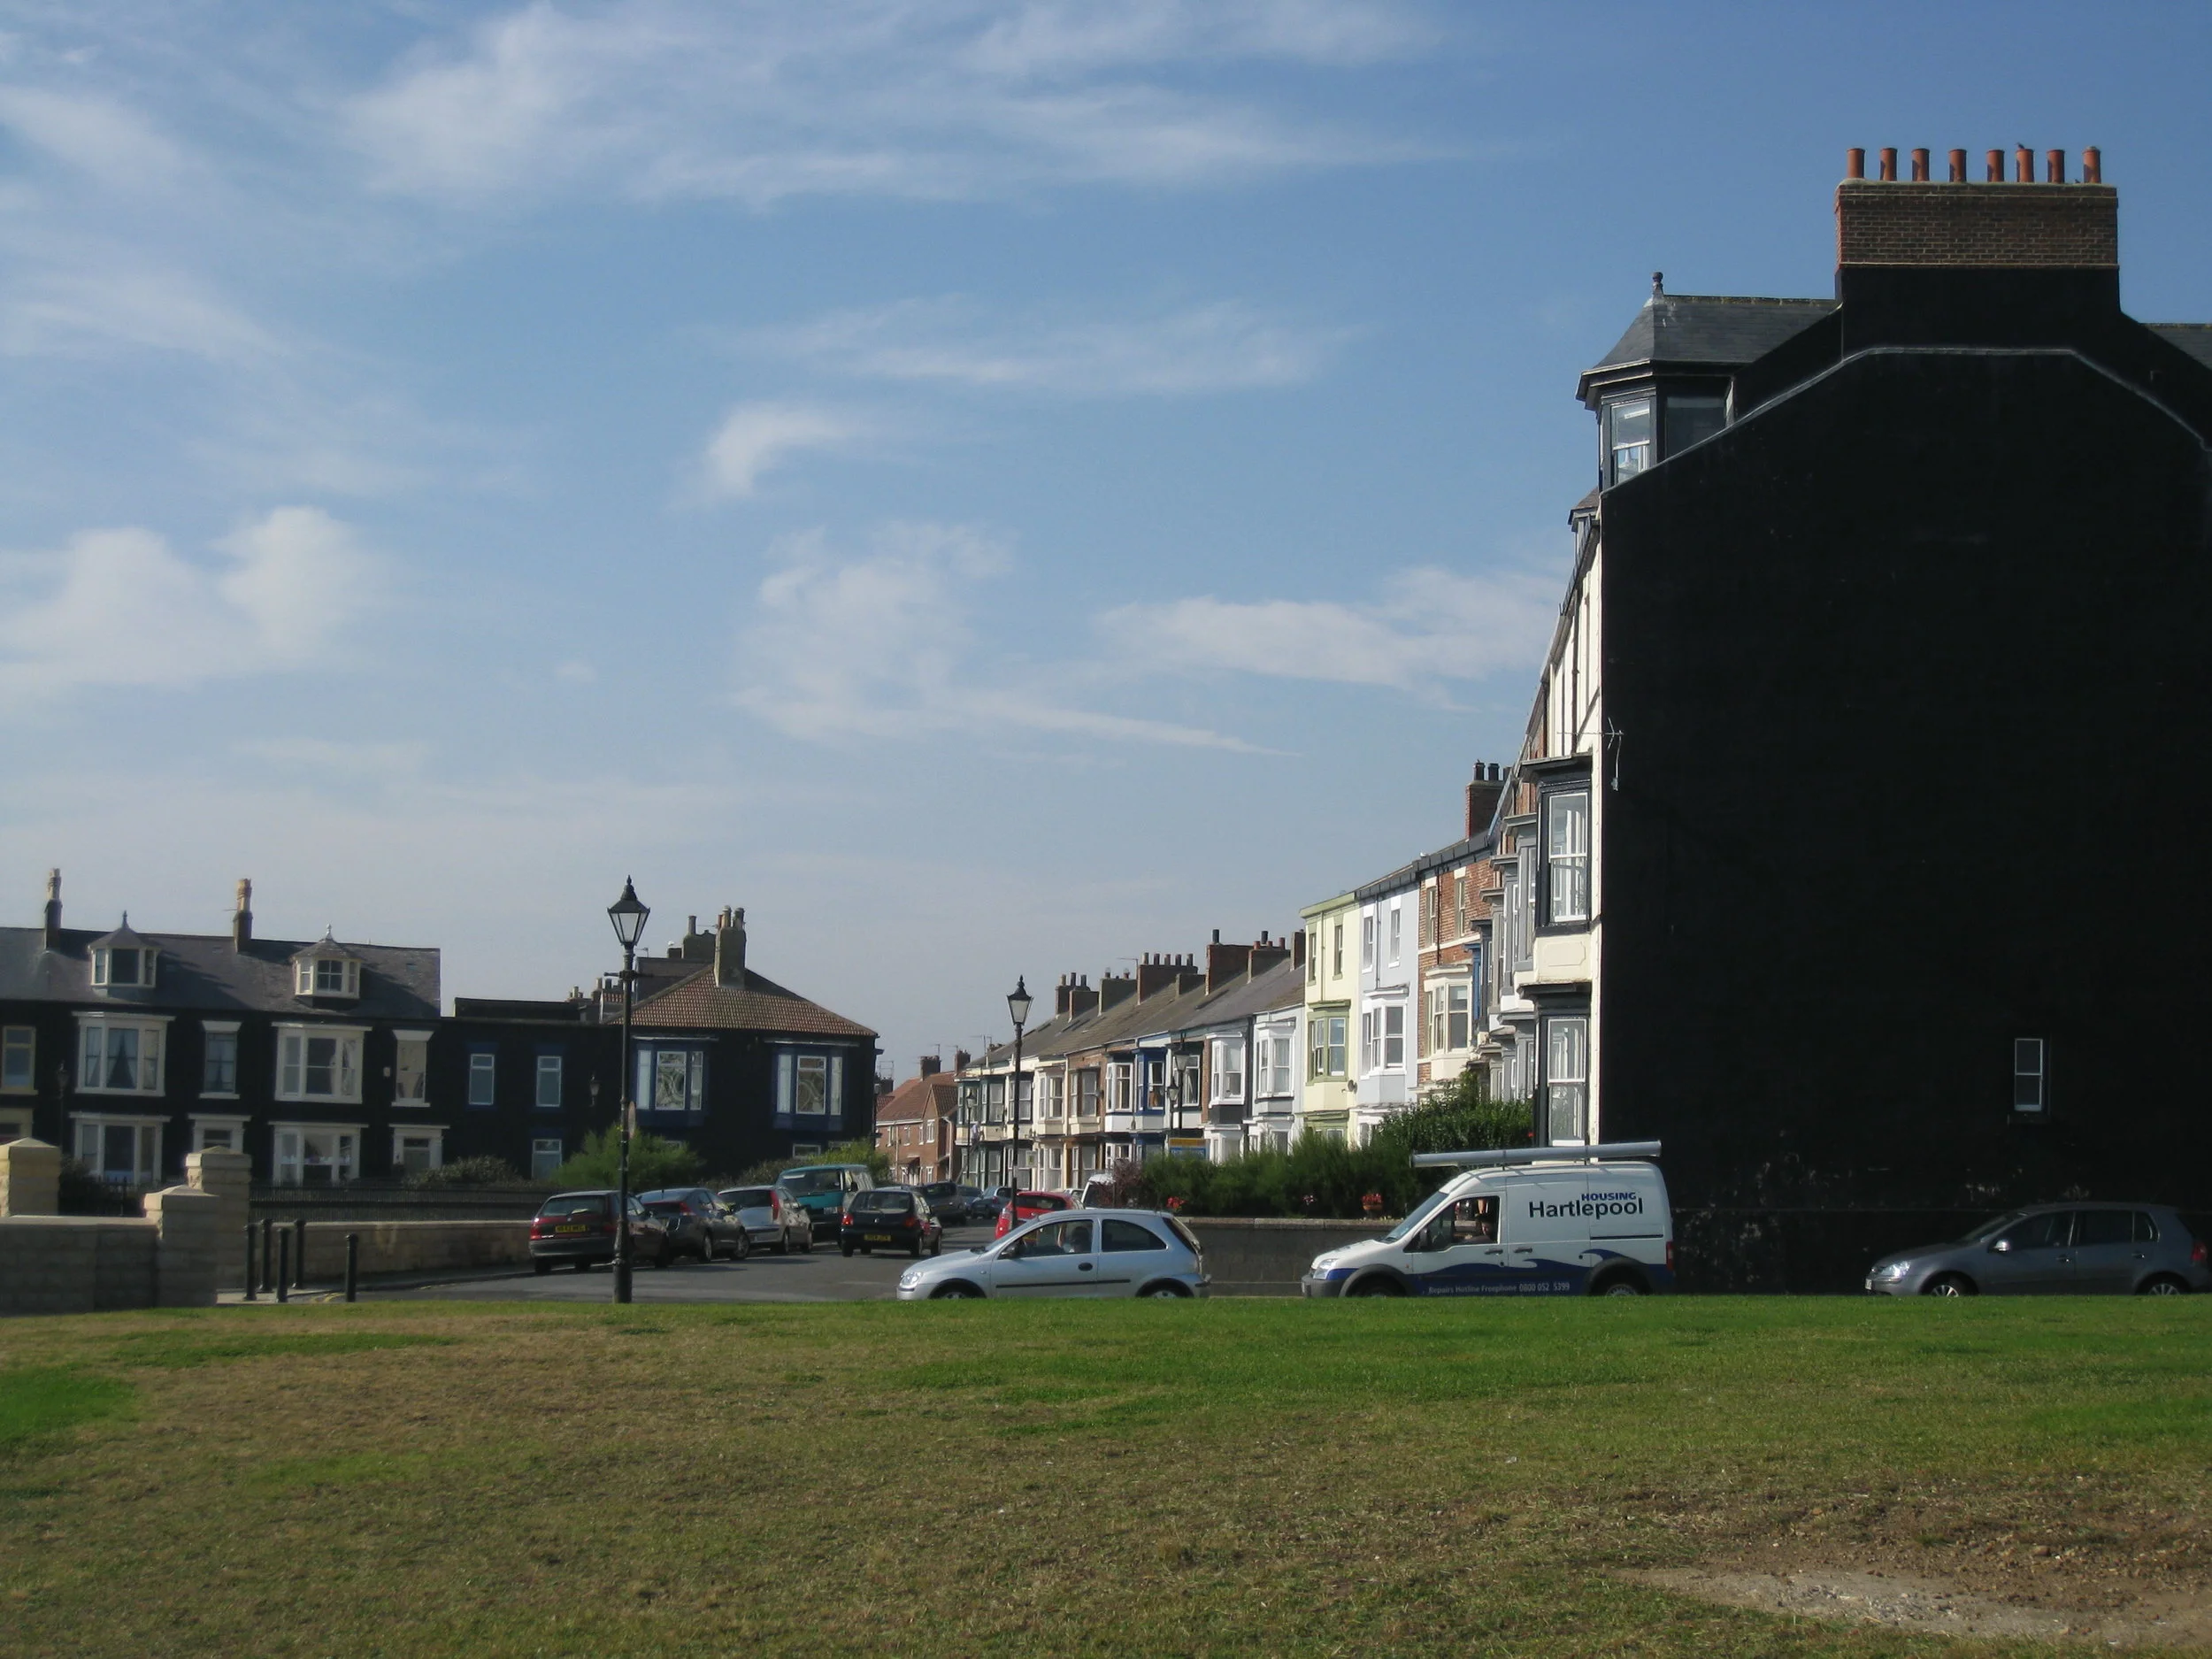
Hartlepool--The Headlands (seaward side painted with tar for protection)
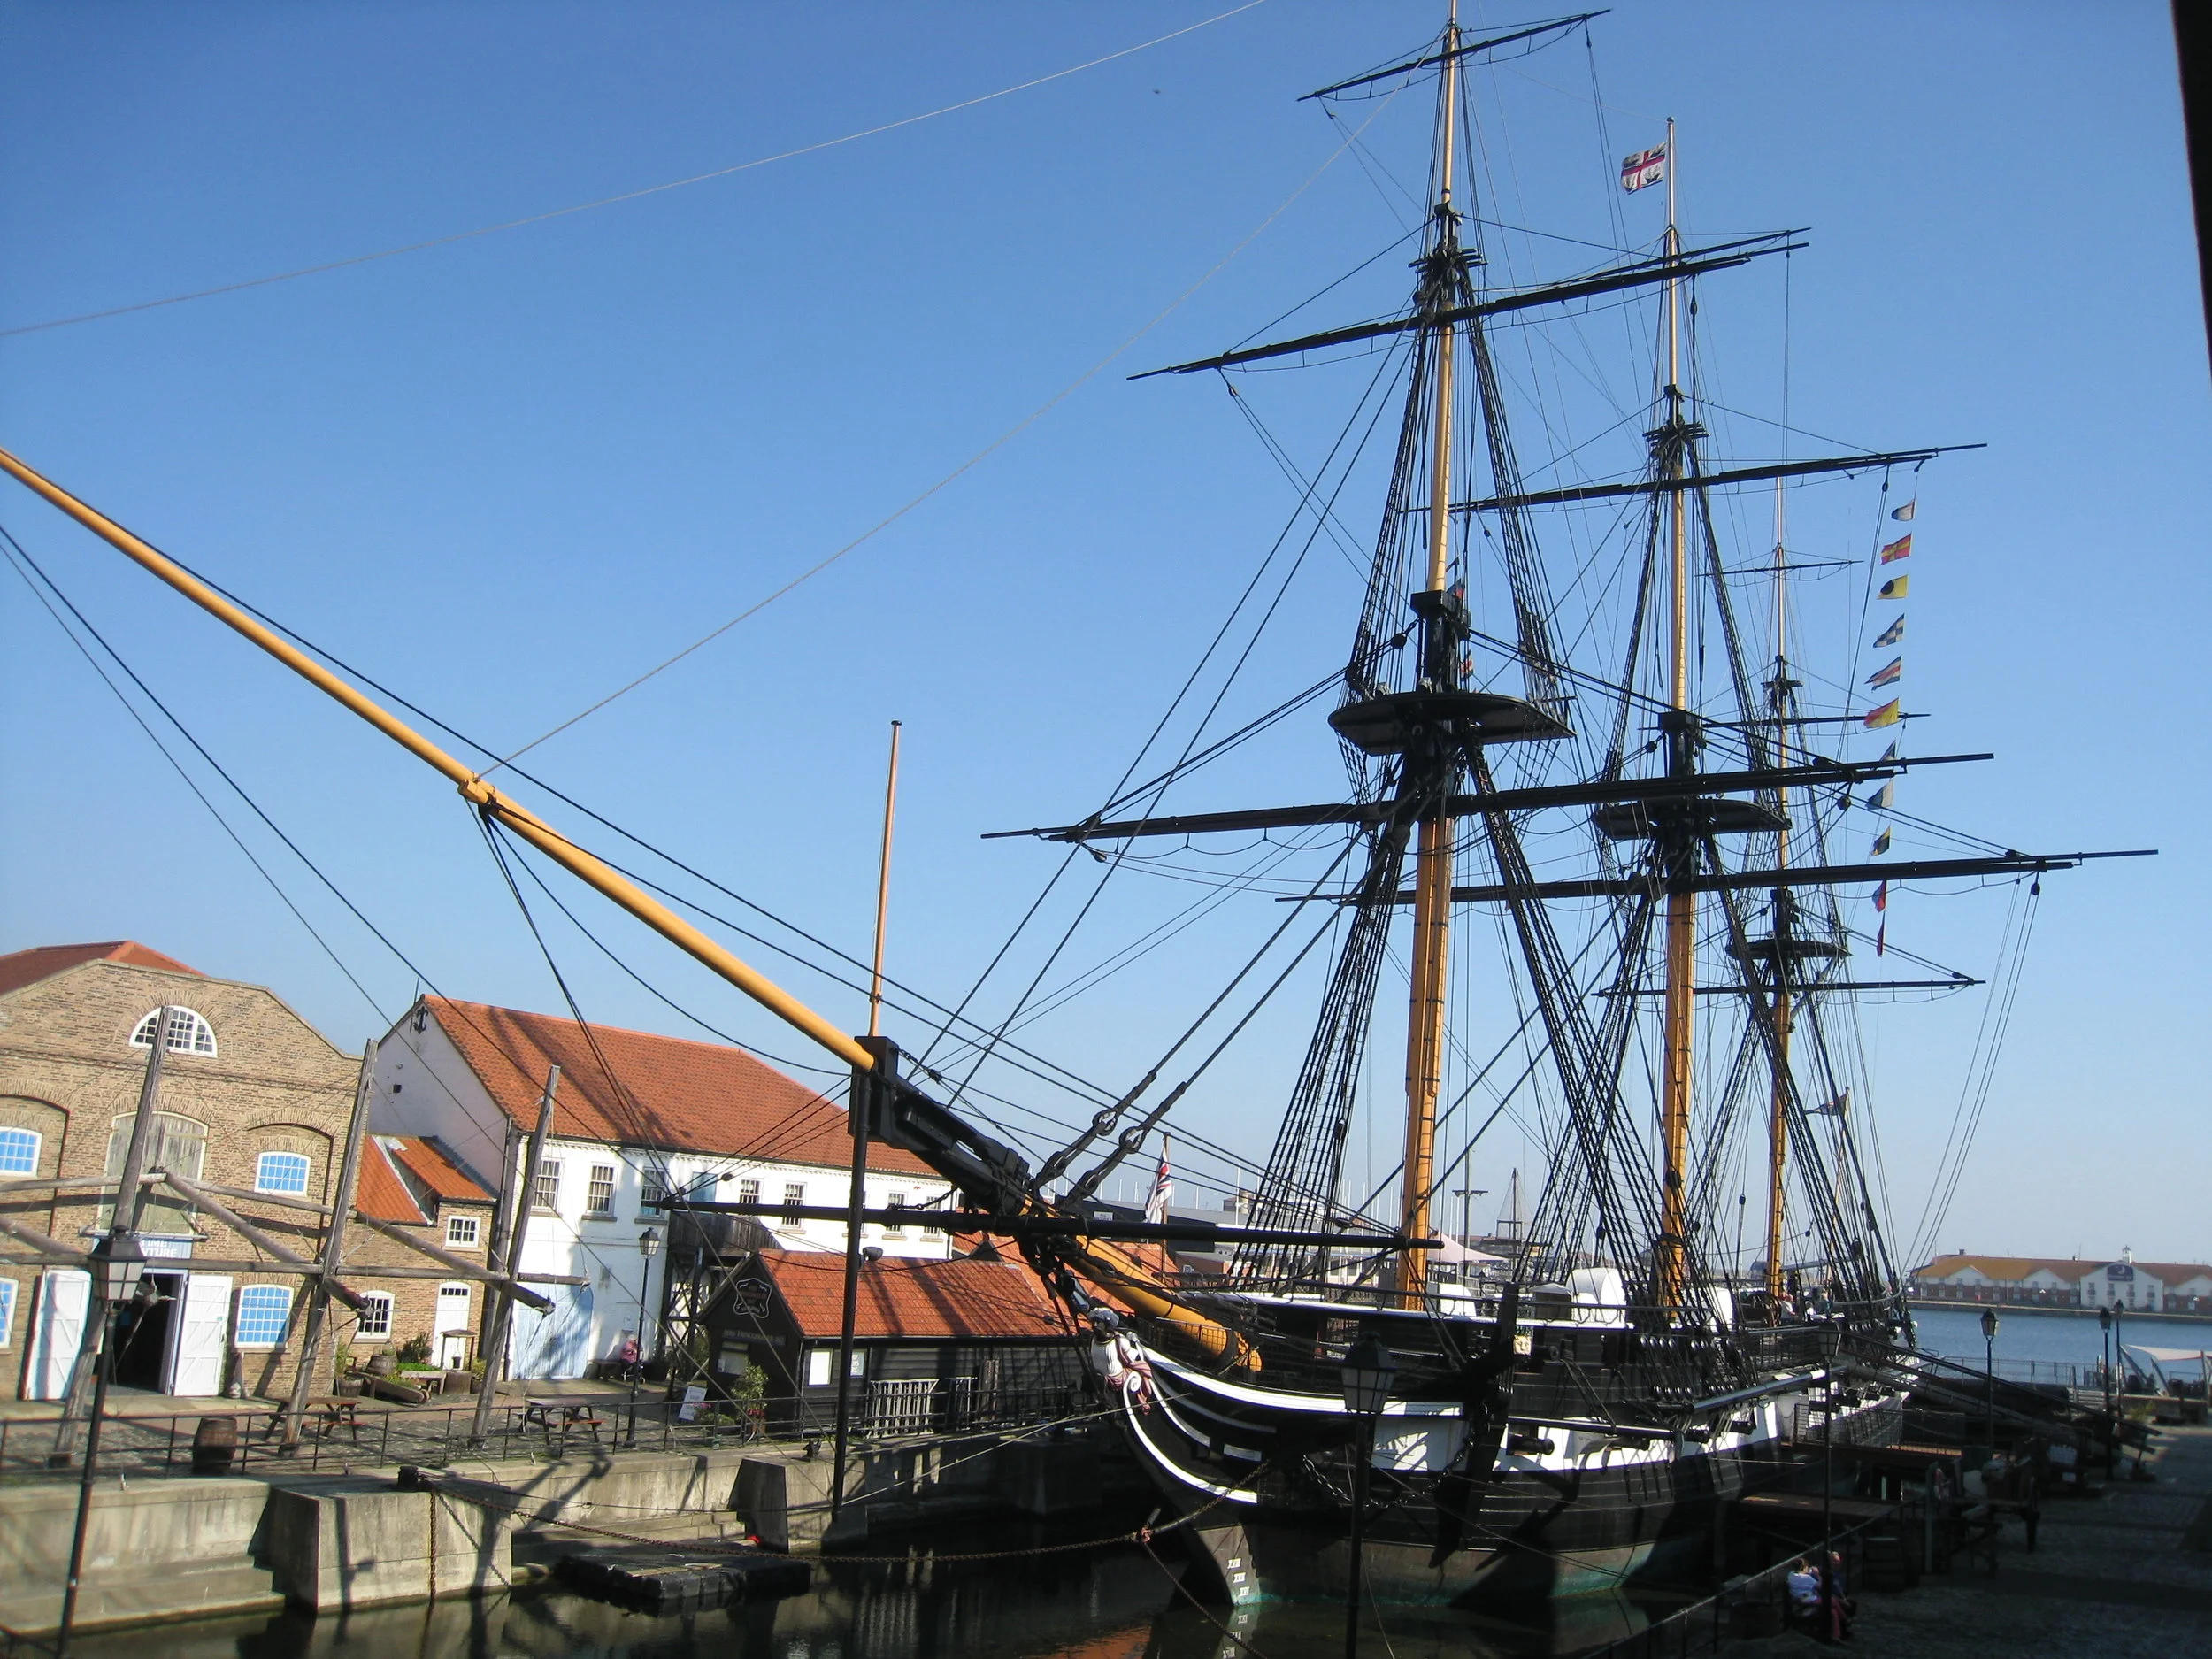
Hartlepool--The Trincomalee--Fully restored warship
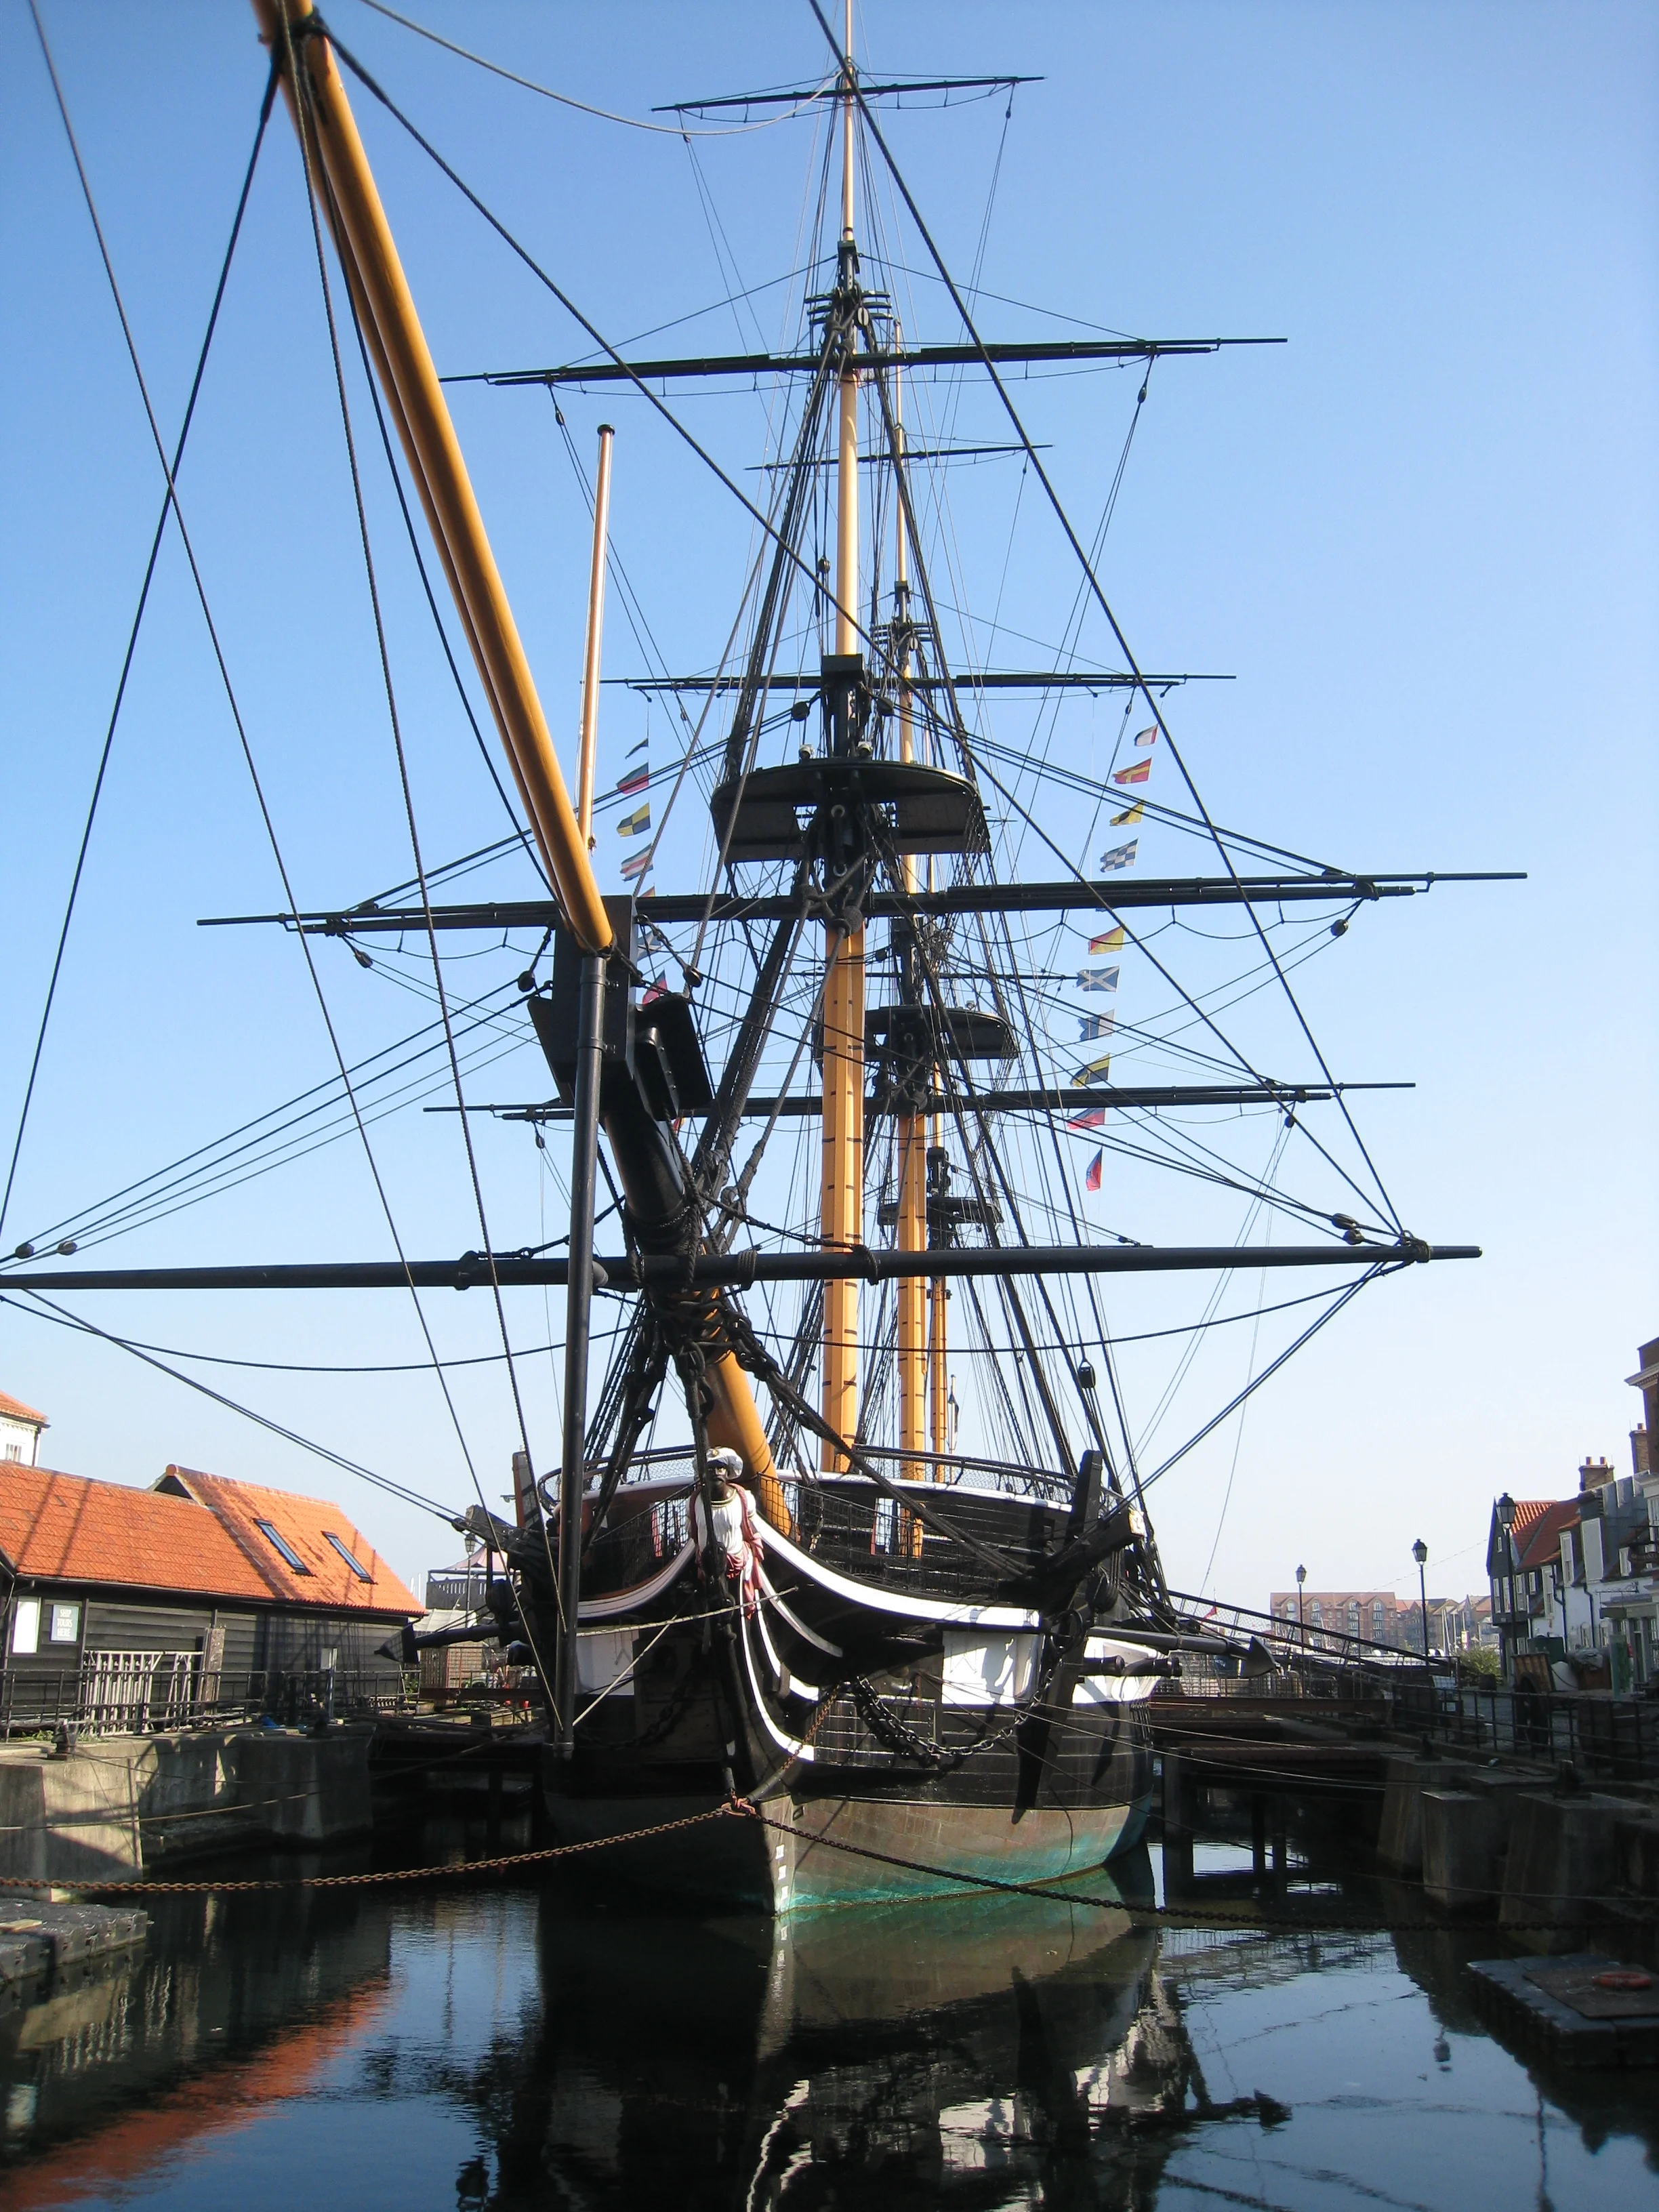
Hartlepool--The Trincomalee--Fully restored warship
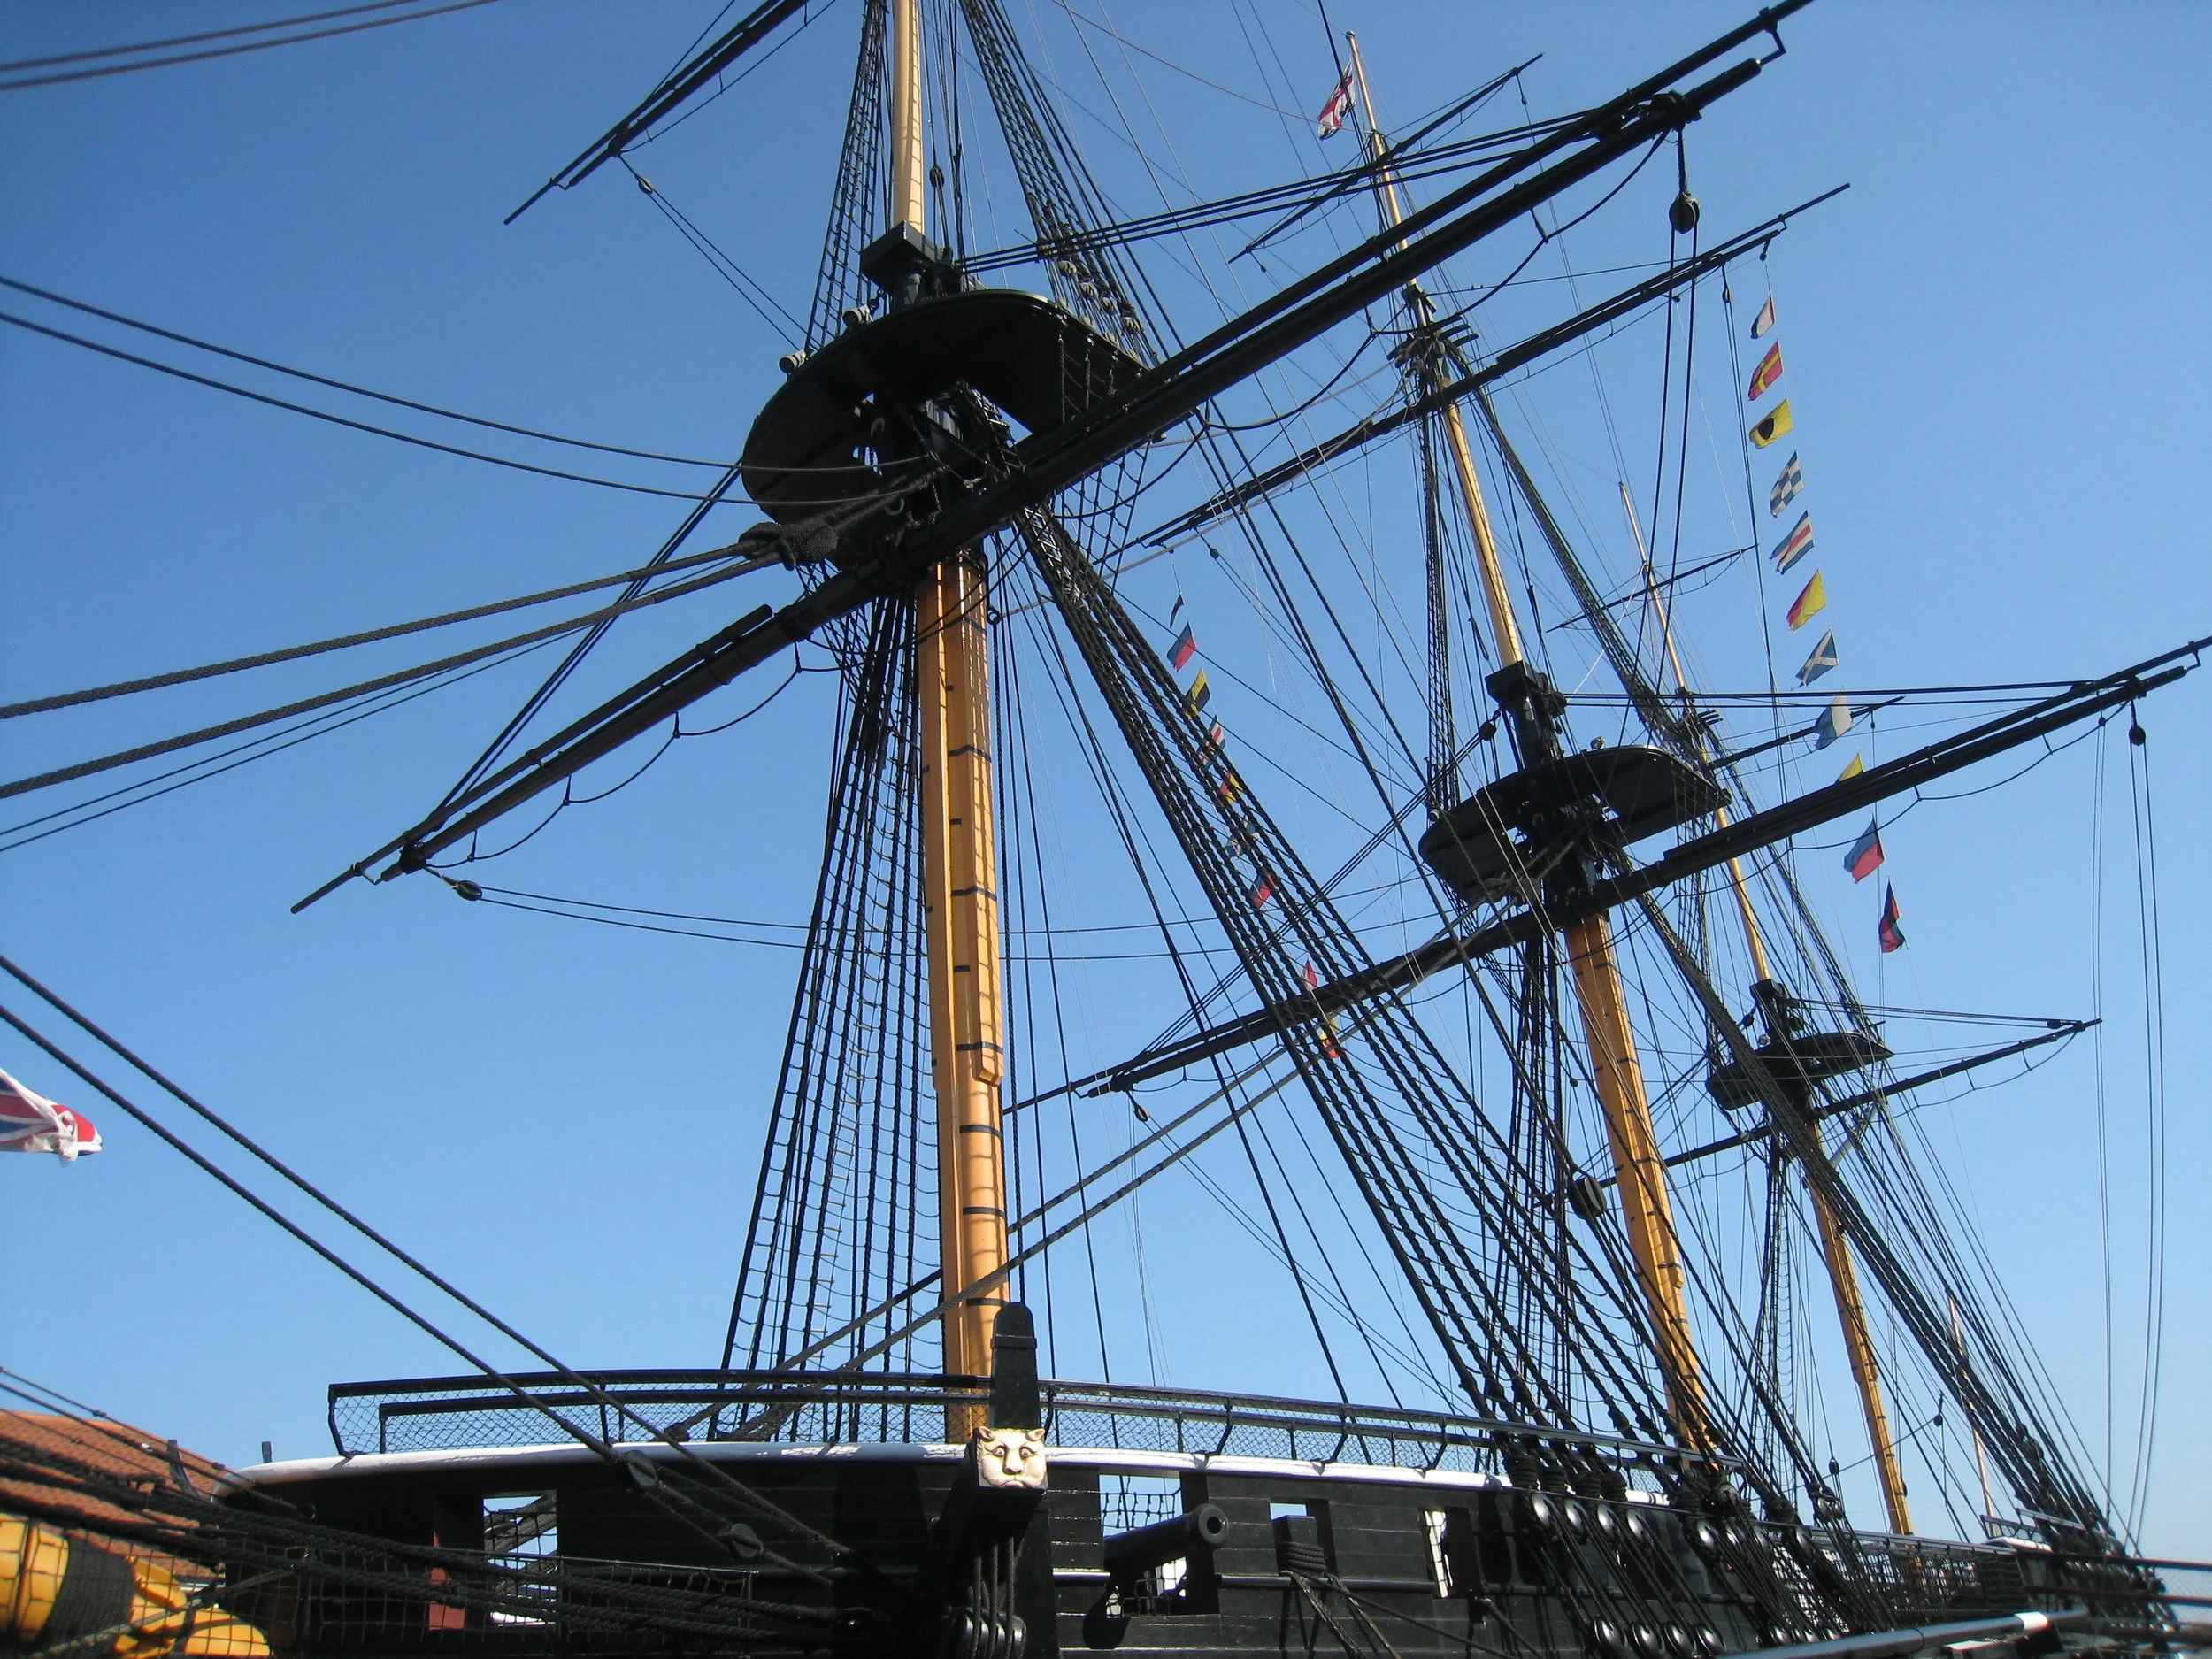
Hartlepool--The Trincomalee--Fully restored warship
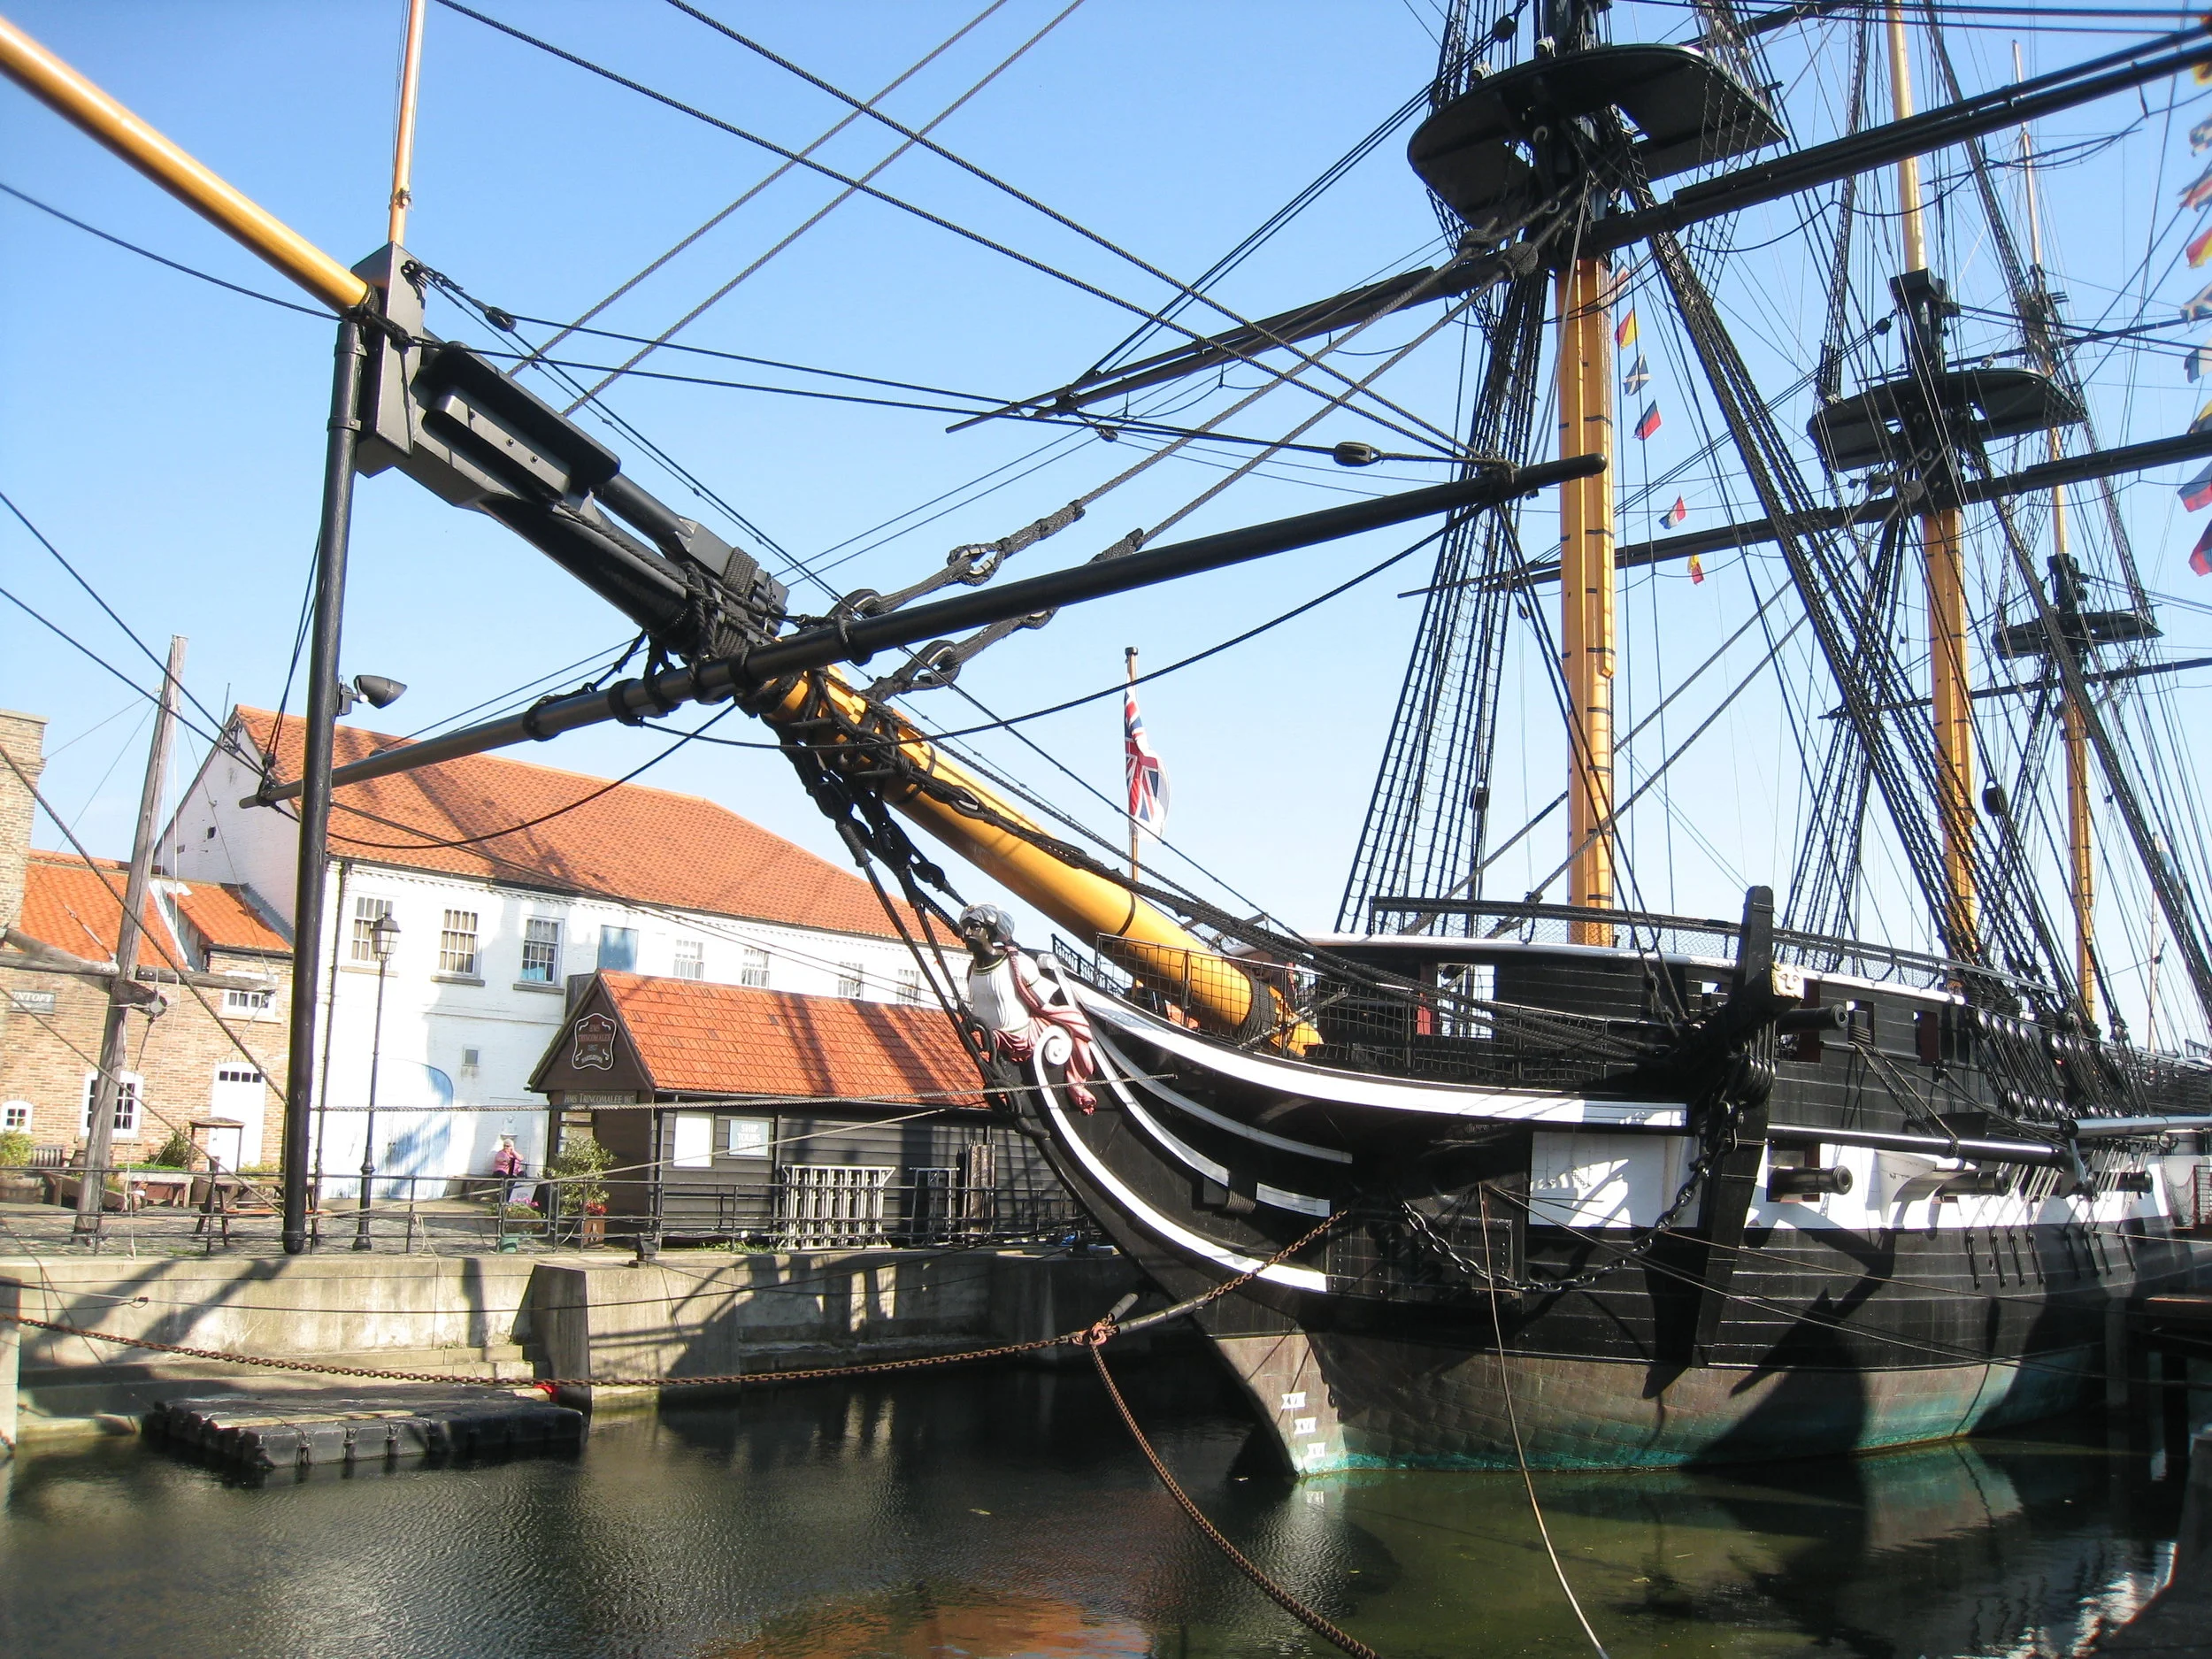
Hartlepool--The Trincomalee--Fully restored warship

Hartlepool--The Trincomalee--Fully restored warship

Hartlepool--The Trincomalee--Fully restored warship
Hartlepool--The Trincomalee--Fully restored warship

Hartlepool--The Trincomalee--Fully restored warship
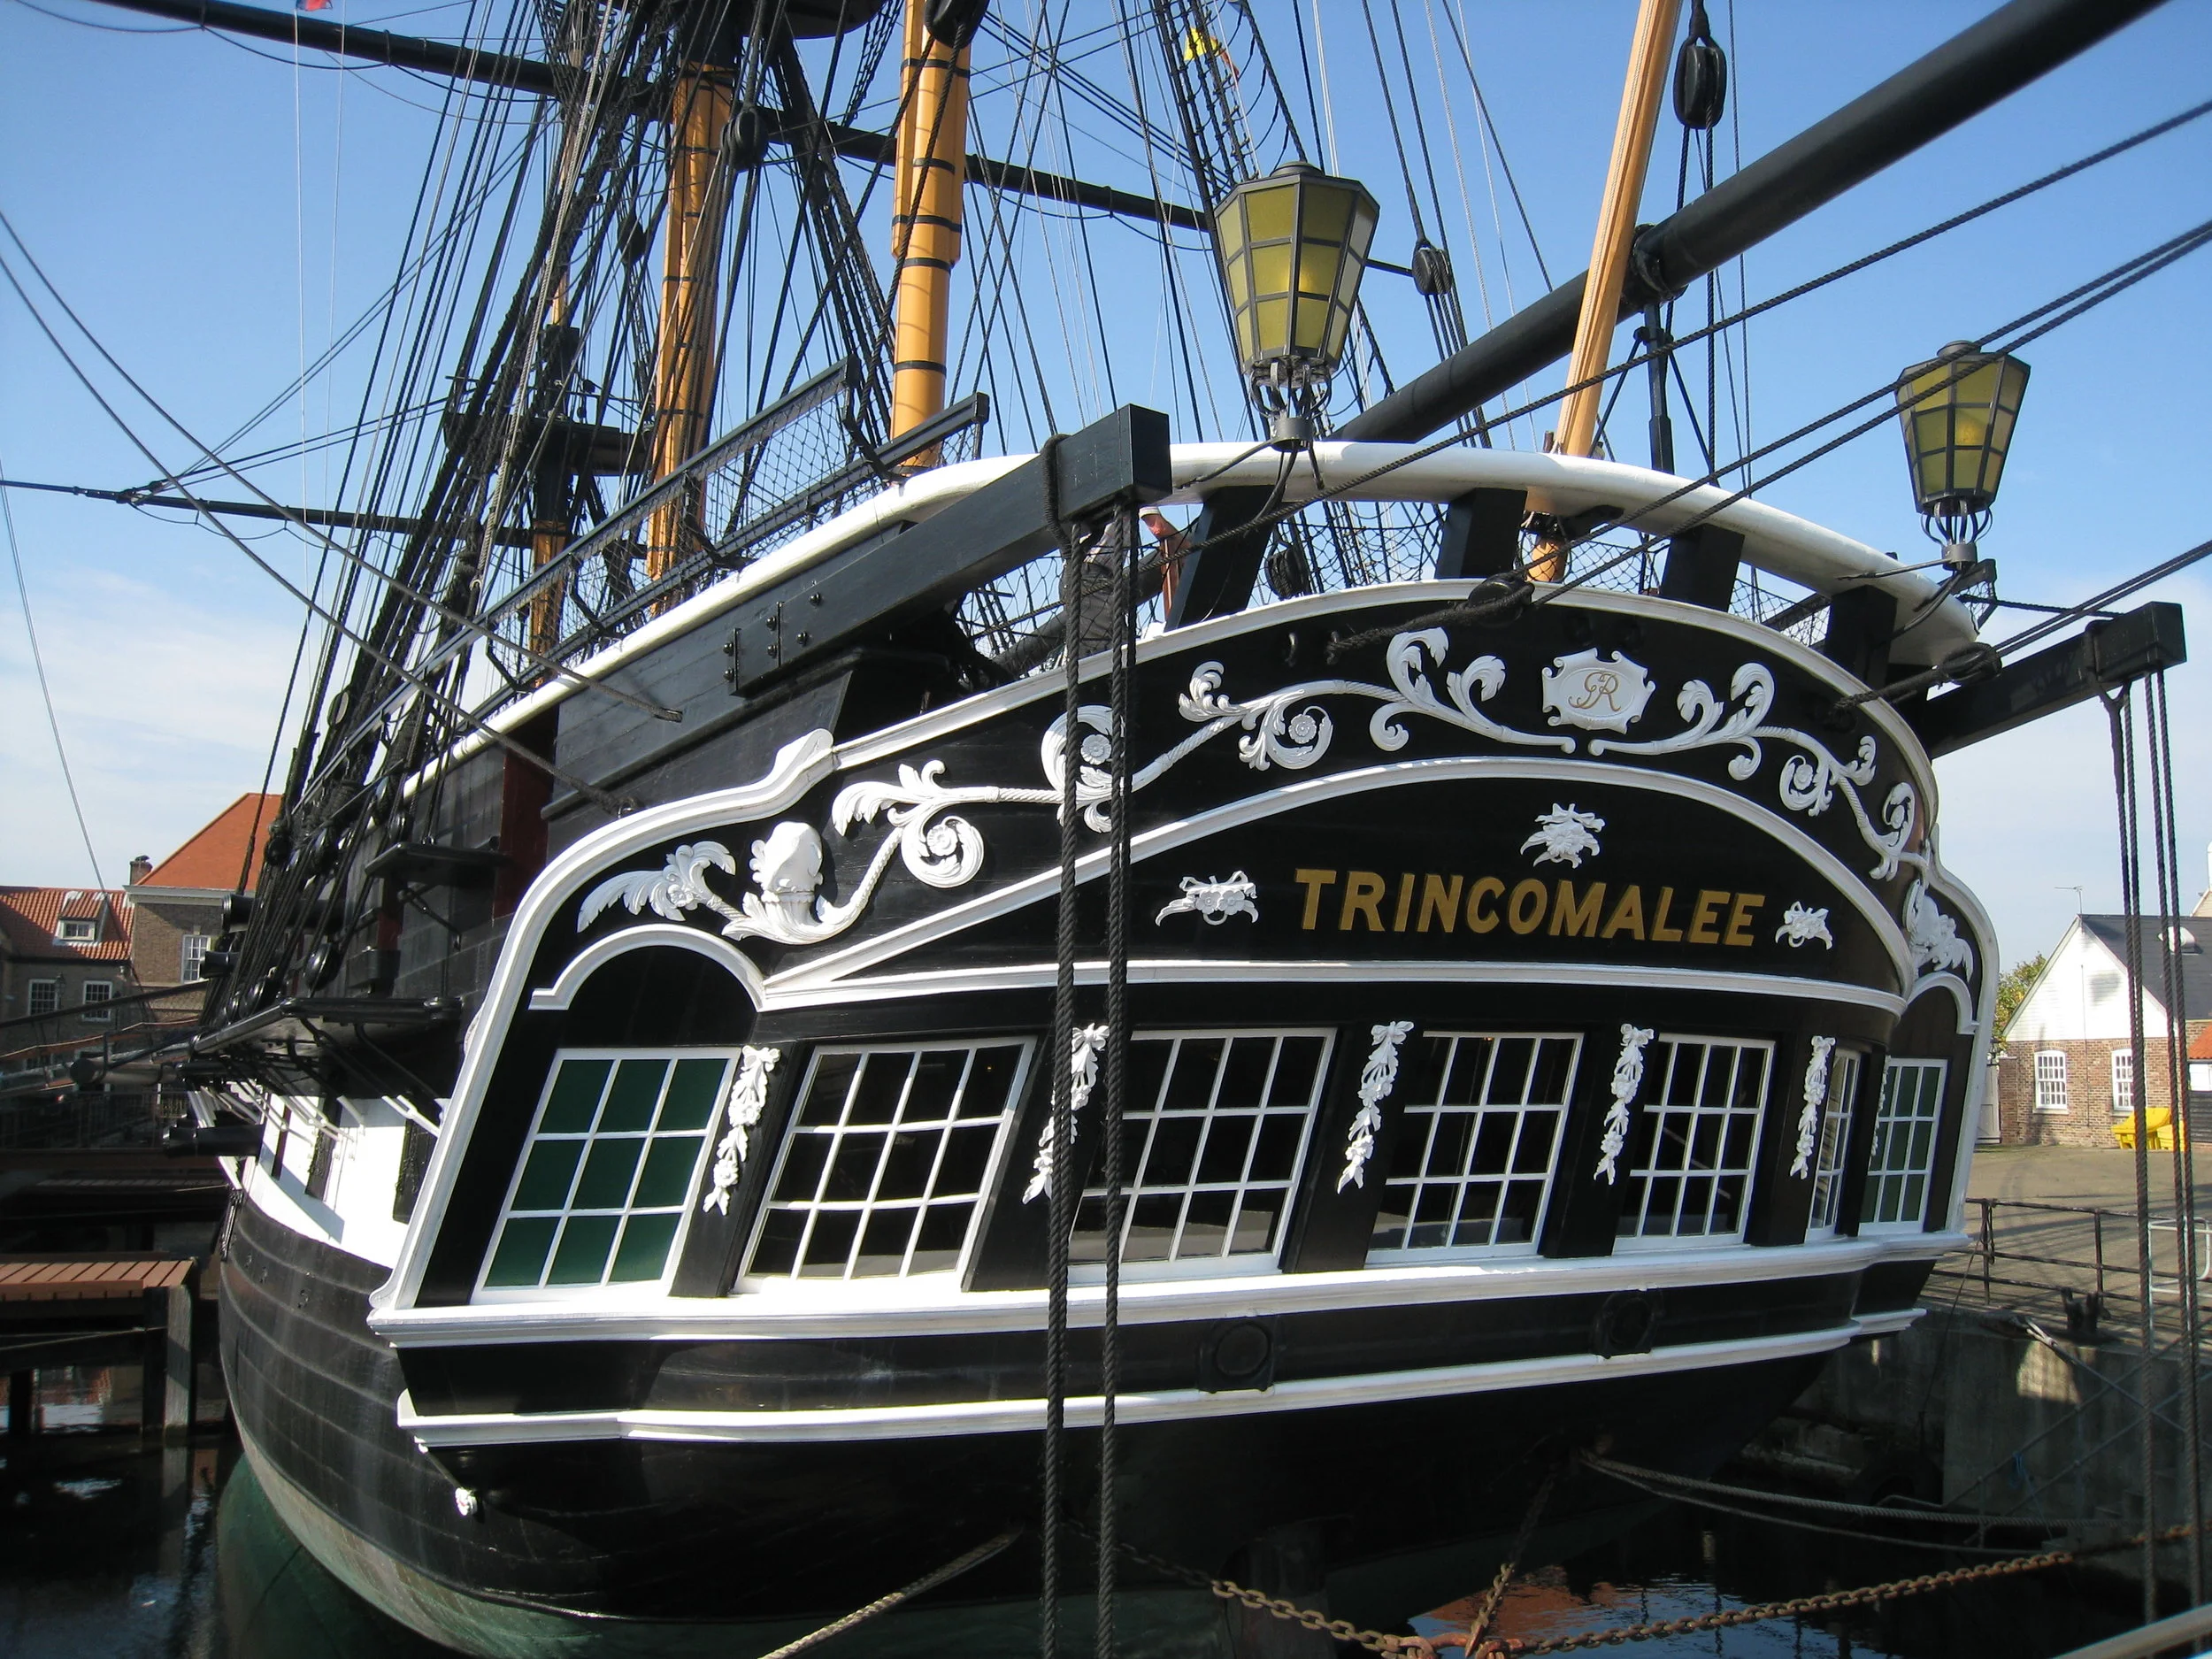
Hartlepool--The Trincomalee--Fully restored warship
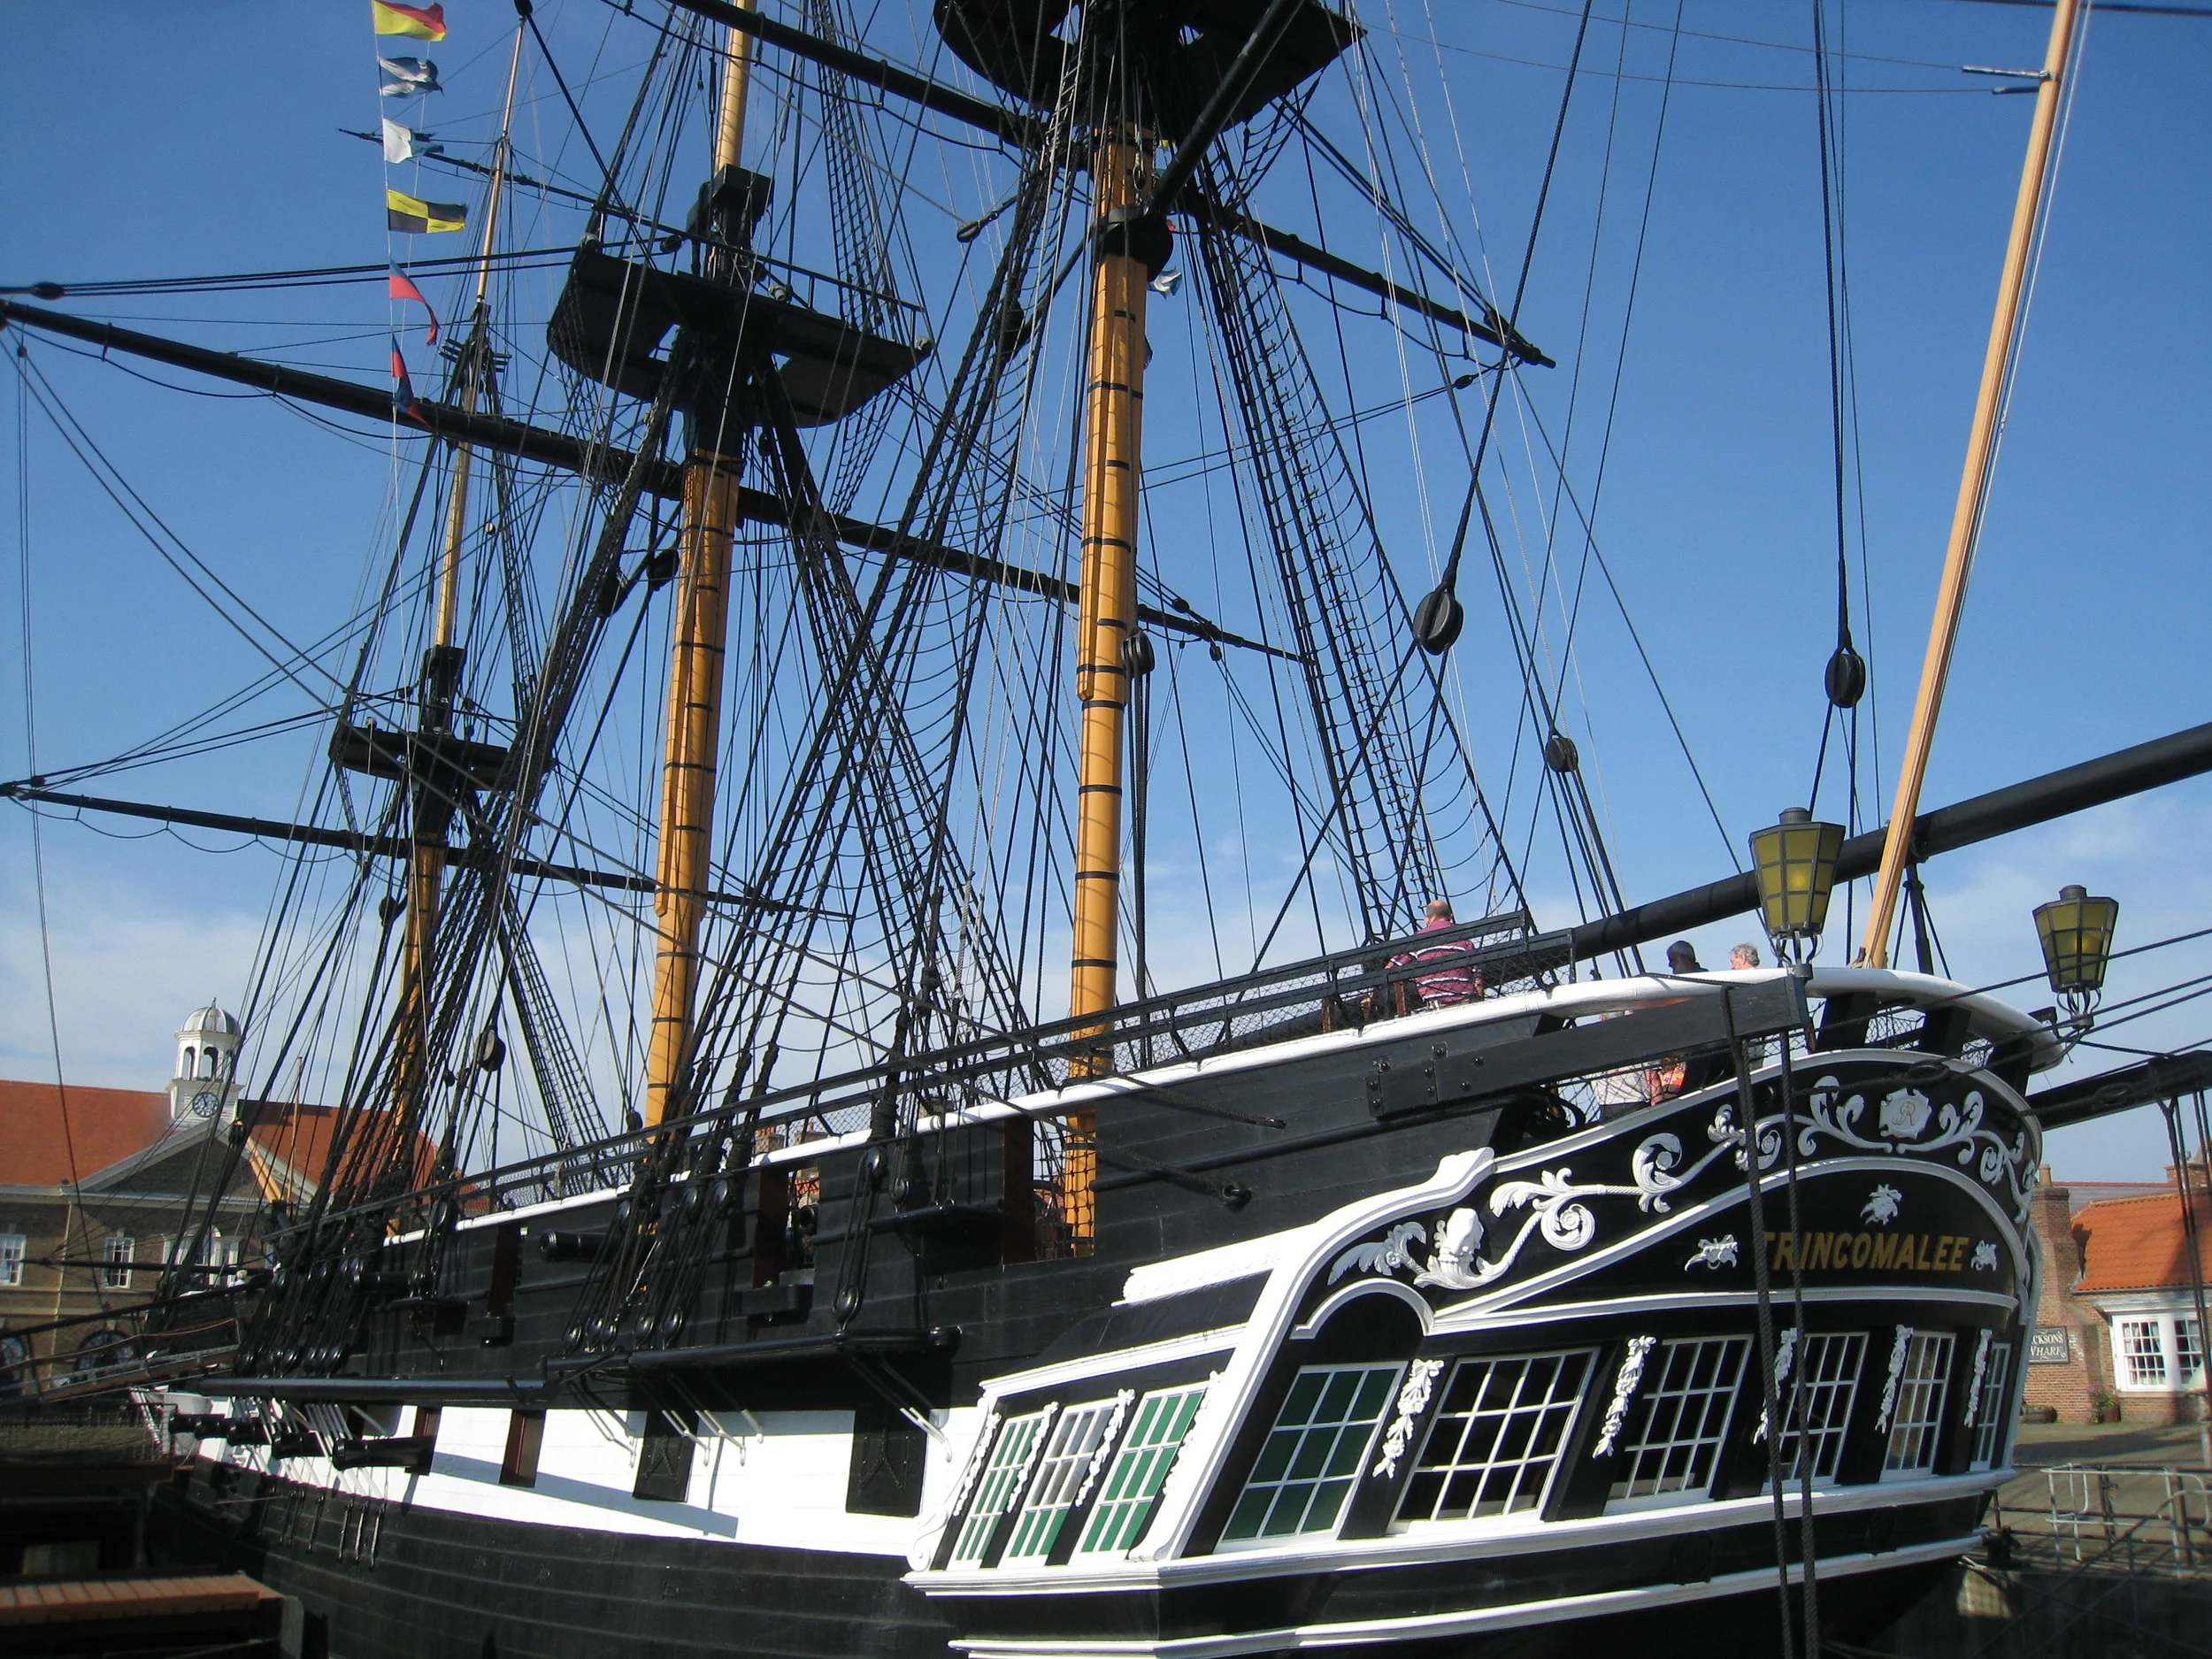
Hartlepool--The Trincomalee--Fully restored warship
Hartlepool--The Trincomalee--Fully restored warship
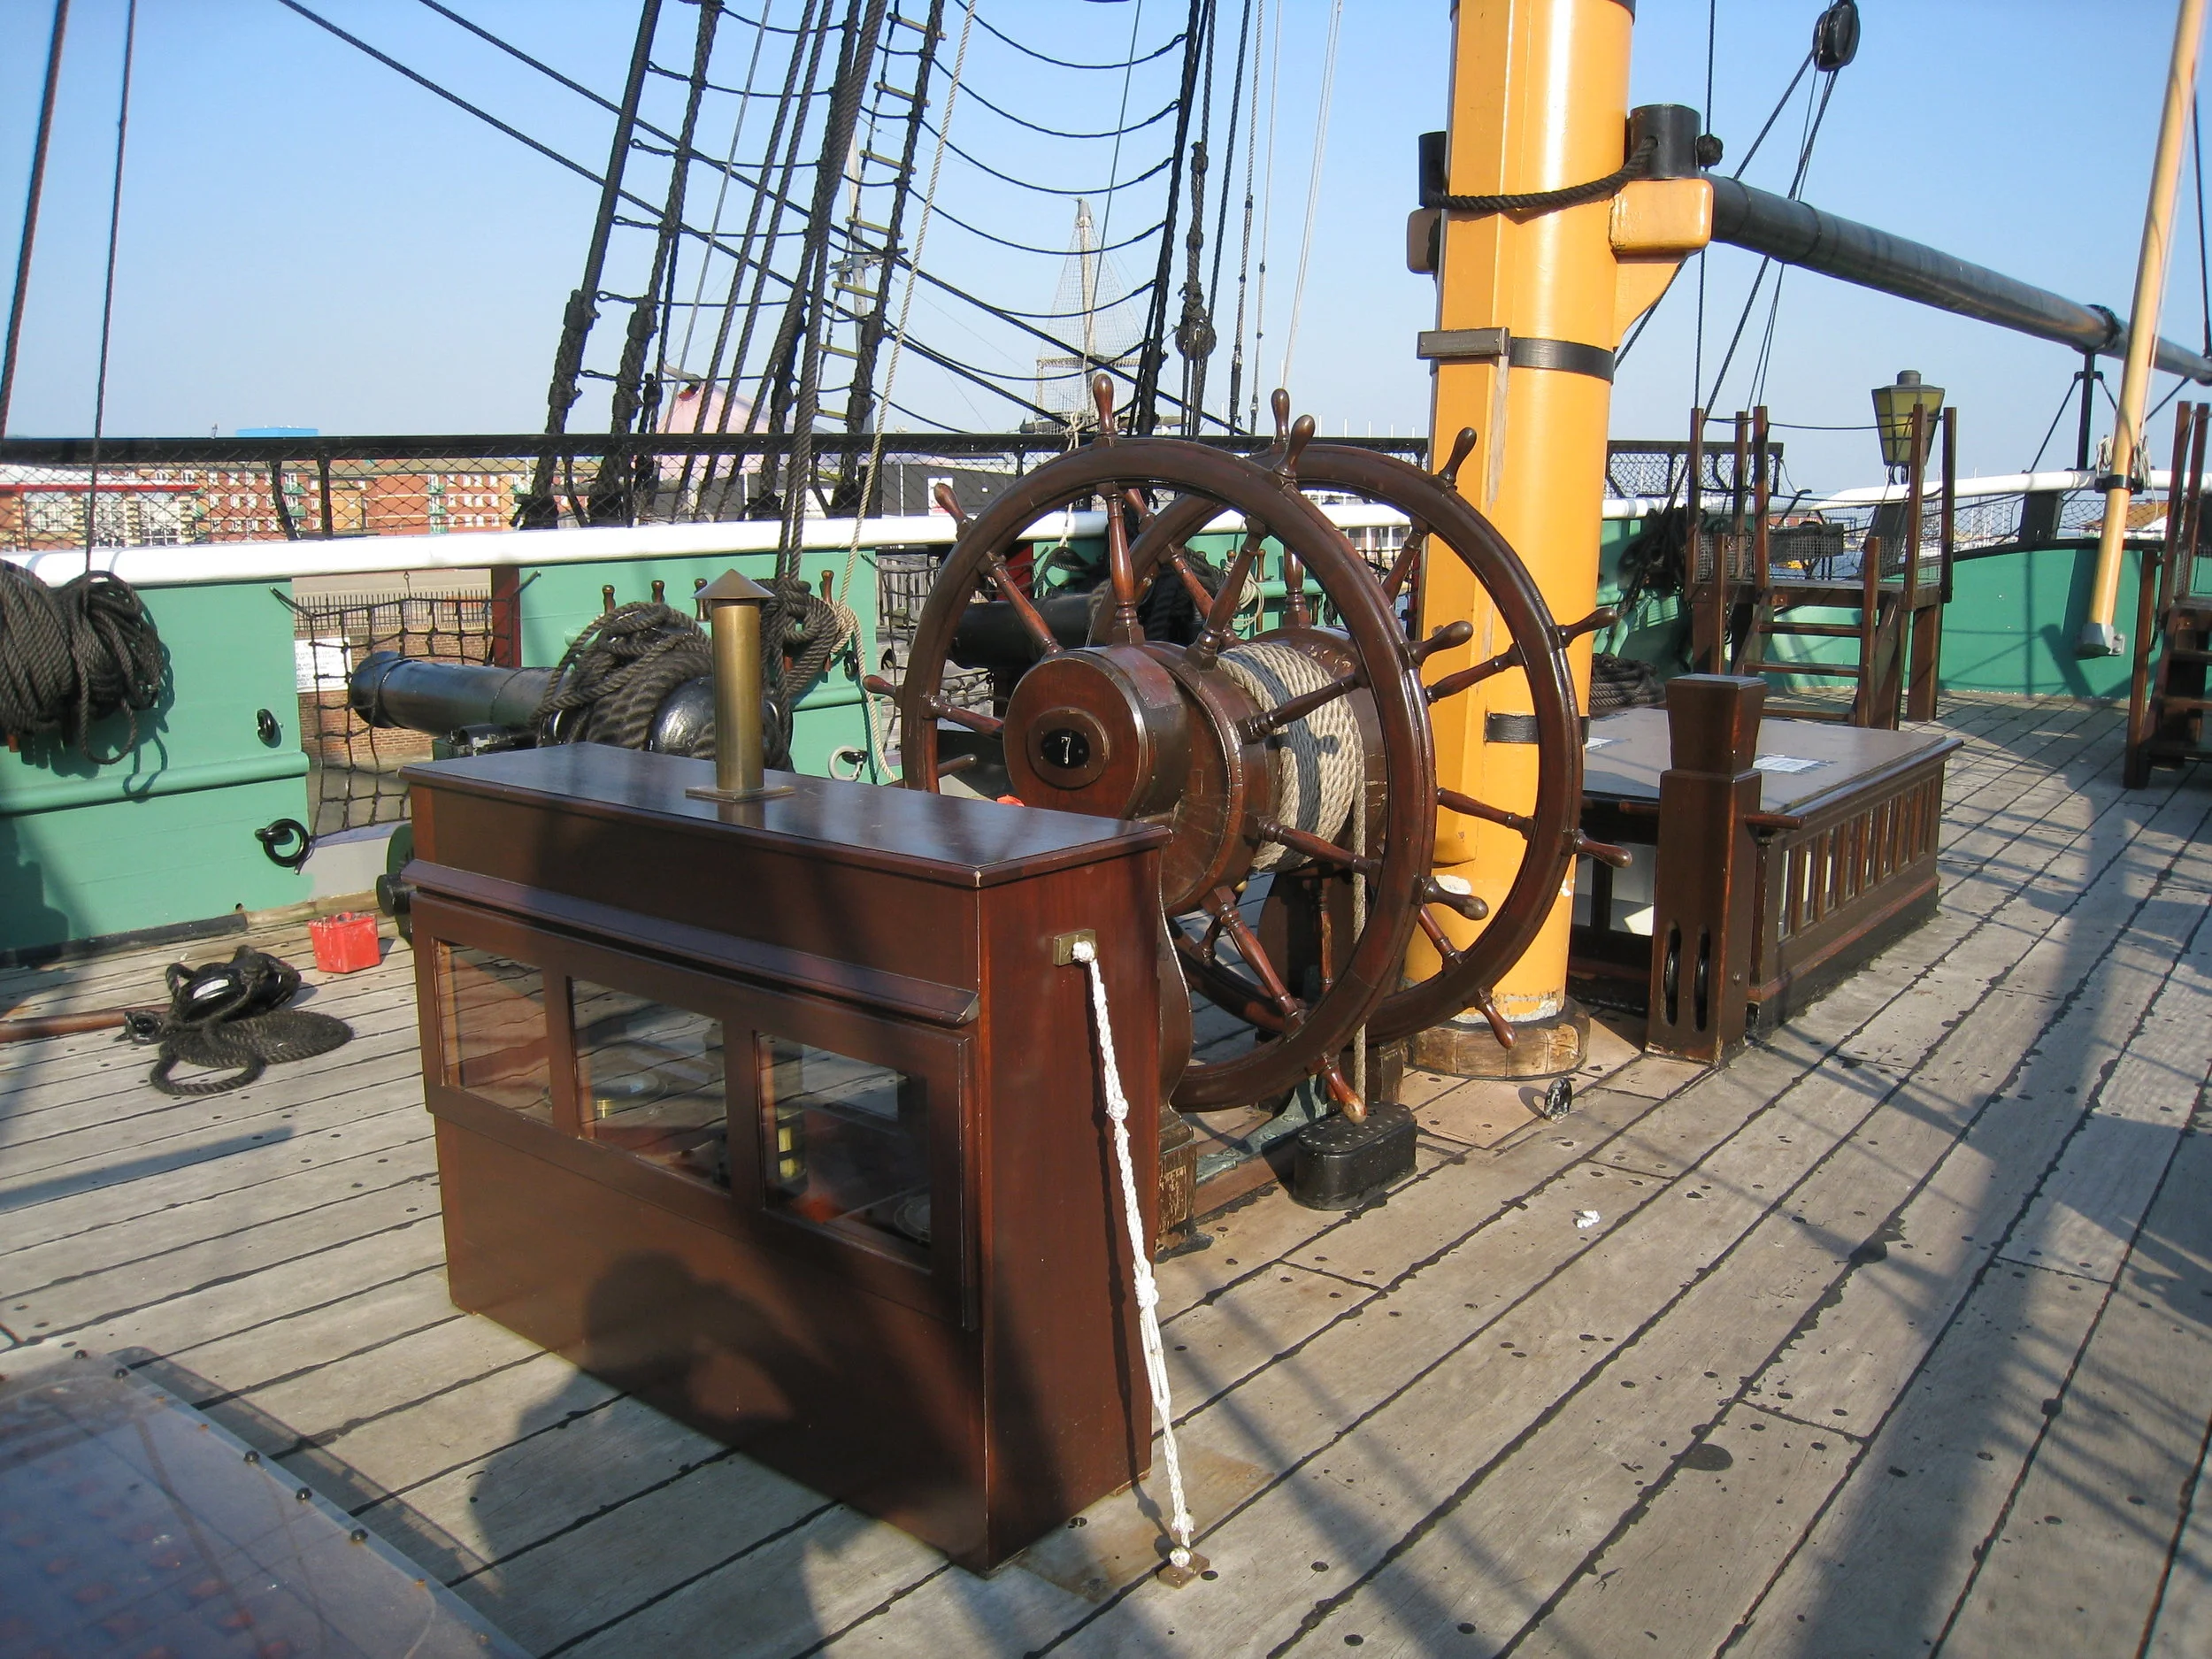
Trincomalee--Fully restored warship--Wheel and compass

Hartlepool--The Trincomalee--Fully restored warship--Looking up to crow's nest from side

Hartlepool--The Trincomalee--Fully restored warship--Main deck
Hartlepool--The Trincomalee--Fully restored warship--Stays from front of ship to mainsail

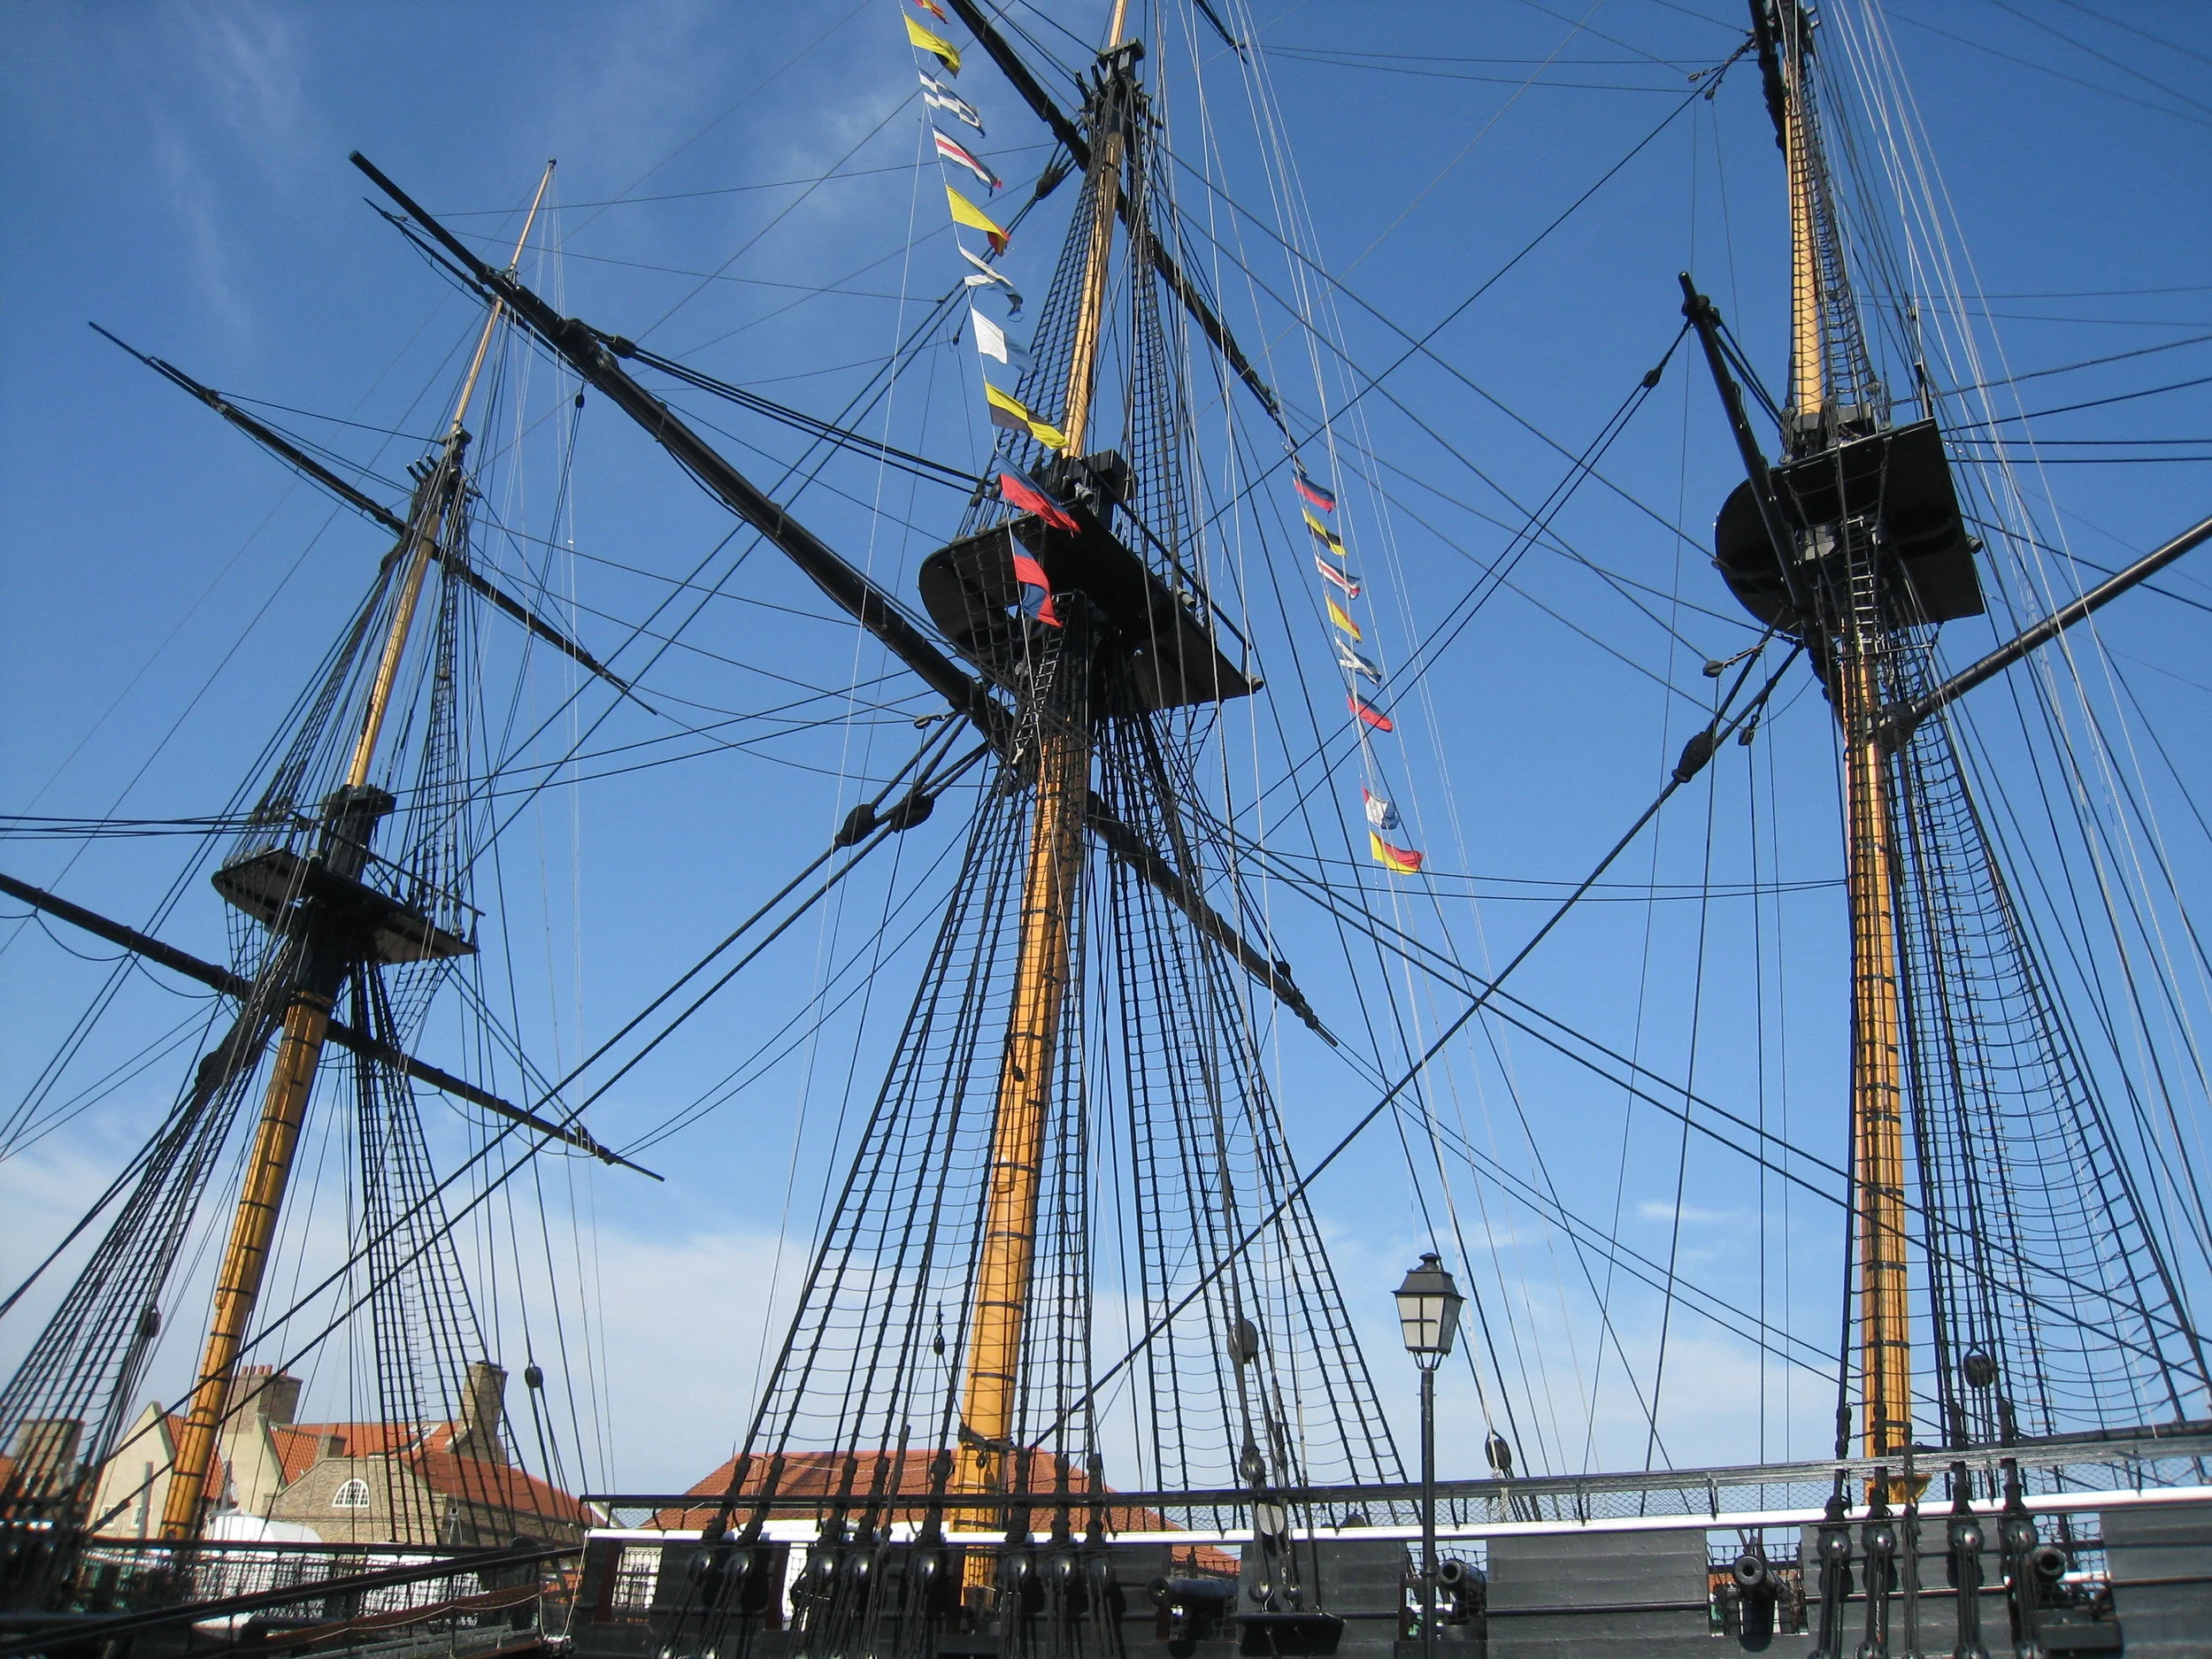
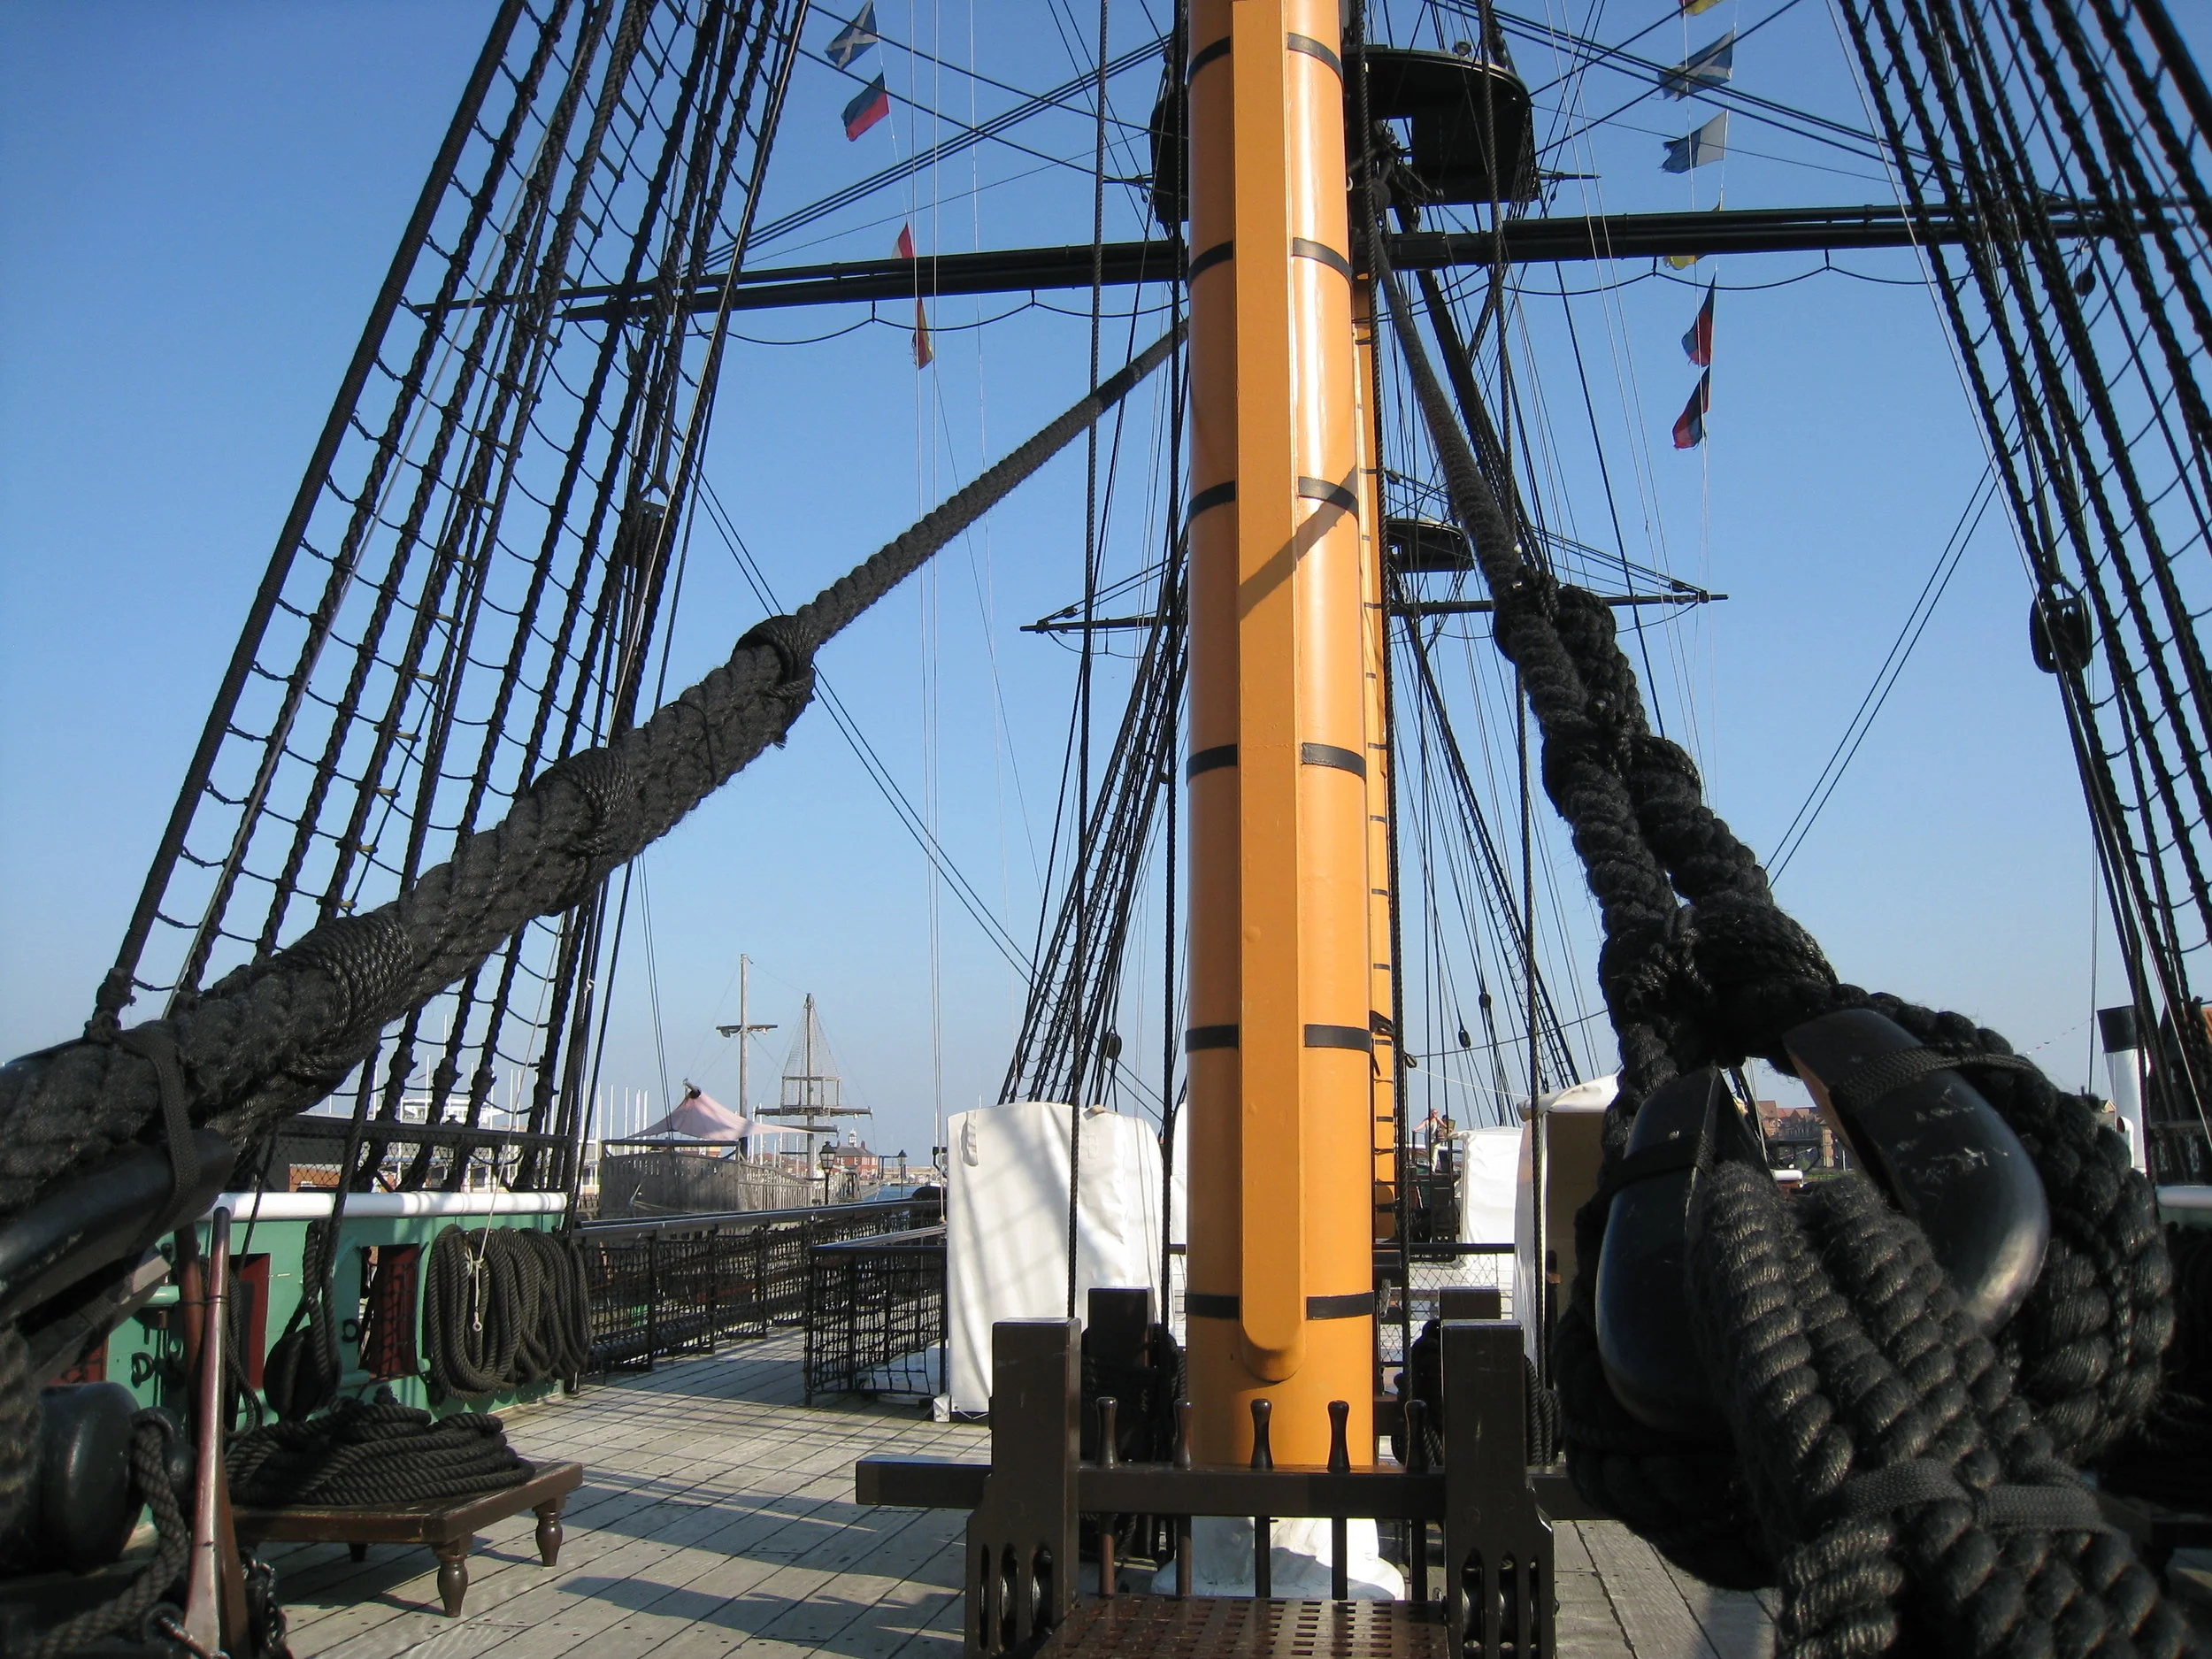
Hartlepool--The Trincomalee--Fully restored warship--Main mast

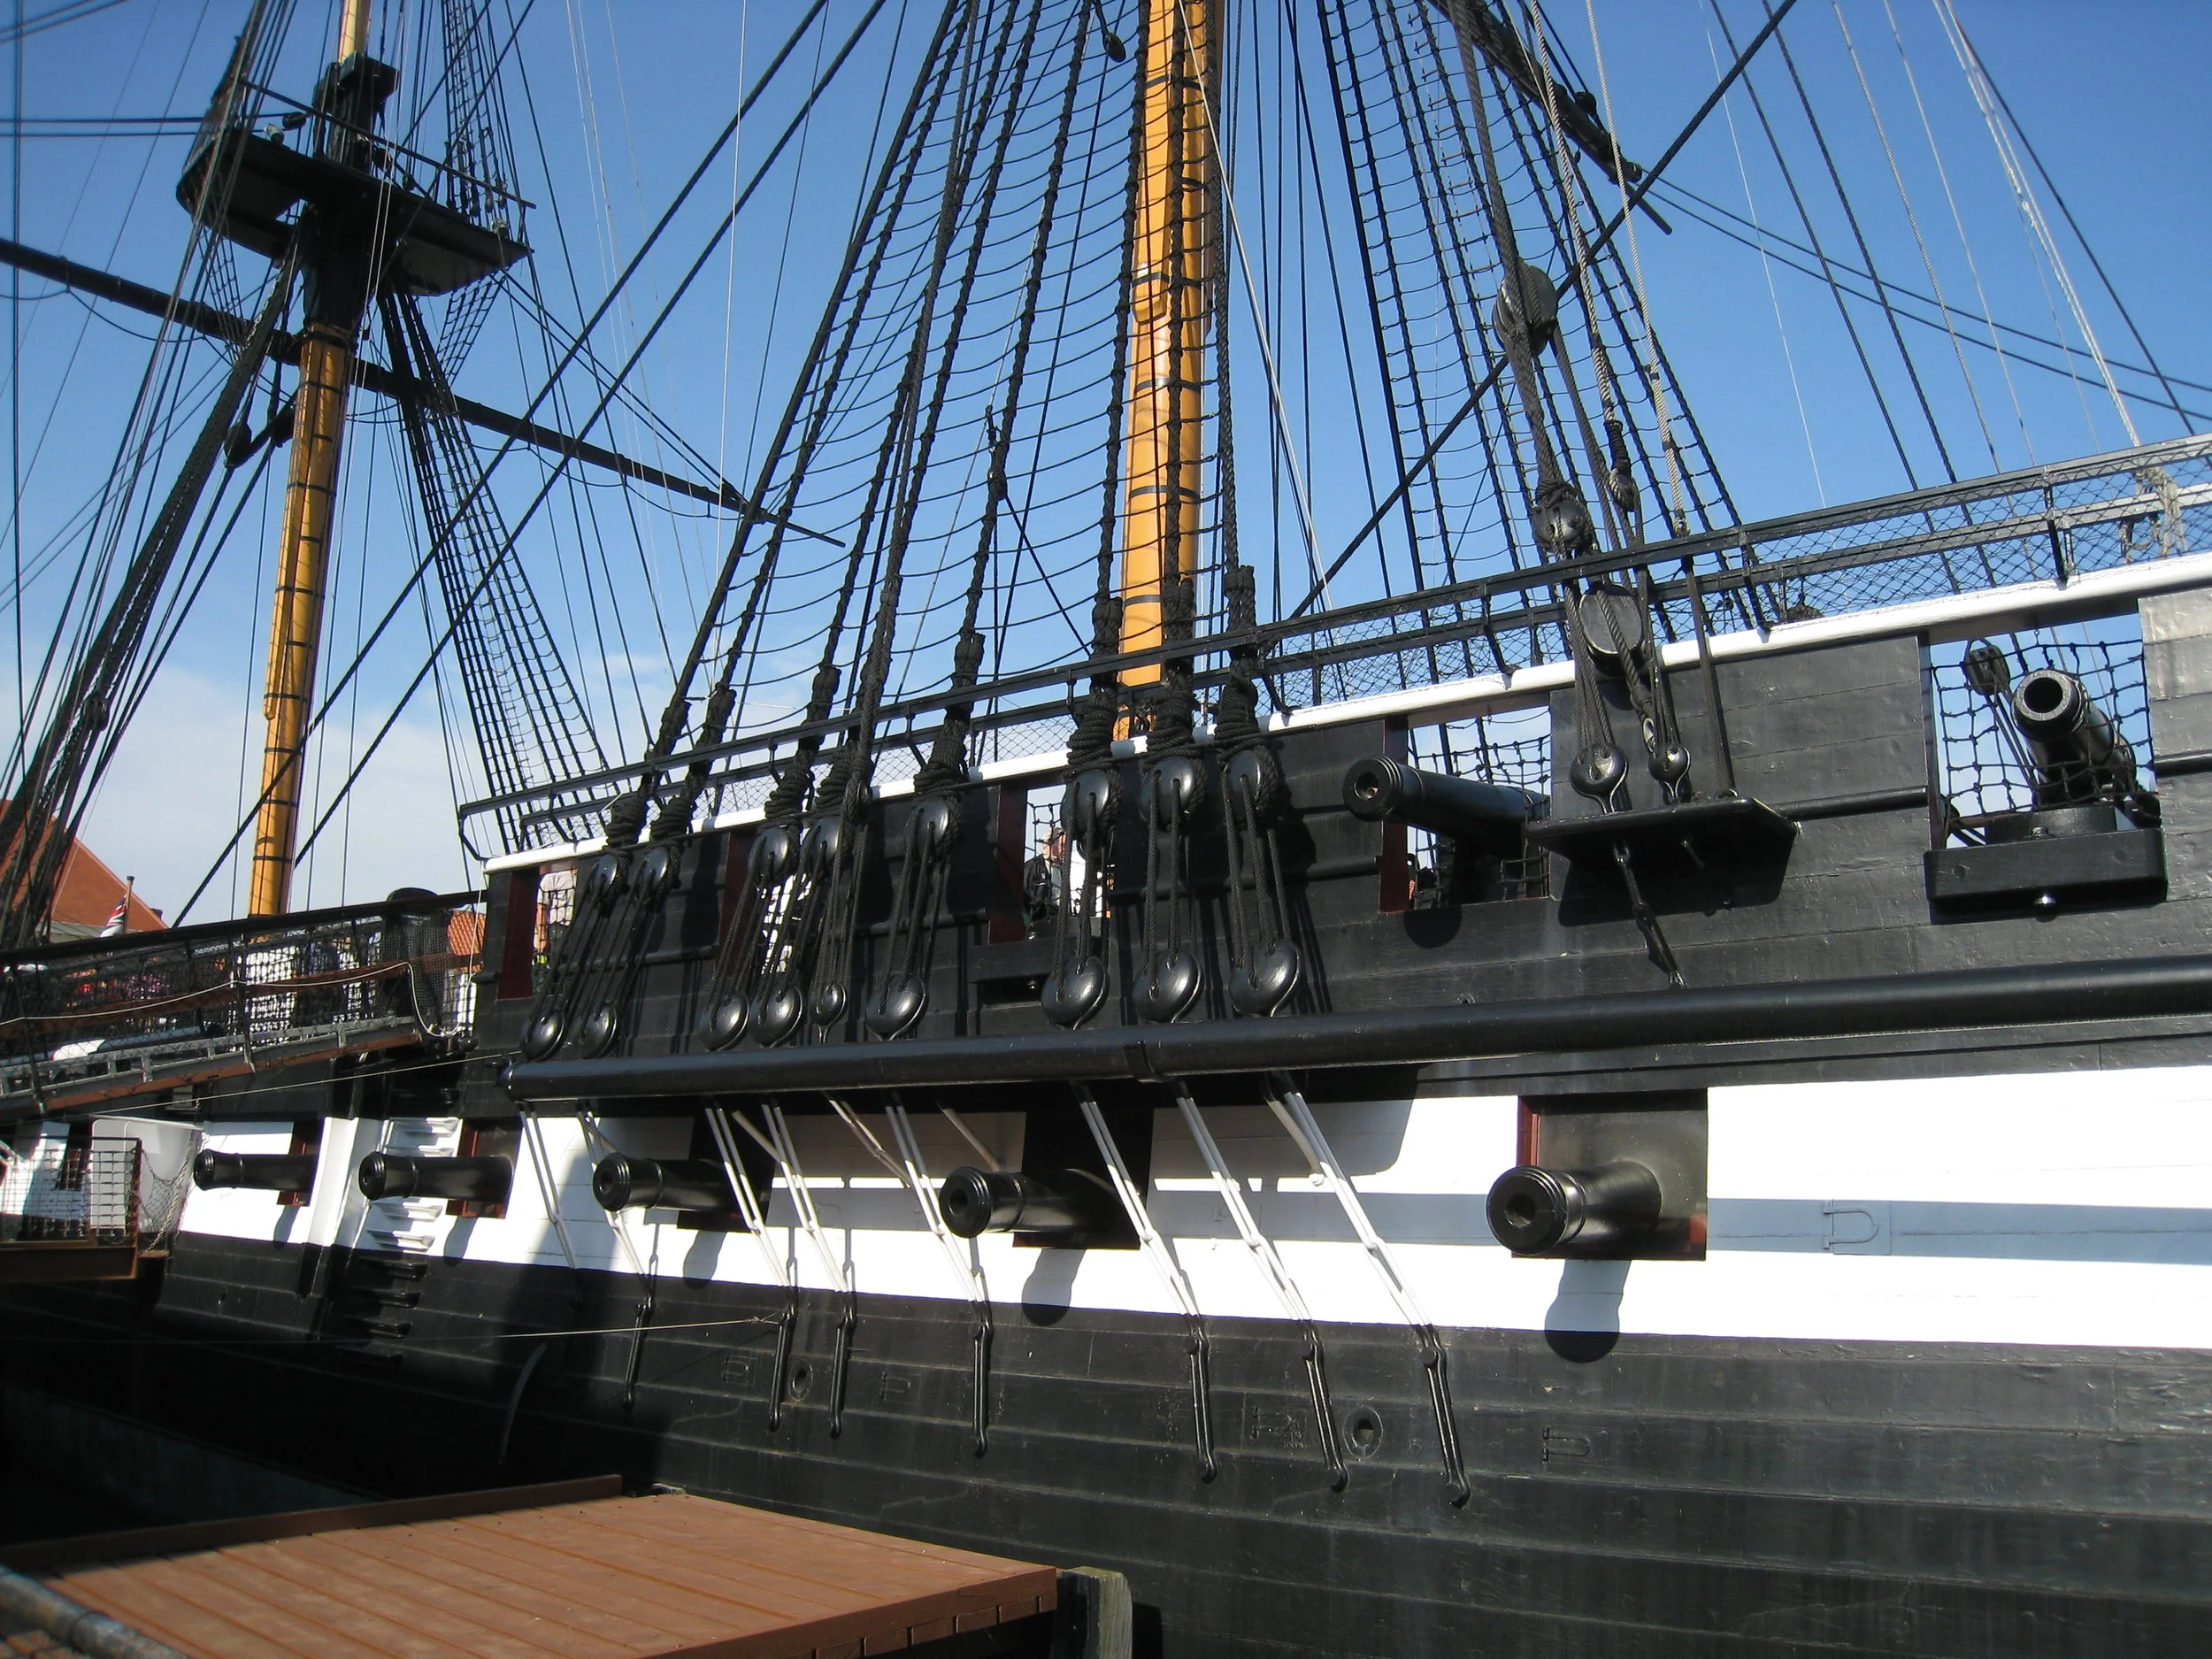
Hartlepool--The Trincomalee--Fully restored warship--Deck guns (Carronade in front, cannon behind)

Hartlepool--The Trincomalee--Fully restored warship--Period guns

Hartlepool--The Trincomalee--Fully restored warship--Captain's quarters
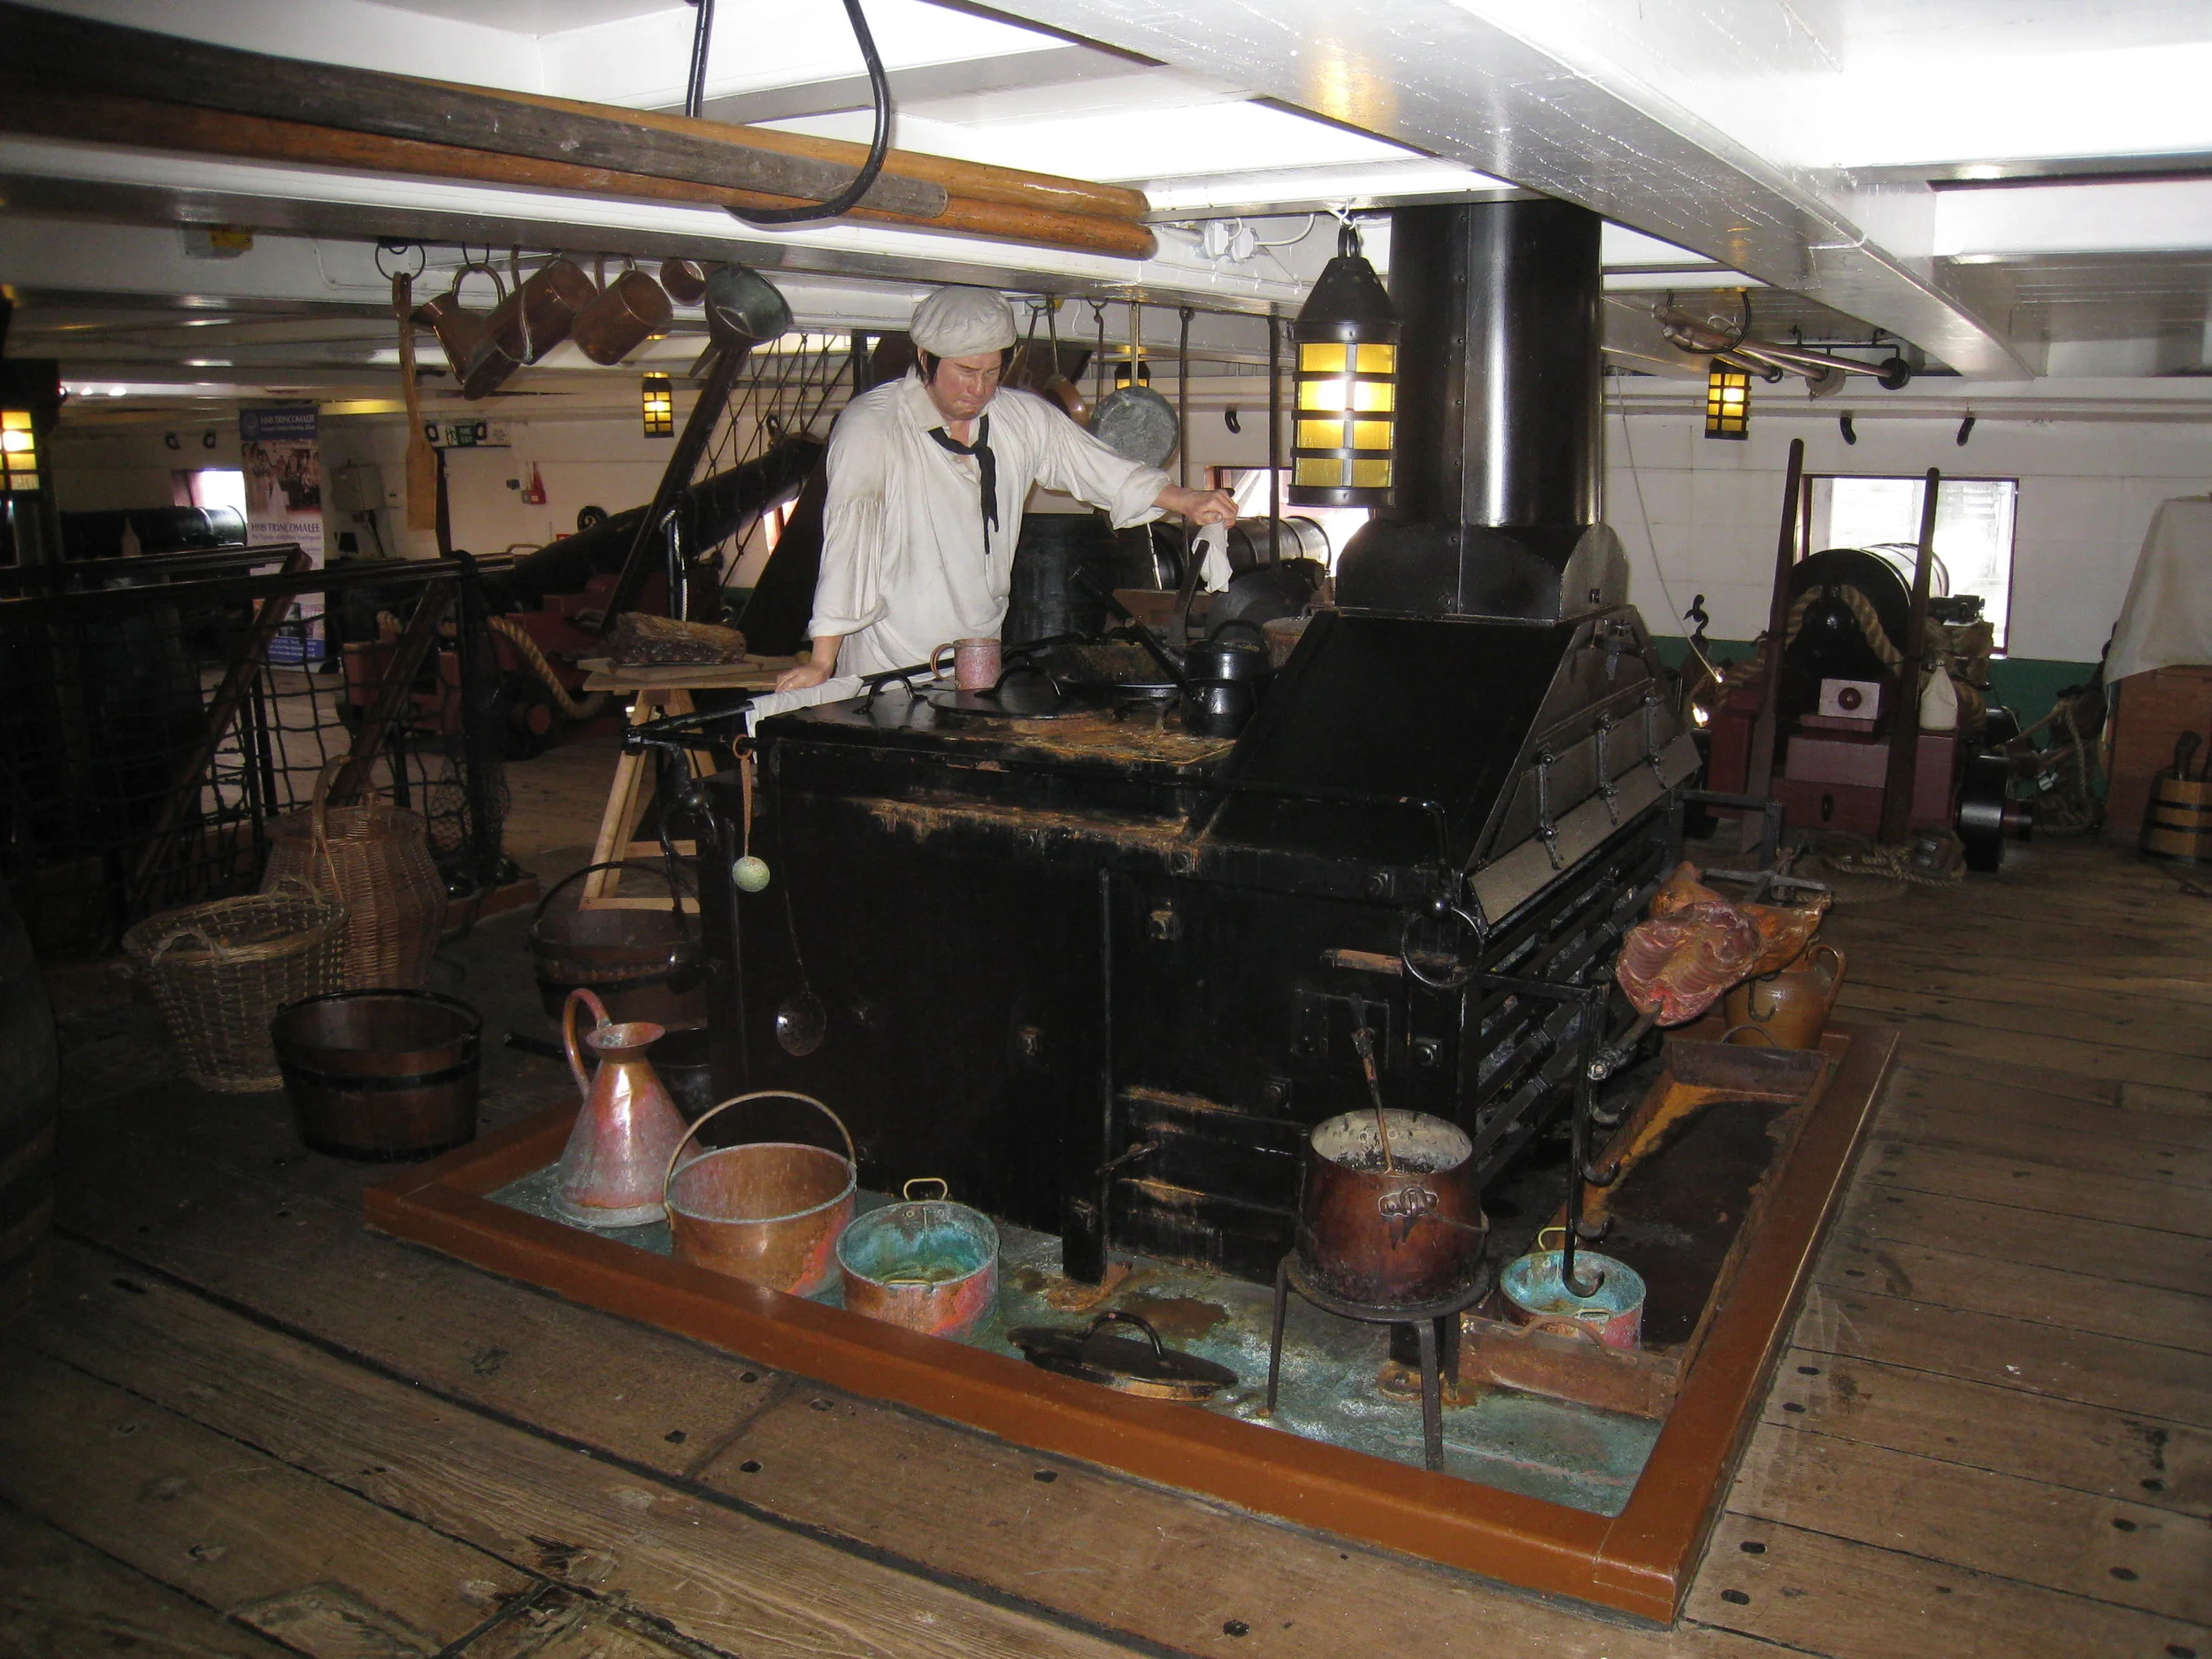
Hartlepool--The Trincomalee--Fully restored warship--Galley
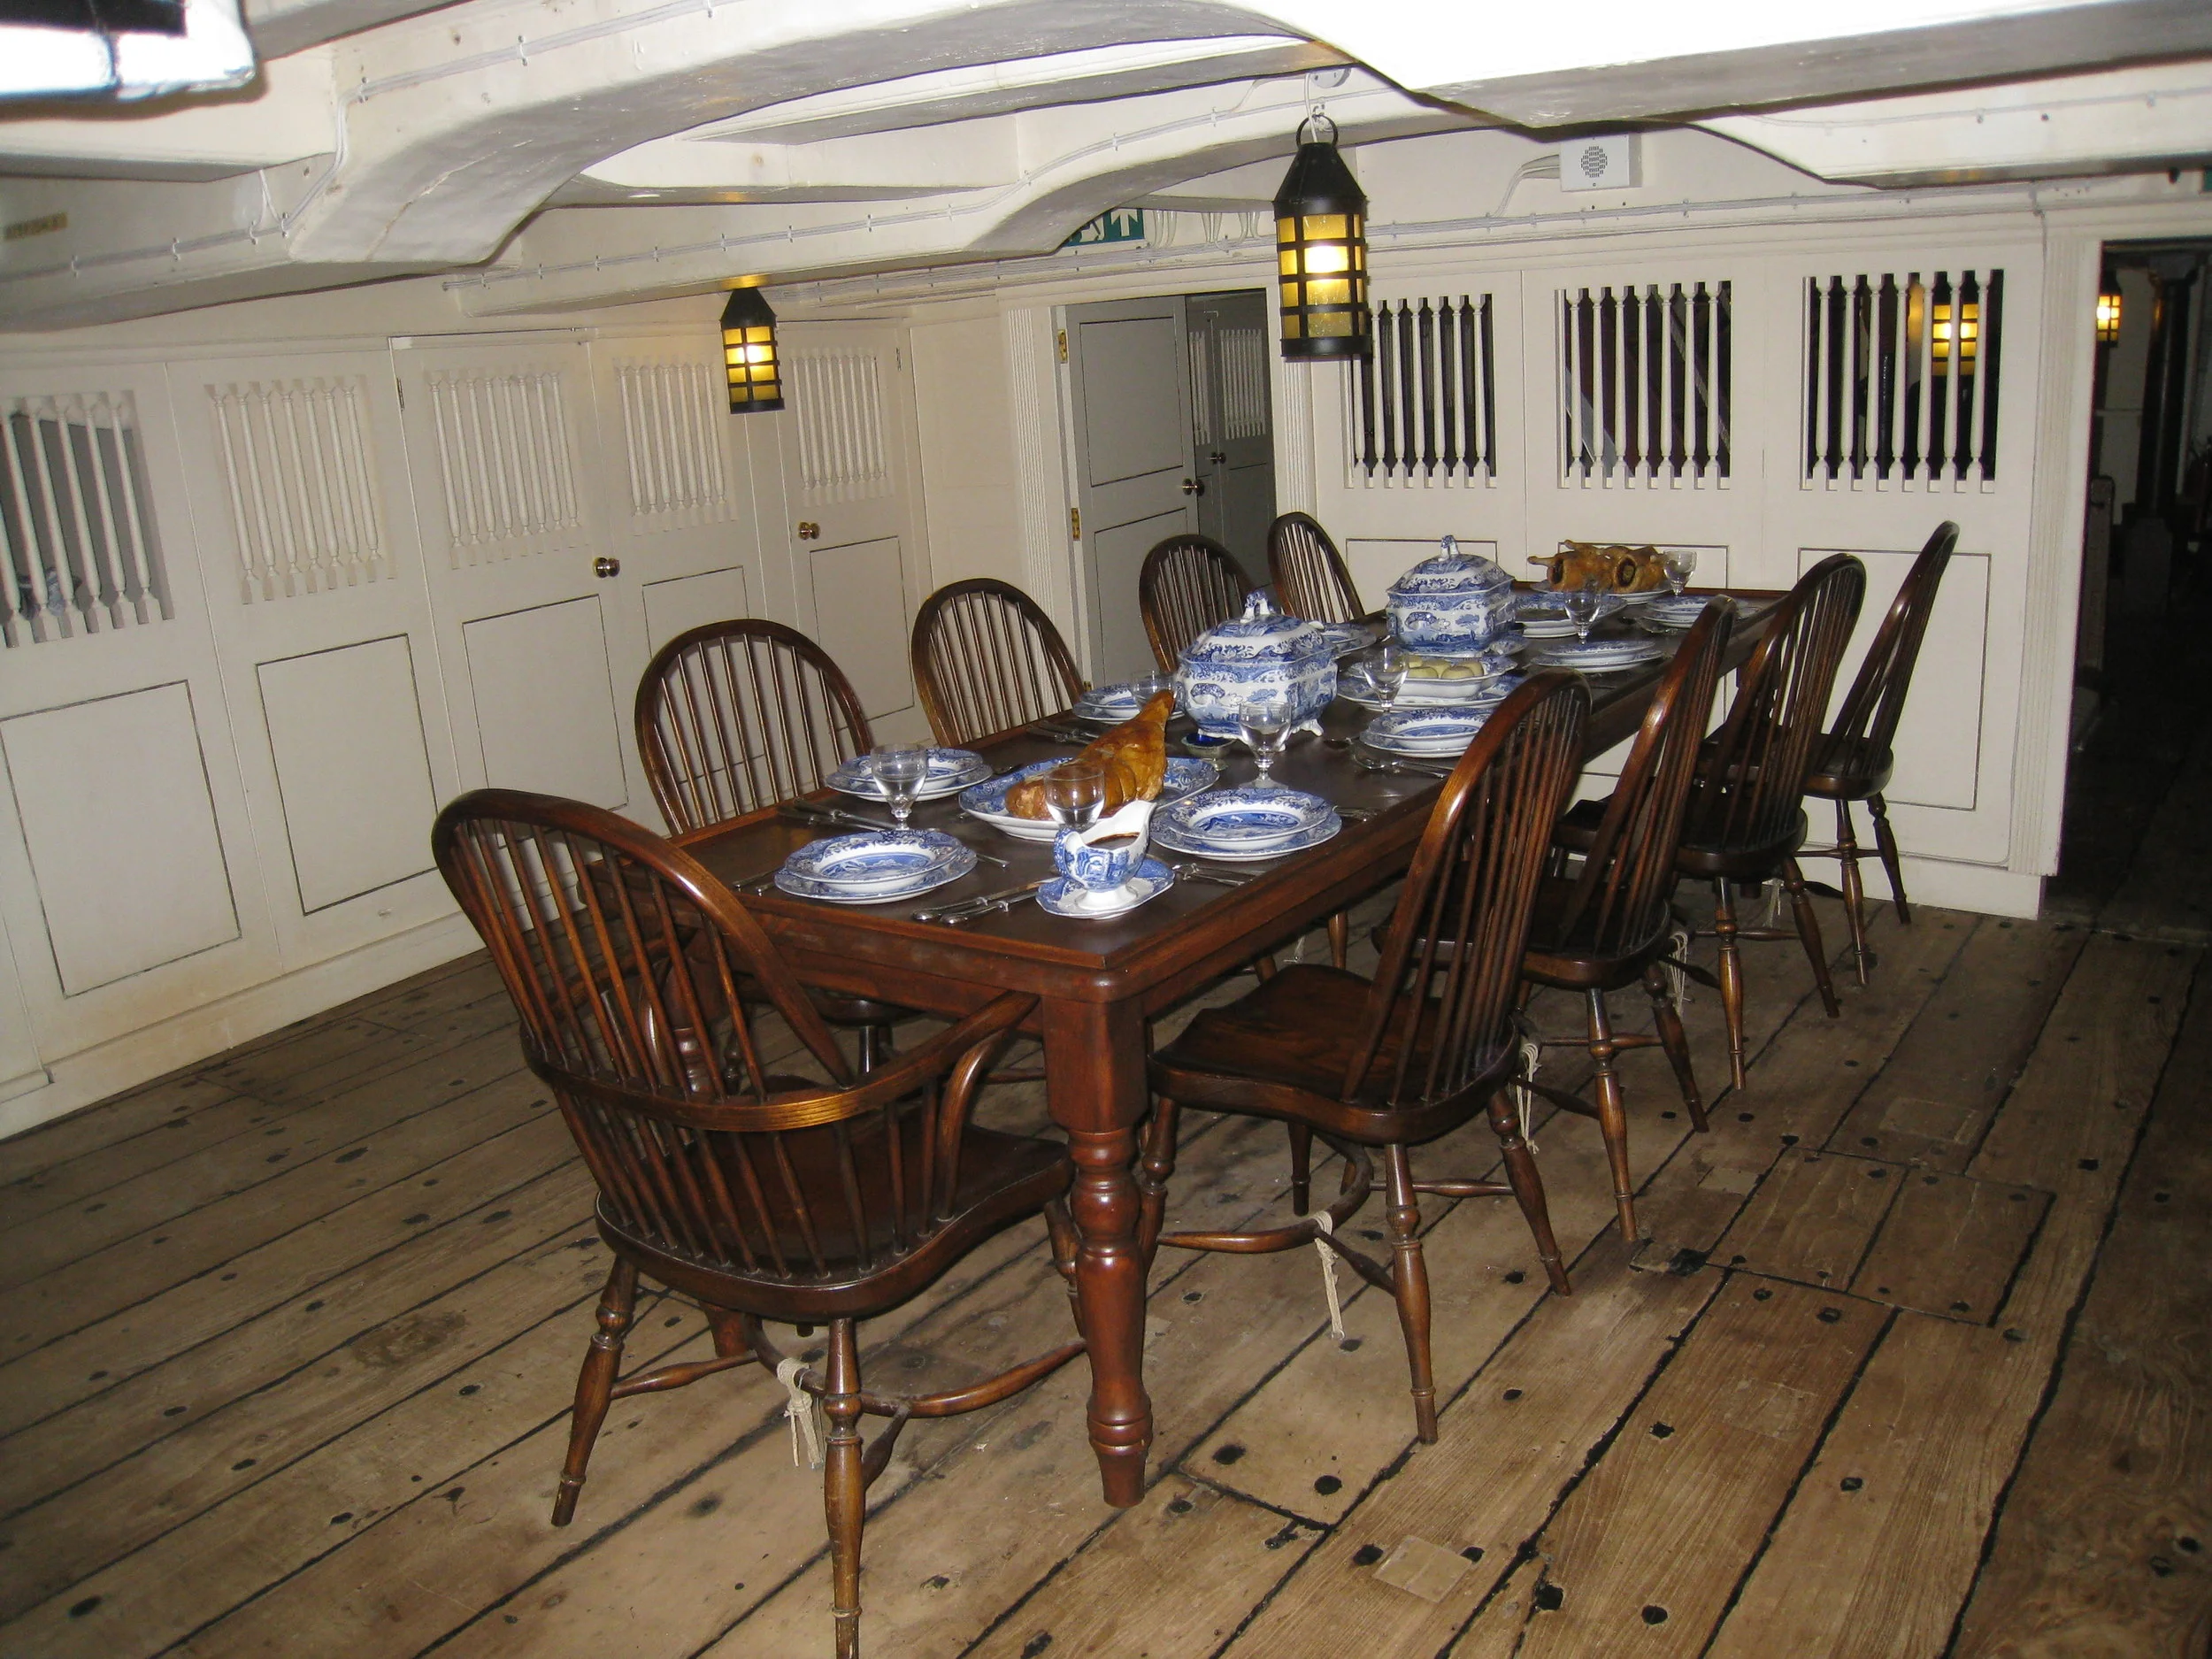
Hartlepool--The Trincomalee--Fully restored warship--Officers' mess

Hartlepool--The Trincomalee--Fully restored warship--Crew's mess

Hartlepool--The Trincomalee--Fully restored warship--Crew's sleeping quarters
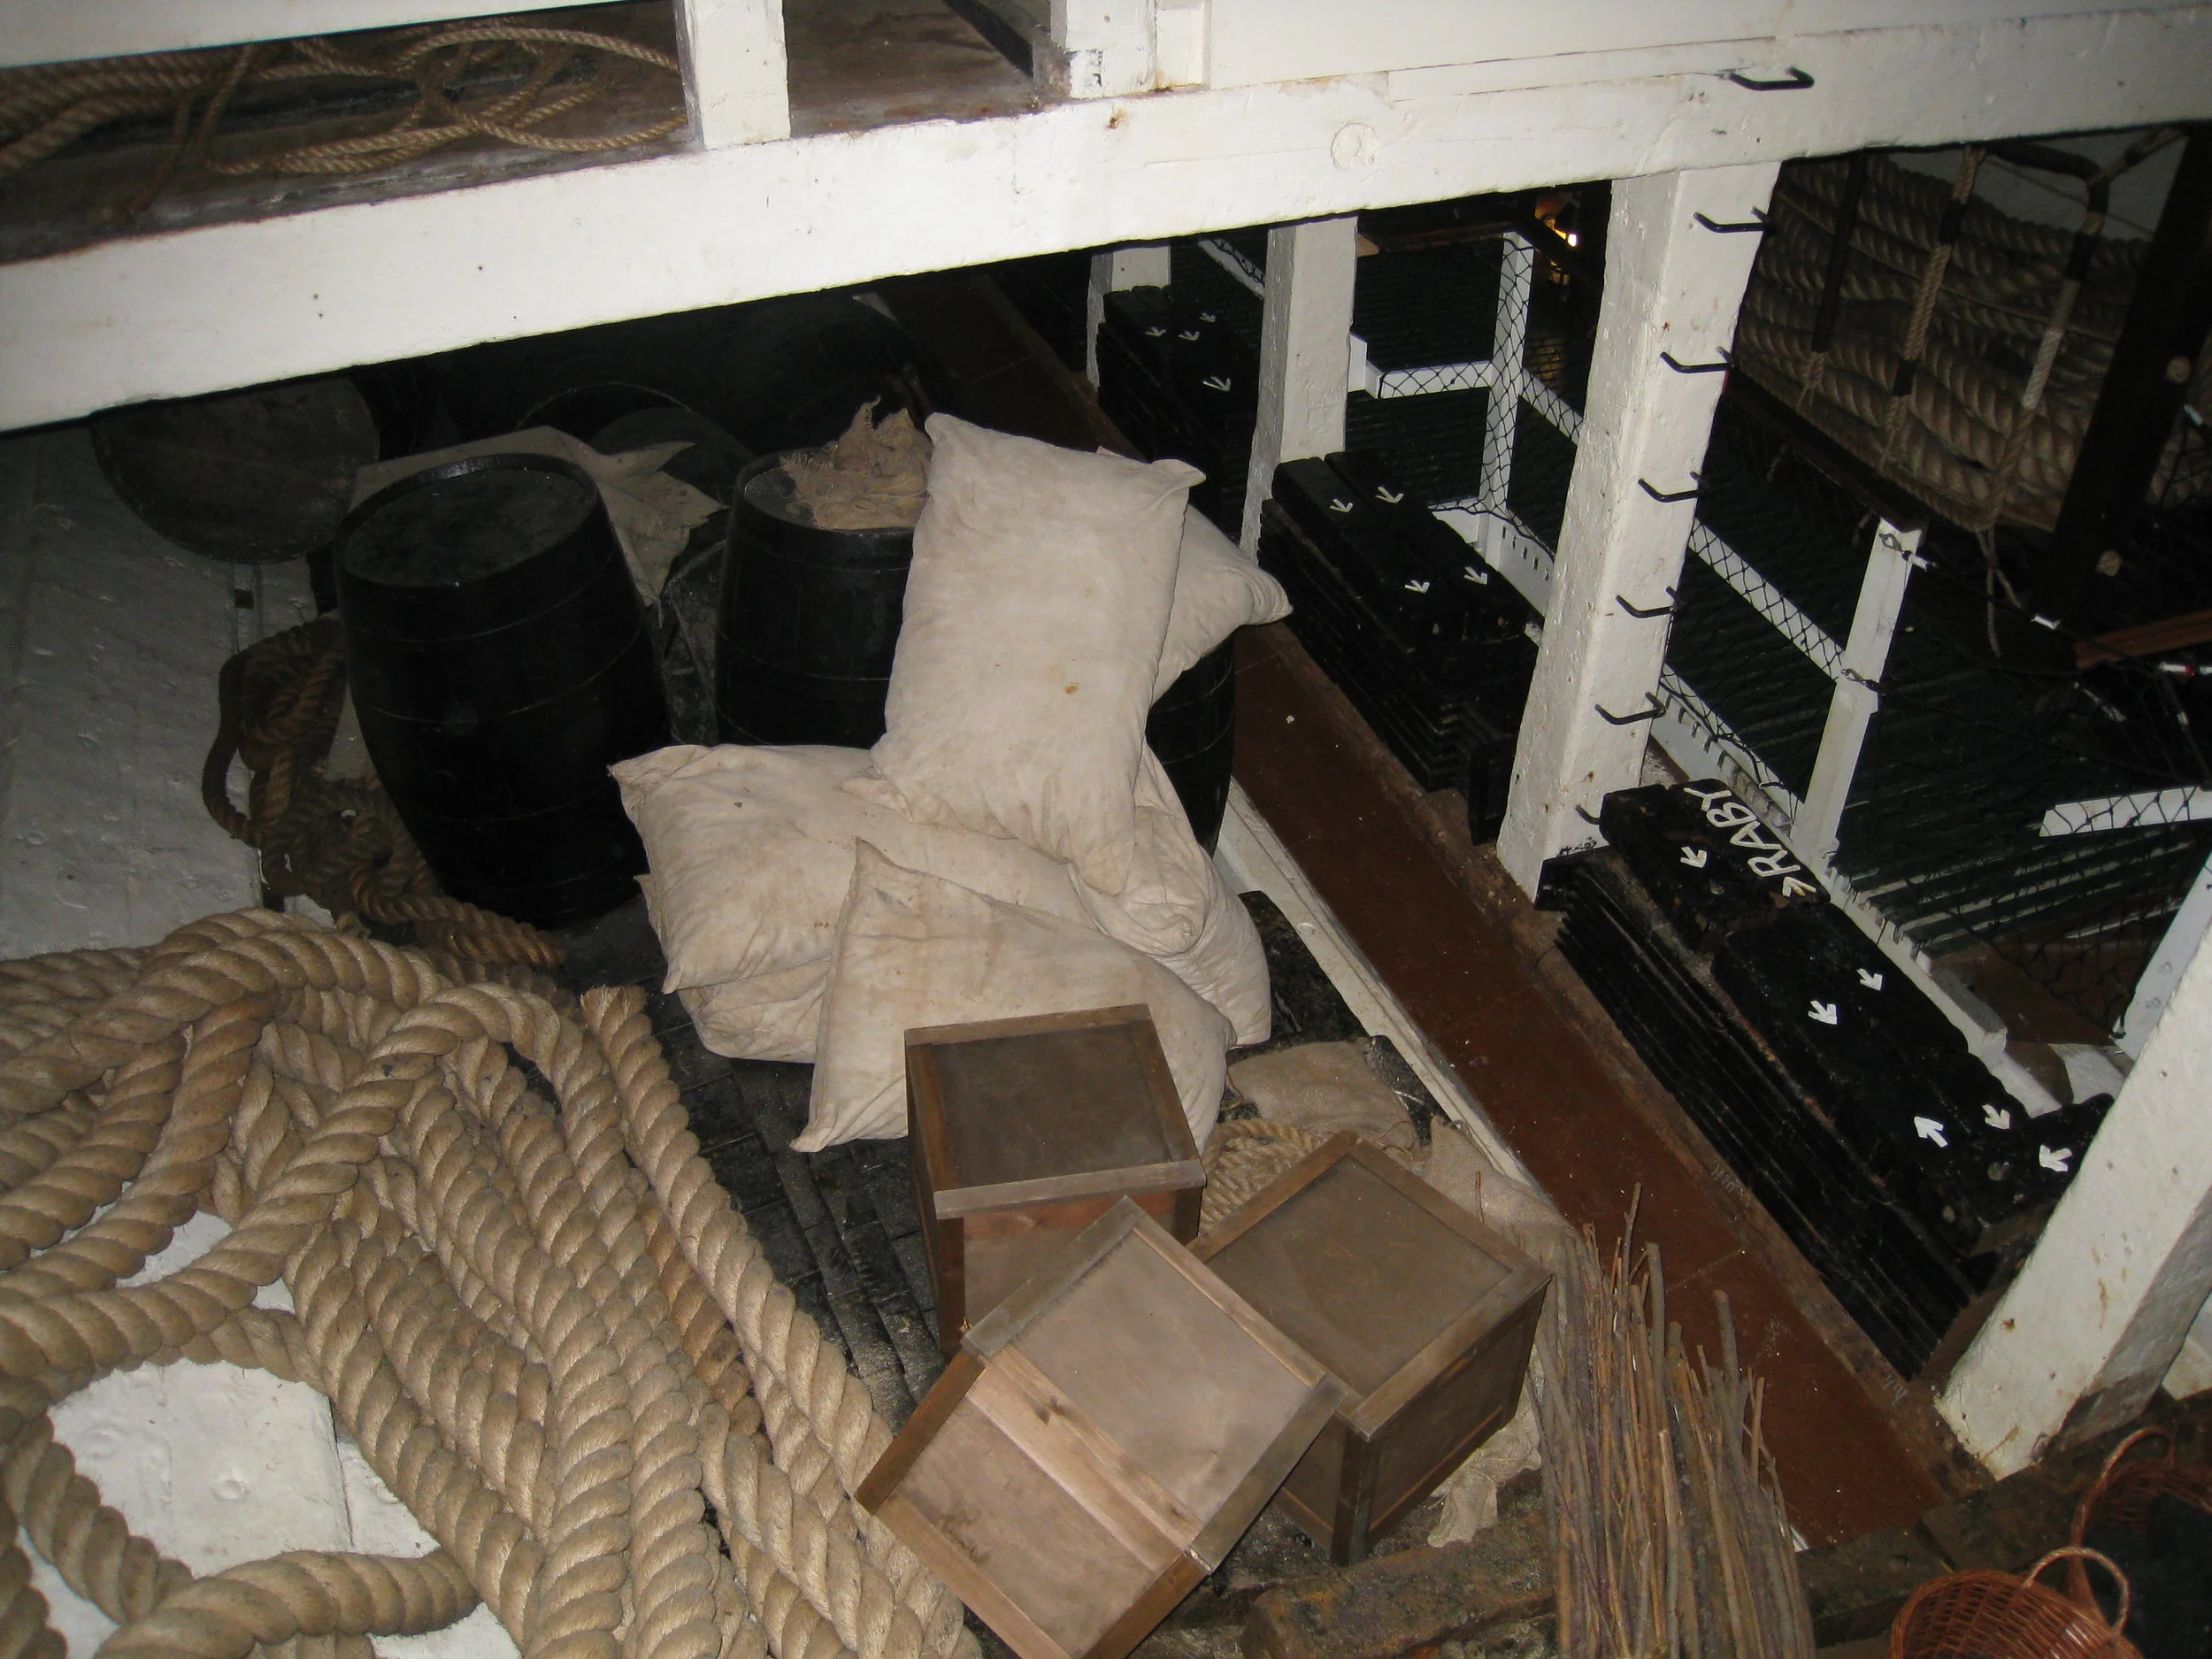
Hartlepool--The Trincomalee--Fully restored warship--Hold

Middlesbrough--Middlesbrough Institute of Modern Art
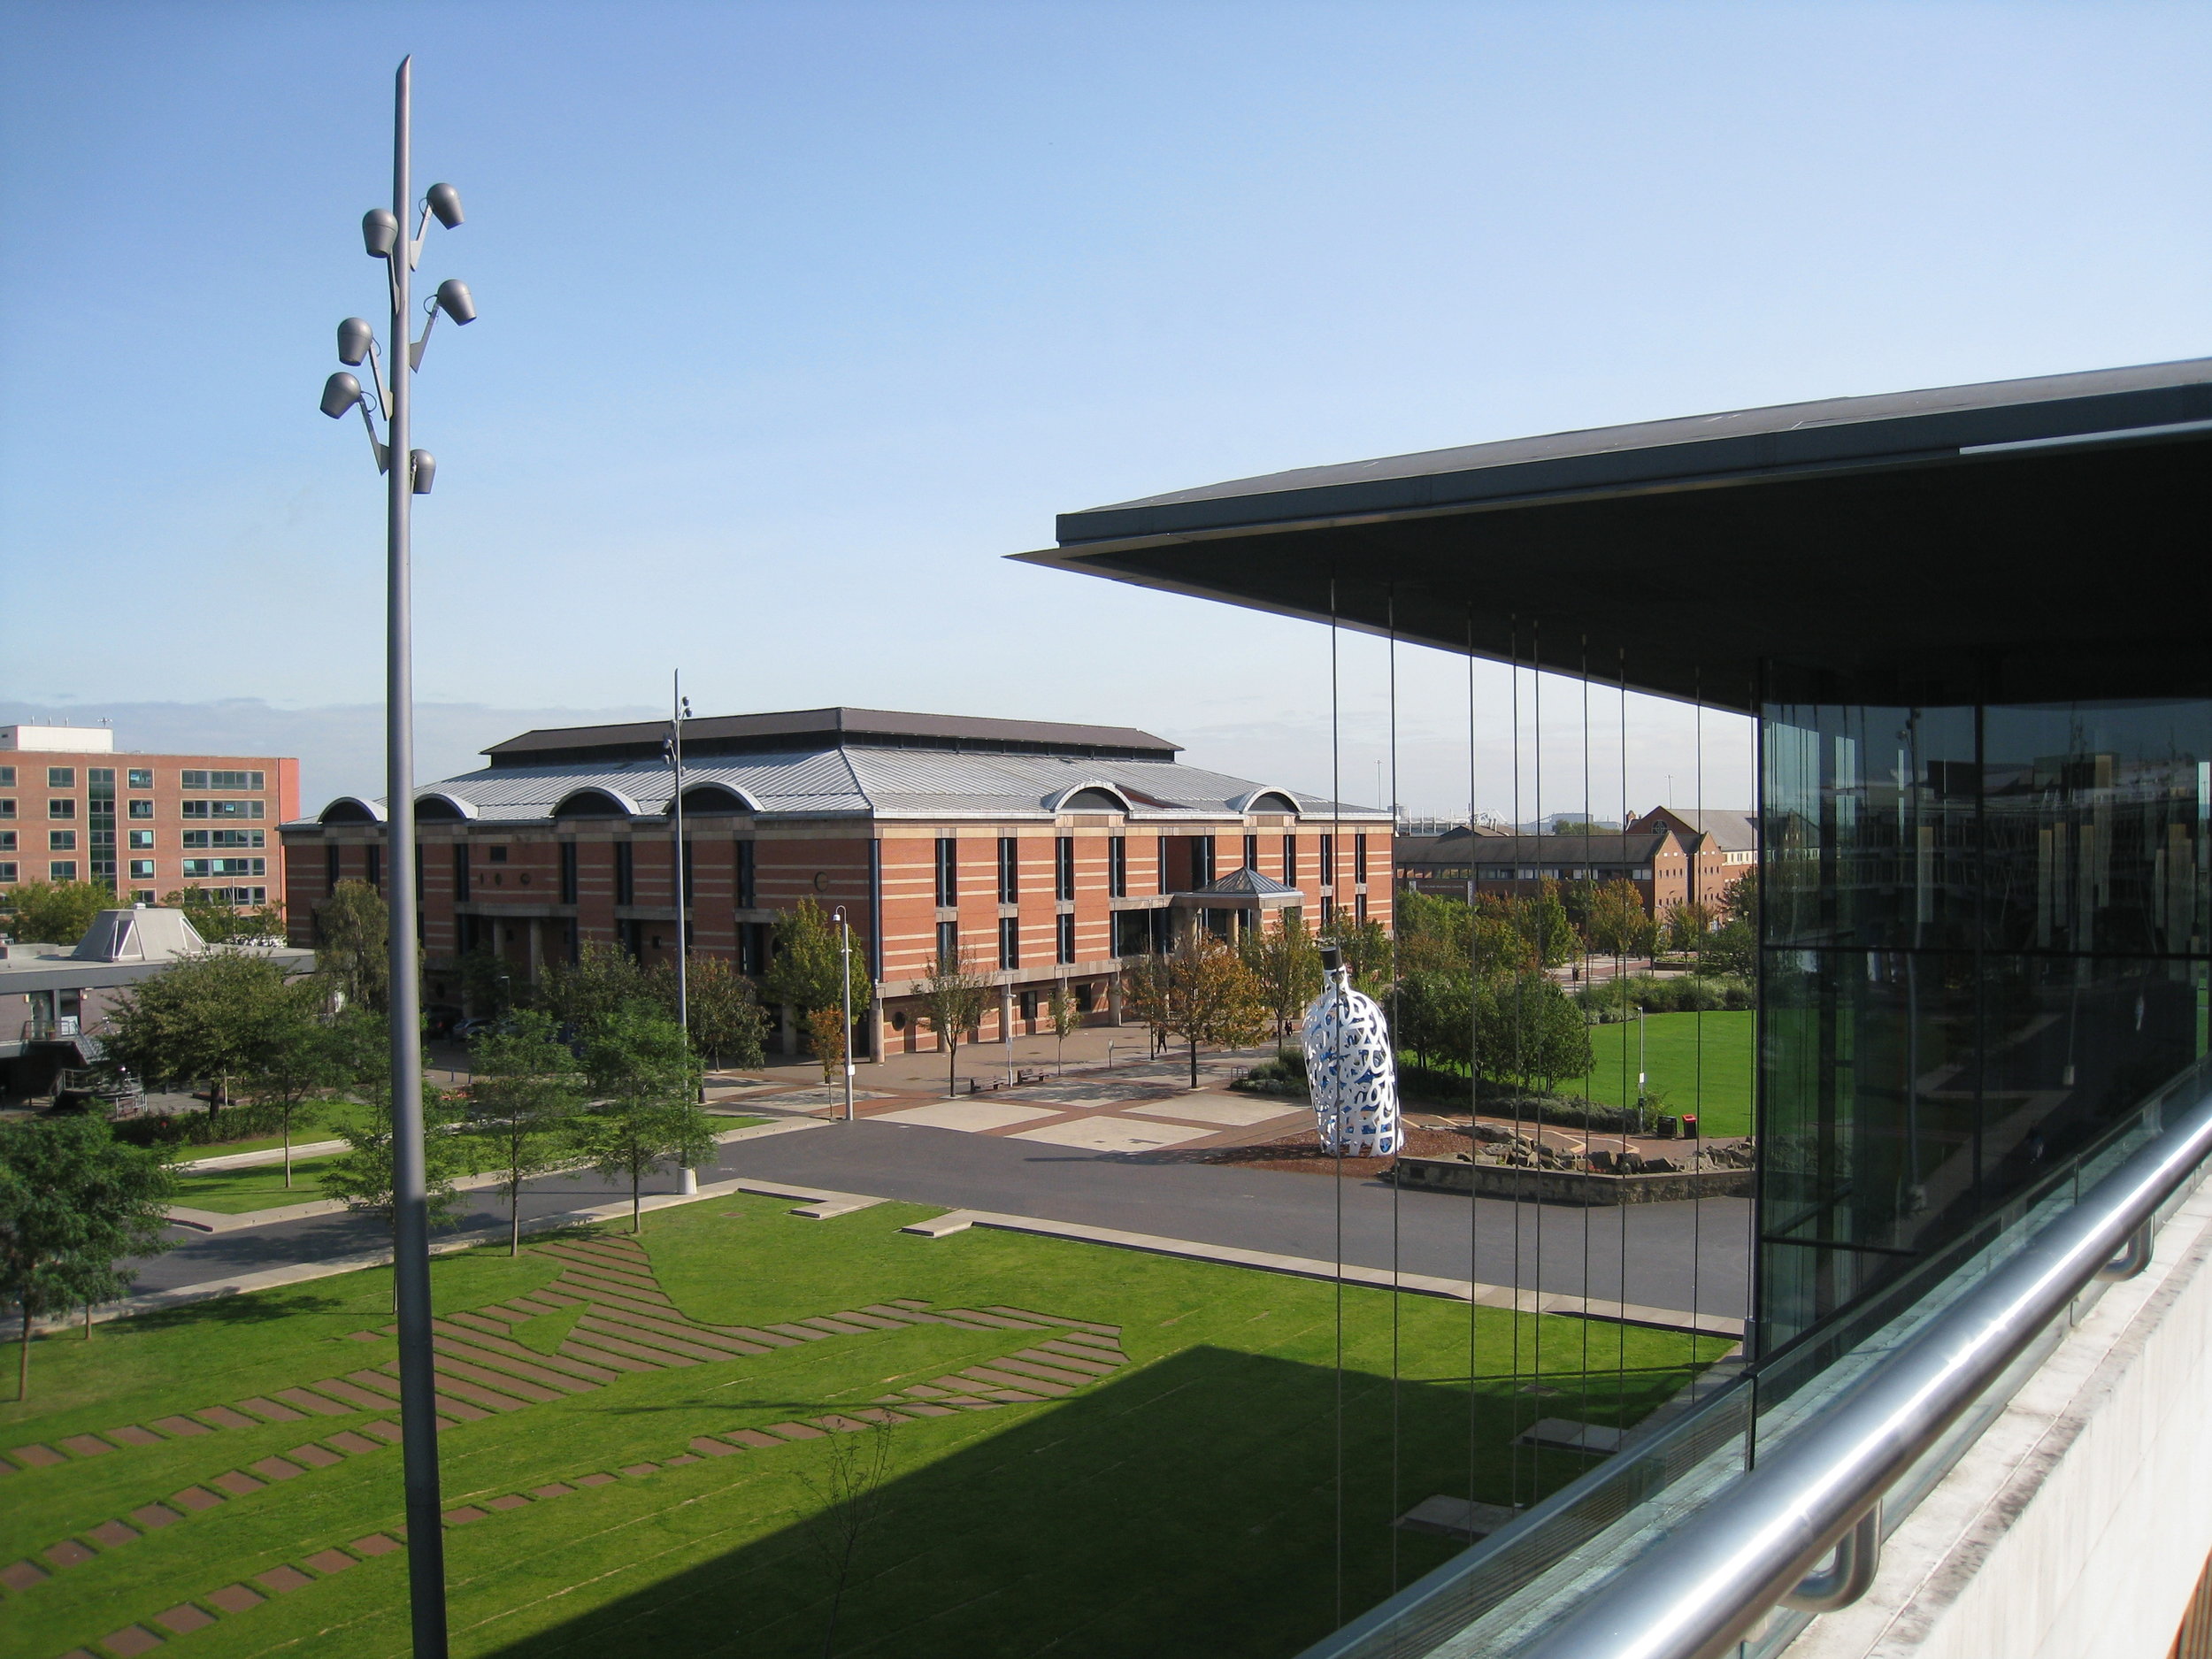
Middlesbrough--Judicial building from the Middlesbrough Institute of Modern Art
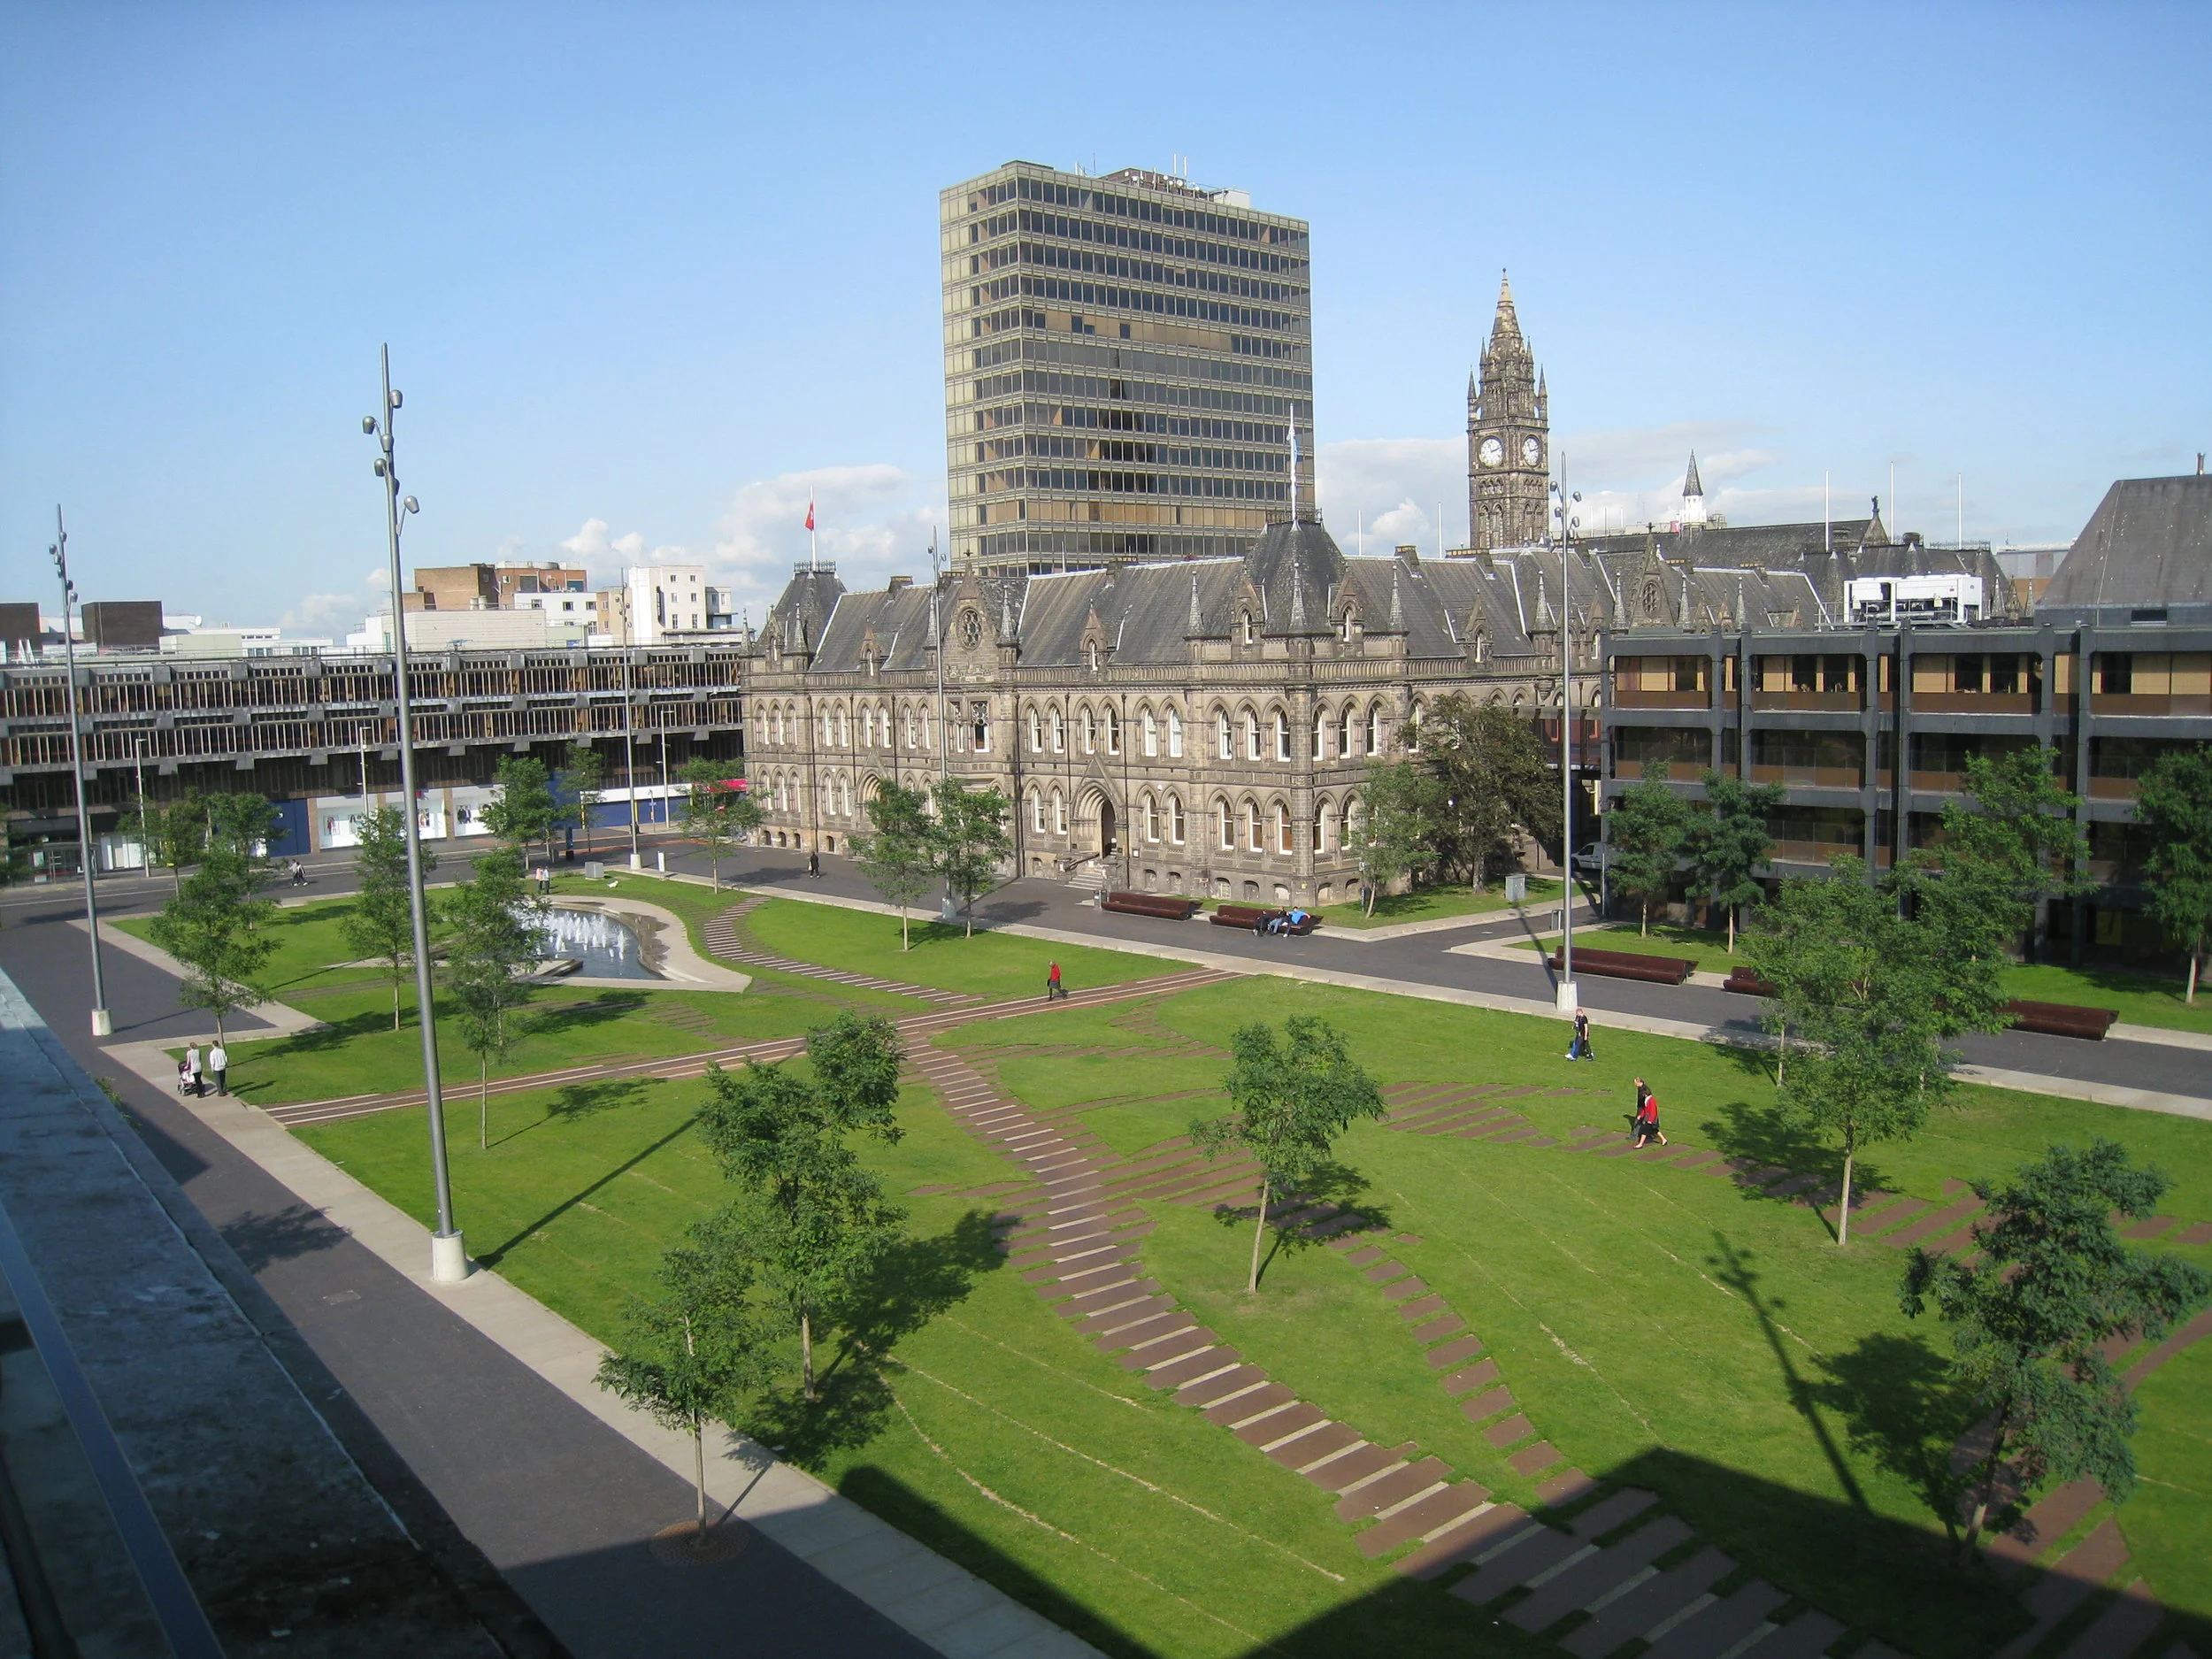
Middlesbrough--Plaza from the Middlesbrough Institute of Modern Art
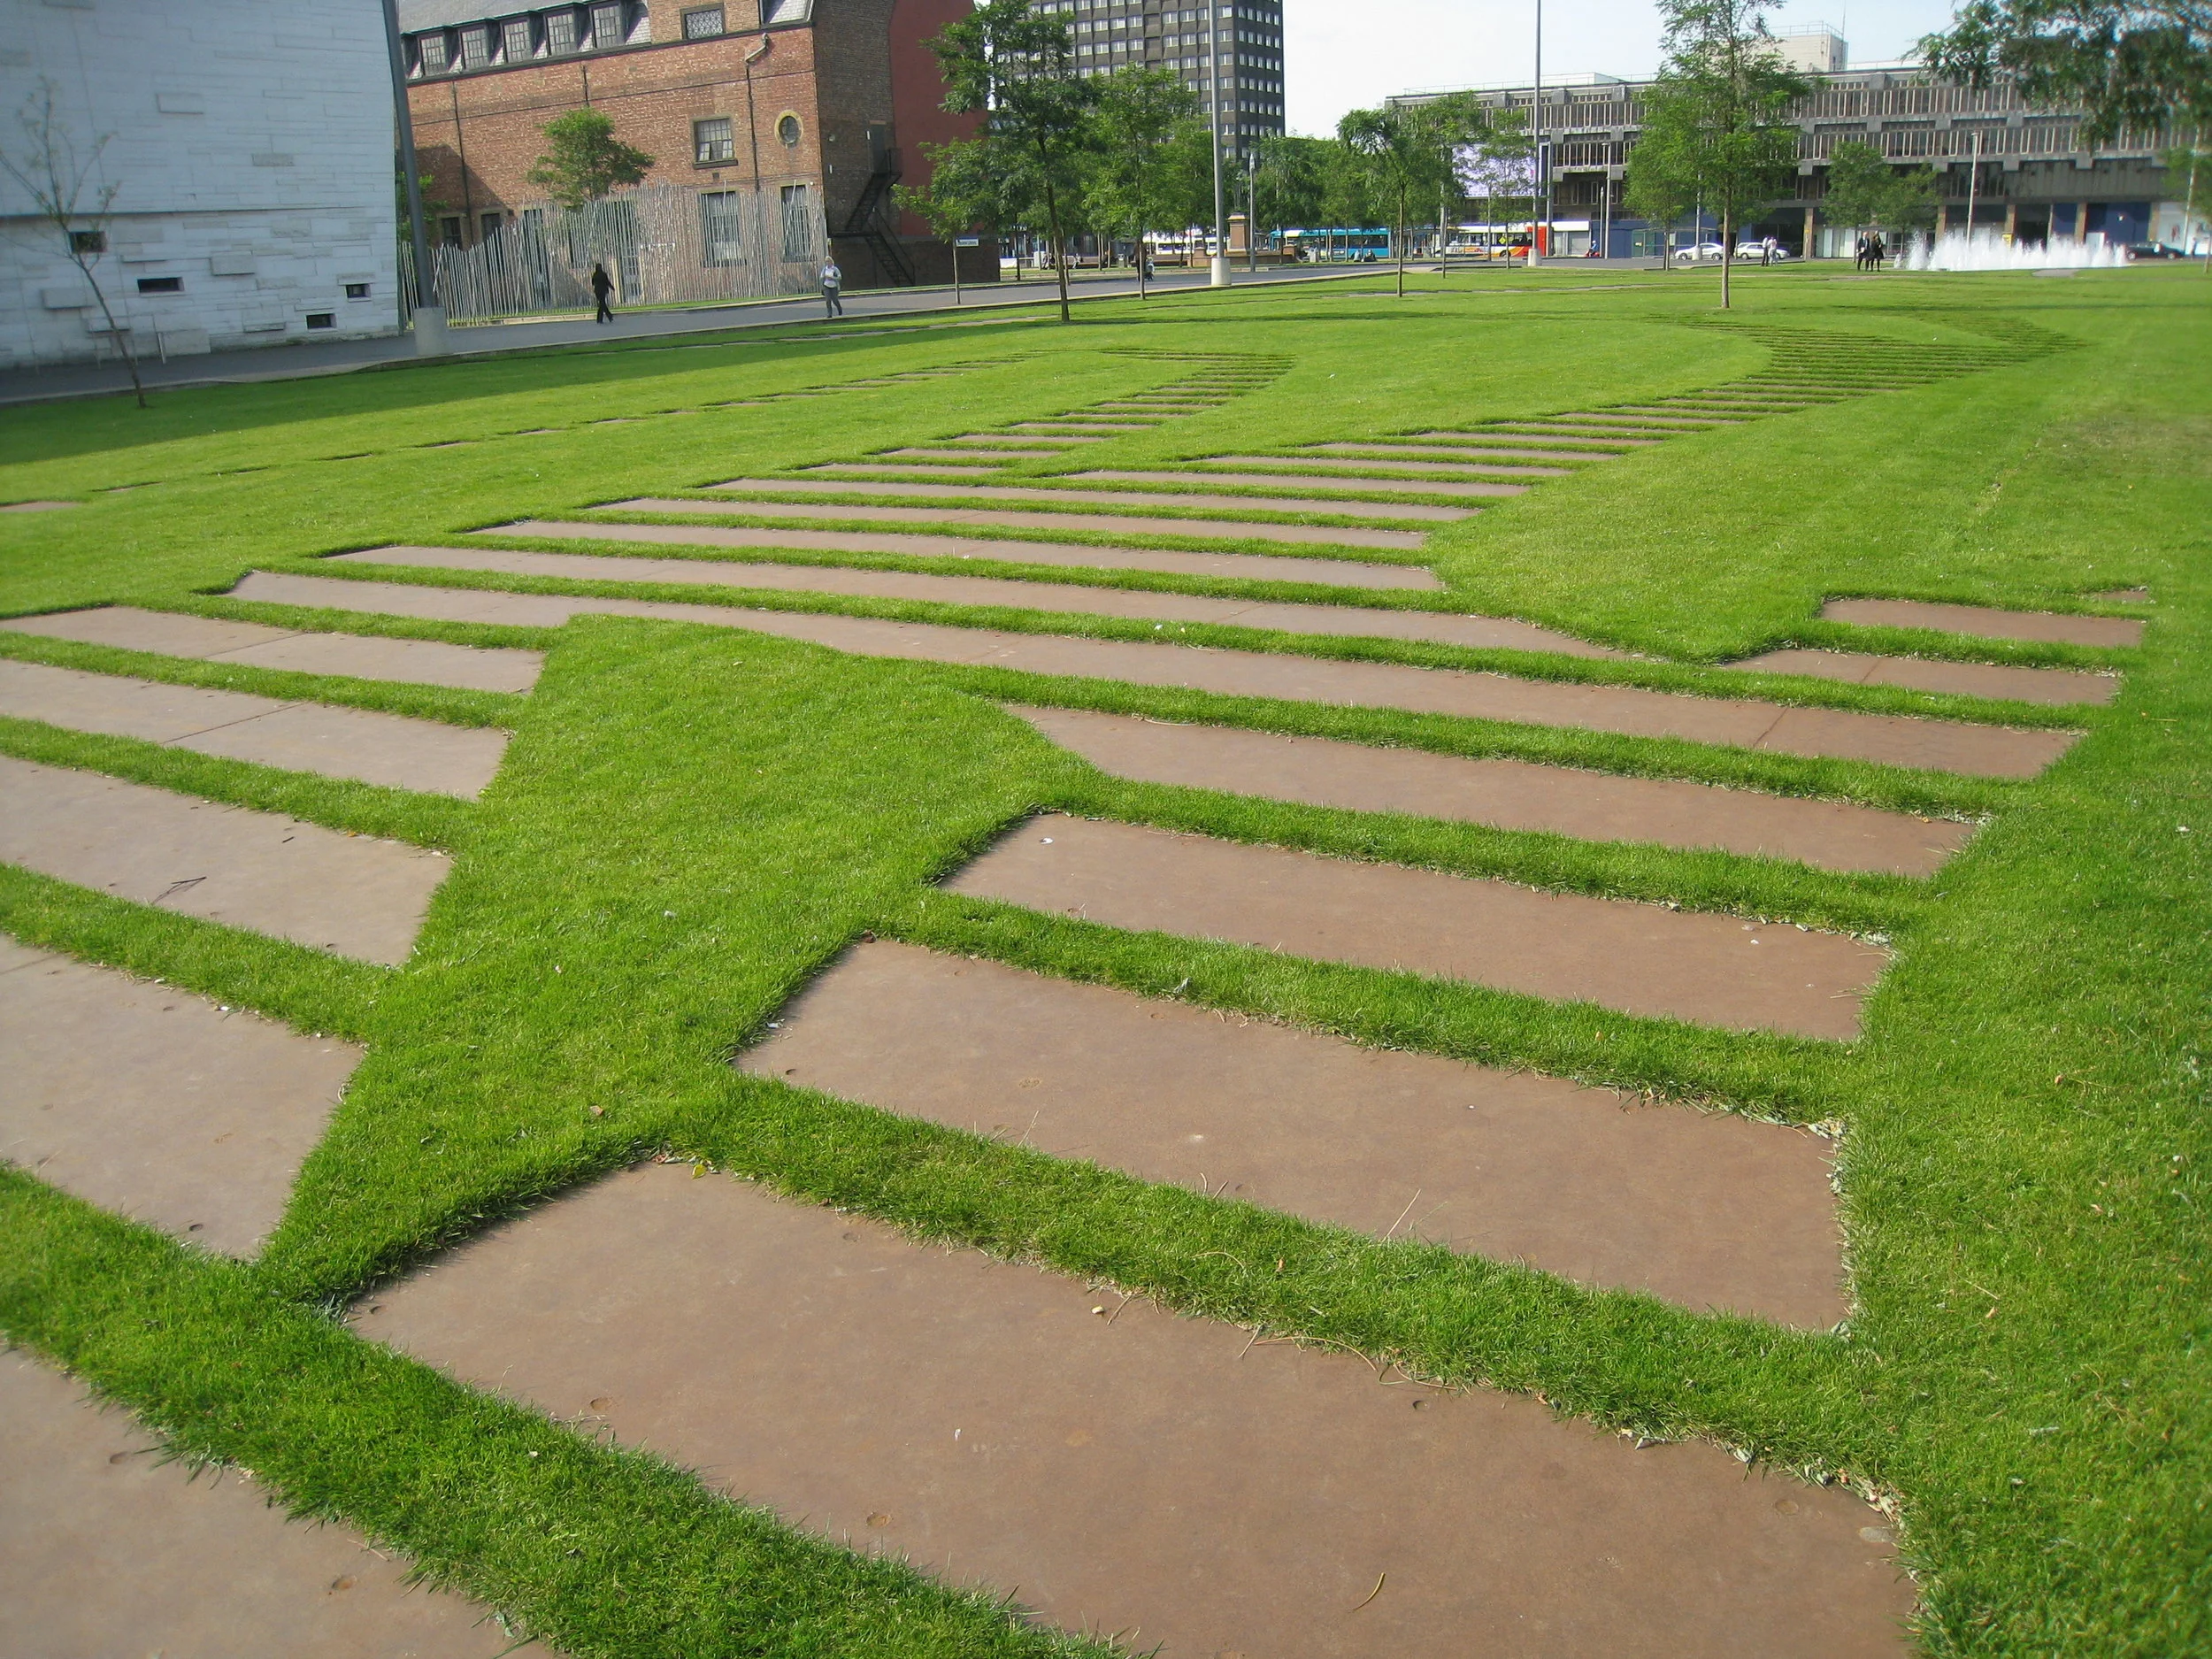
Middlesbrough--Detail of the plaza in front of the Middlesbrough Institute of Modern Art
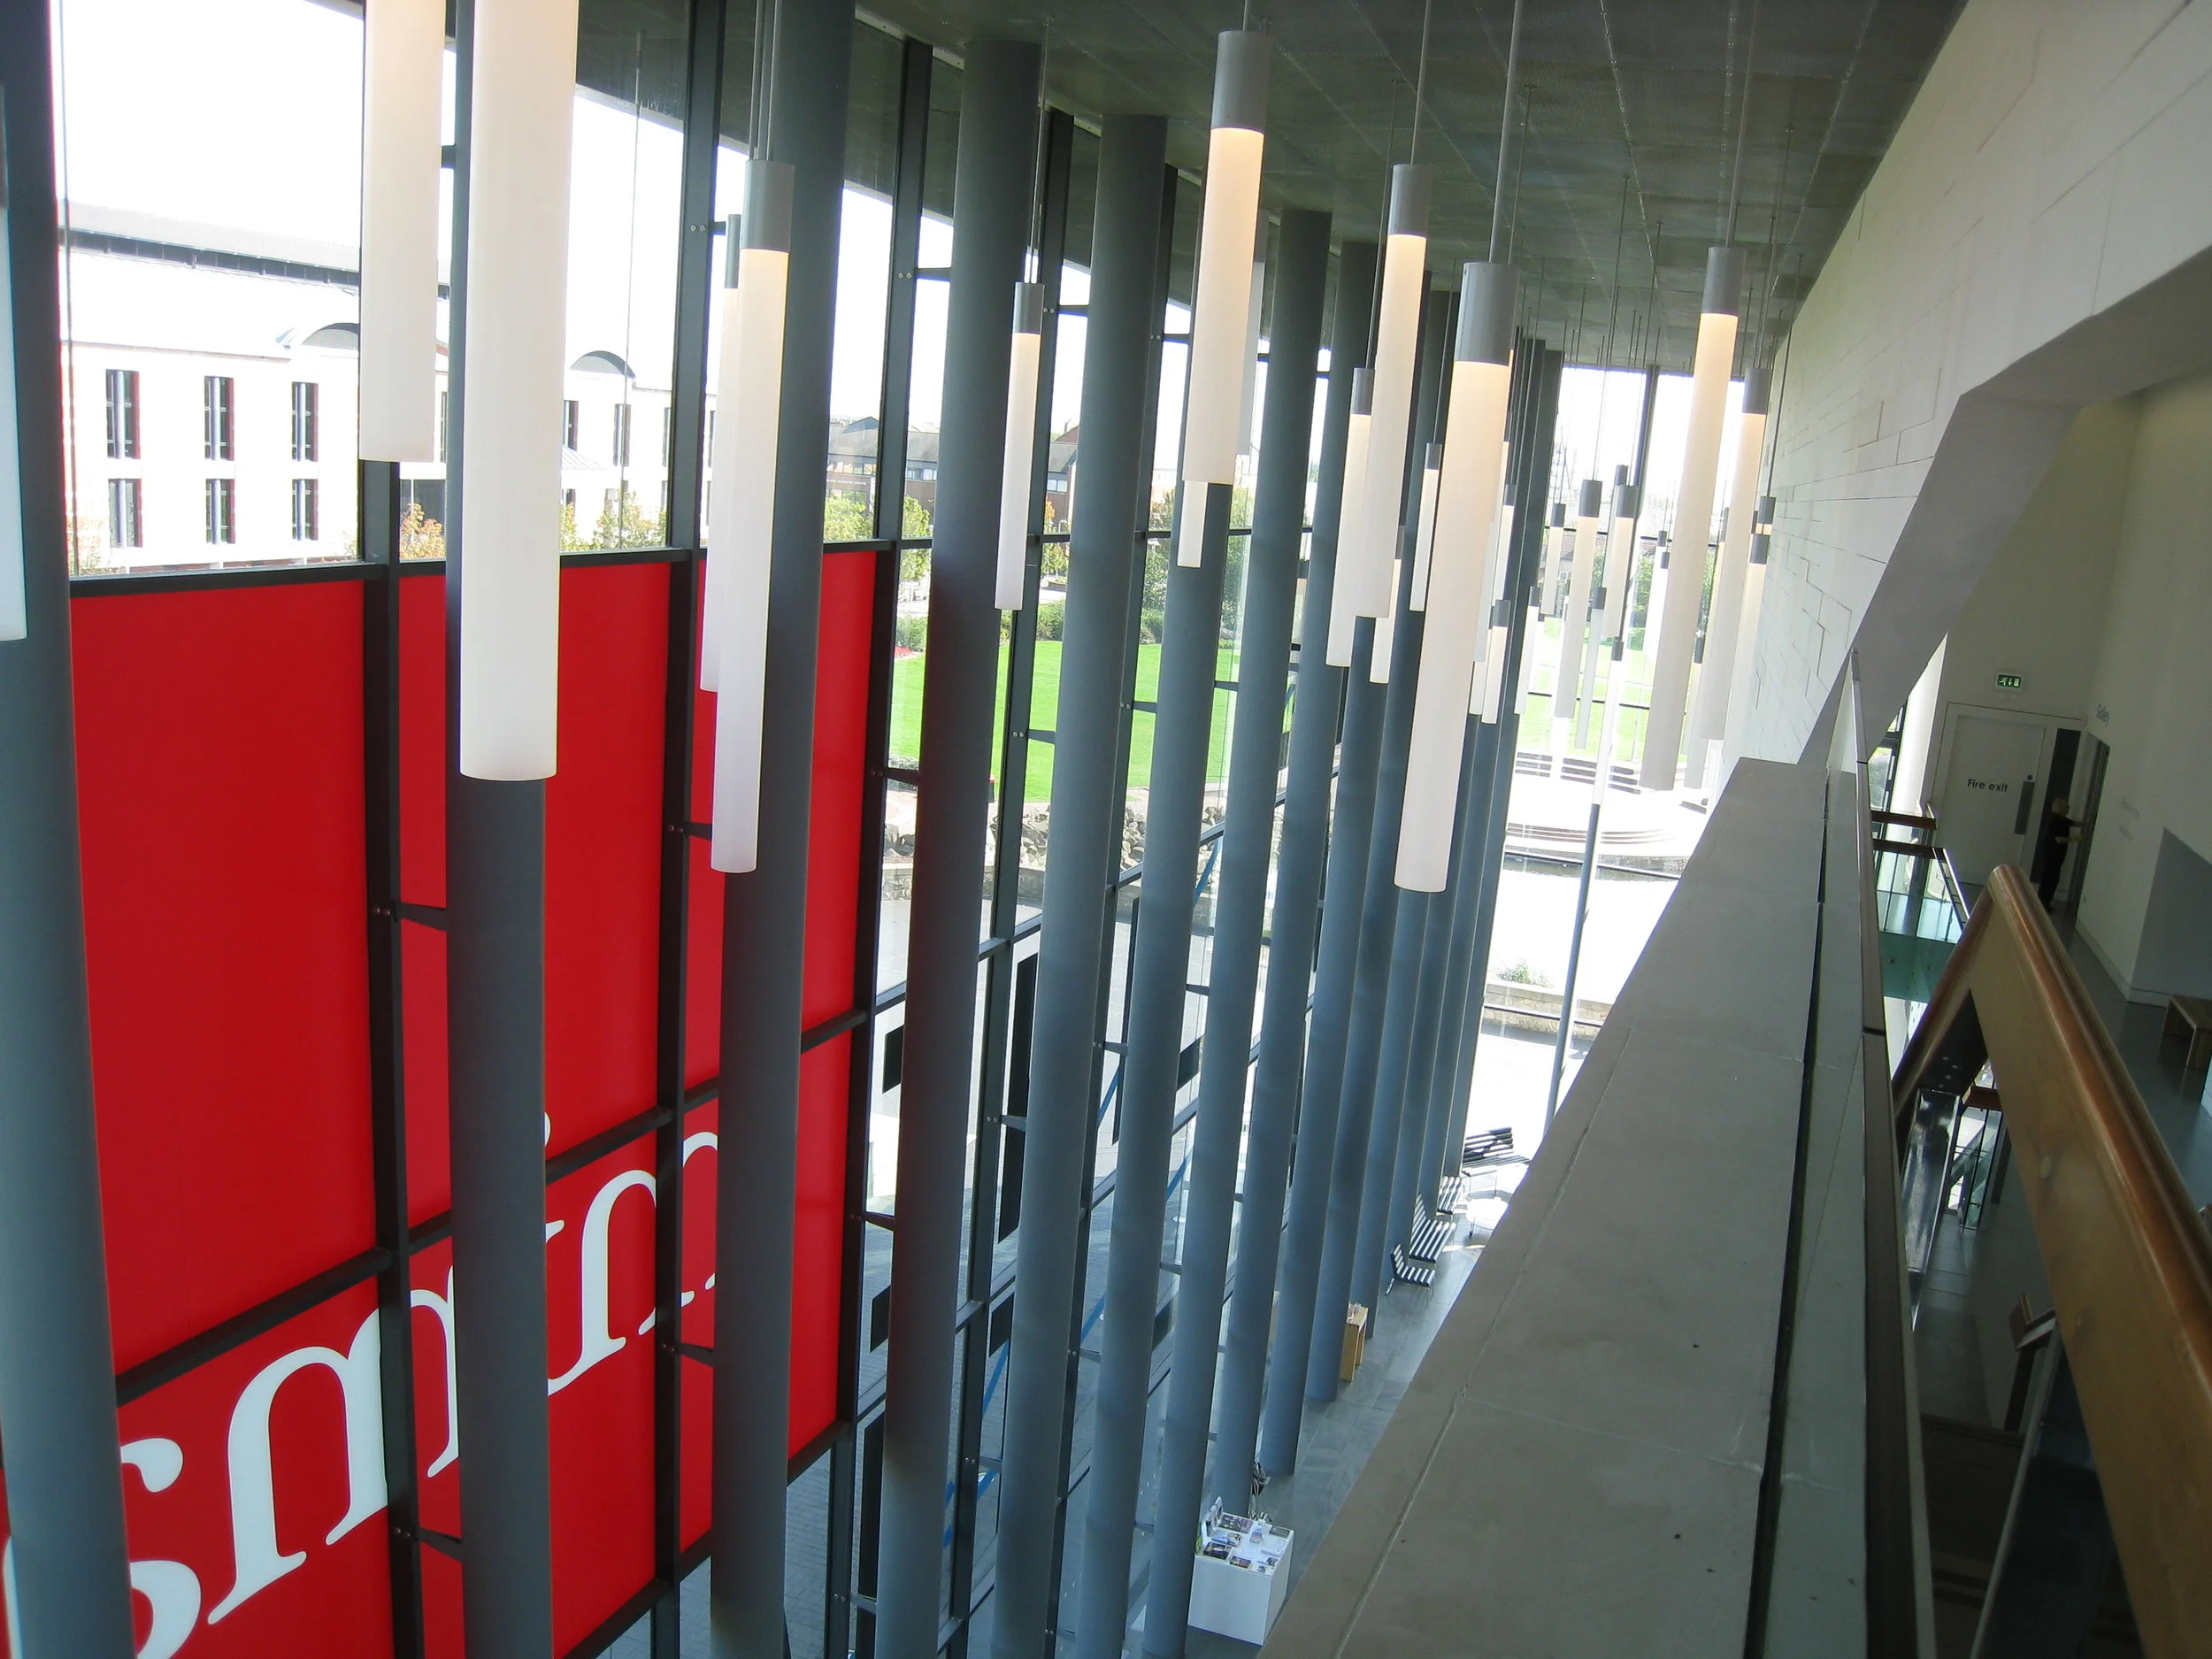
Middlesbrough--Middlesbrough Institute of Modern Art
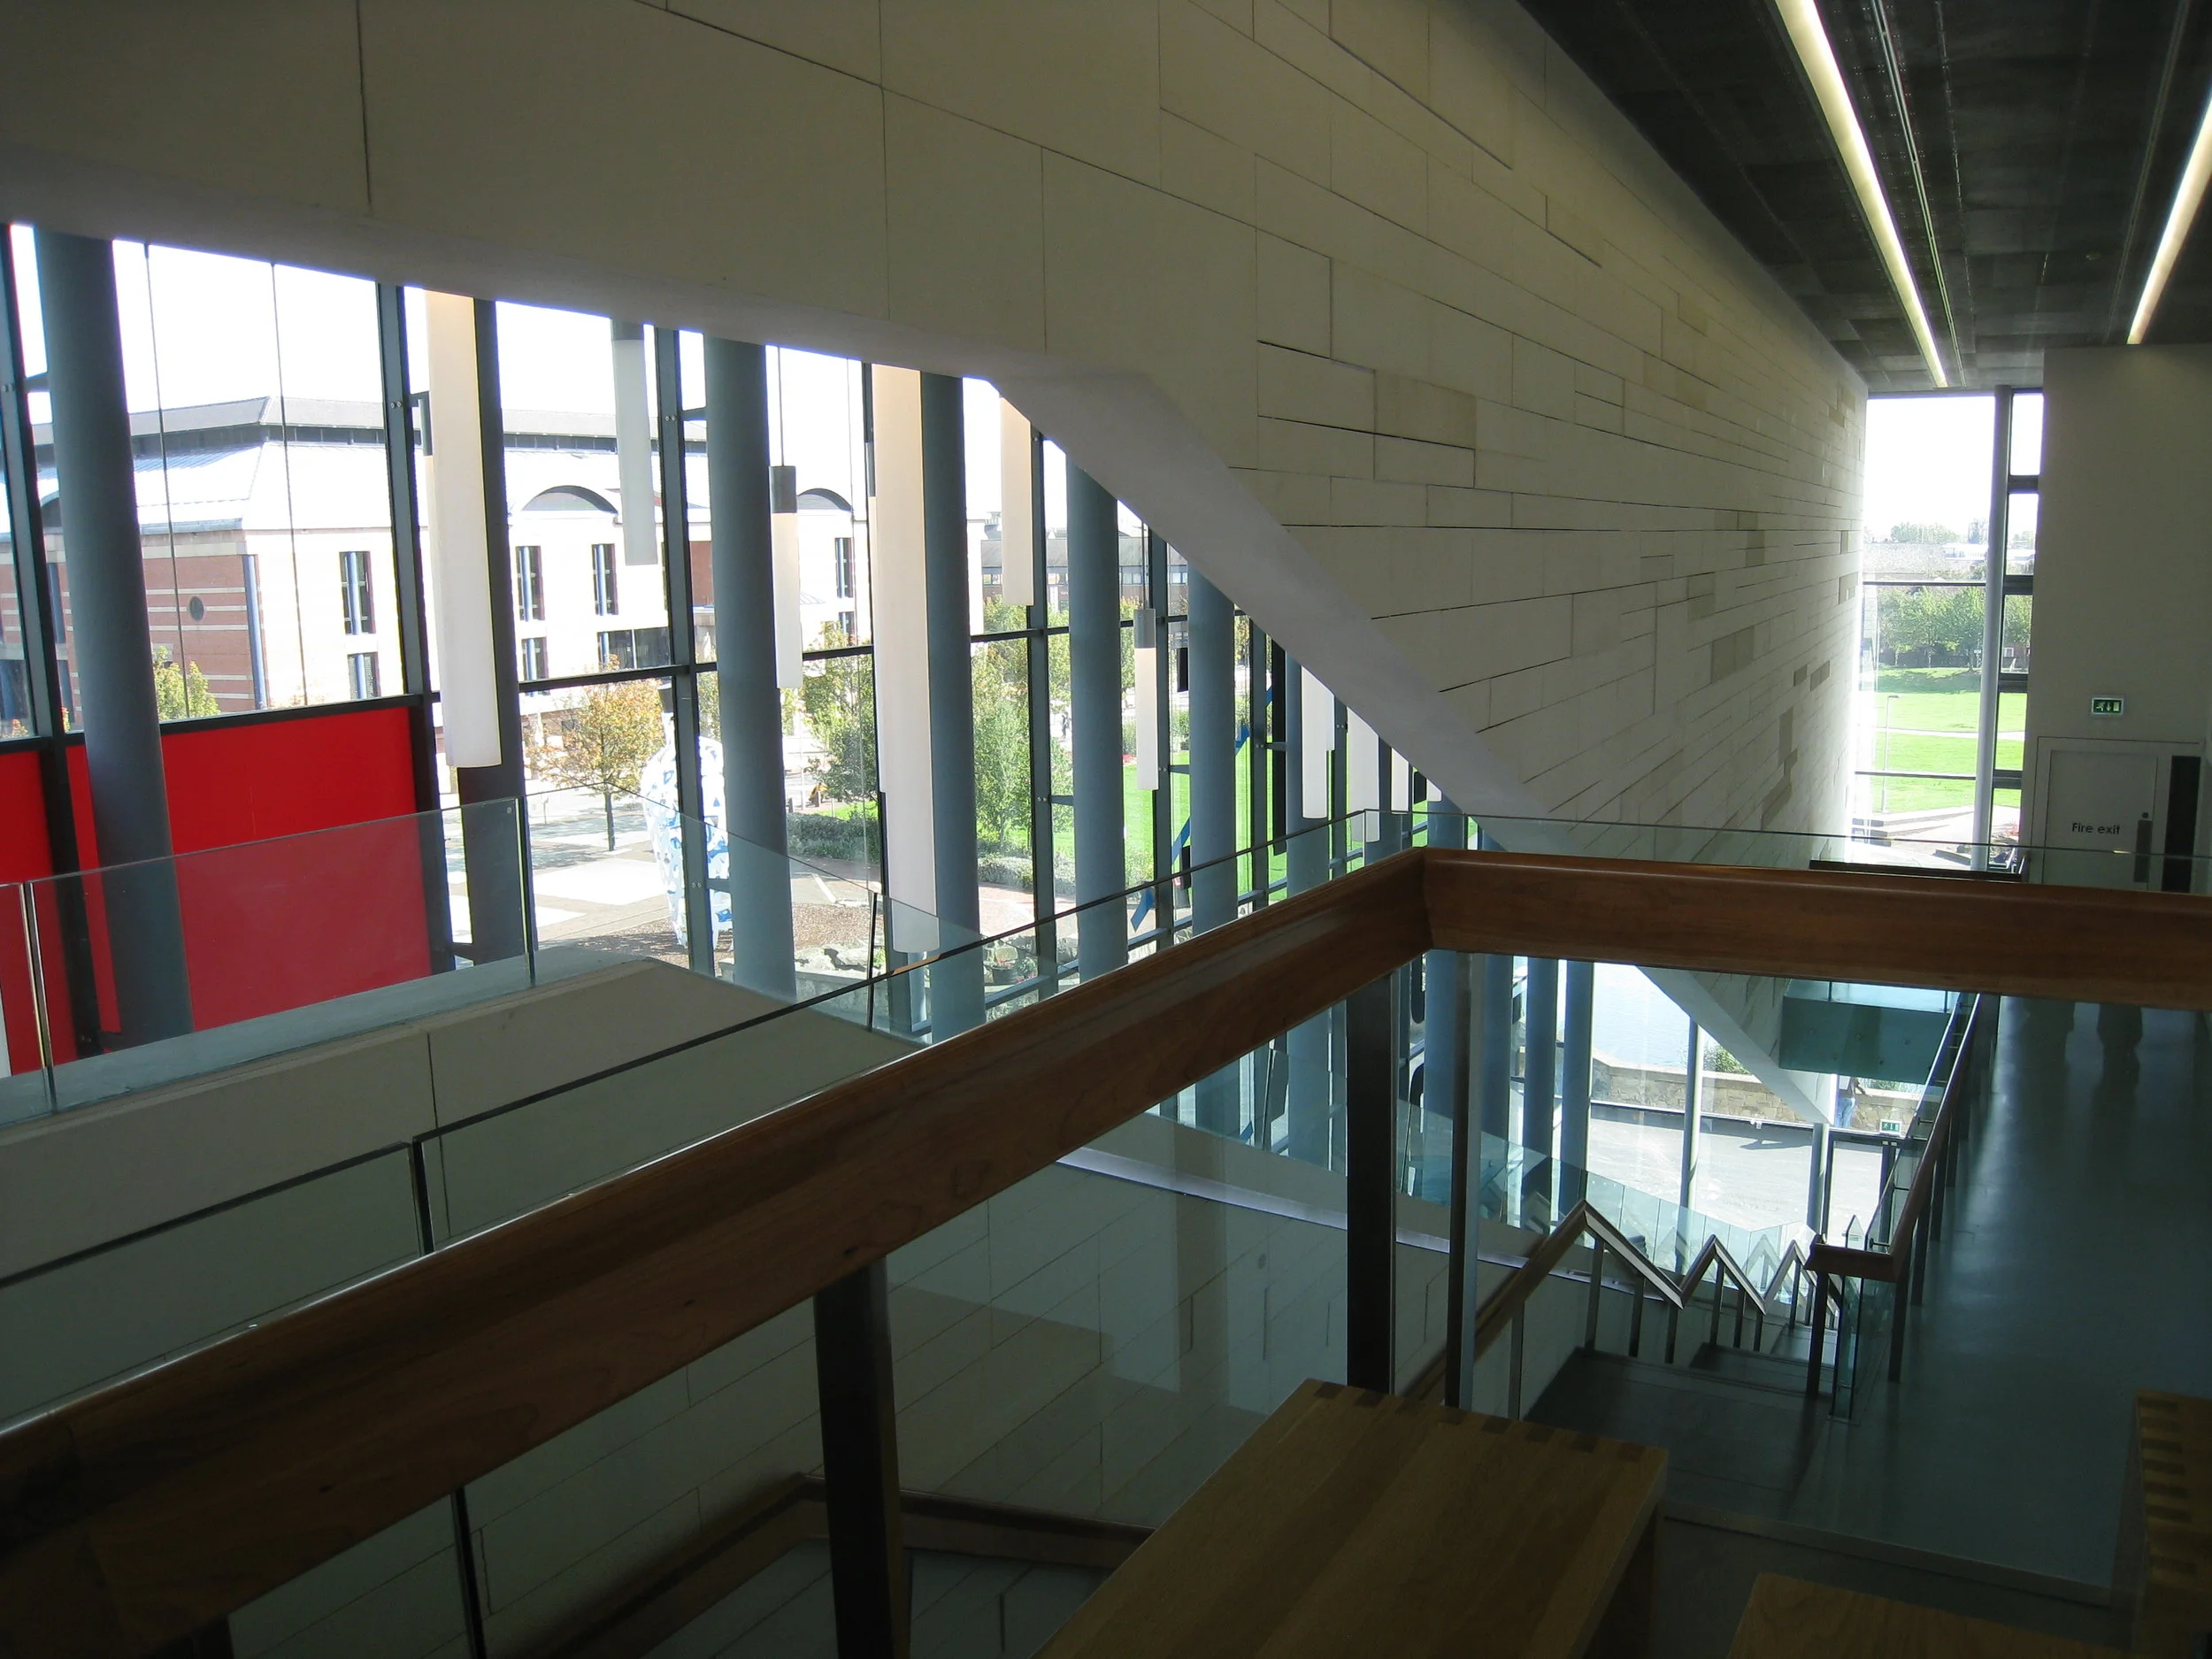
Middlesbrough--Middlesbrough Institute of Modern Art
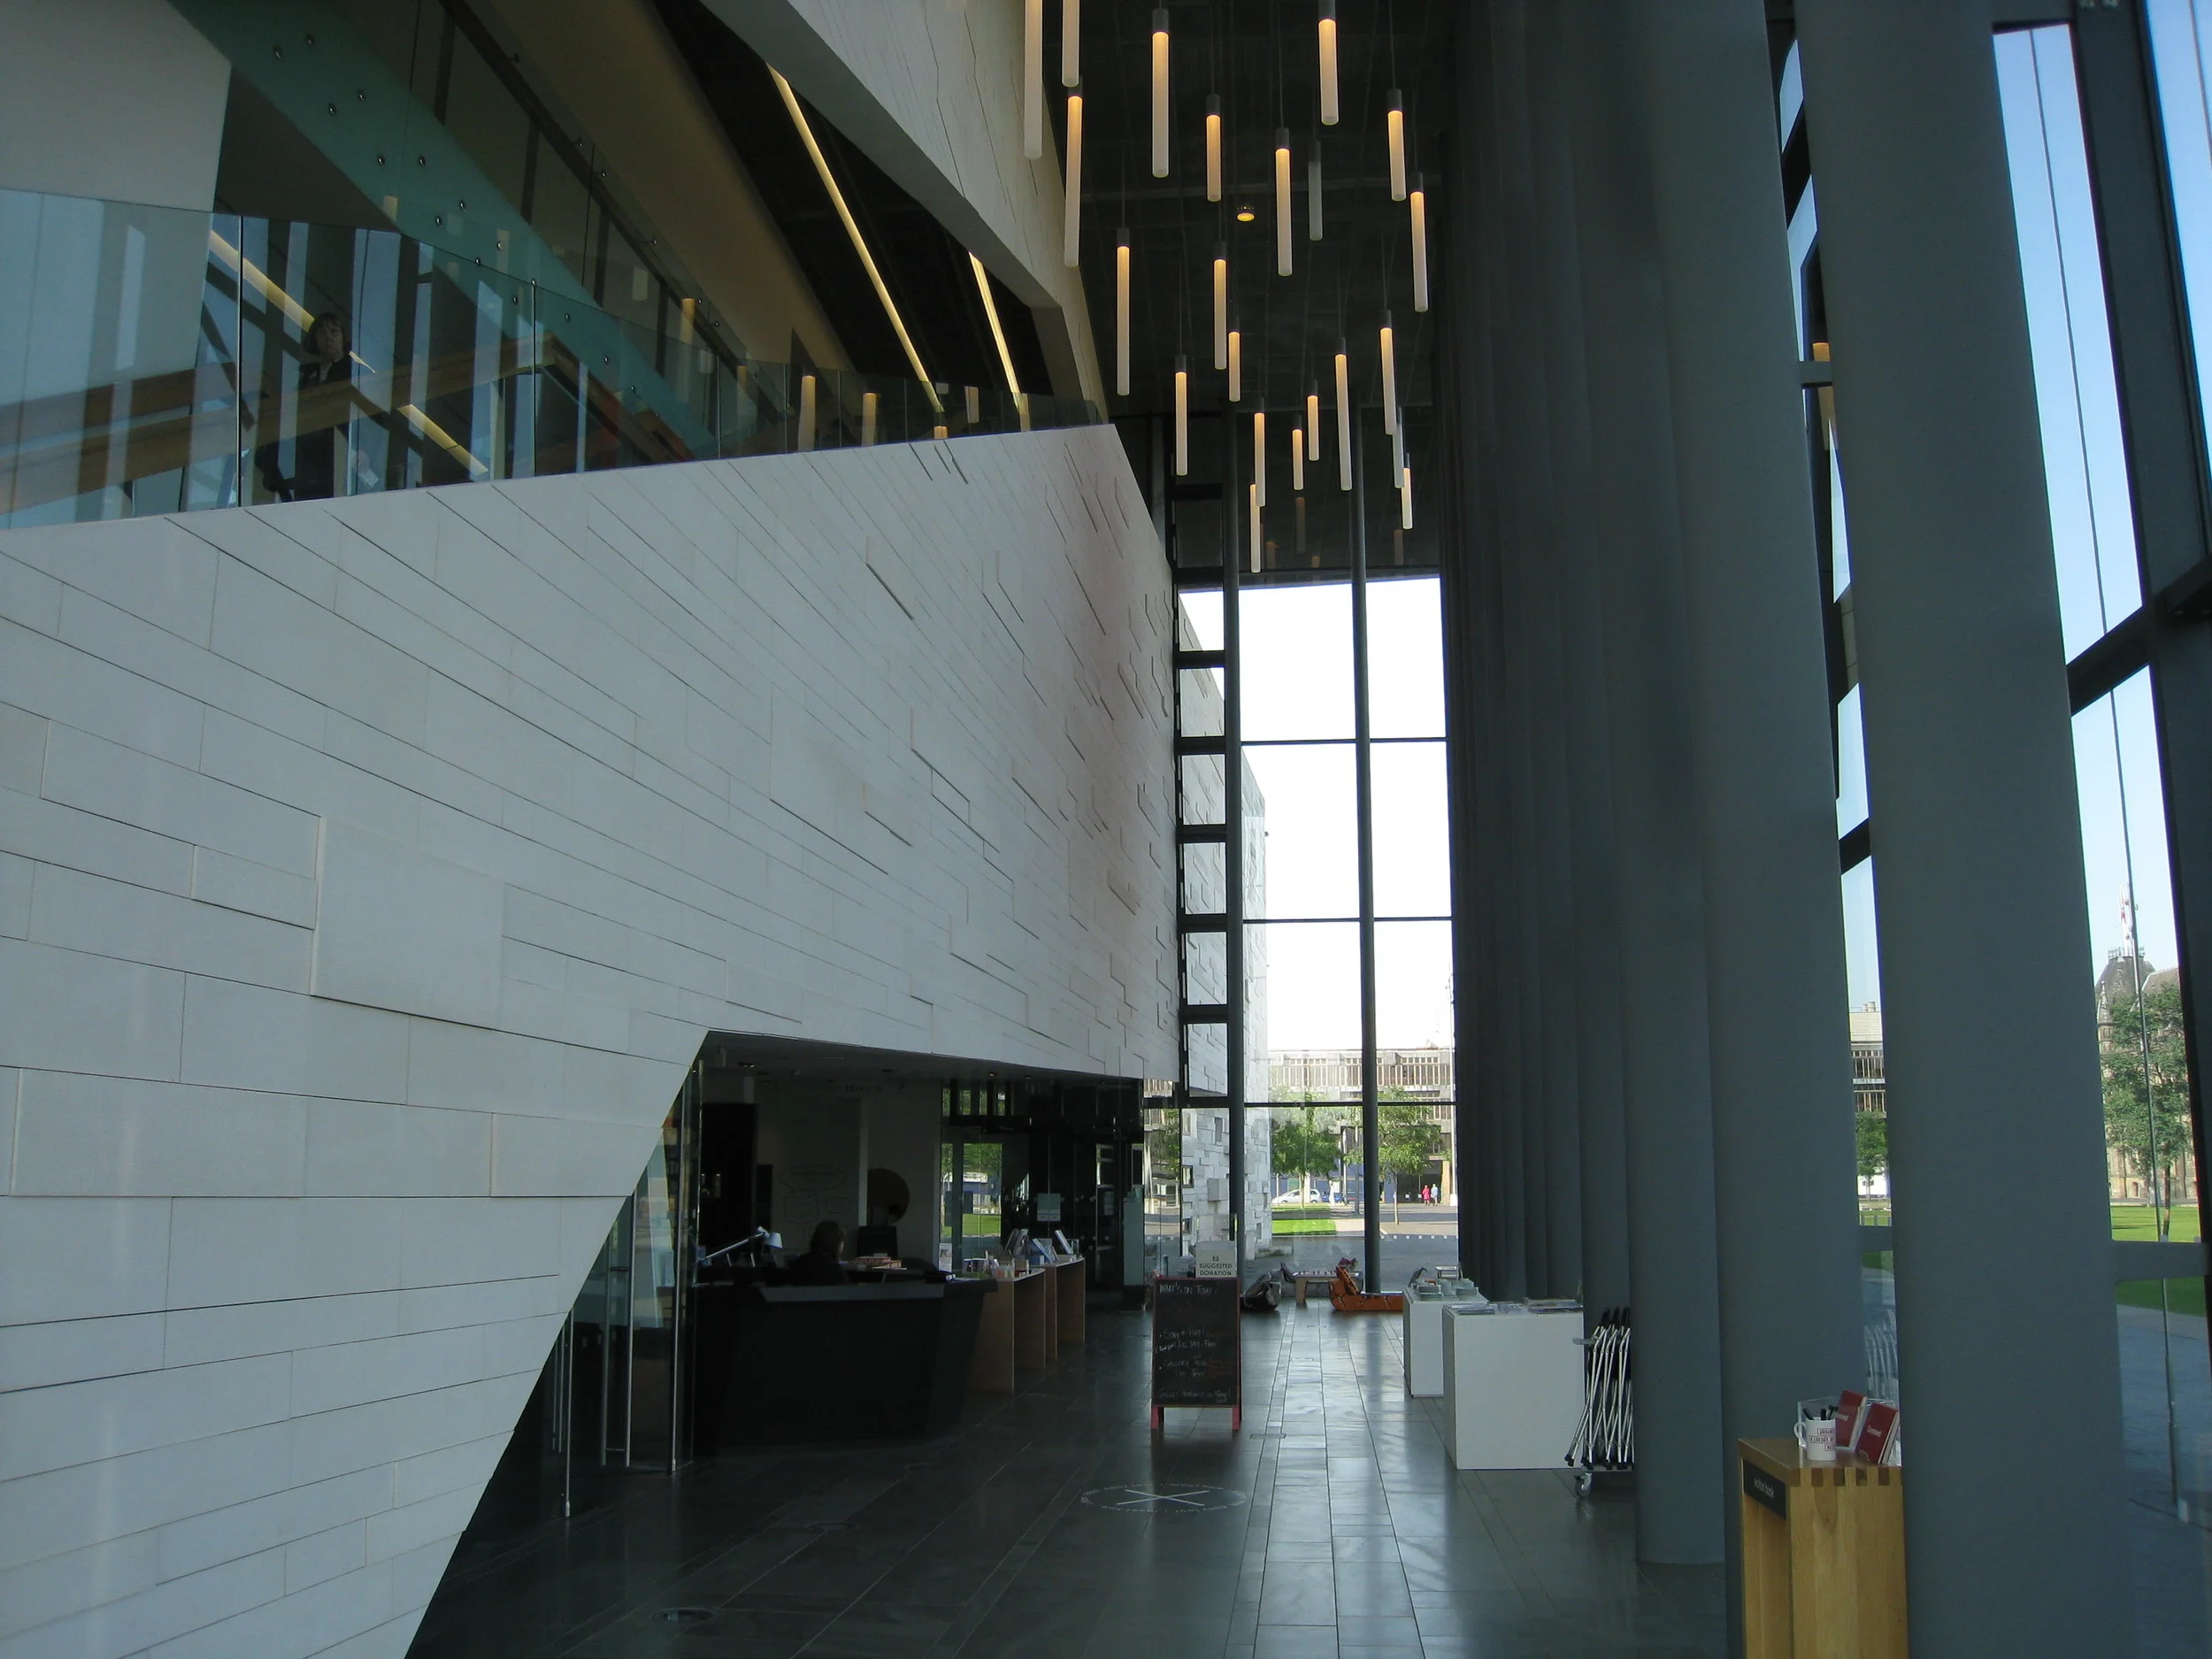
Middlesbrough--Middlesbrough Institute of Modern Art

Middlesbrough--The Bottle in front of the Middlesbrough Institute of Modern Art
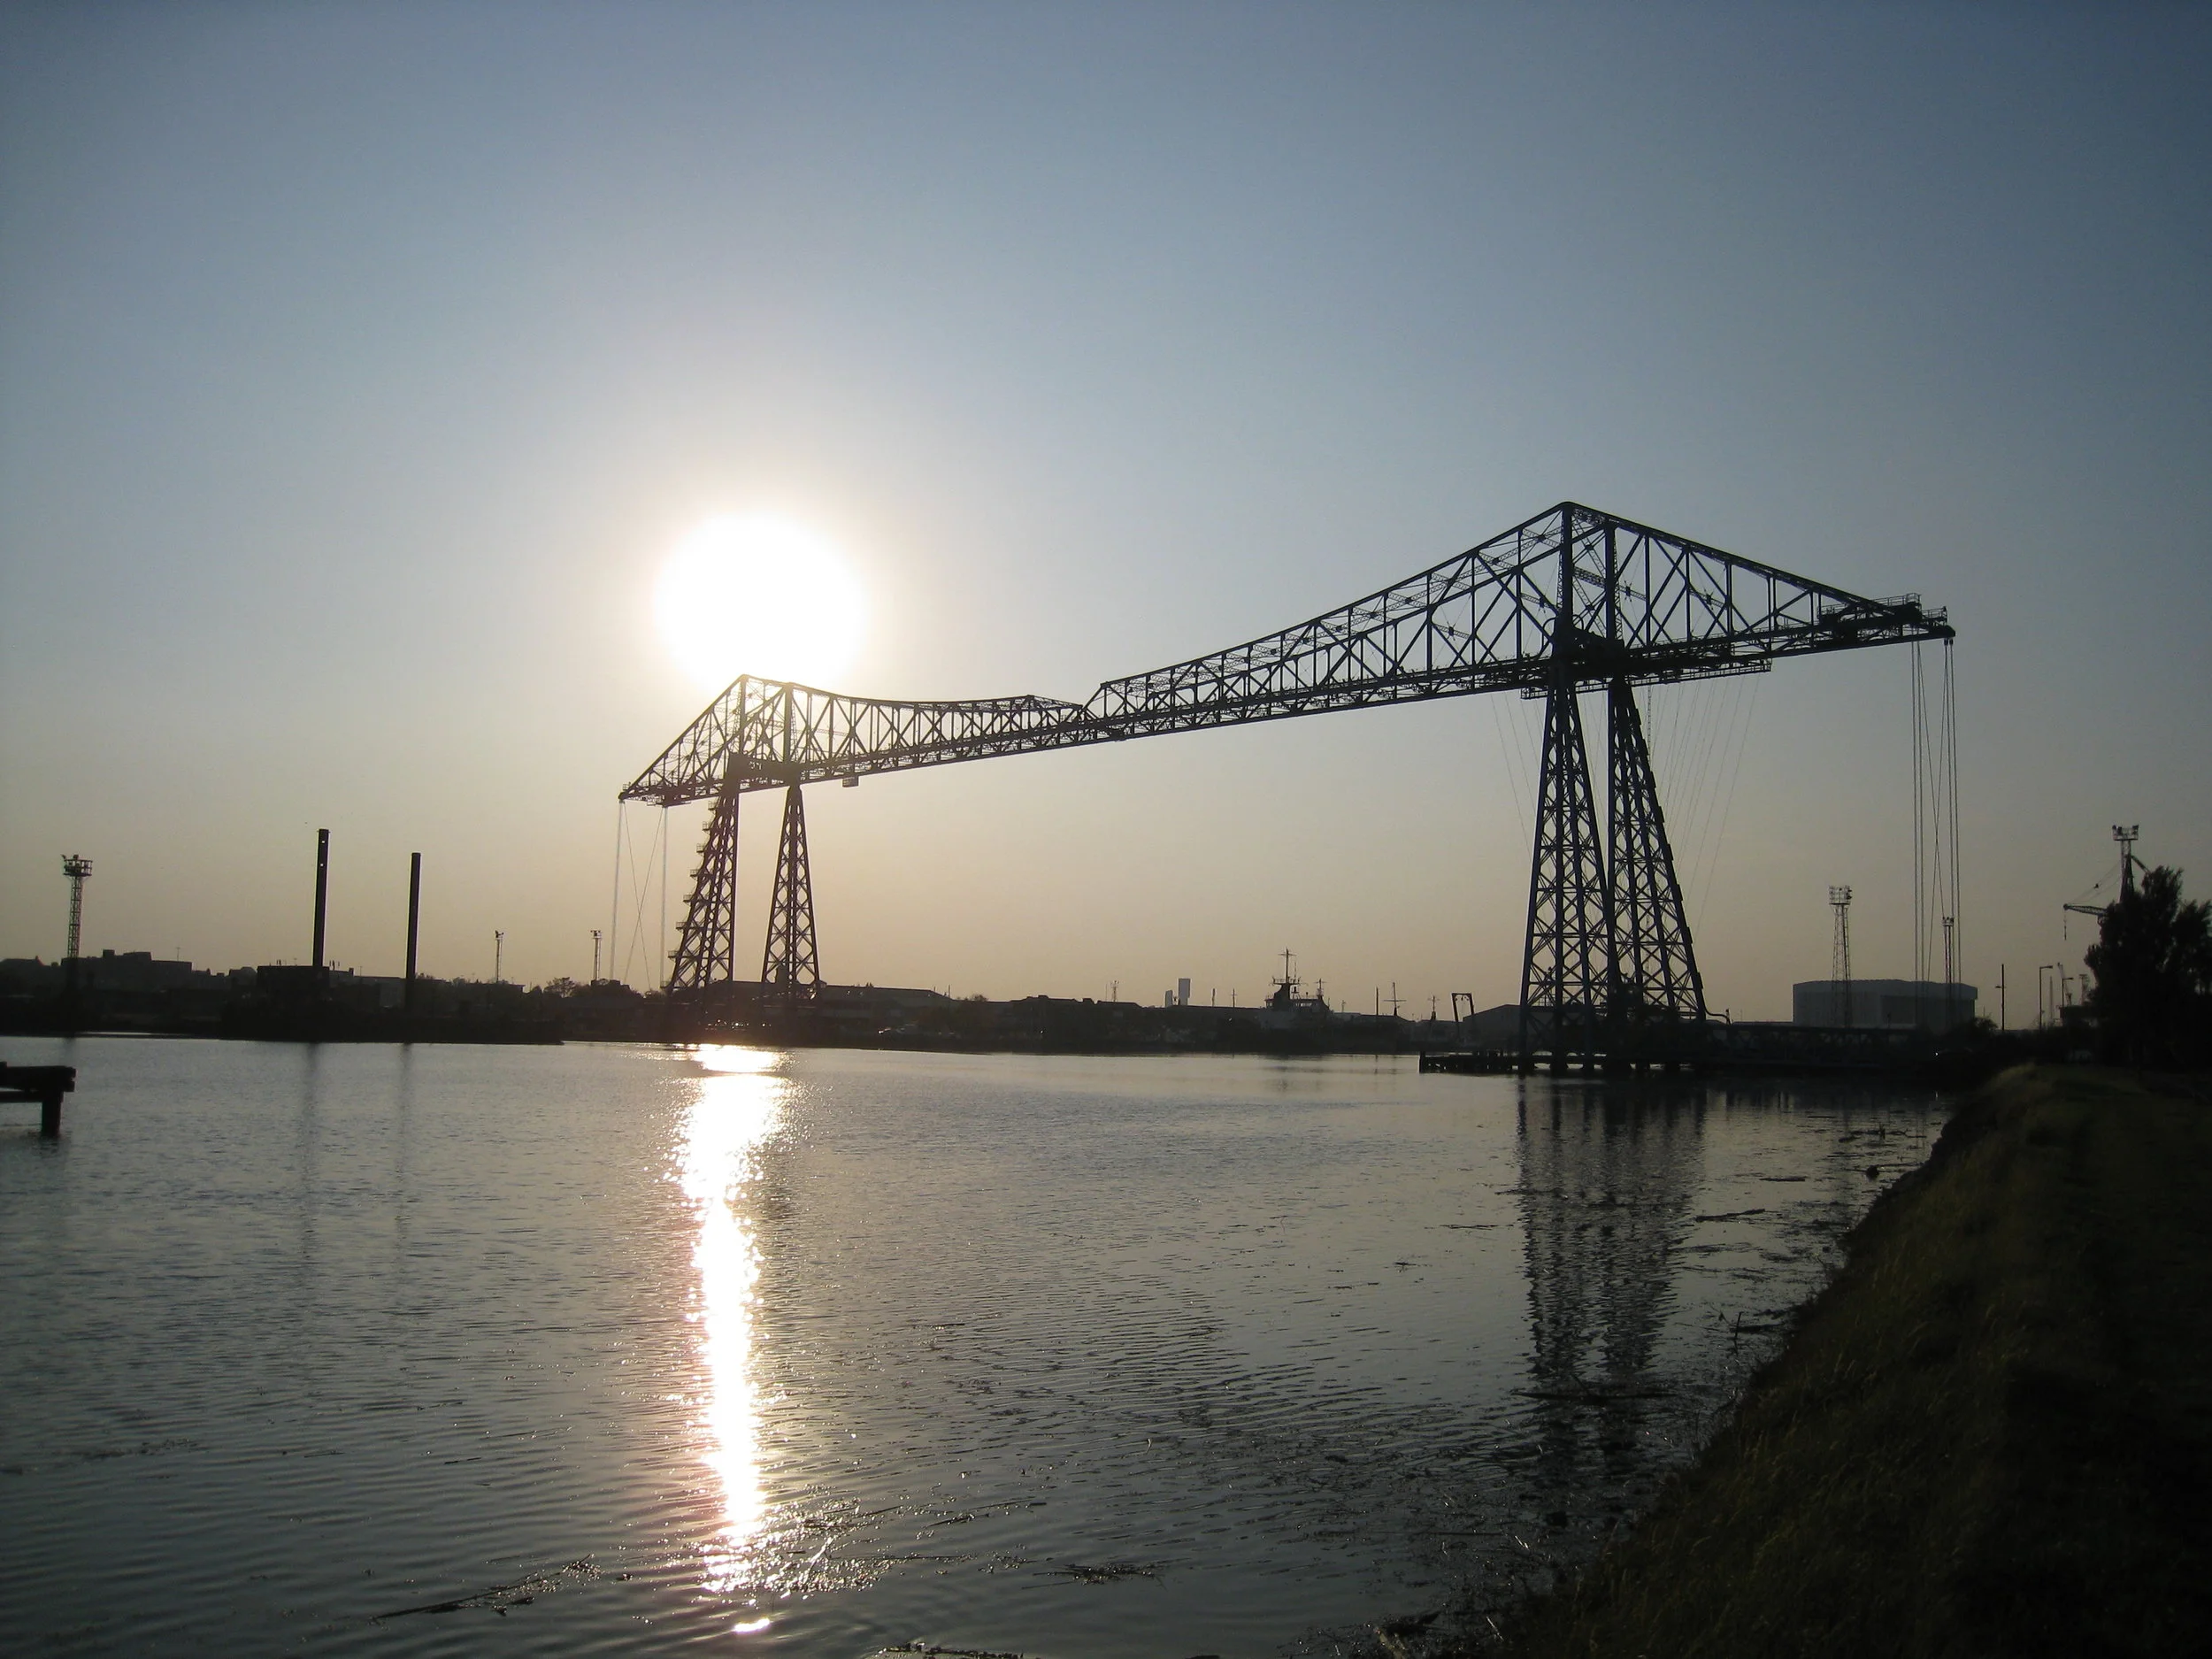
Middlesbrough--Transporter Bridge
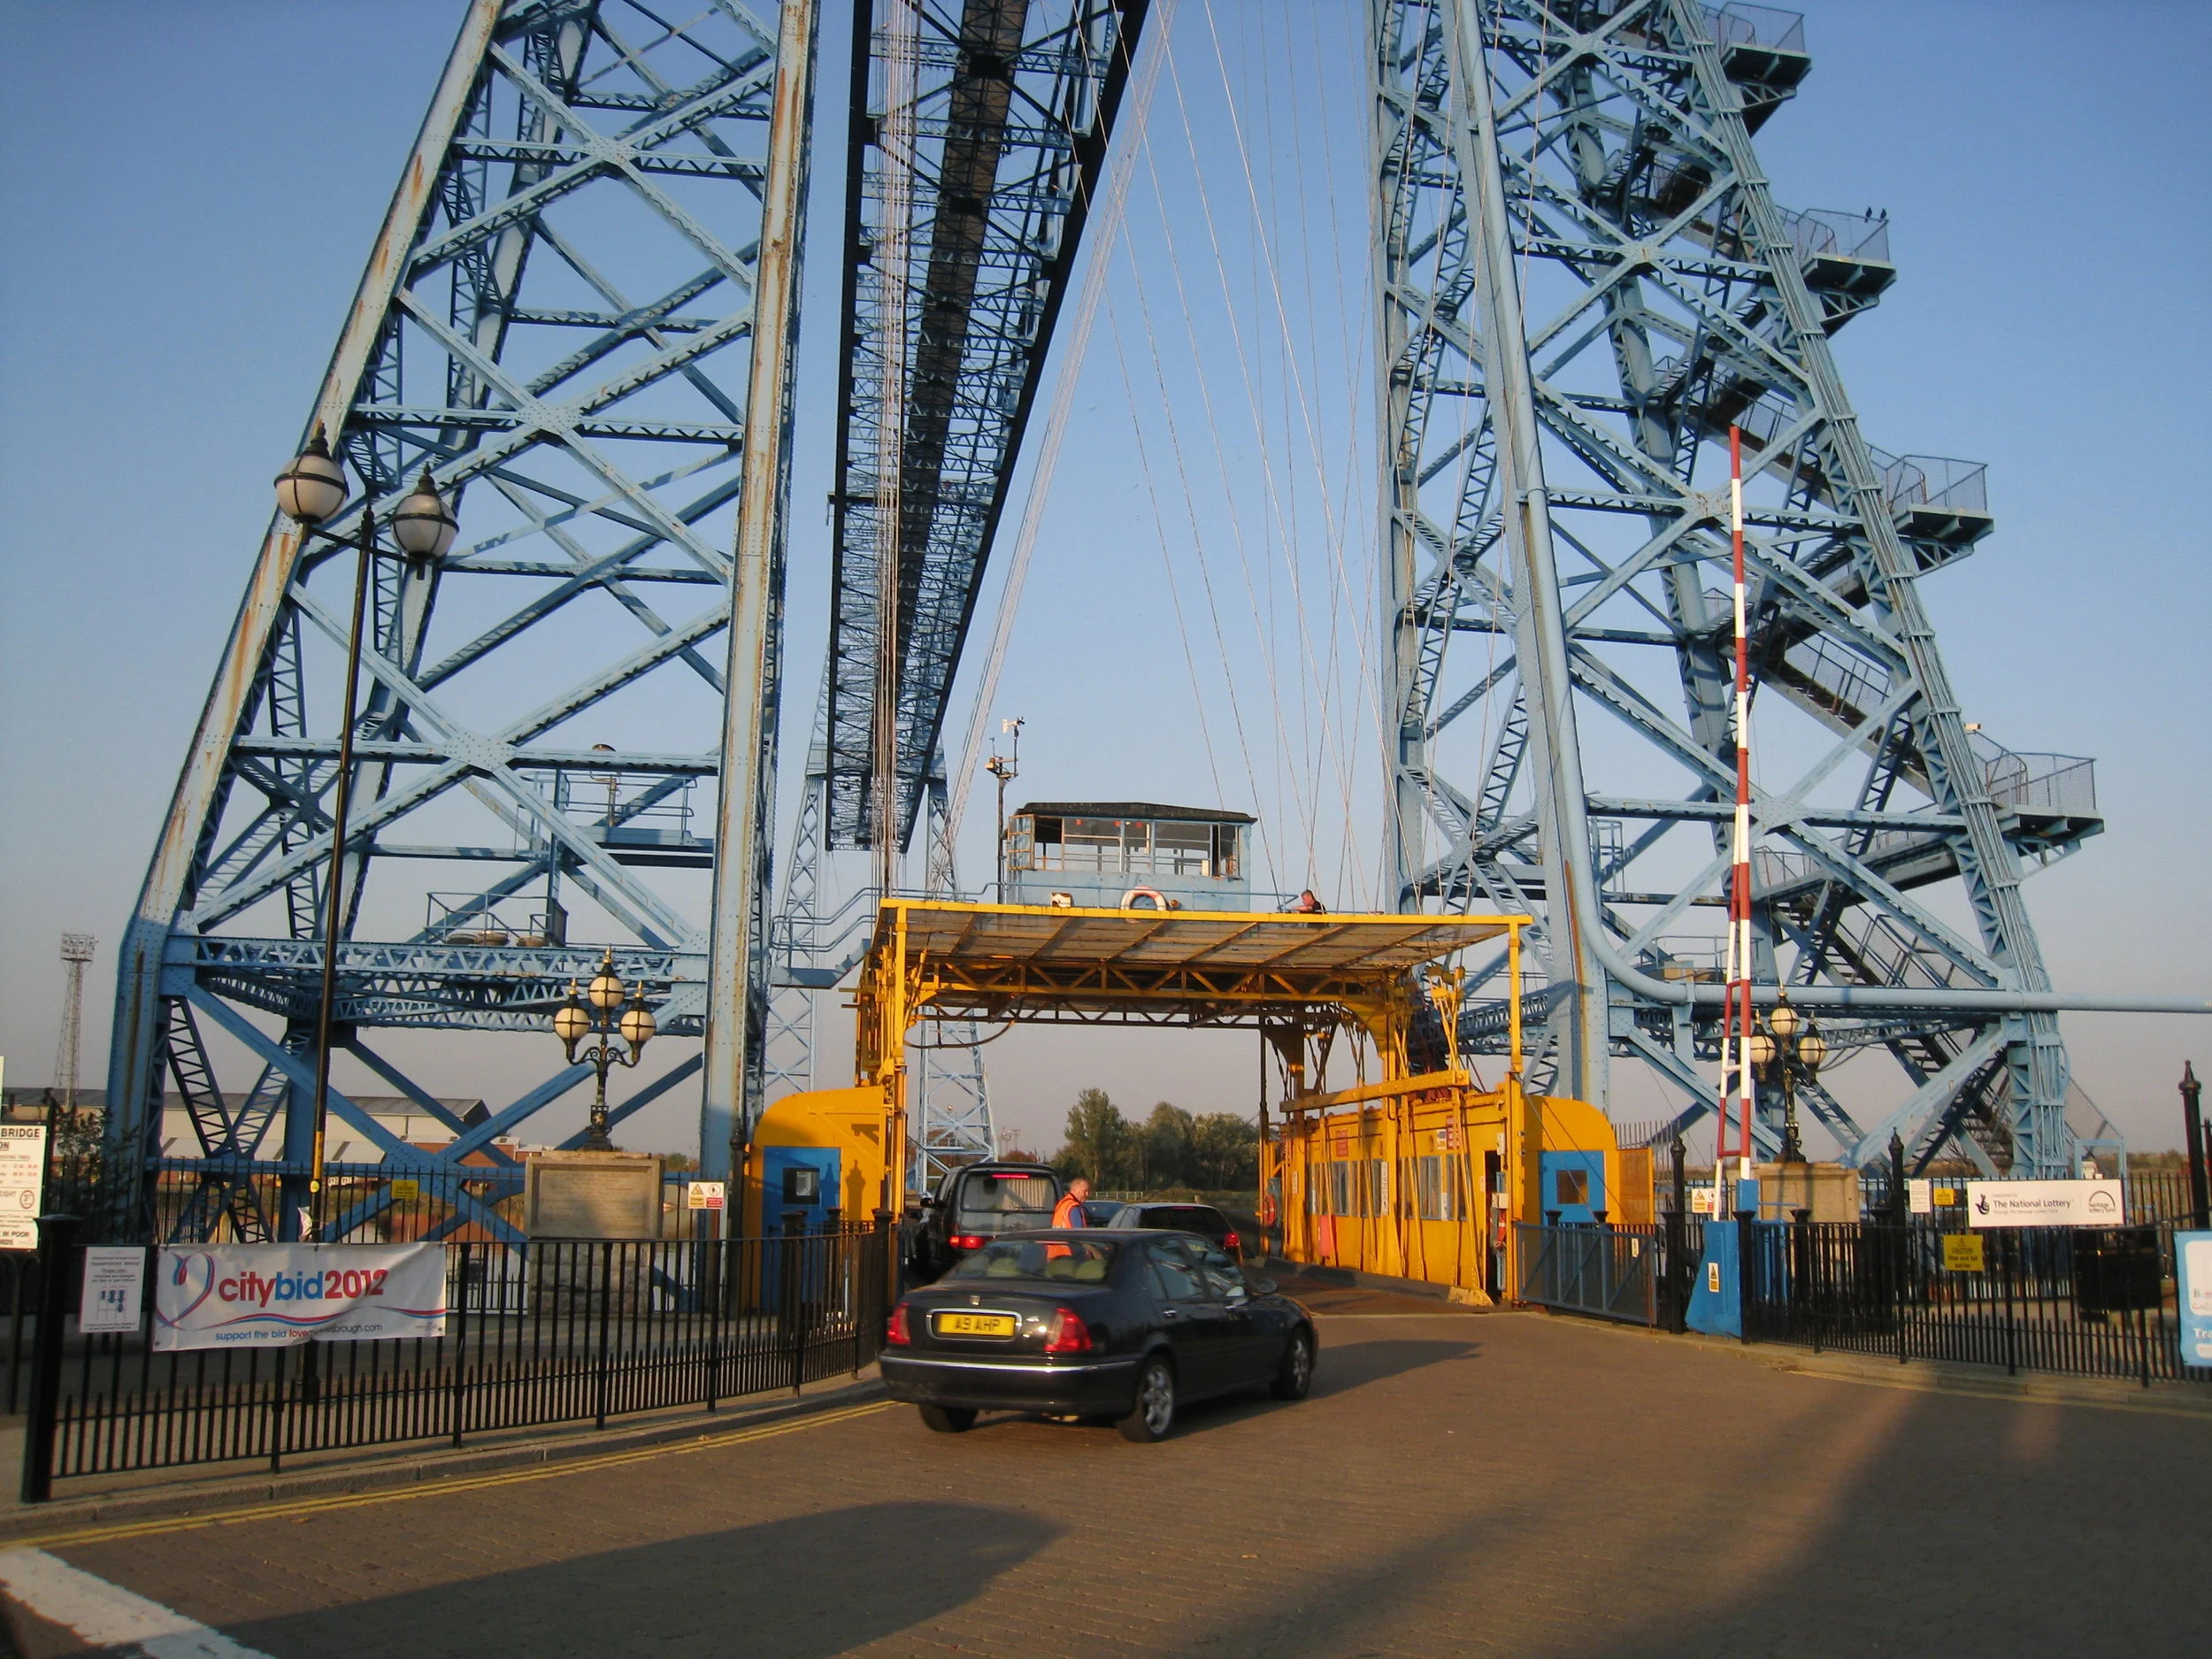
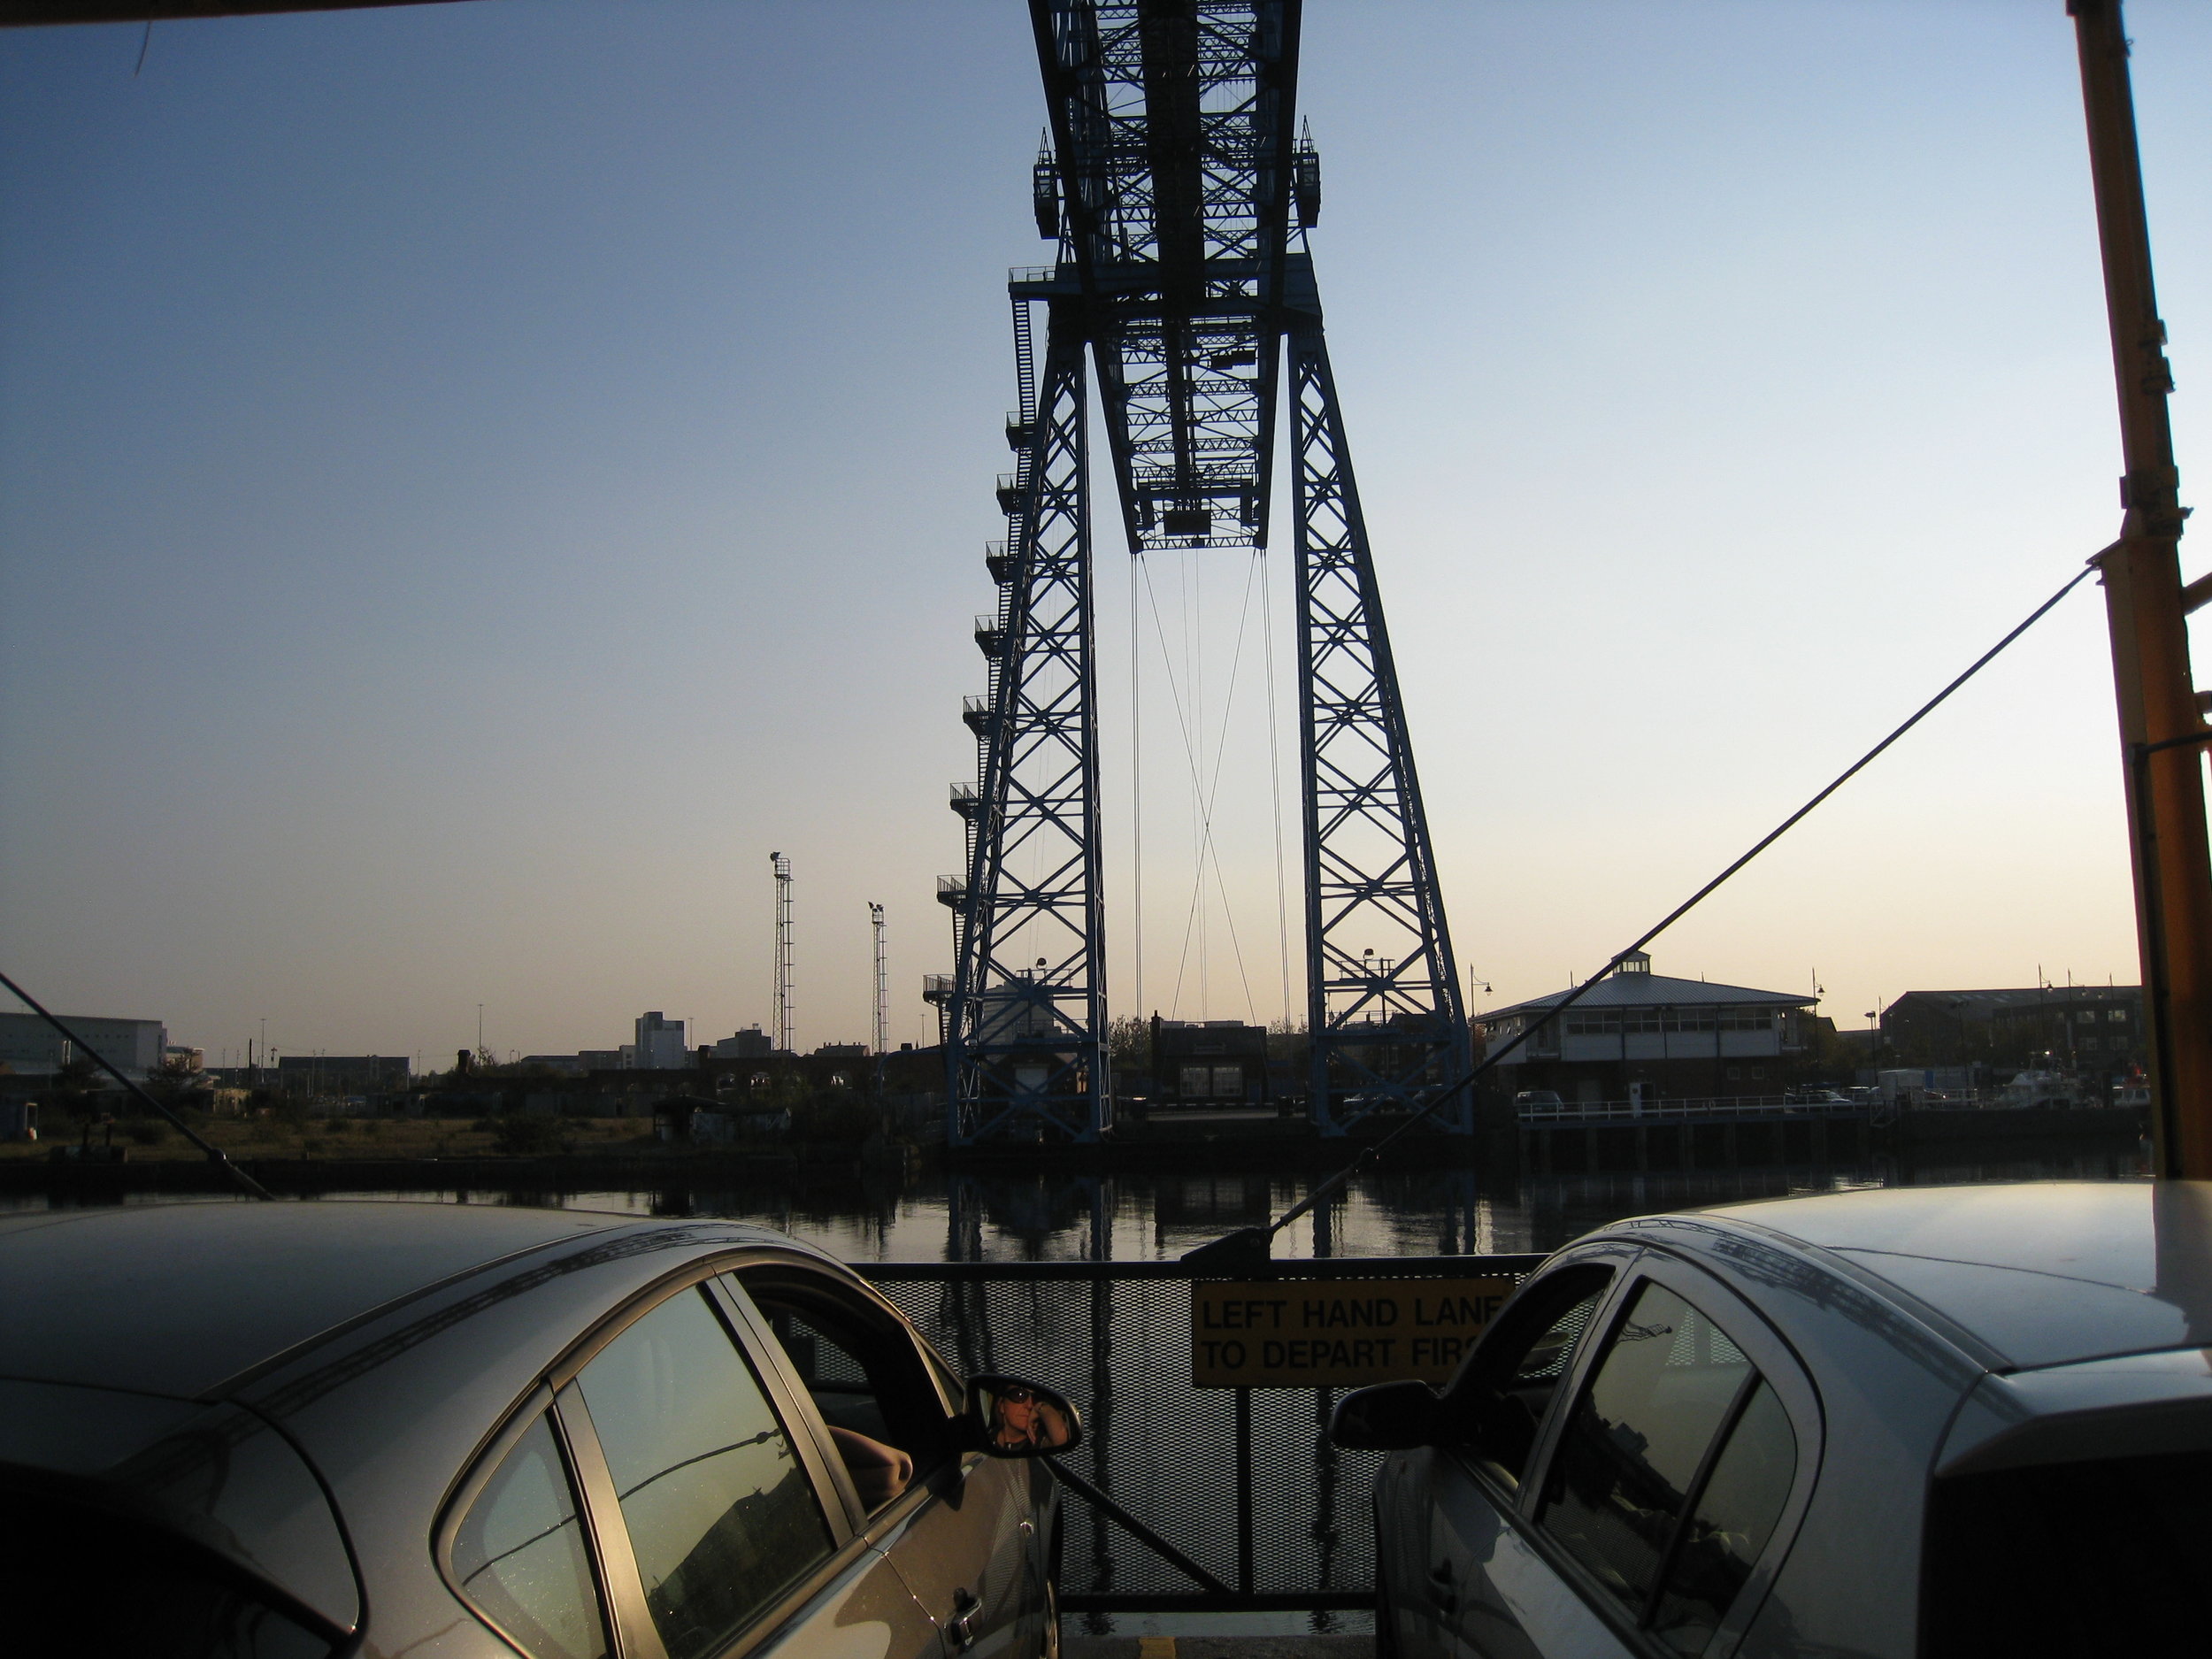
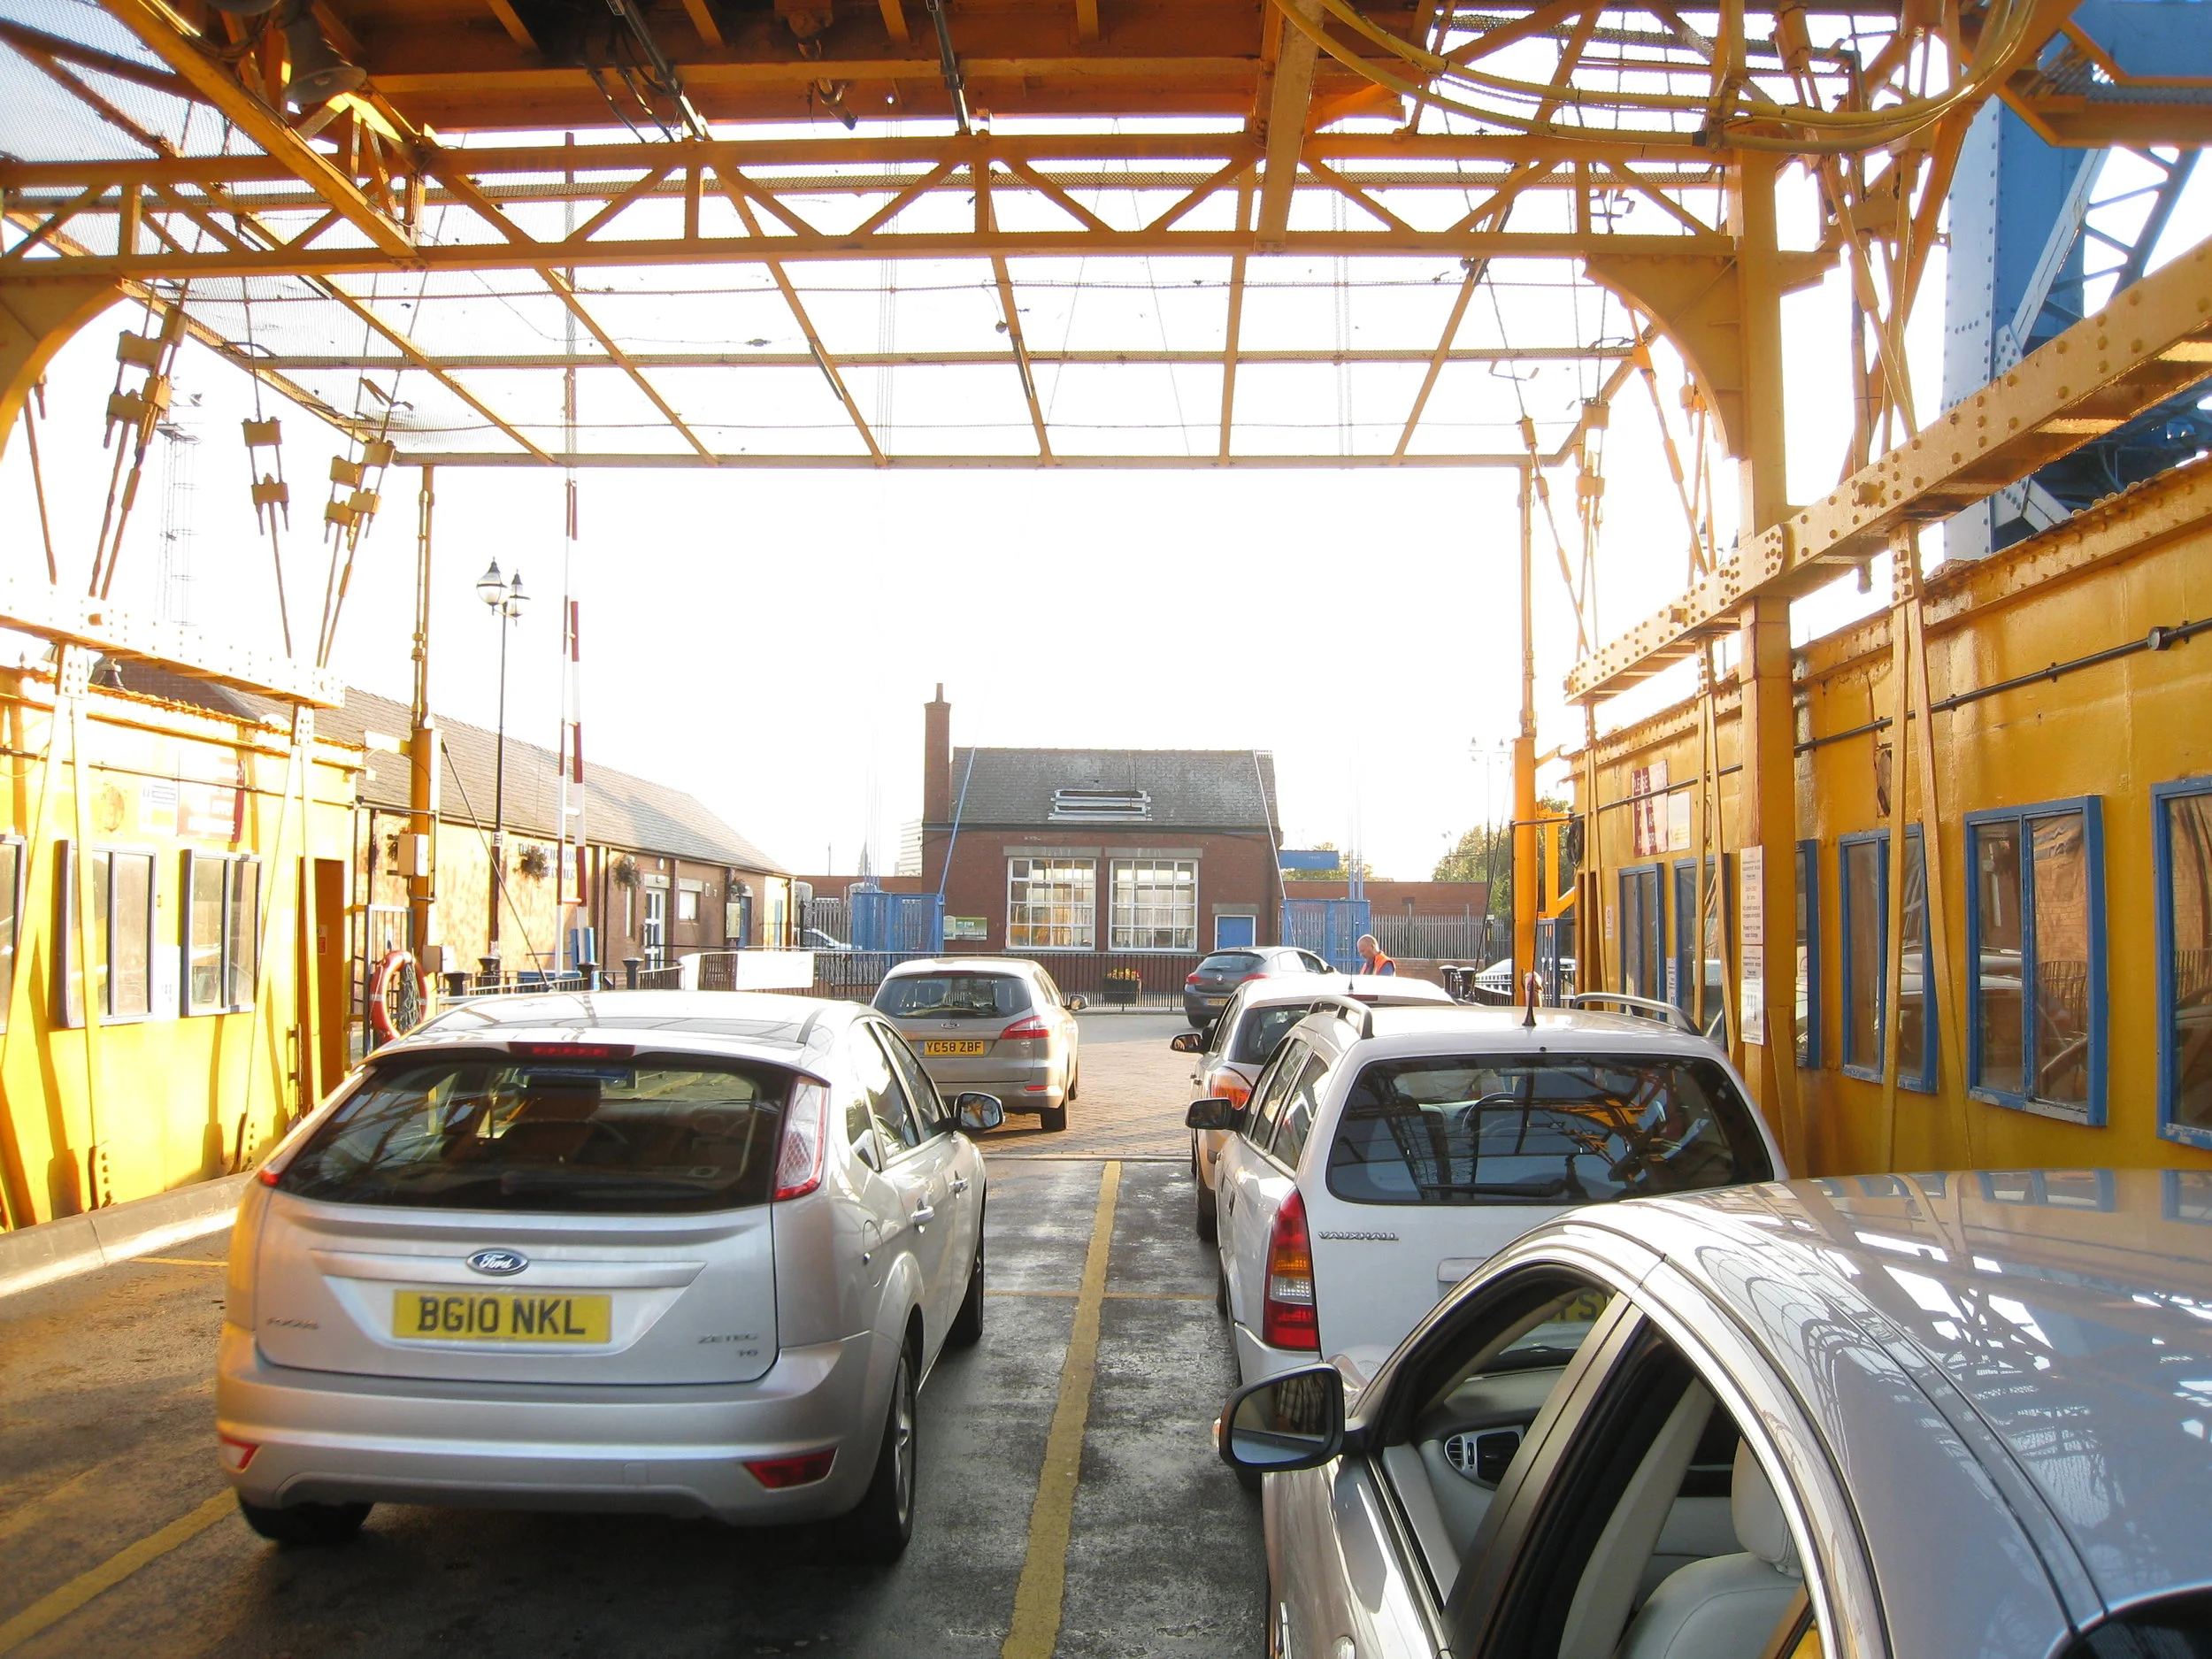
Middlesbrough--Loading theTransporter Bridge

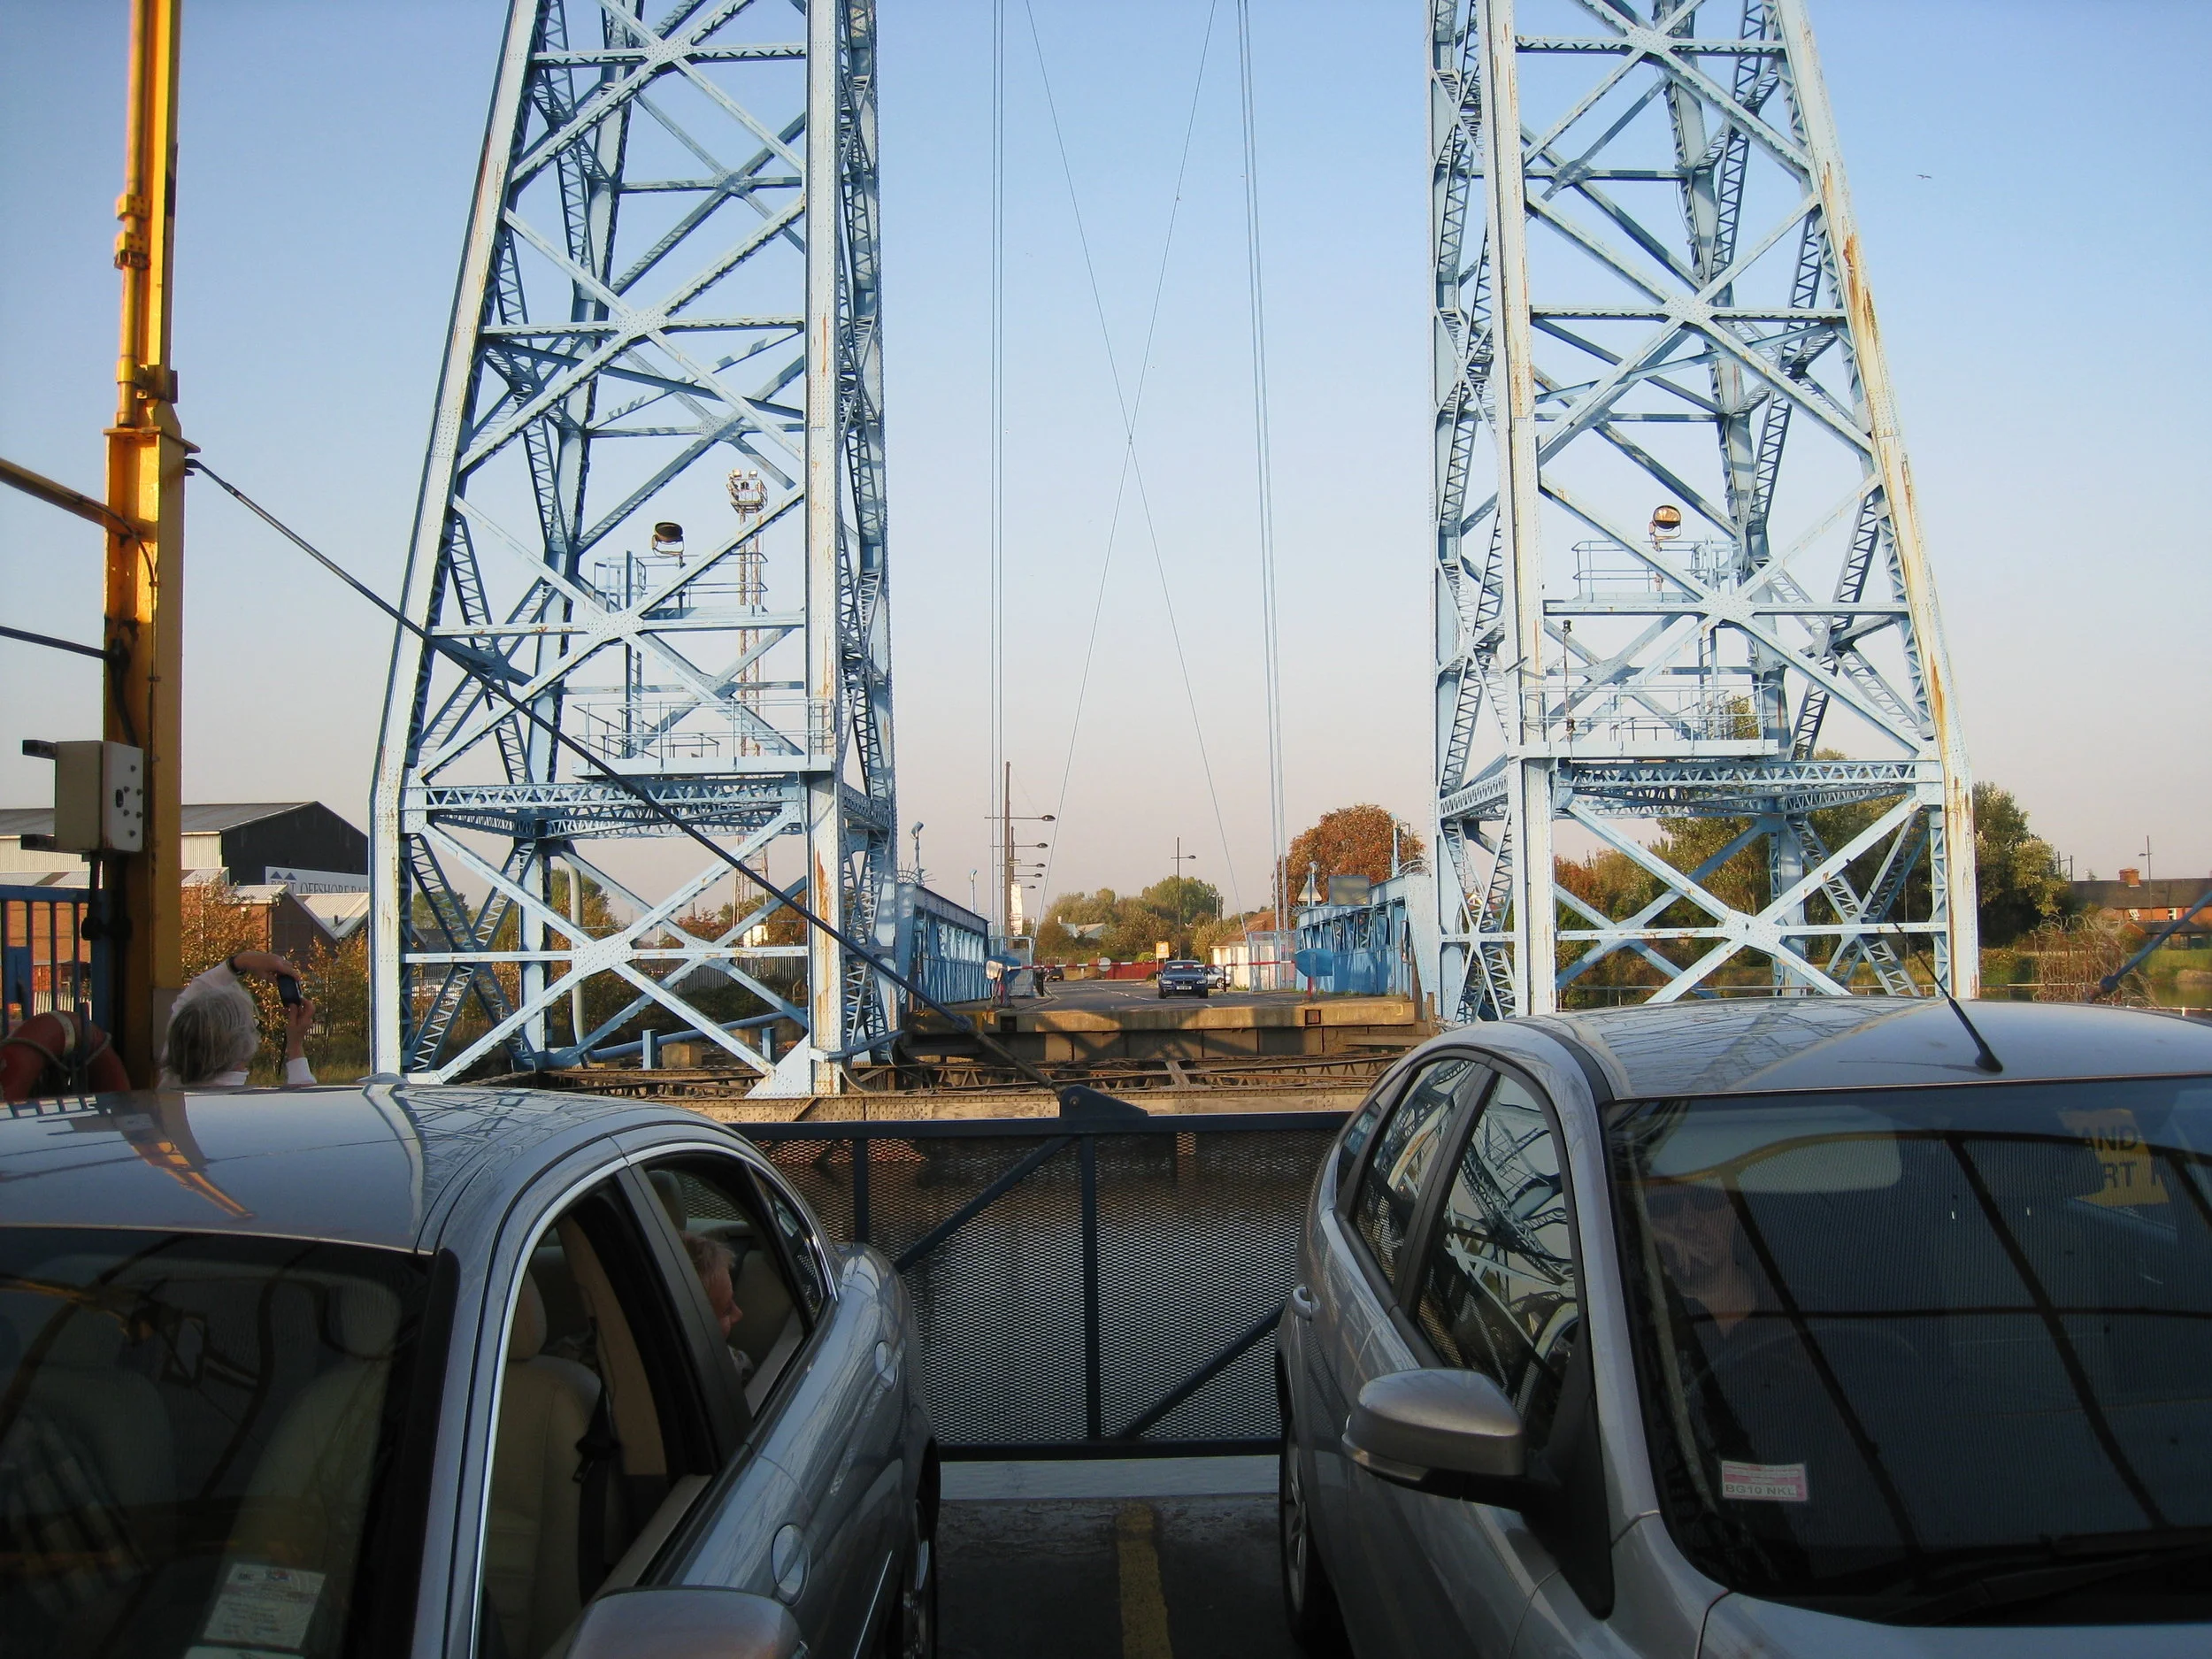
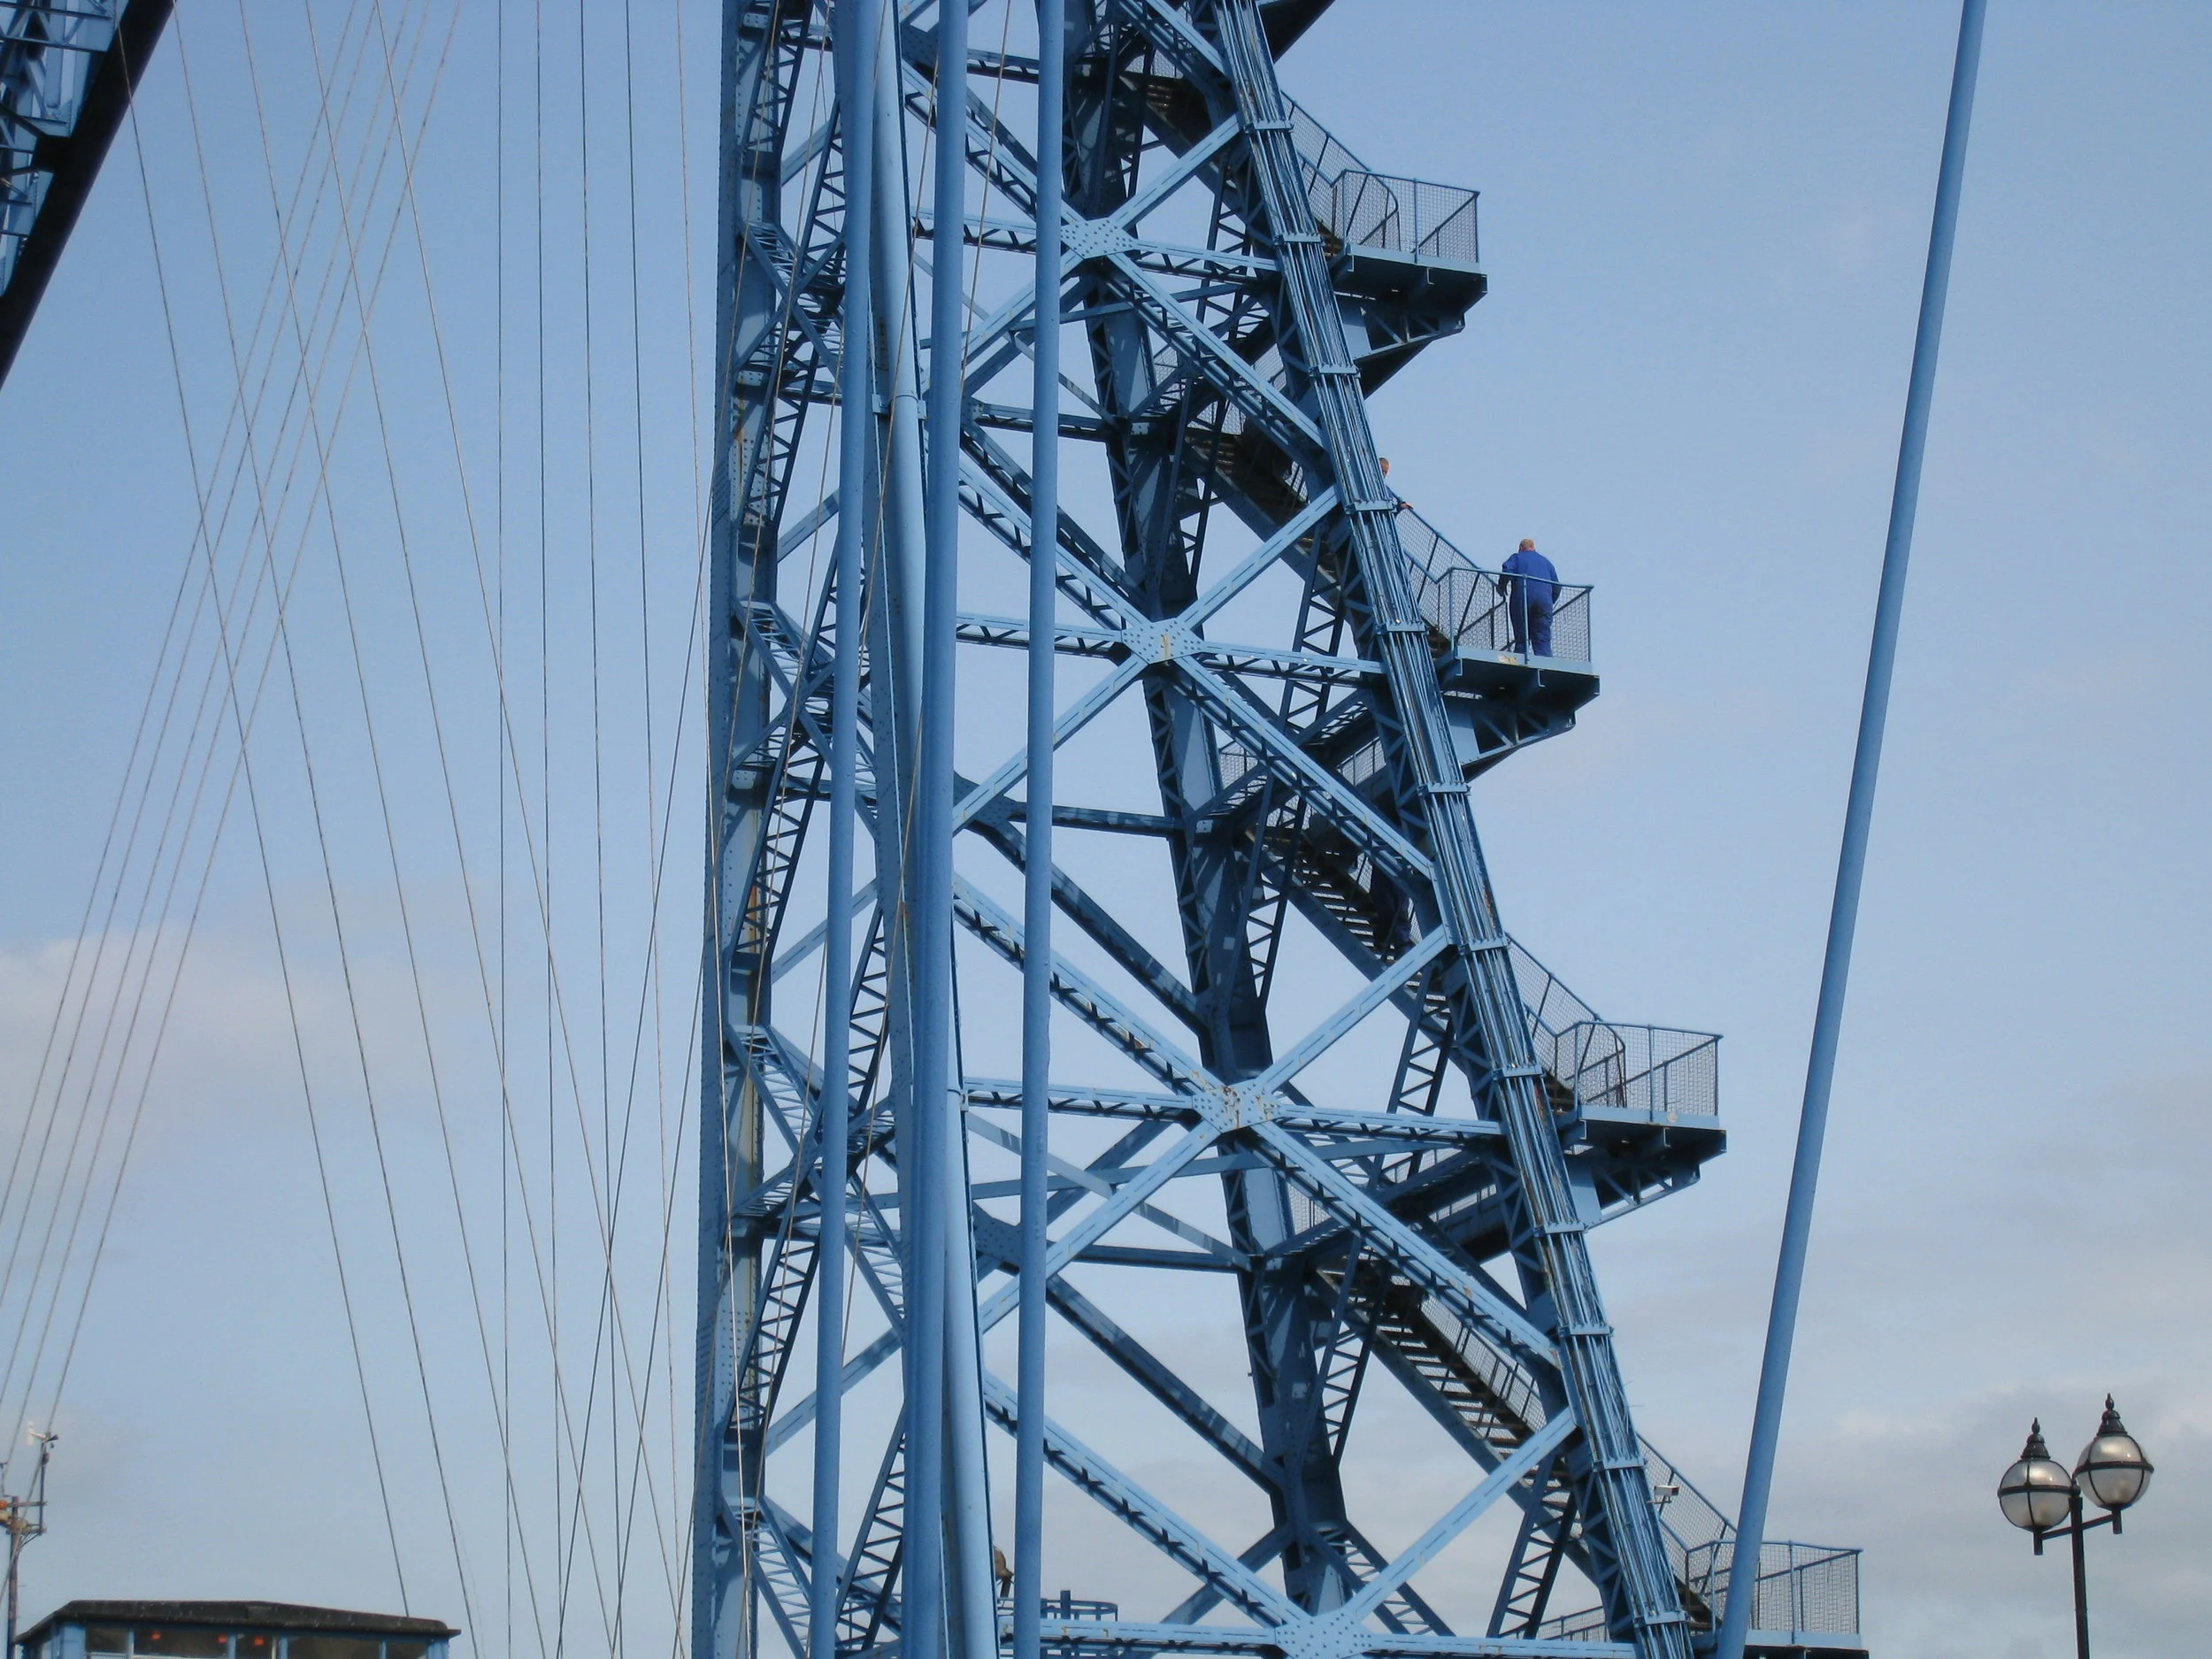
Middlesbrough--On theTransporter Bridge
Middlesbrough--On theTransporter Bridge, looking back
Middlesbrough--On theTransporter Bridge
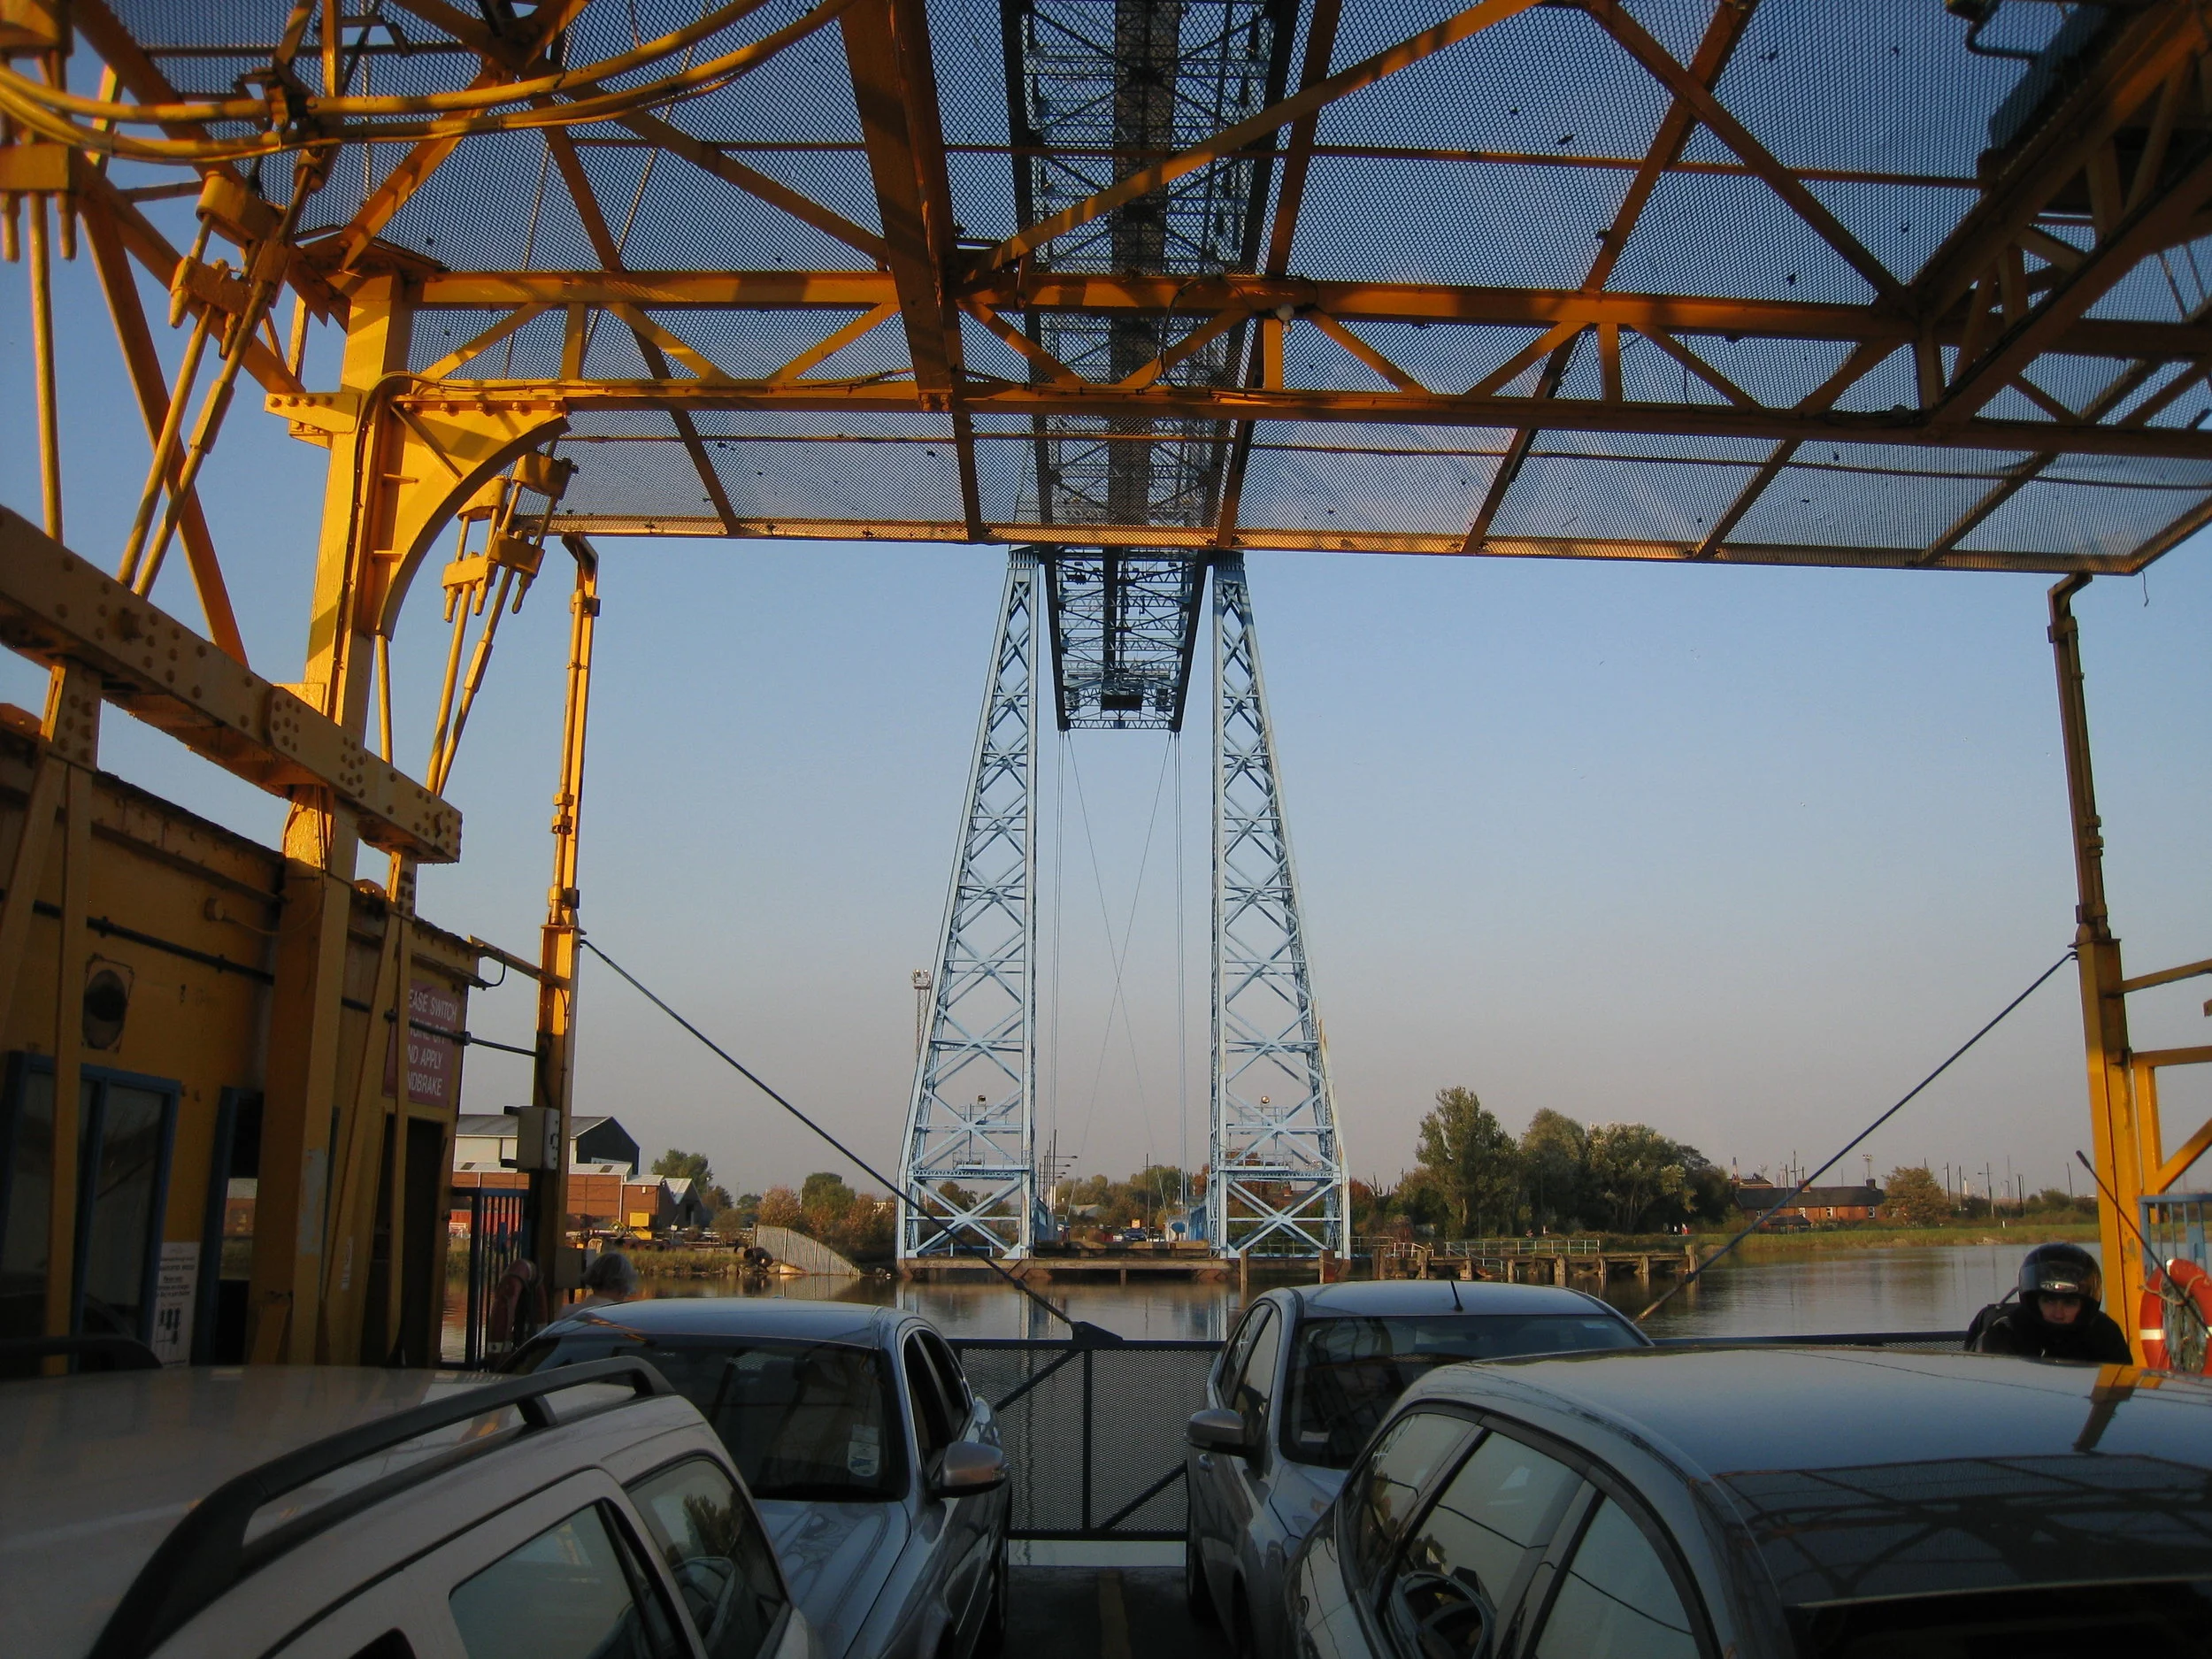
Middlesbrough--On theTransporter Bridge

Middlesbrough--On theTransporter Bridge, looking back
Middlesbrough--On theTransporter Bridge, unloading
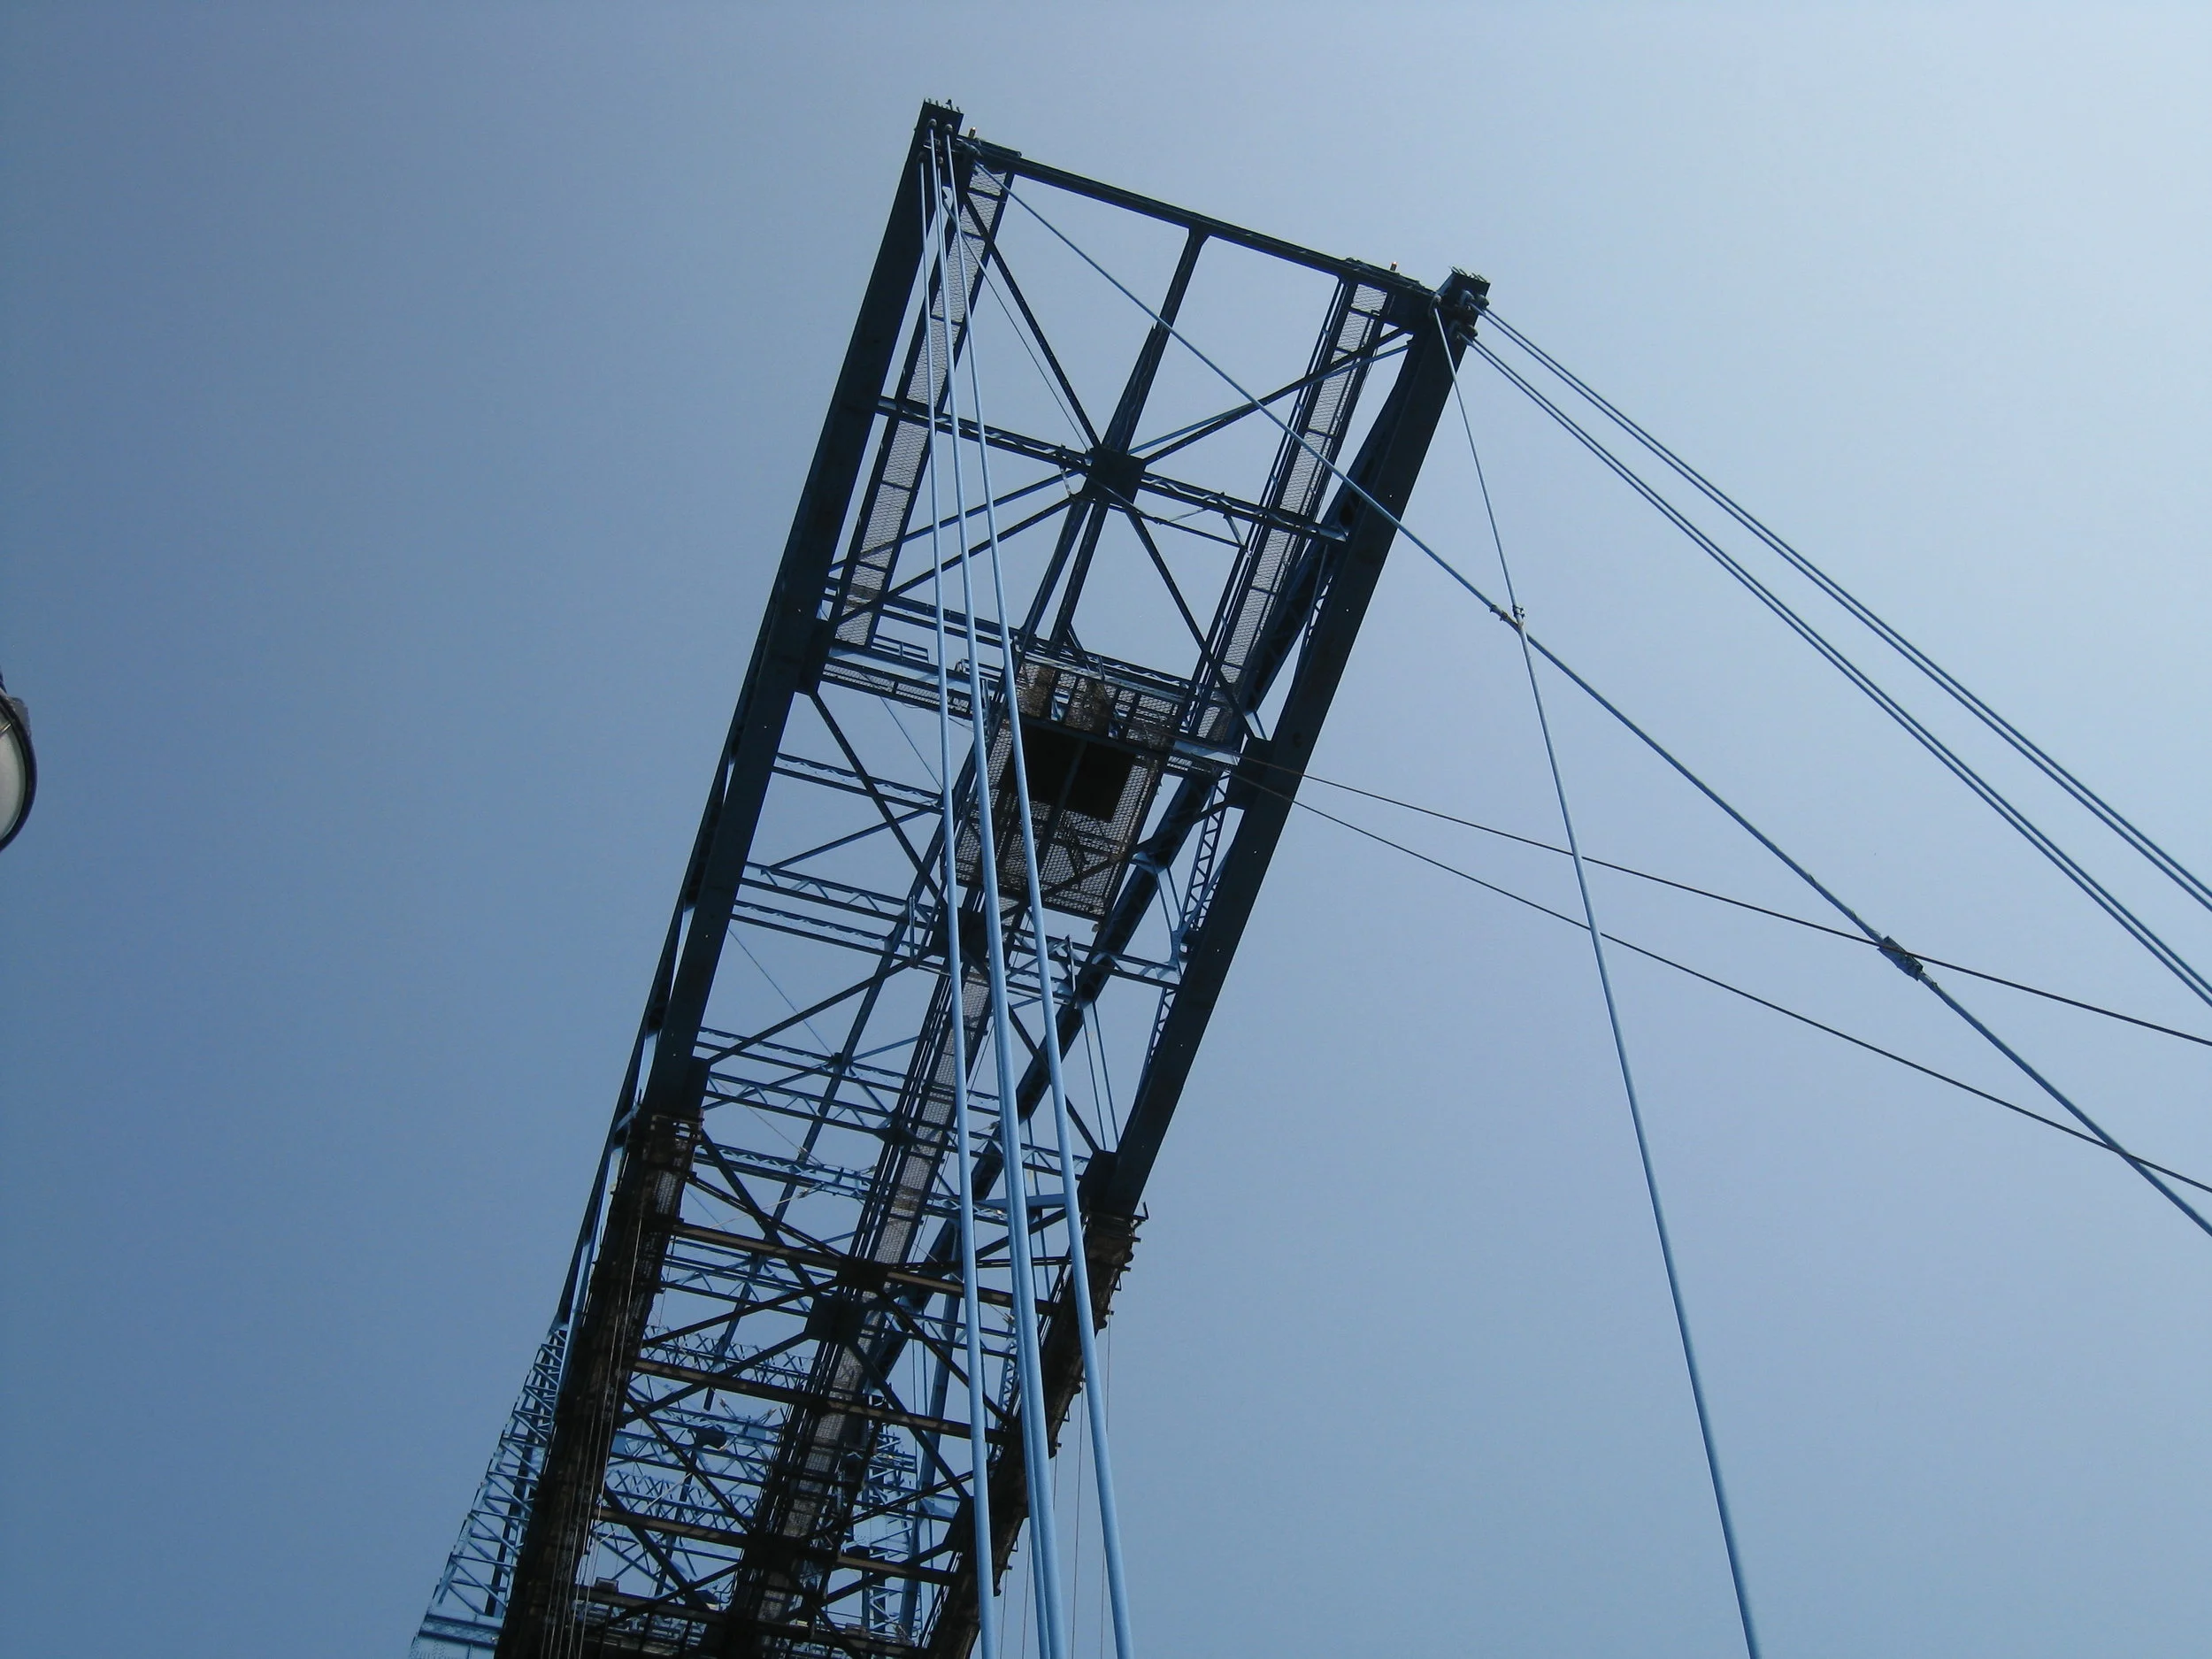
Middlesbrough--Transporter Bridge
Middlesbrough--Transporter Bridge

Middlesbrough--Transporter Bridge

Middlesbrough--TheTransporter Bridge (Transporter mid-stream)

Middlesbrough--Transporter Bridge

Middlesbrough--Transporter Bridge engine room

Middlesbrough--Transporter Bridge engine room--Original Westinghouse Motor
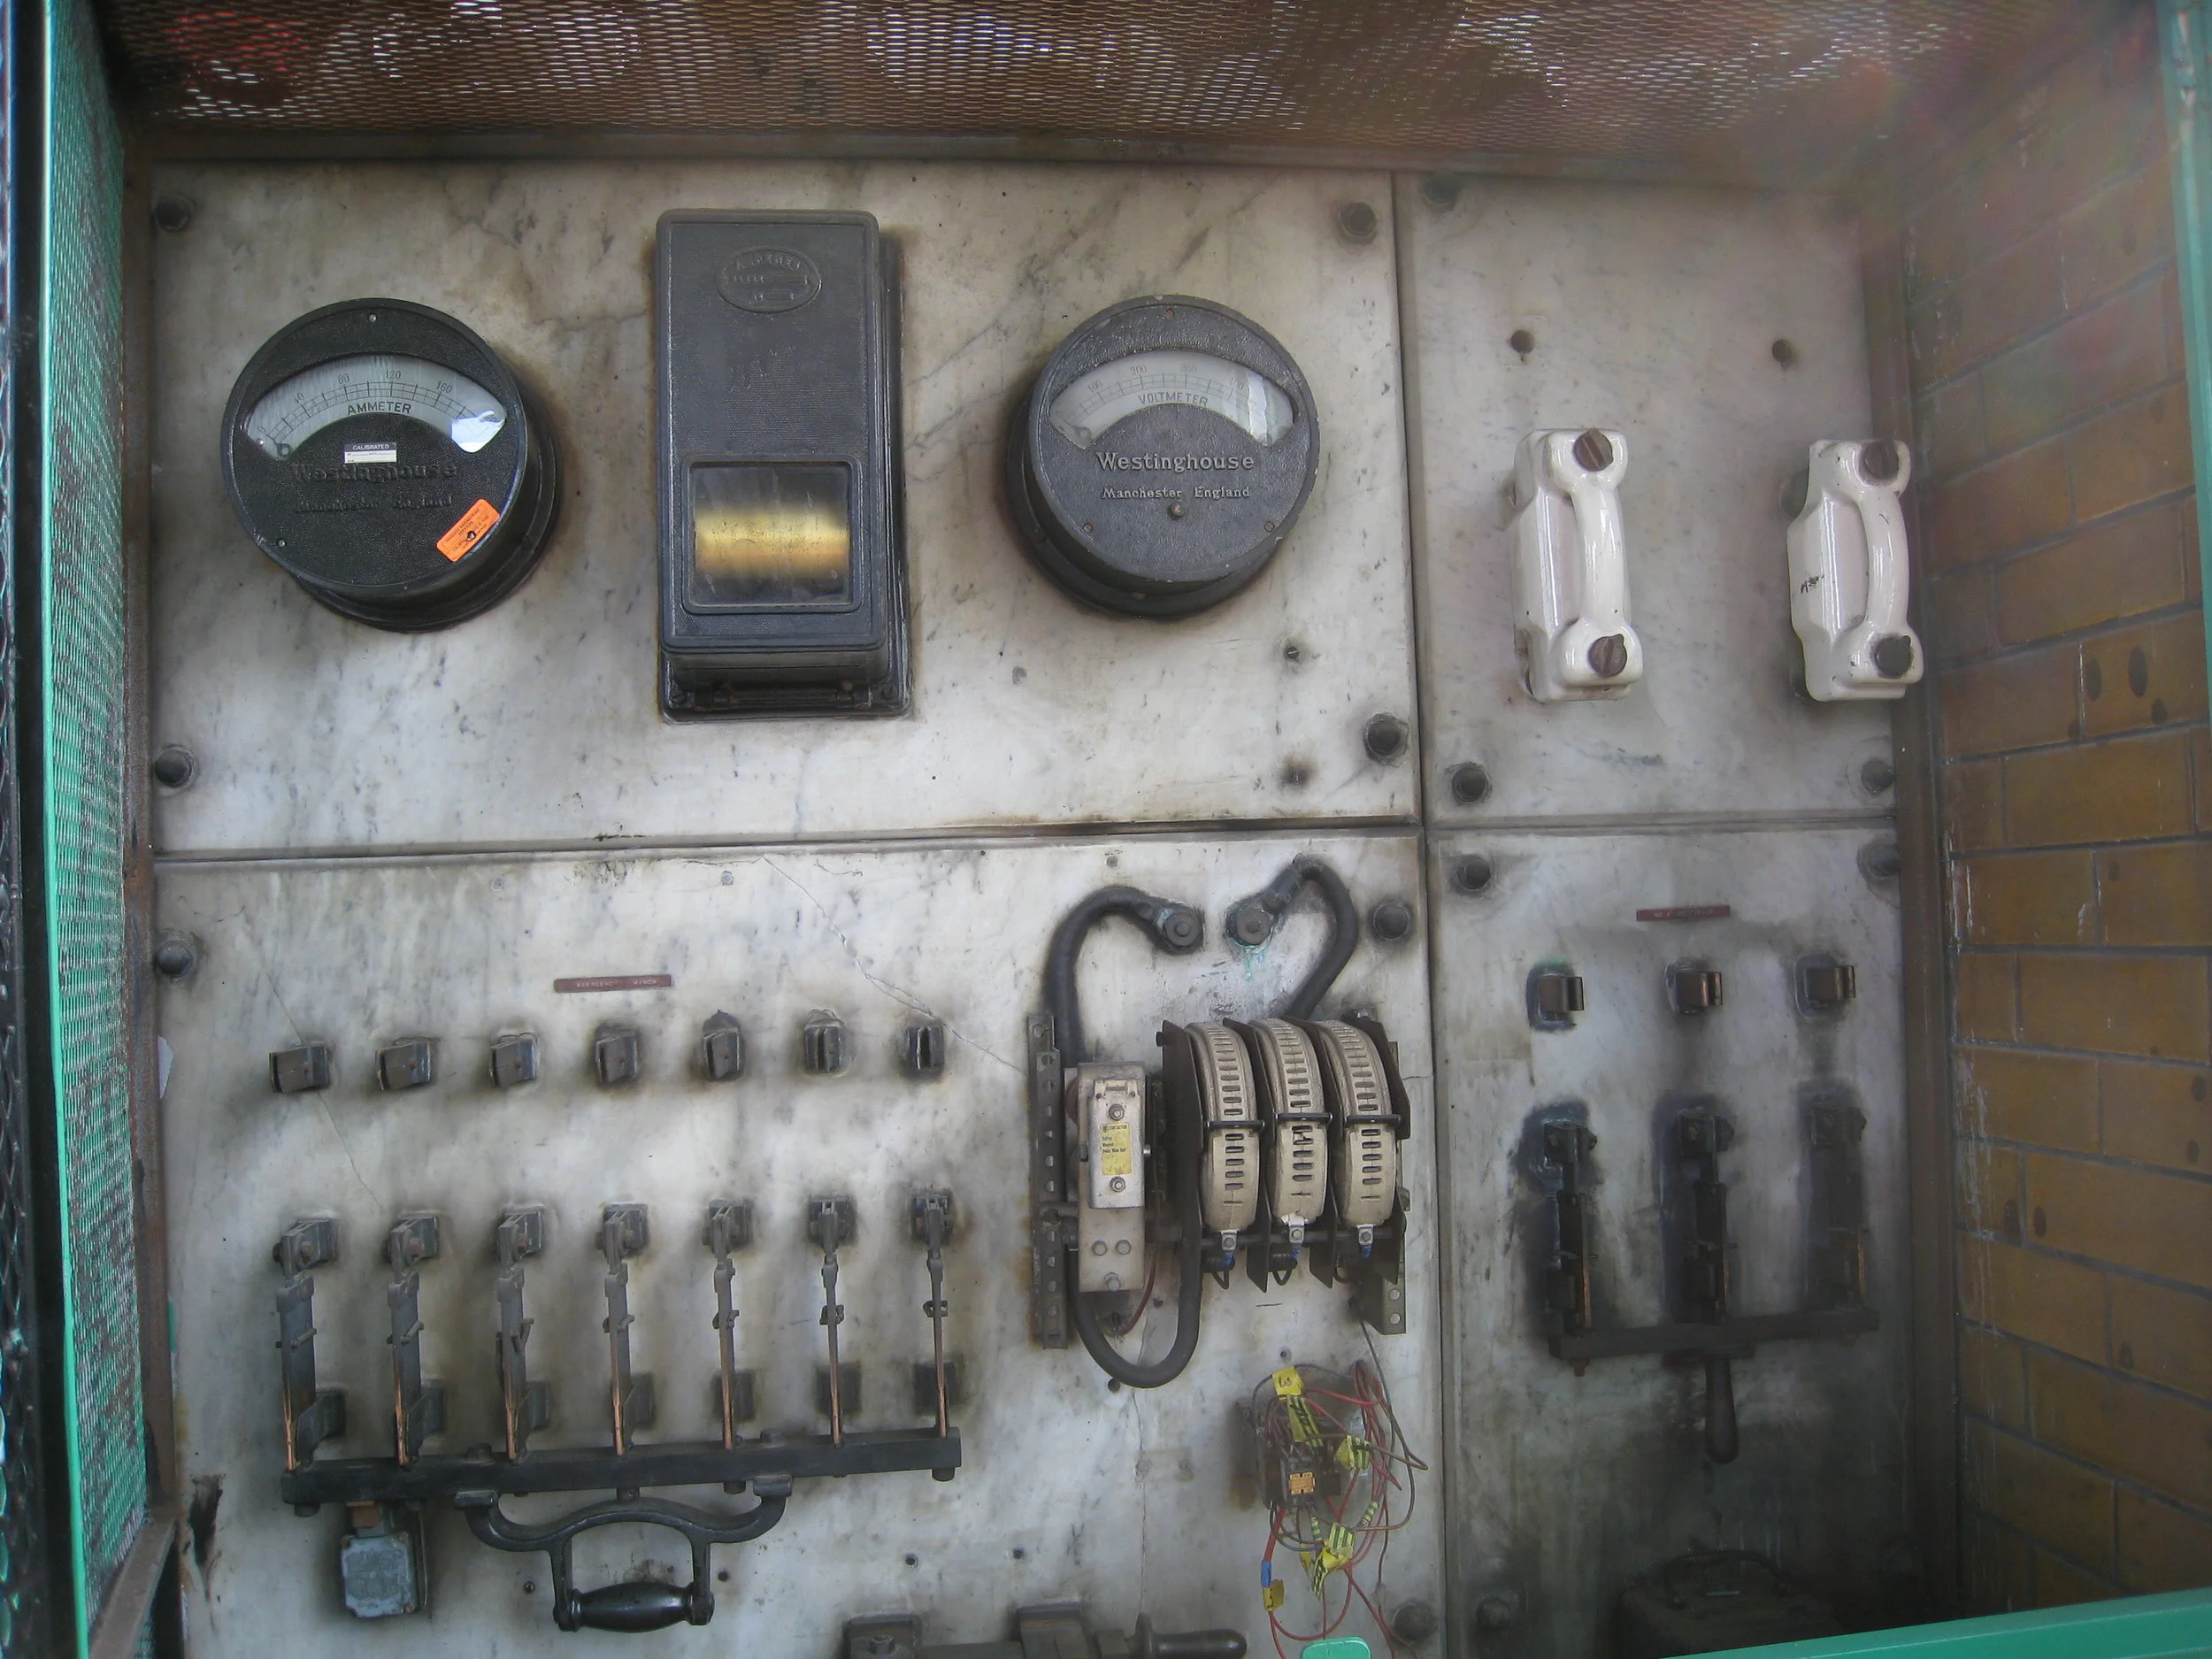
Middlesbrough--Transporter Bridge engine room--original electrical board
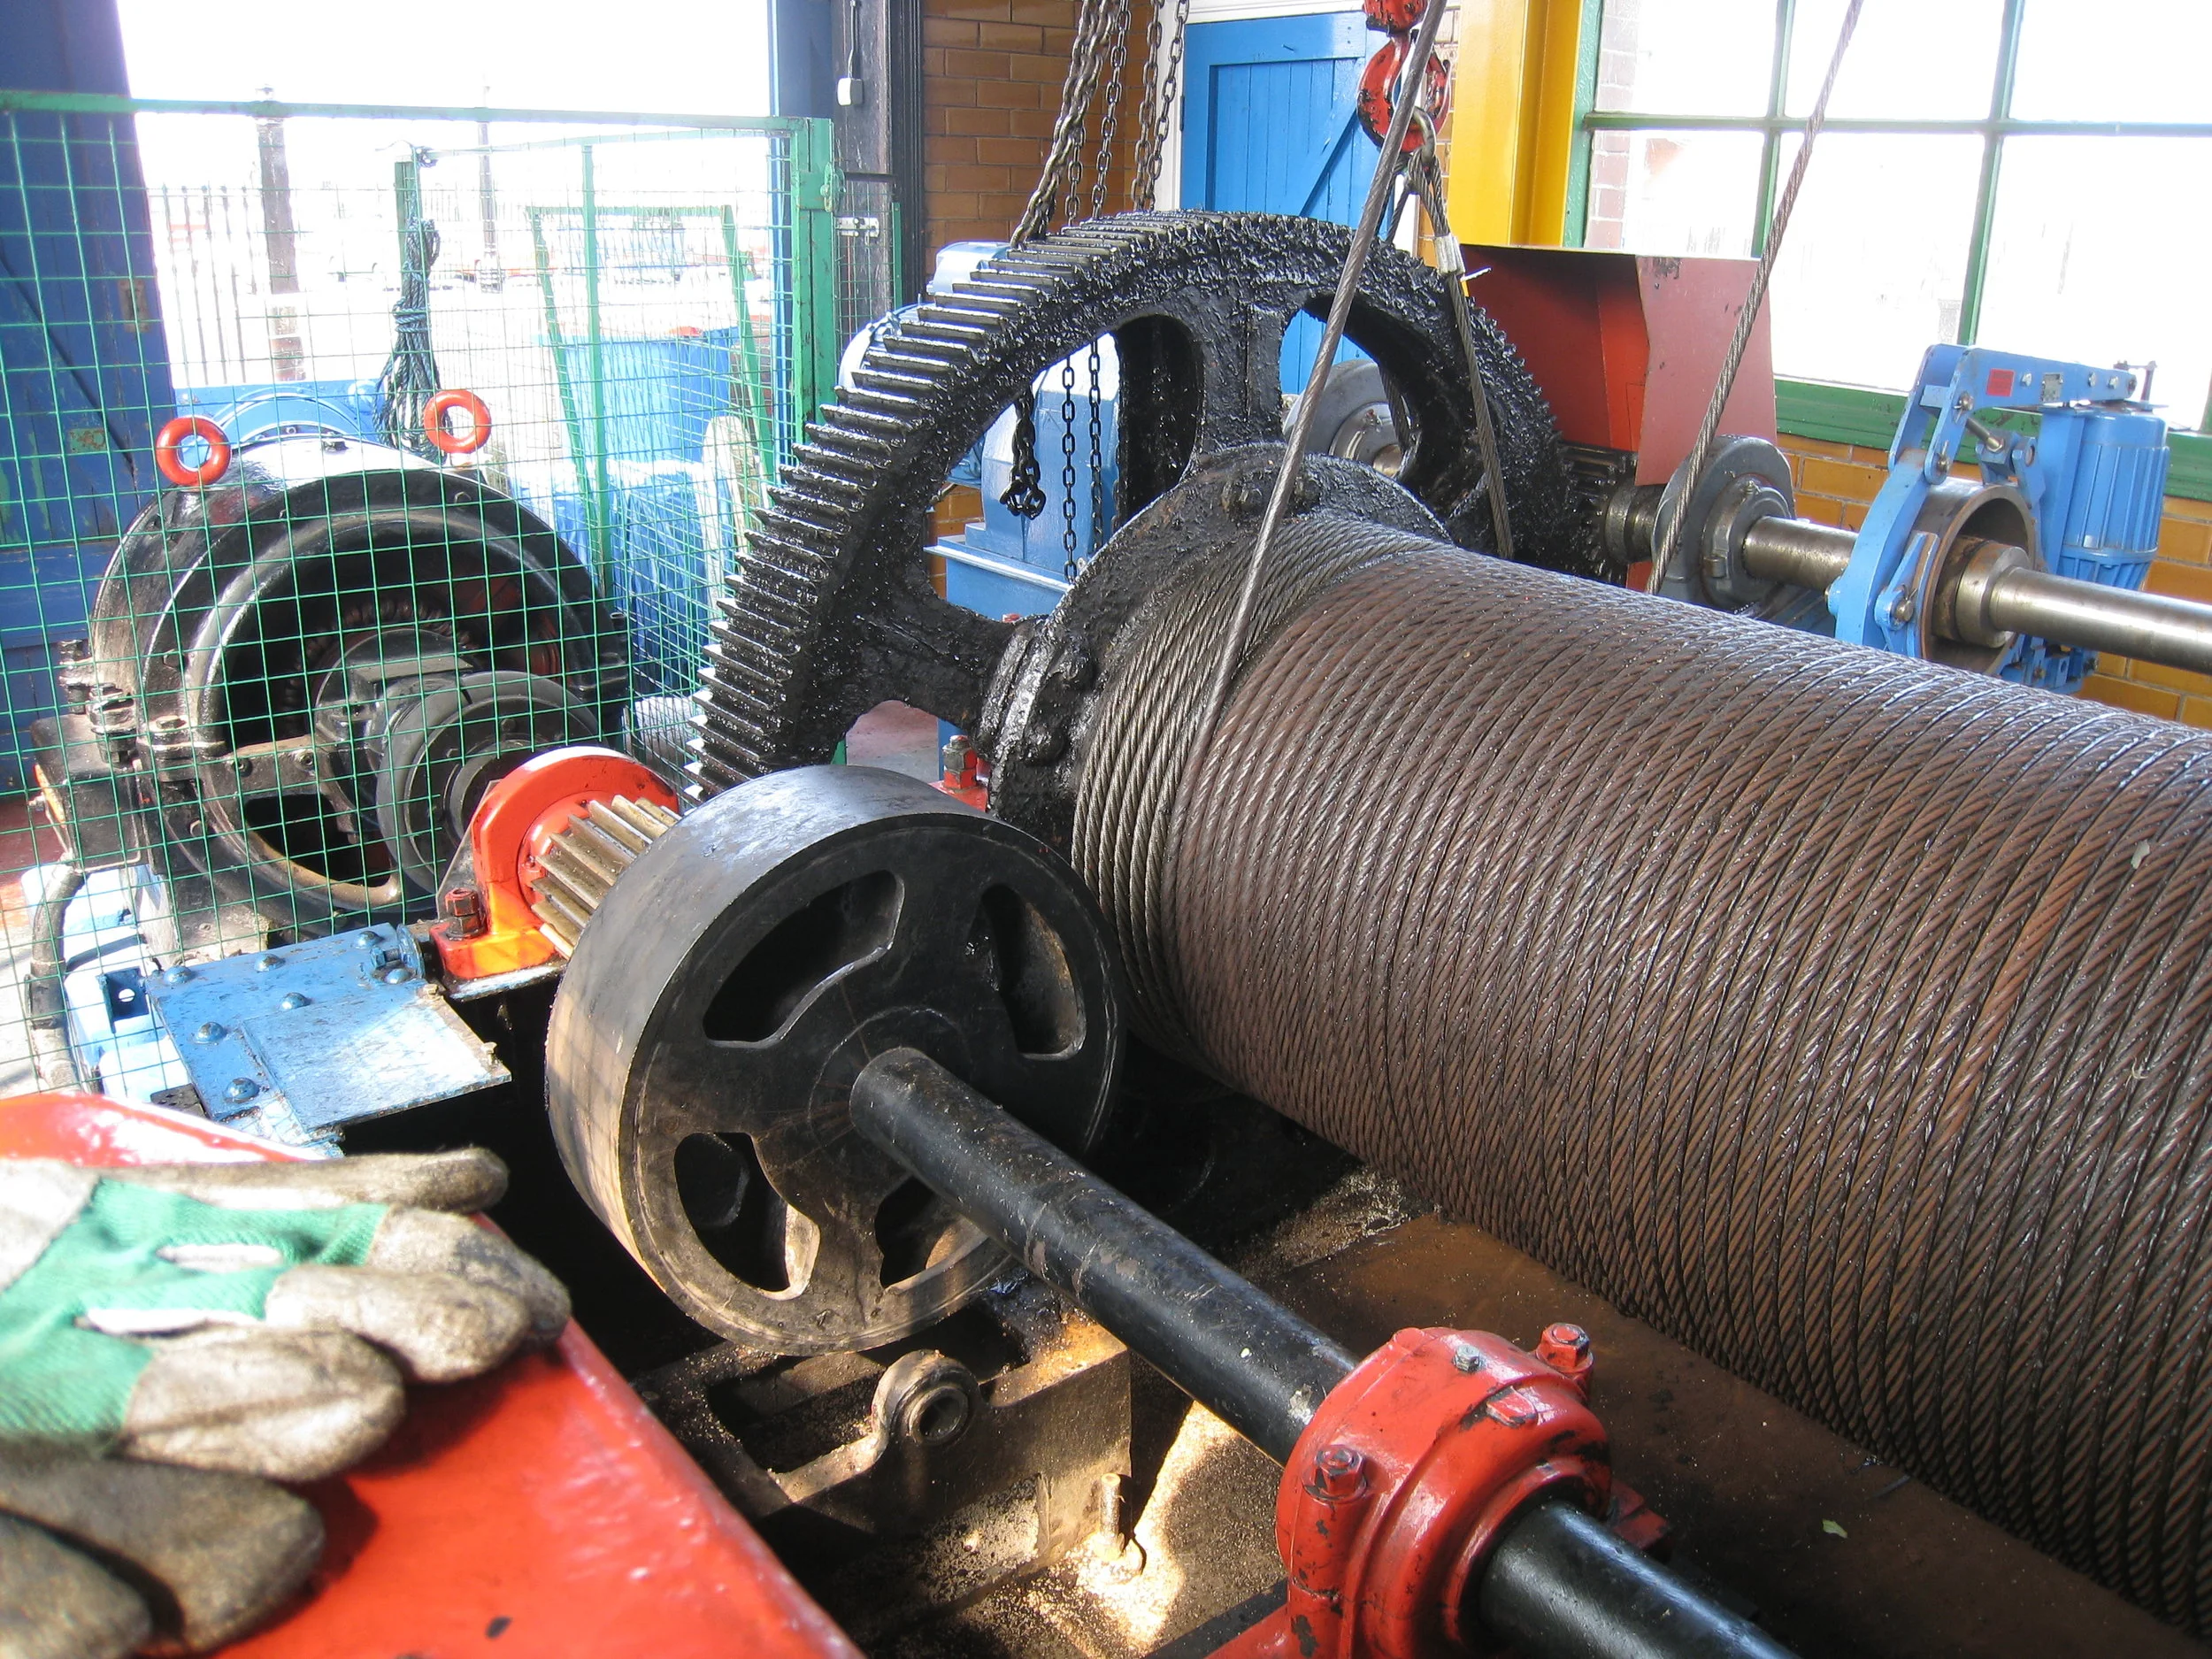
Middlesbrough--Transporter Bridge engine room--cable drum

Middlesbrough--Transporter Bridge engine room--Controller with operator, Maggie Hall and Carrol Kindel

Middlesbrough--Transporter Bridge engine room--cable drum

Middlesbrough--The industial area at dusk
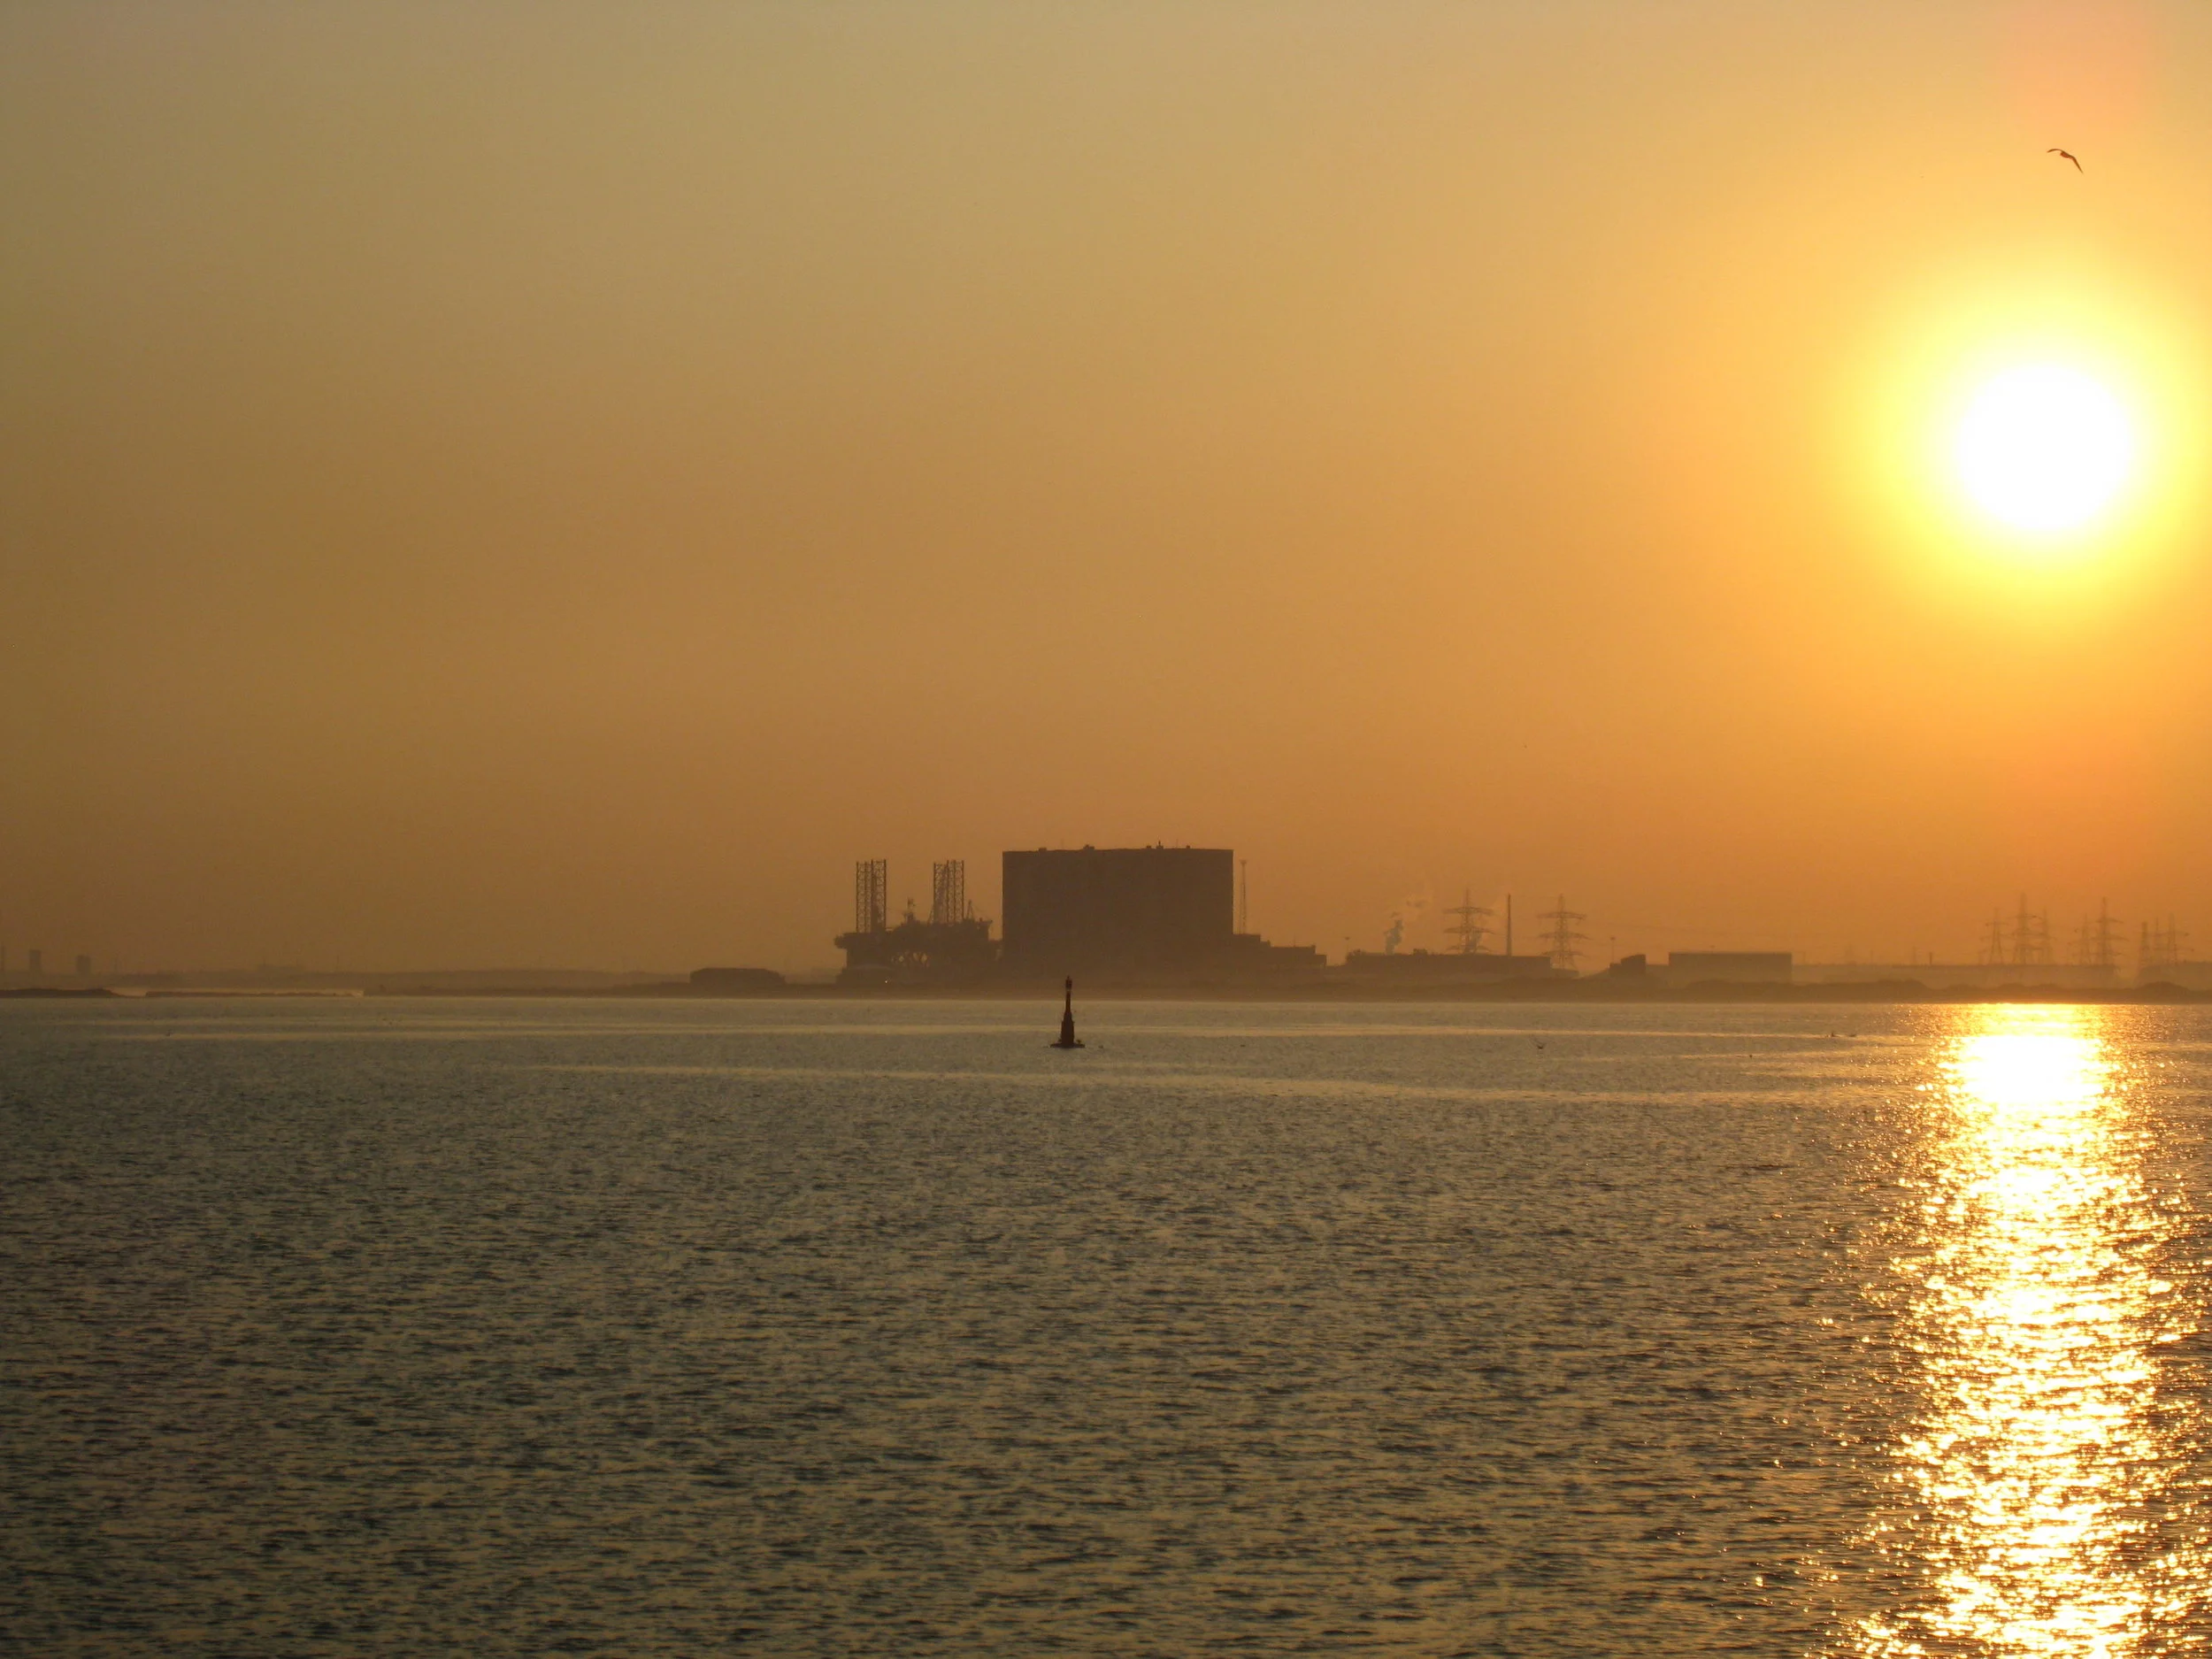
Middlesbrough--The industial area at dusk
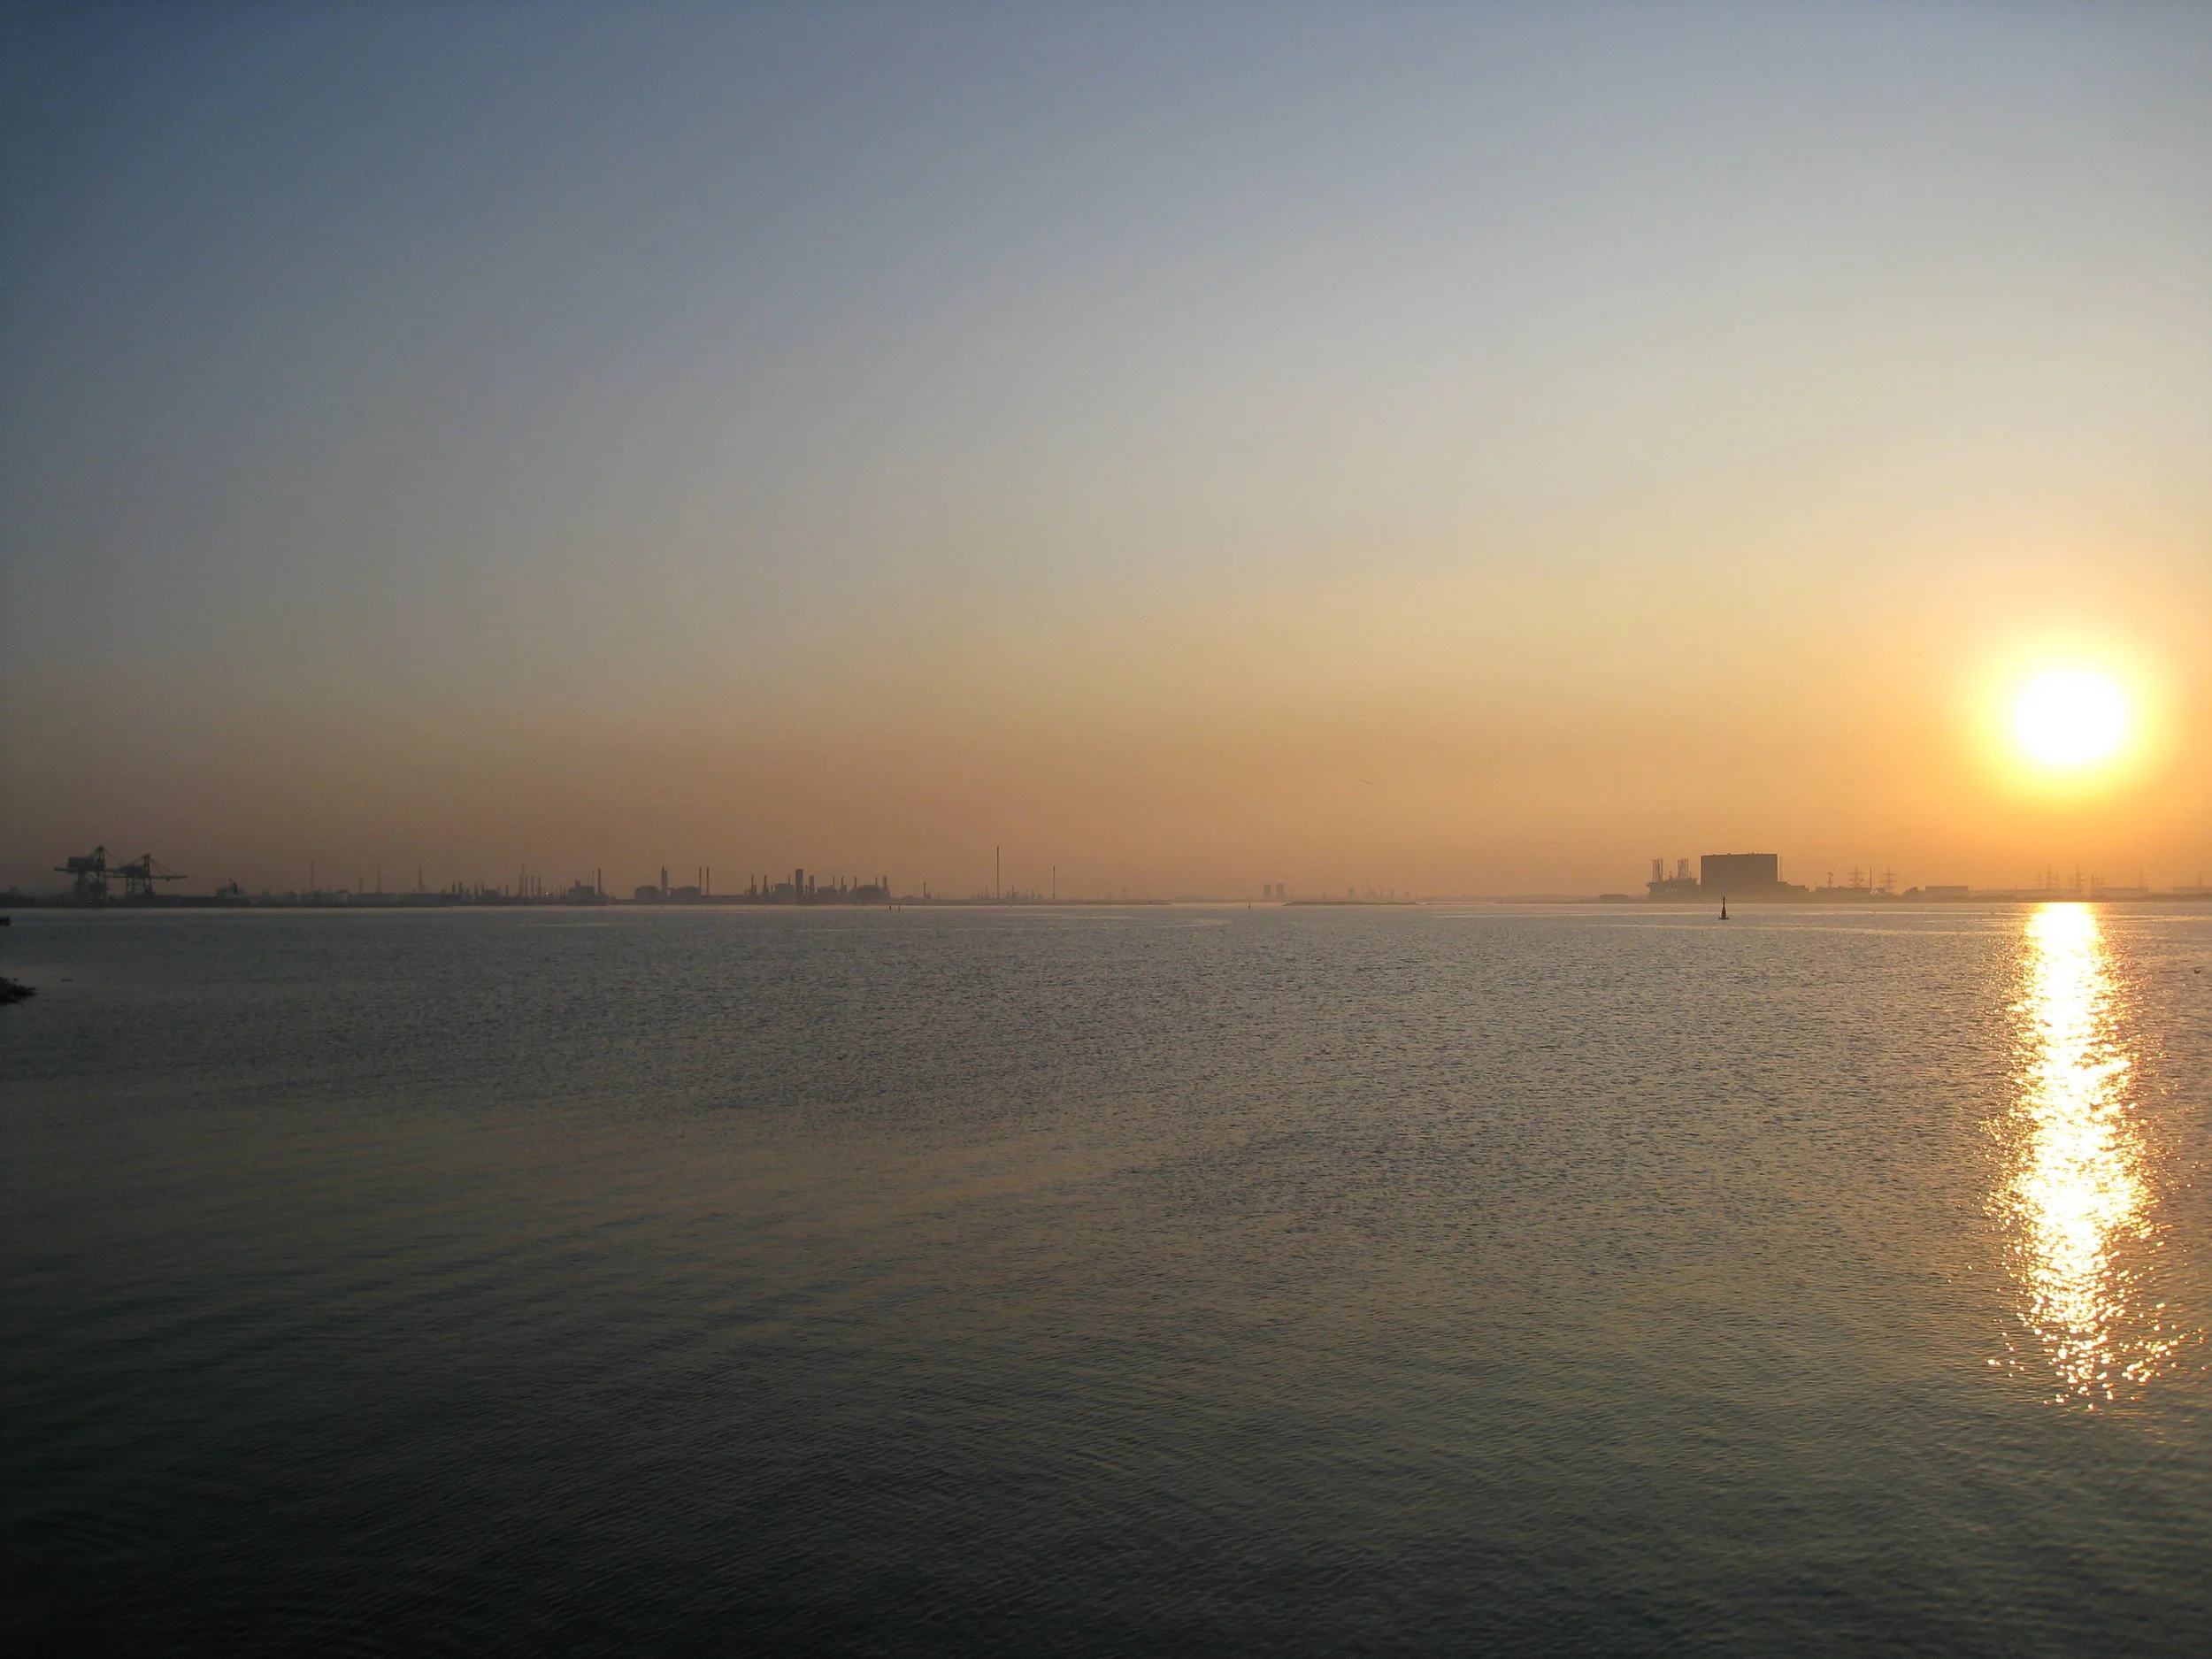
Middlesbrough--The industial area at dusk
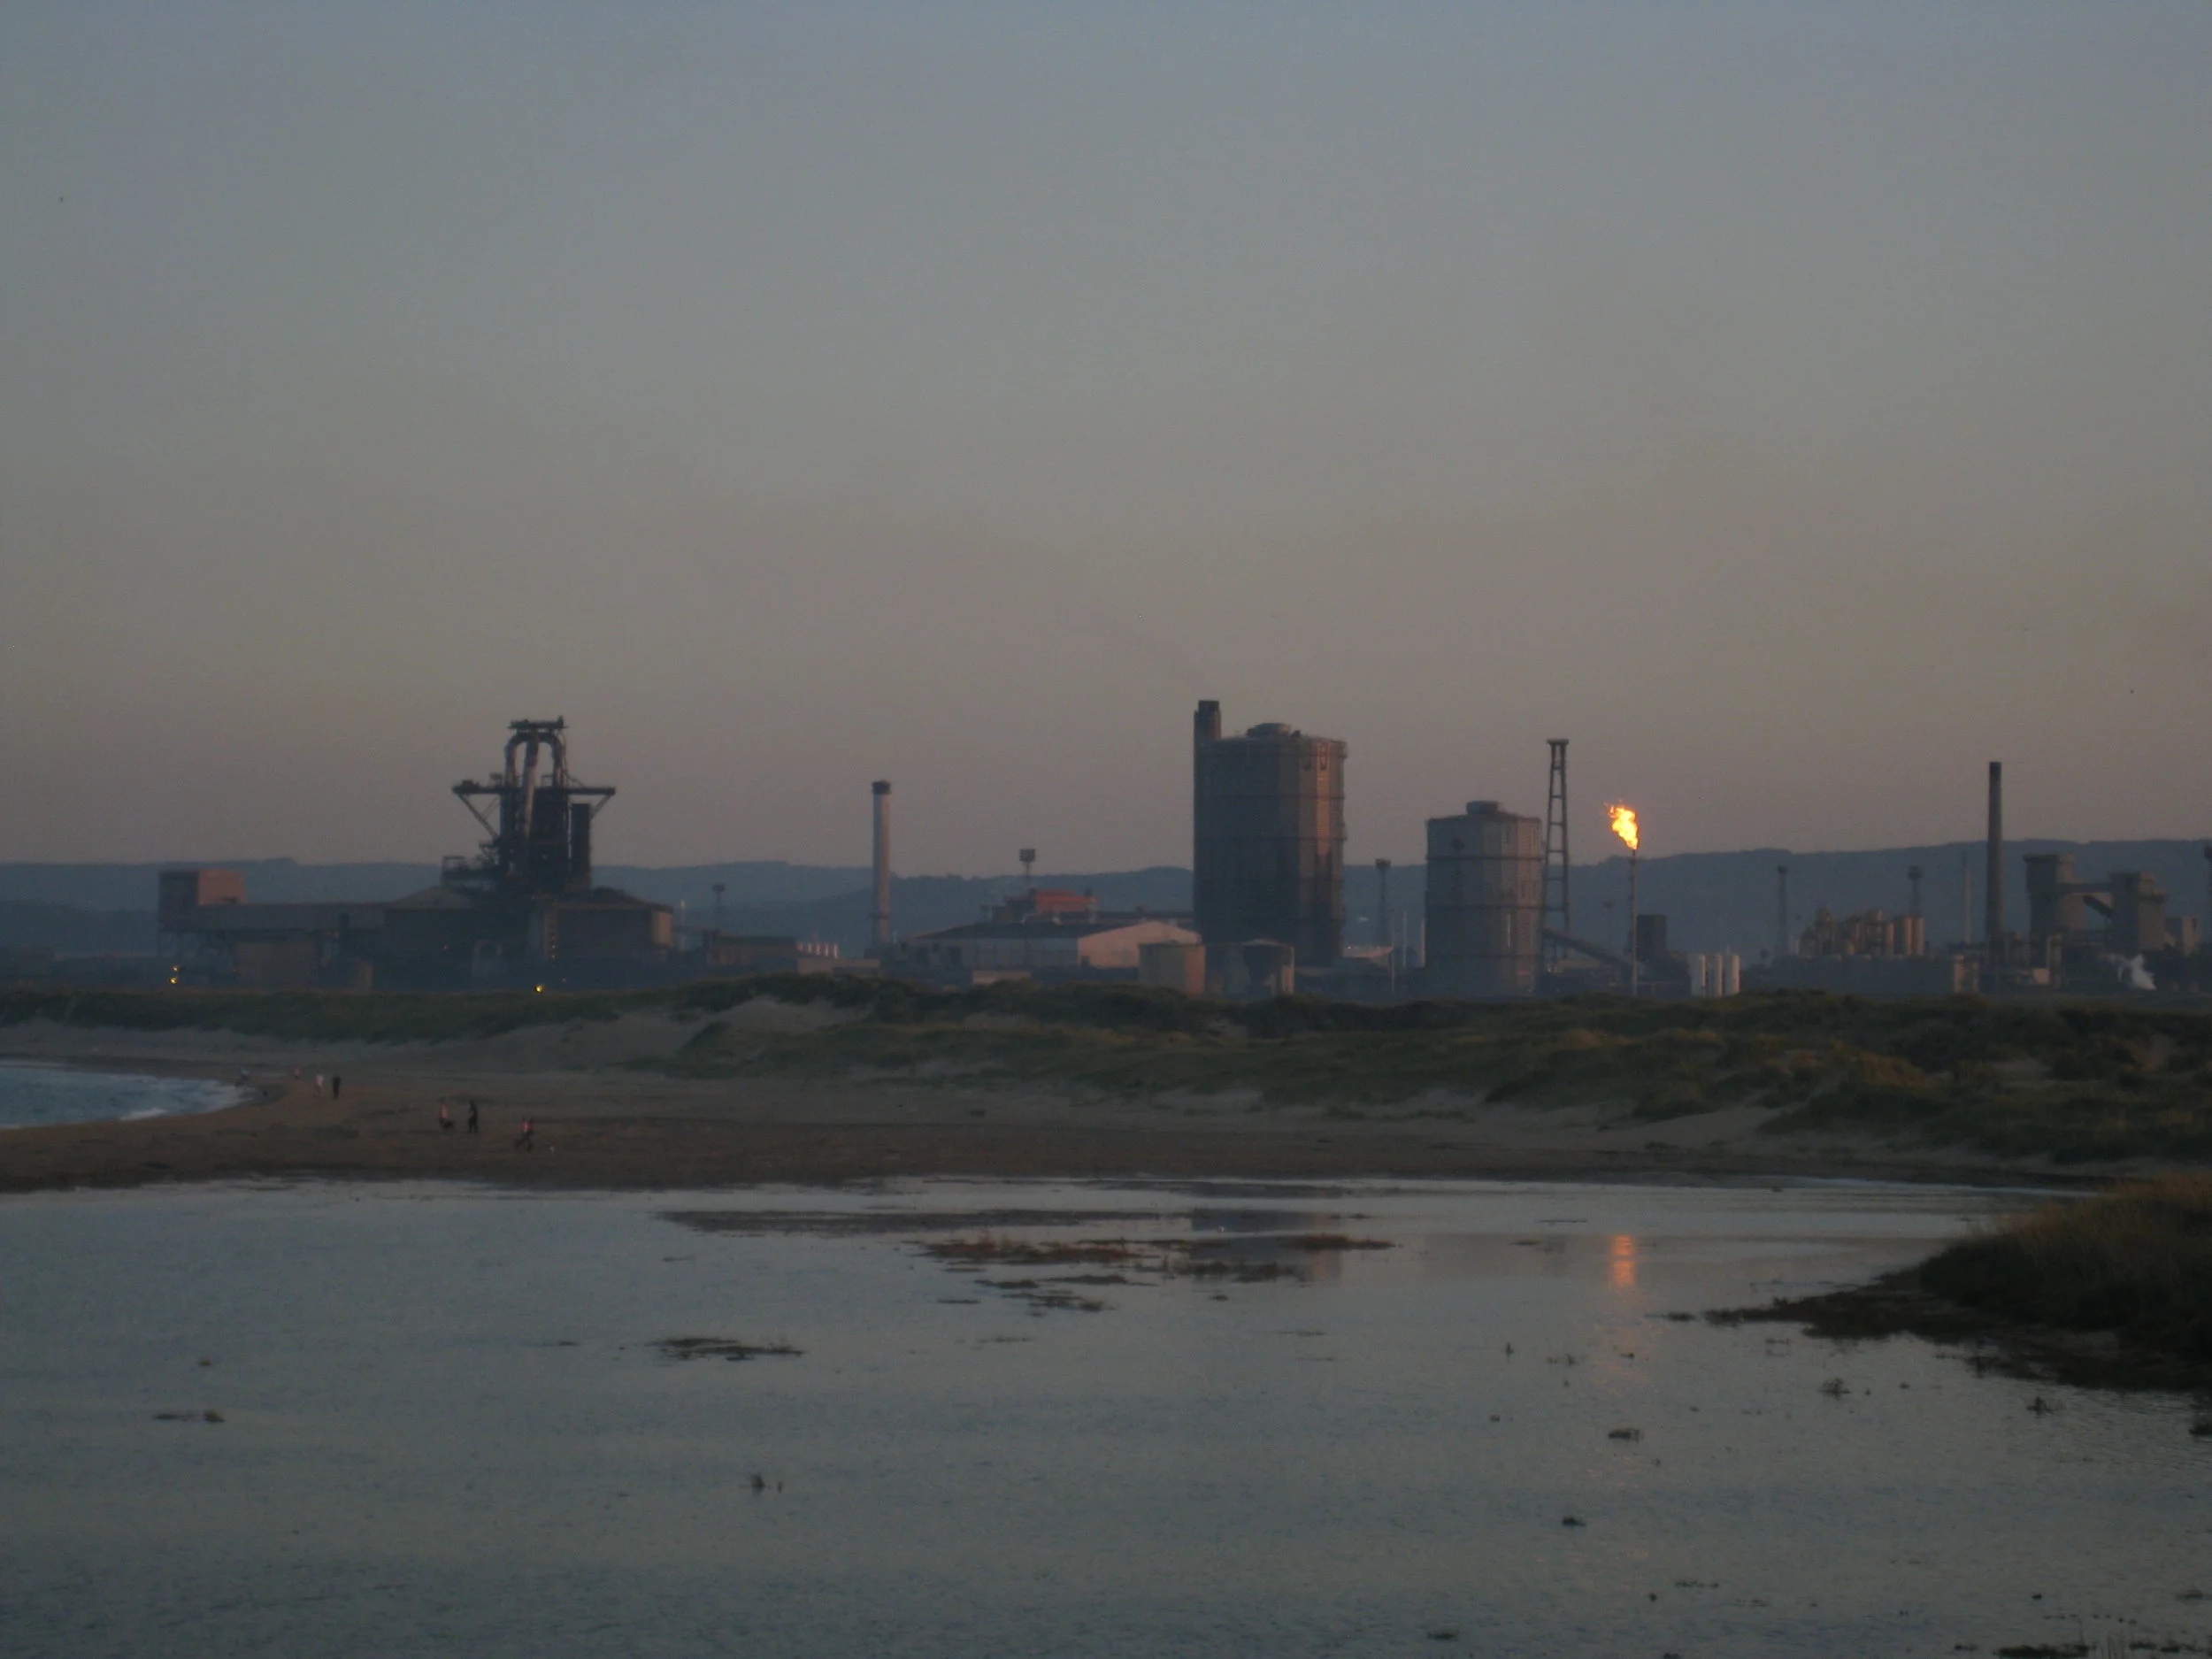
Middlesbrough--The steel plant at dusk

Middlesbrough--The steel plant at dusk
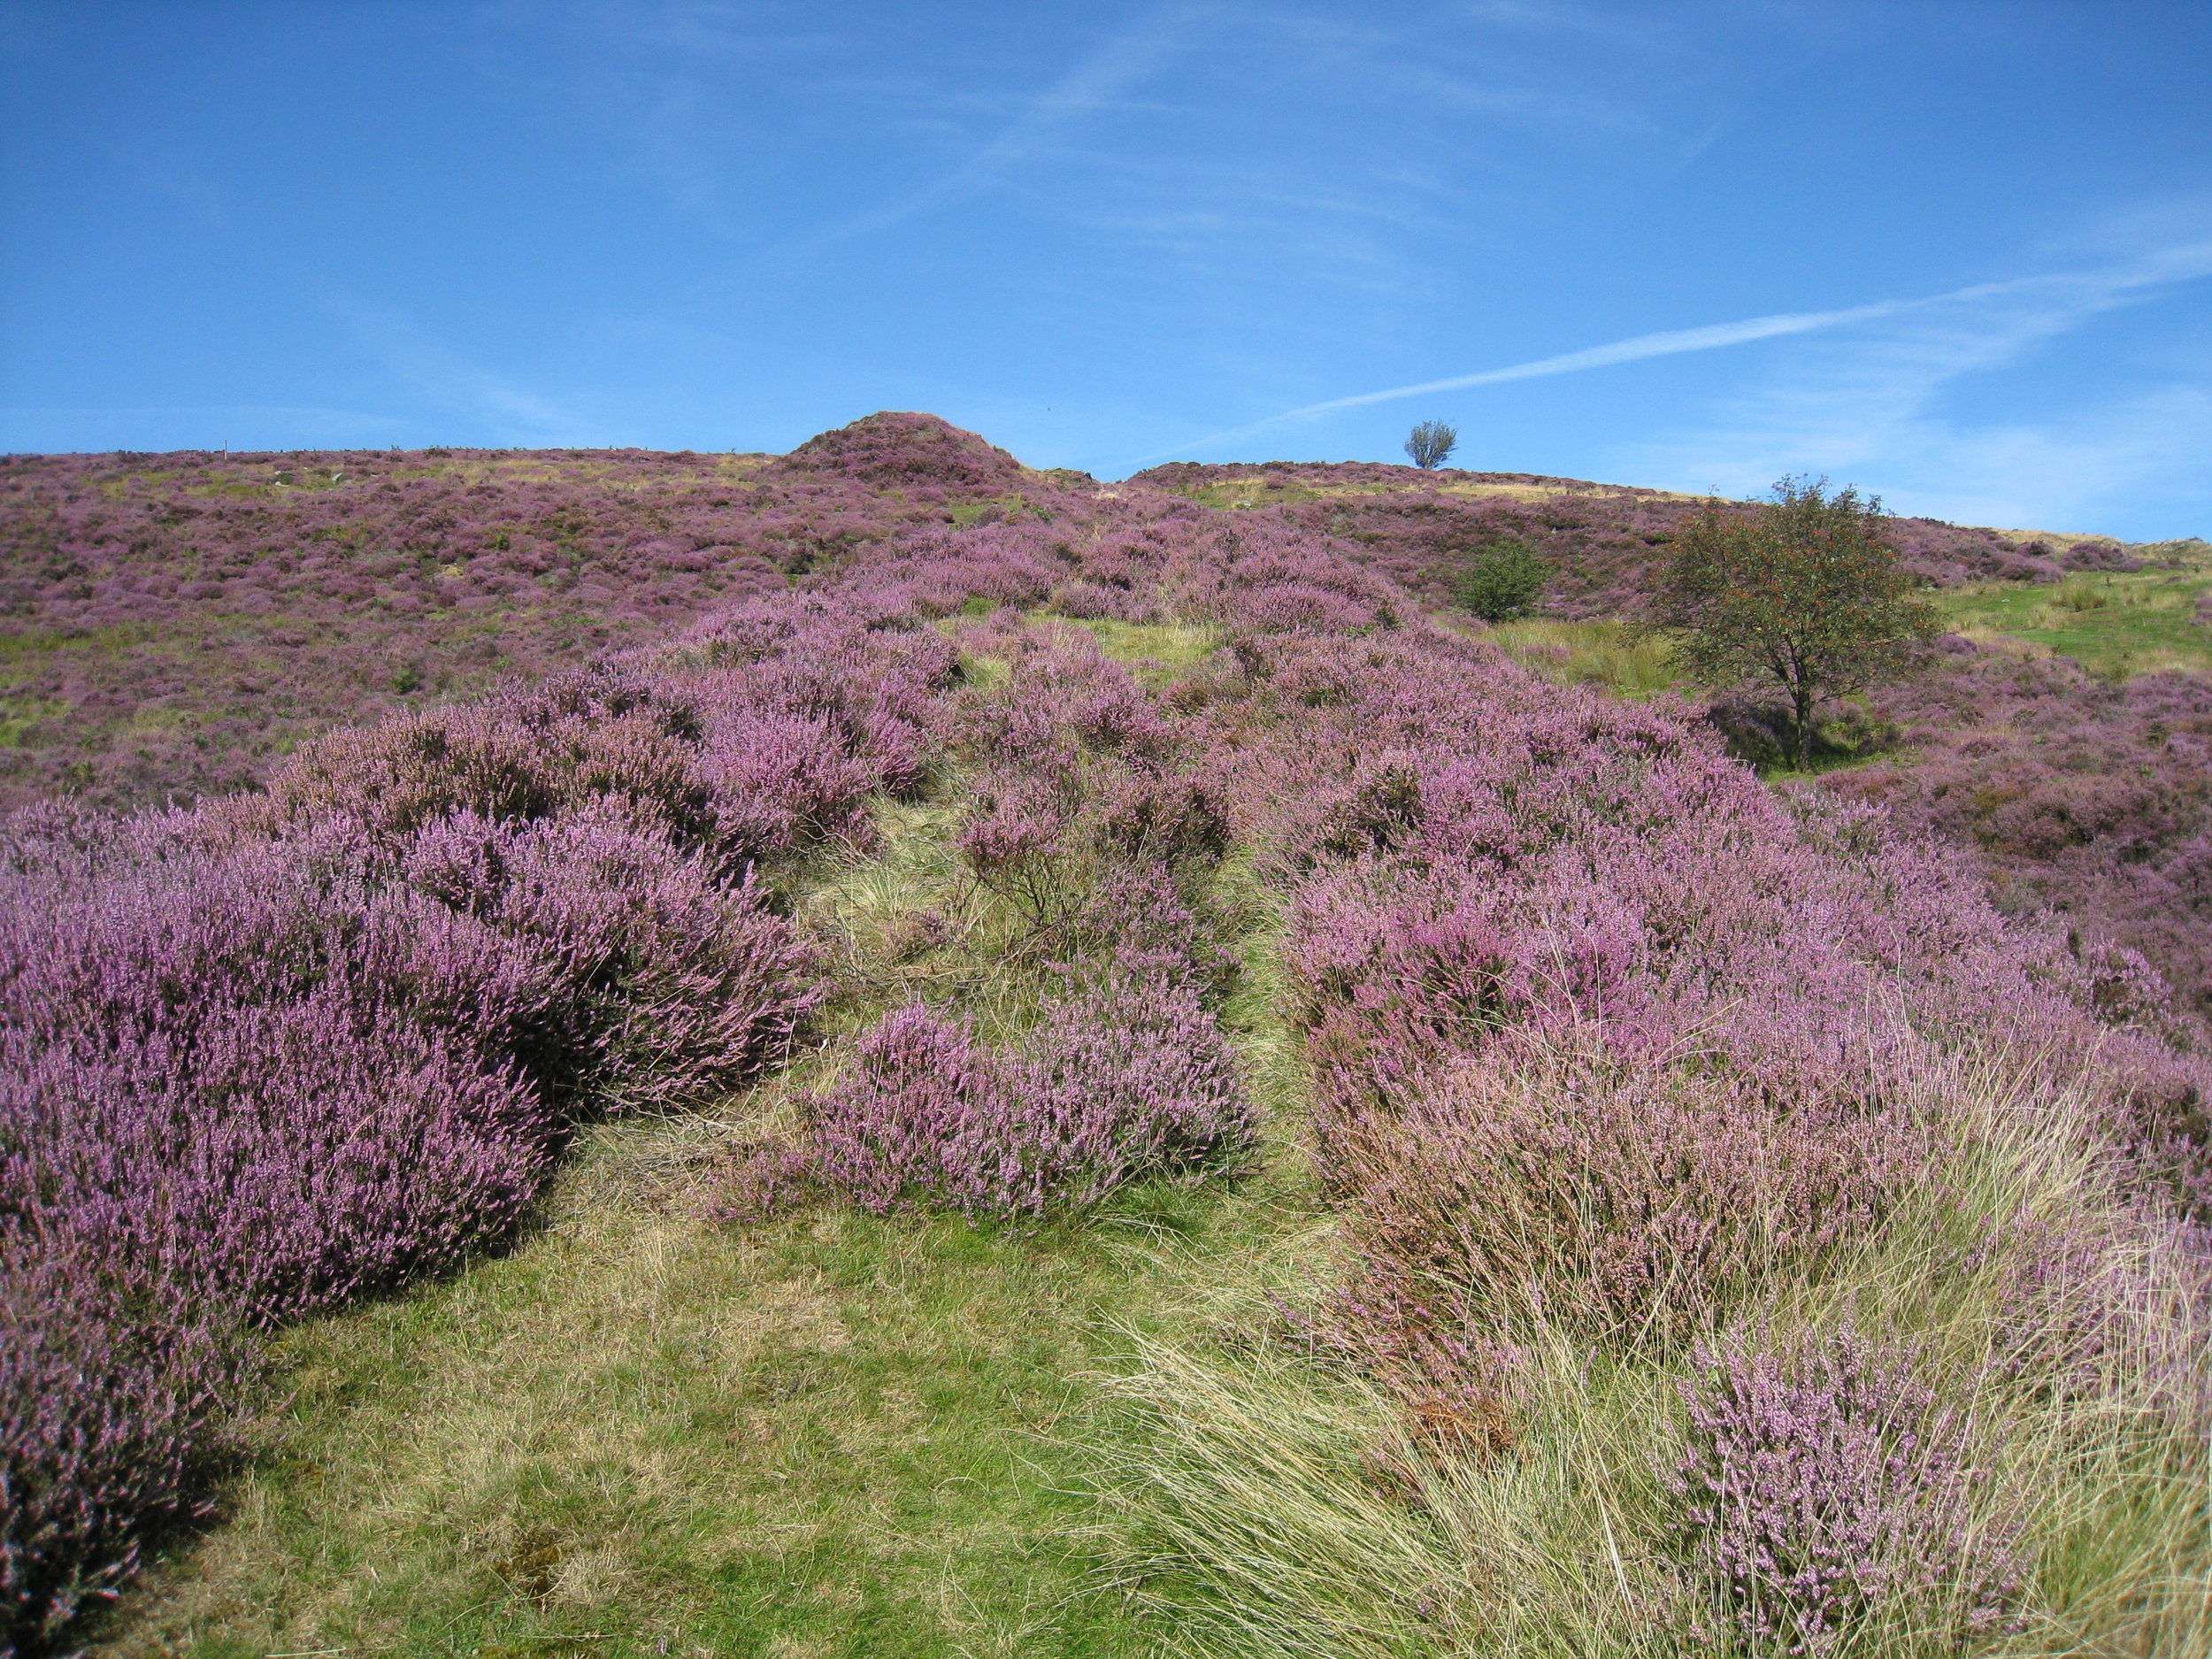
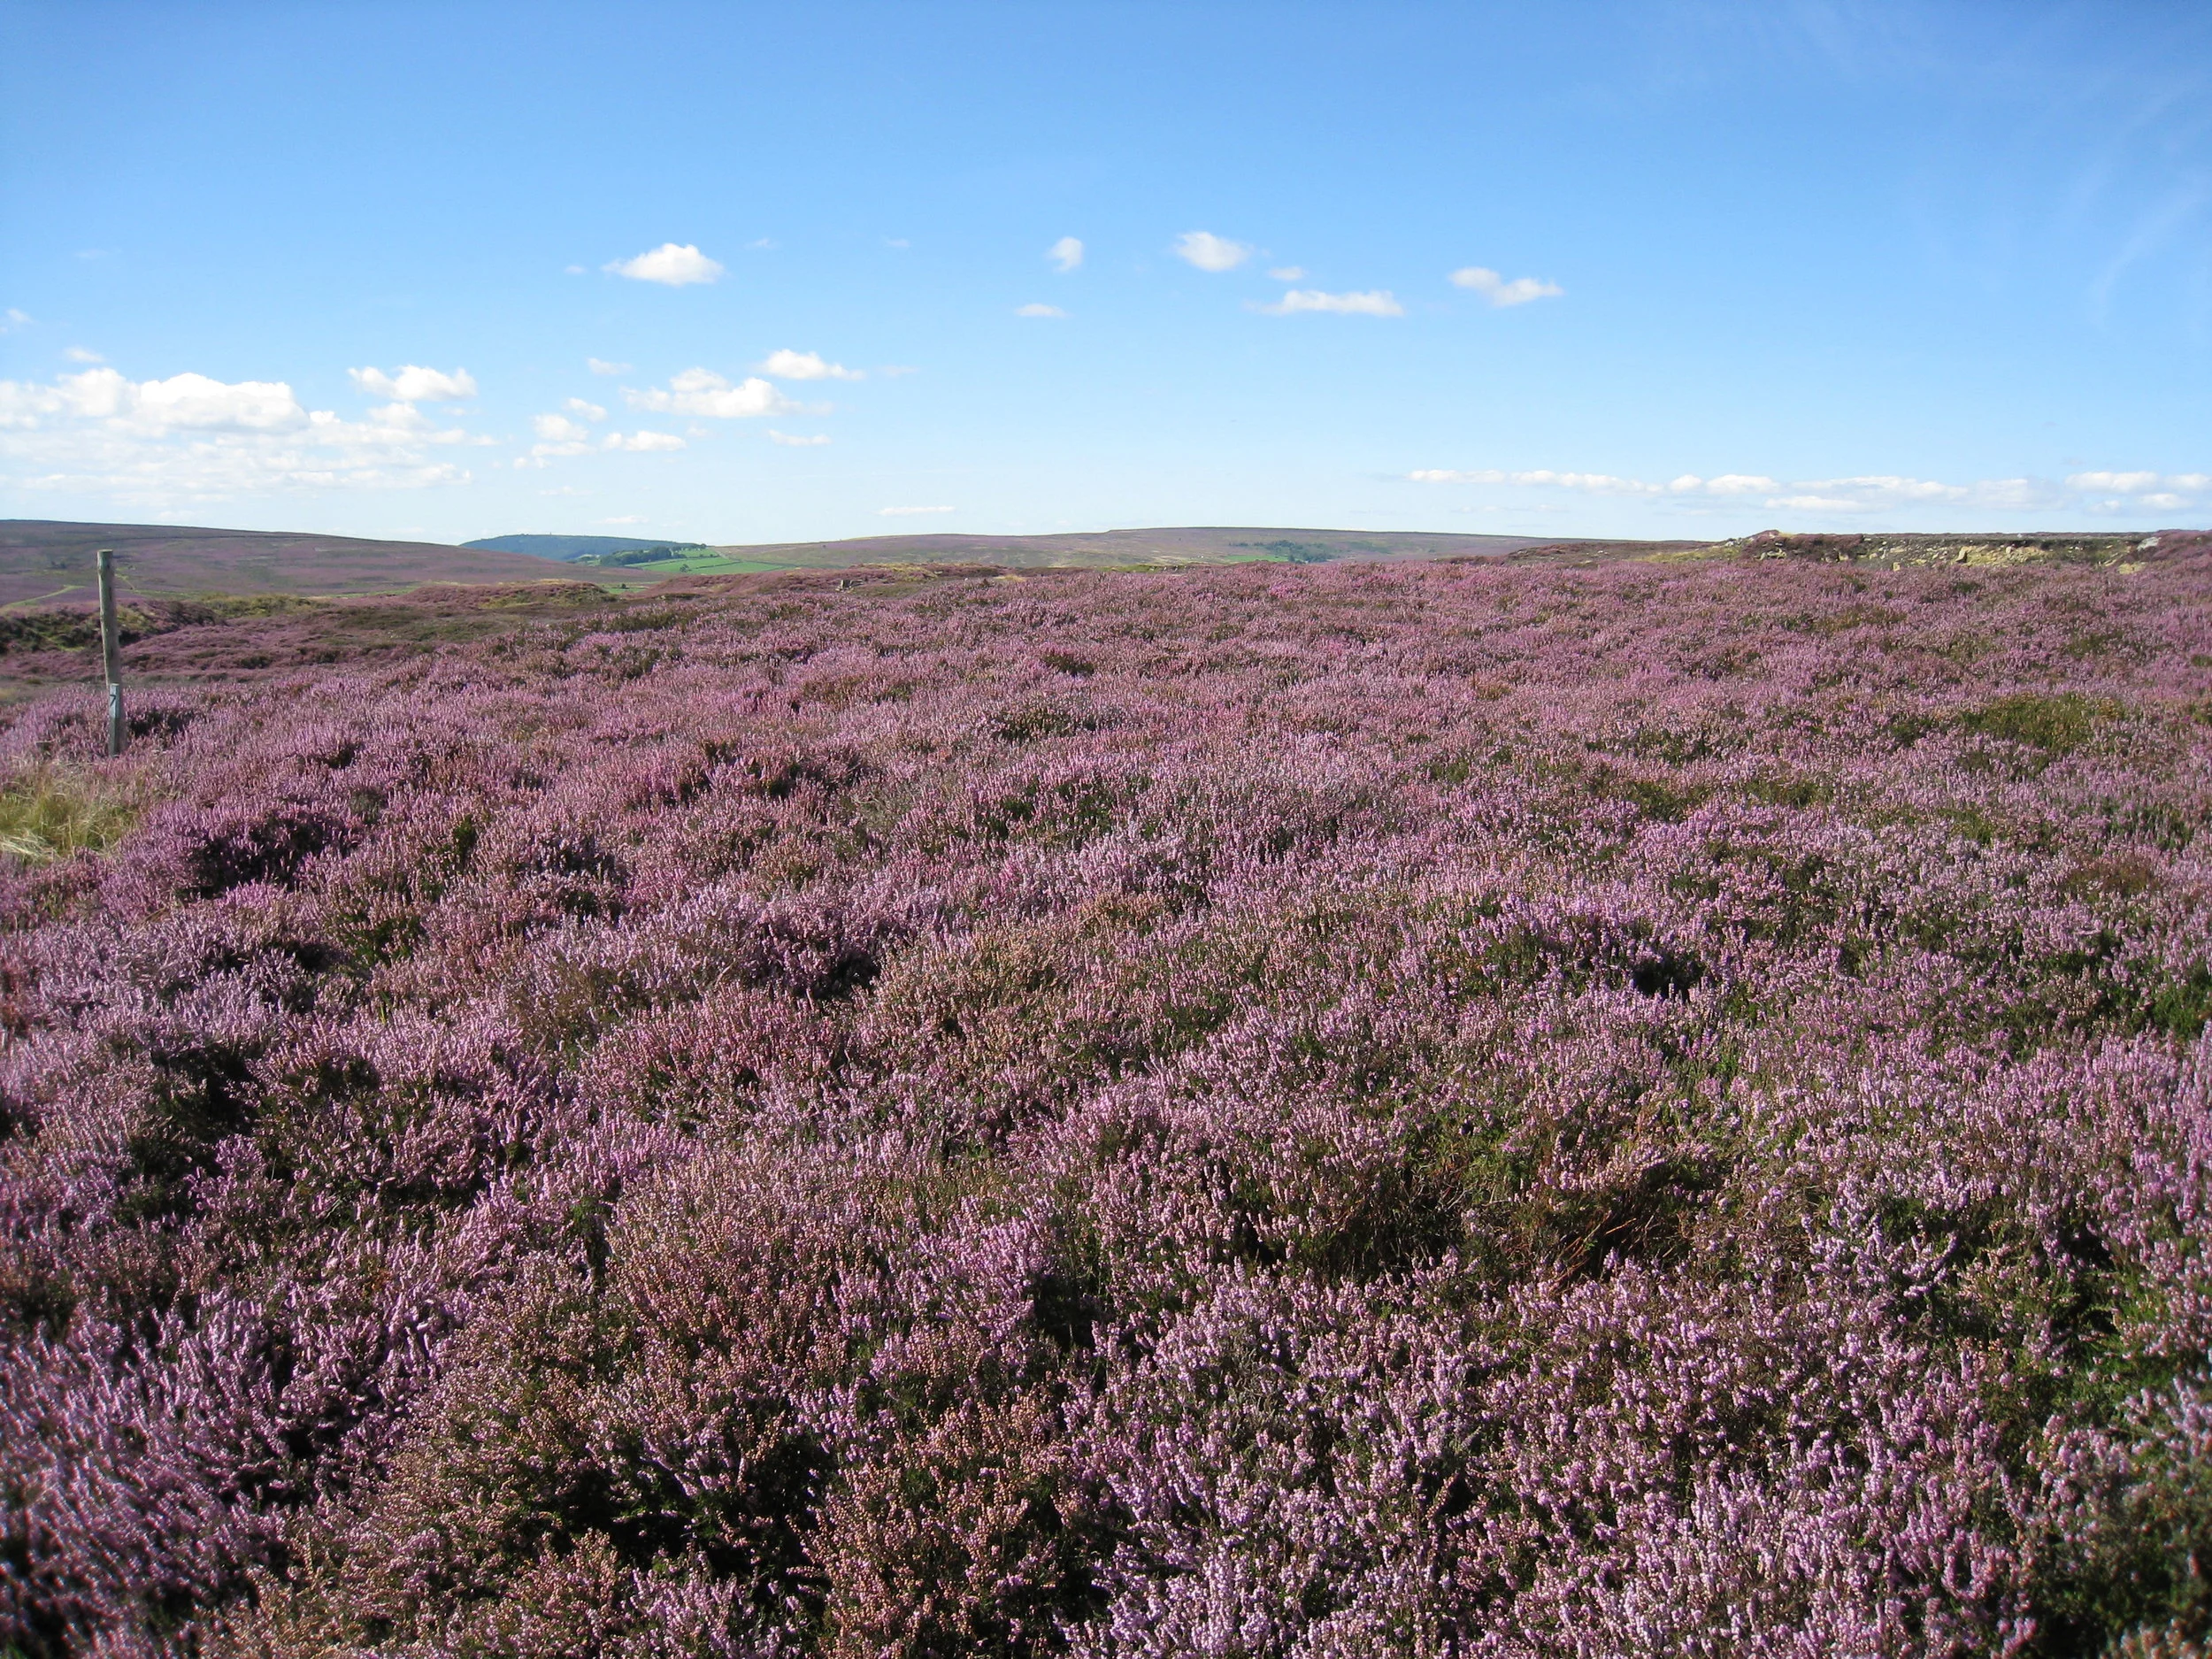
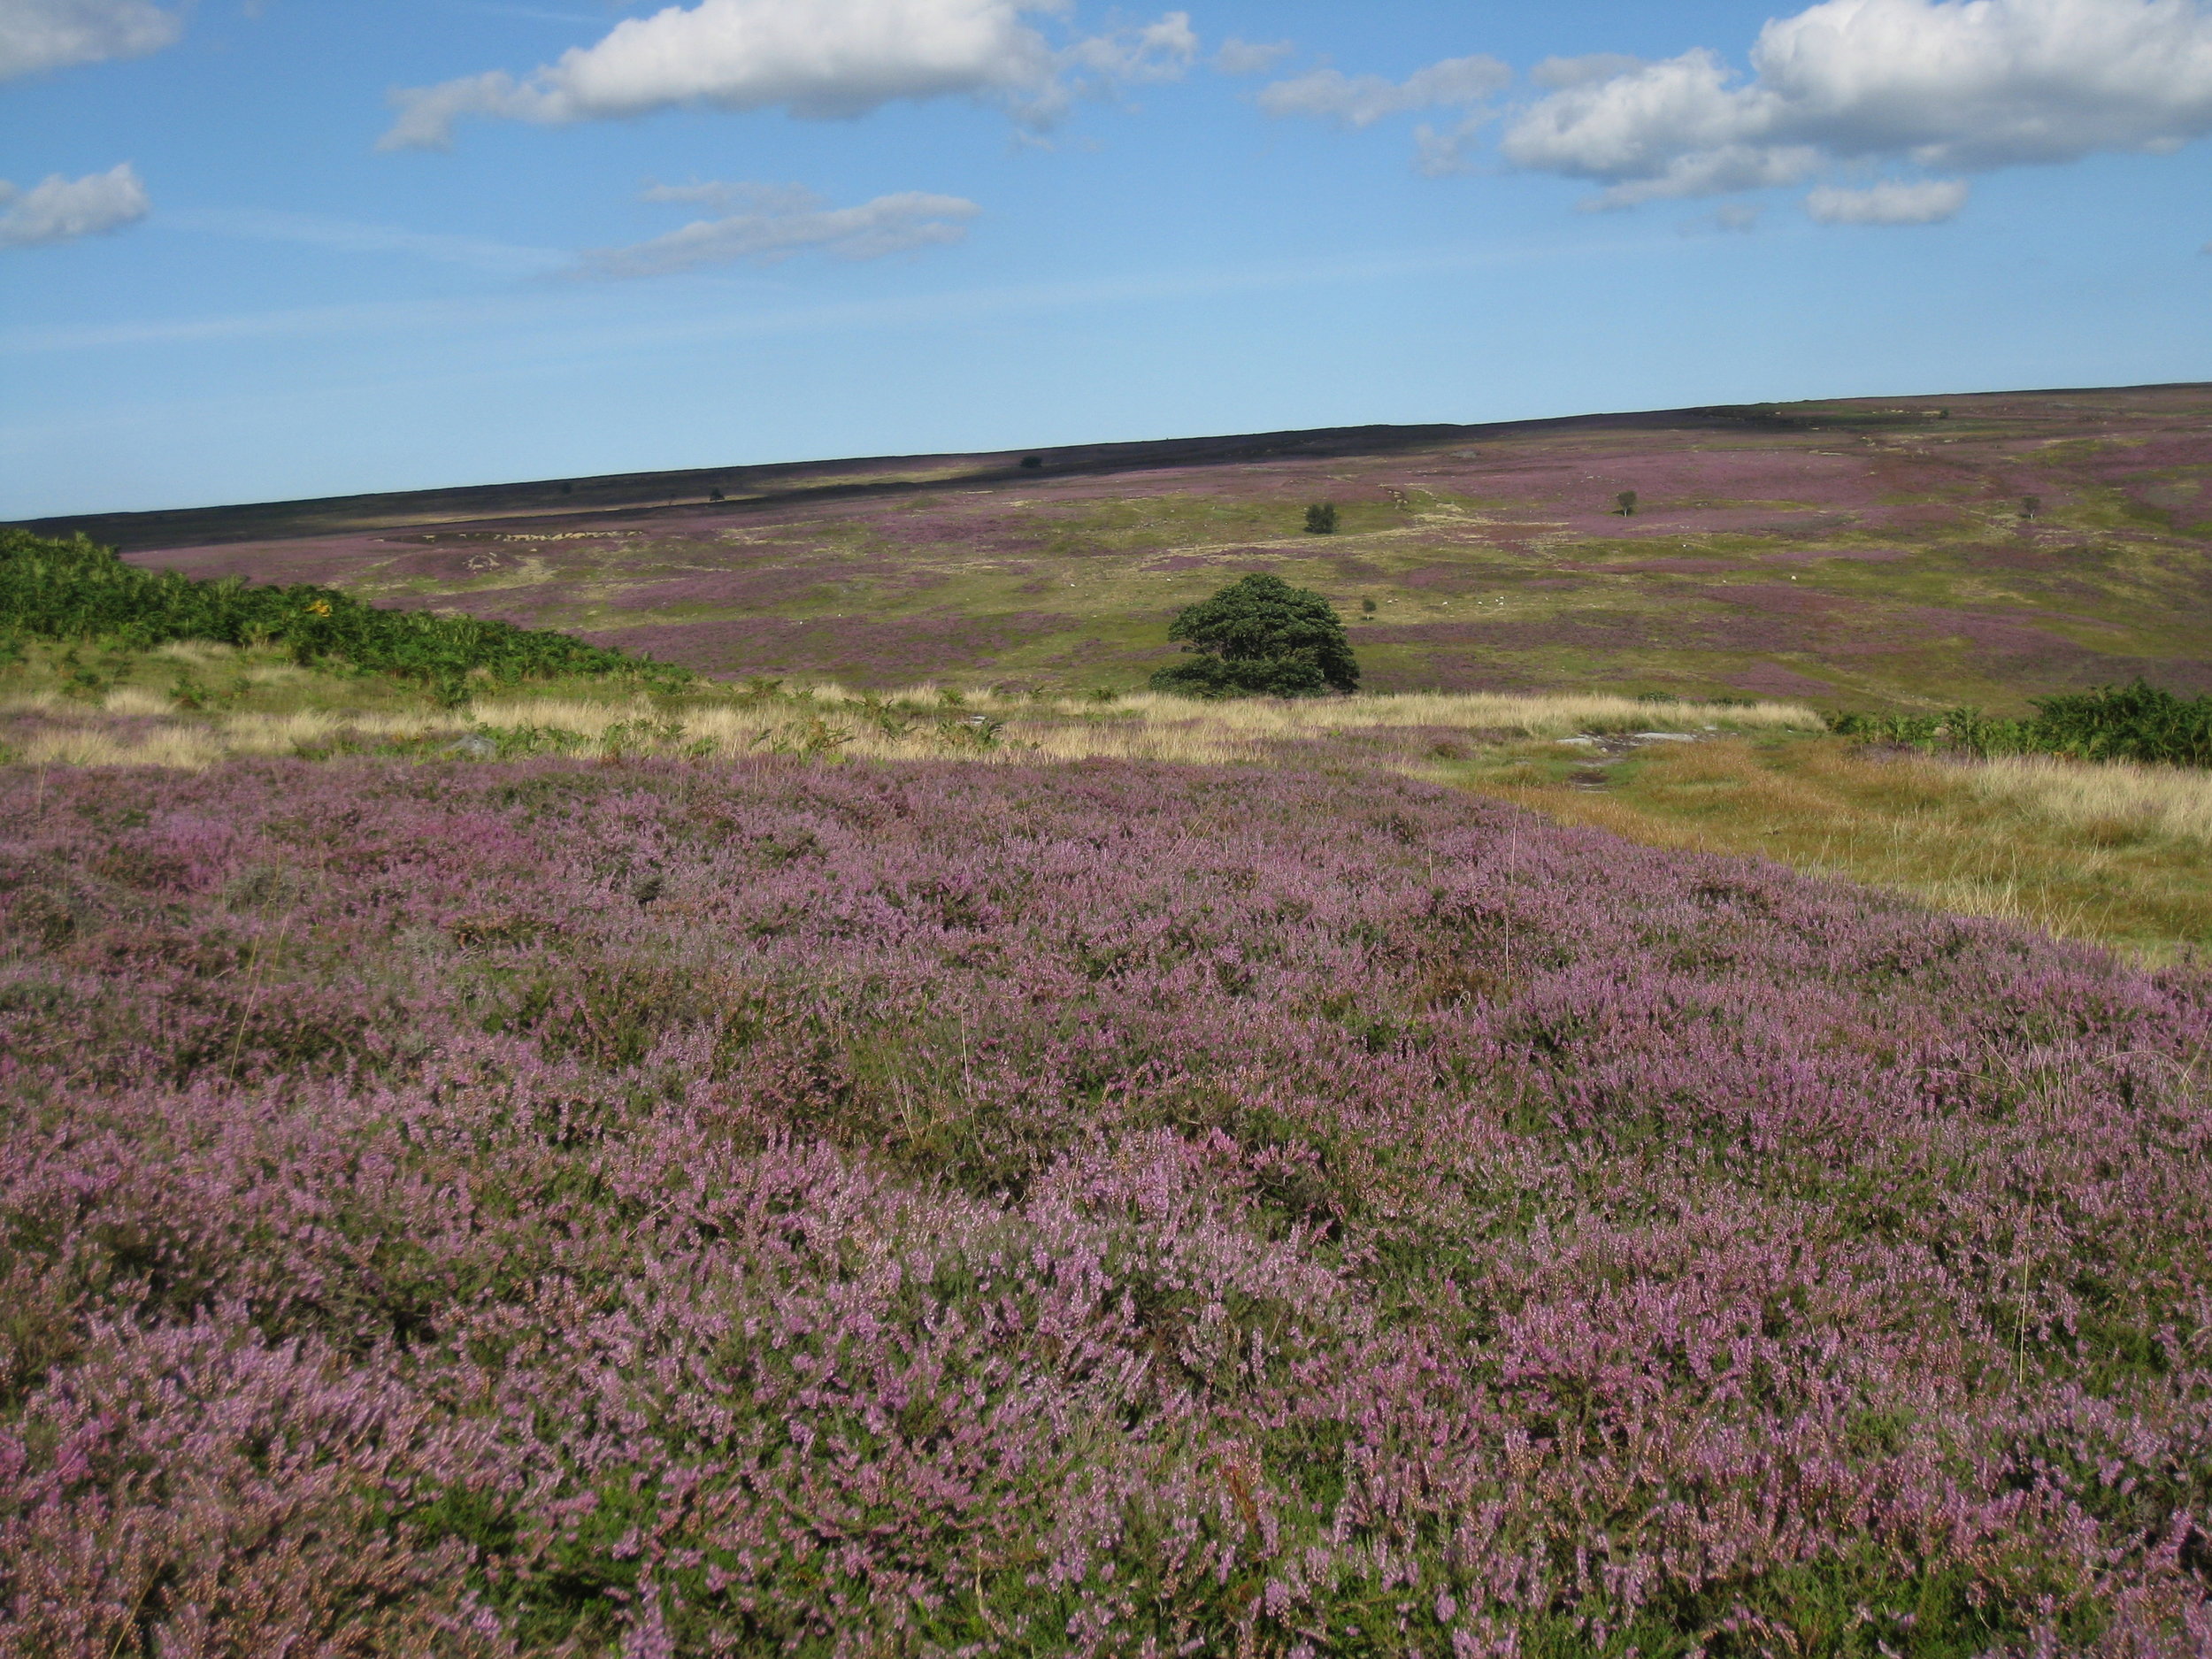
Yorkshire--Castleton Moor--Heather bloomings on the Incline to the quarries
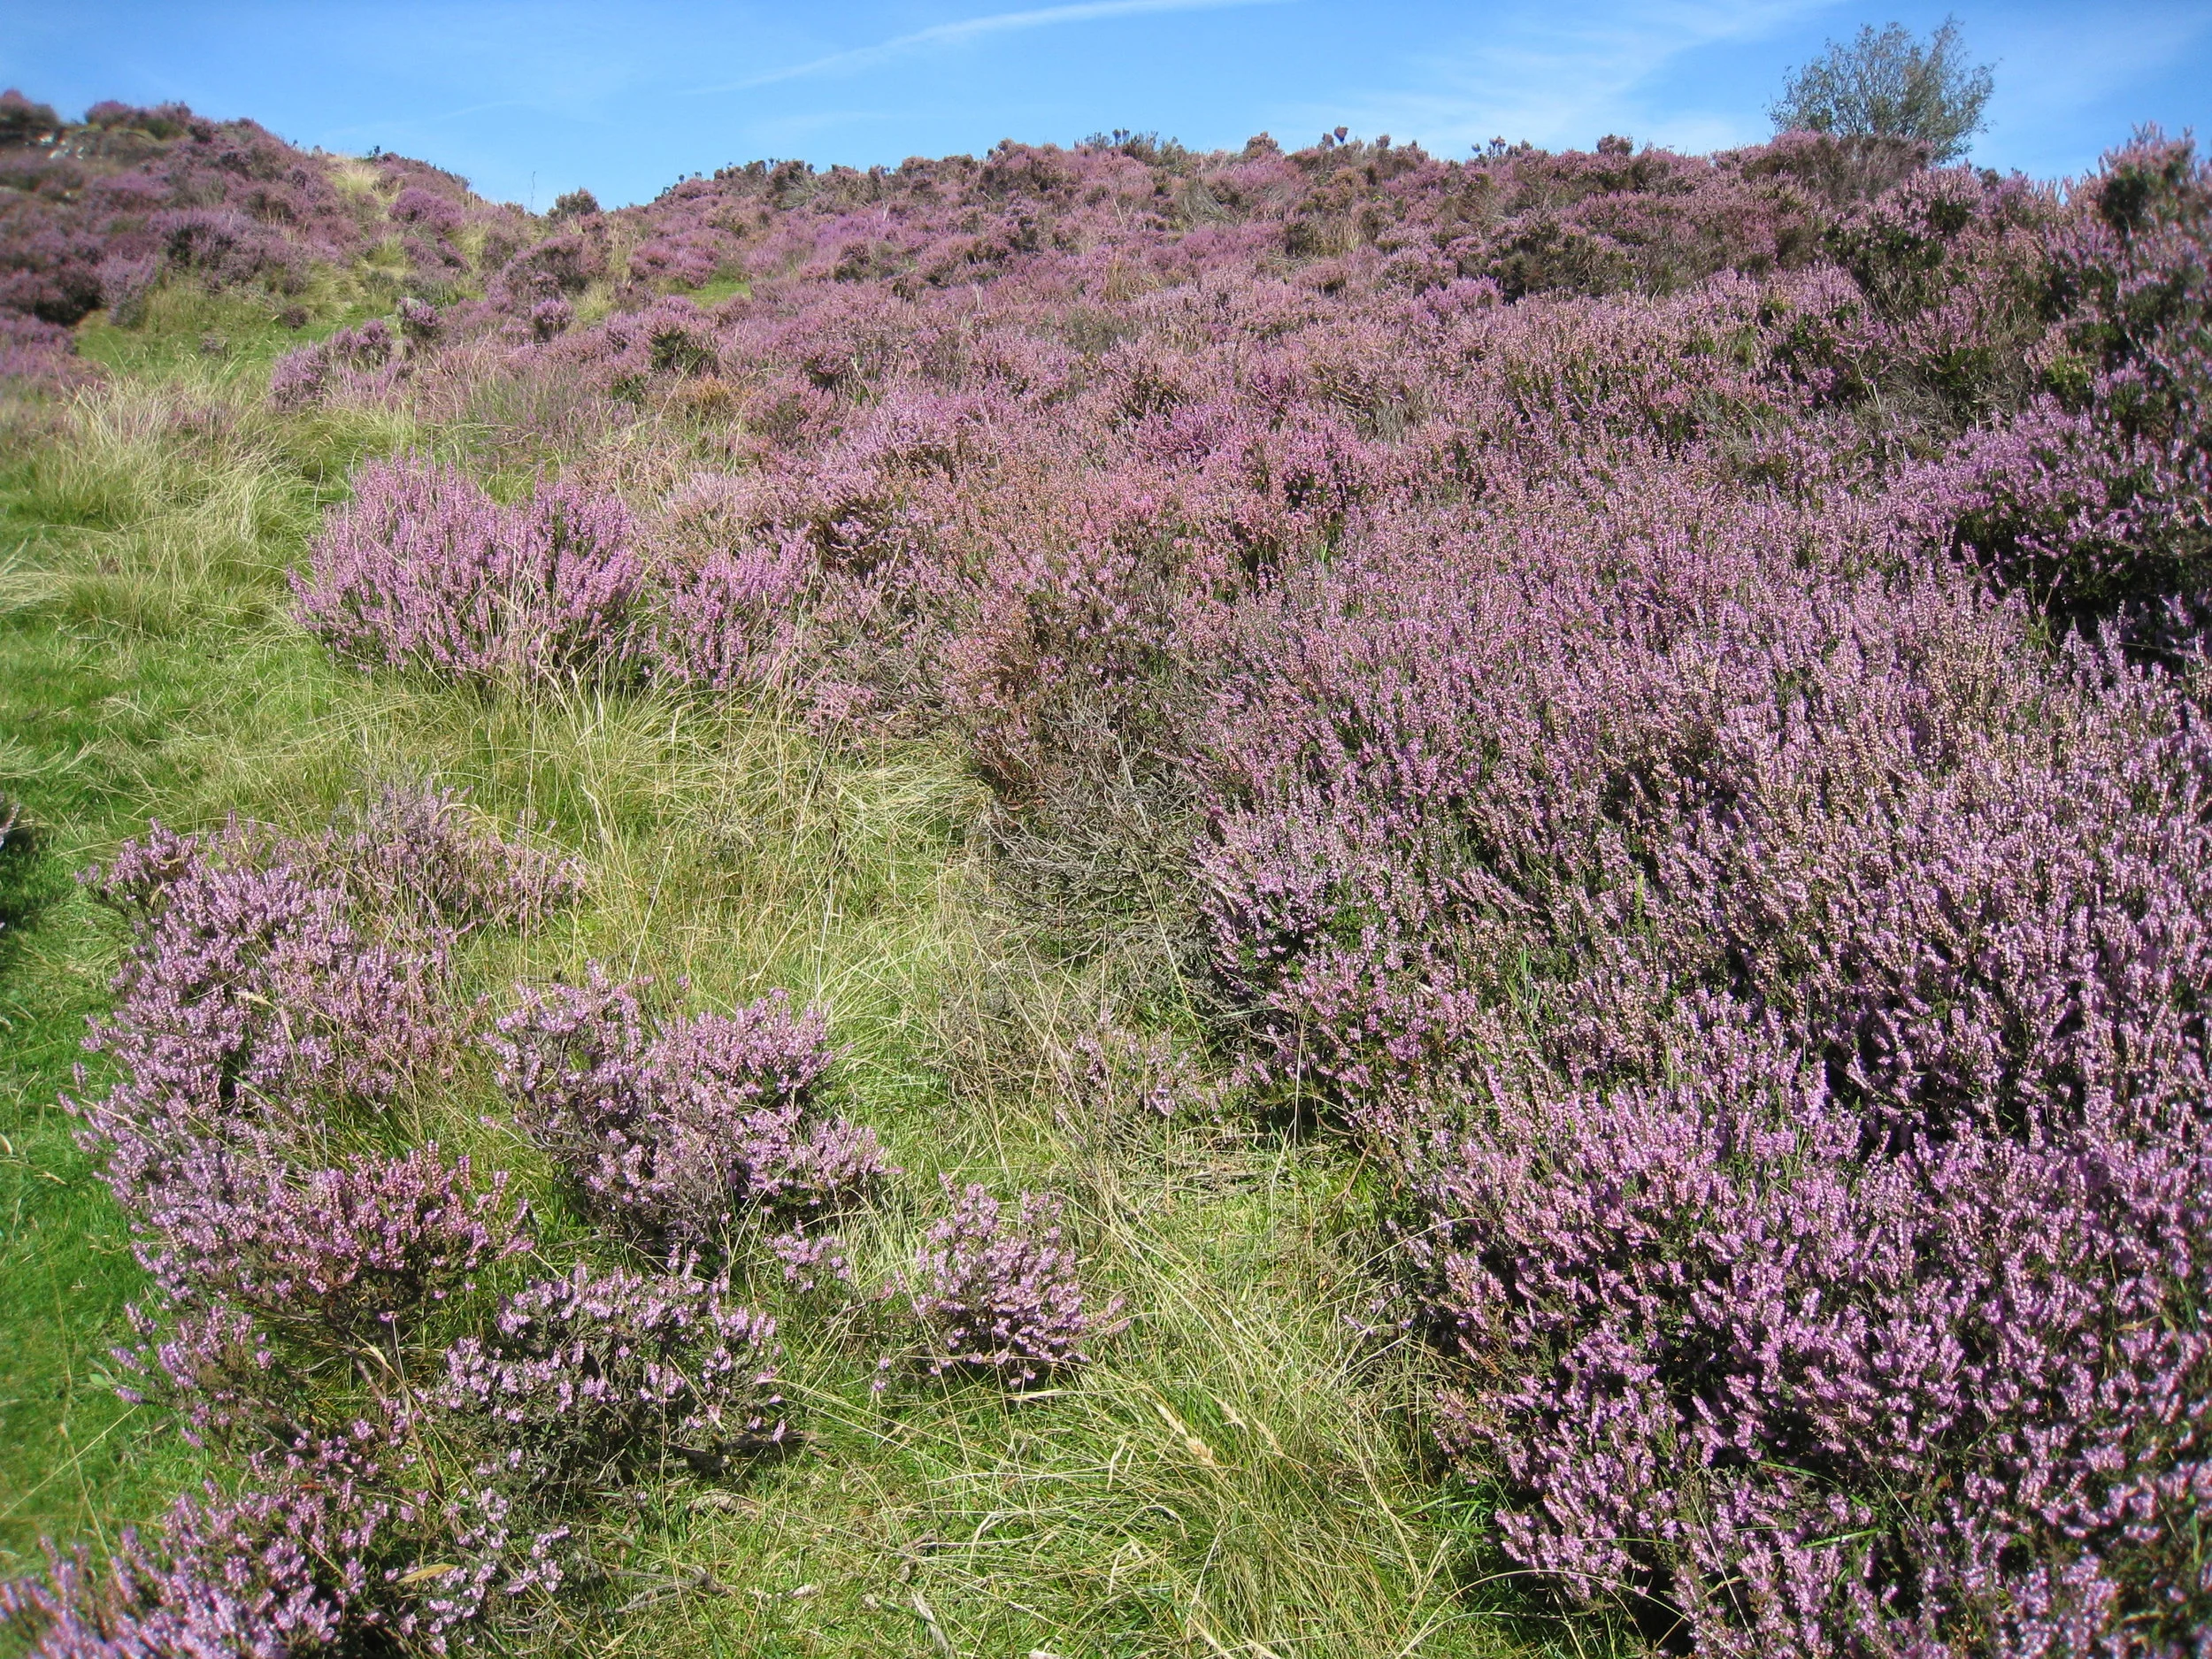
Yorkshire--Castleton Moor--Heather bloomings on the Incline to the quarries
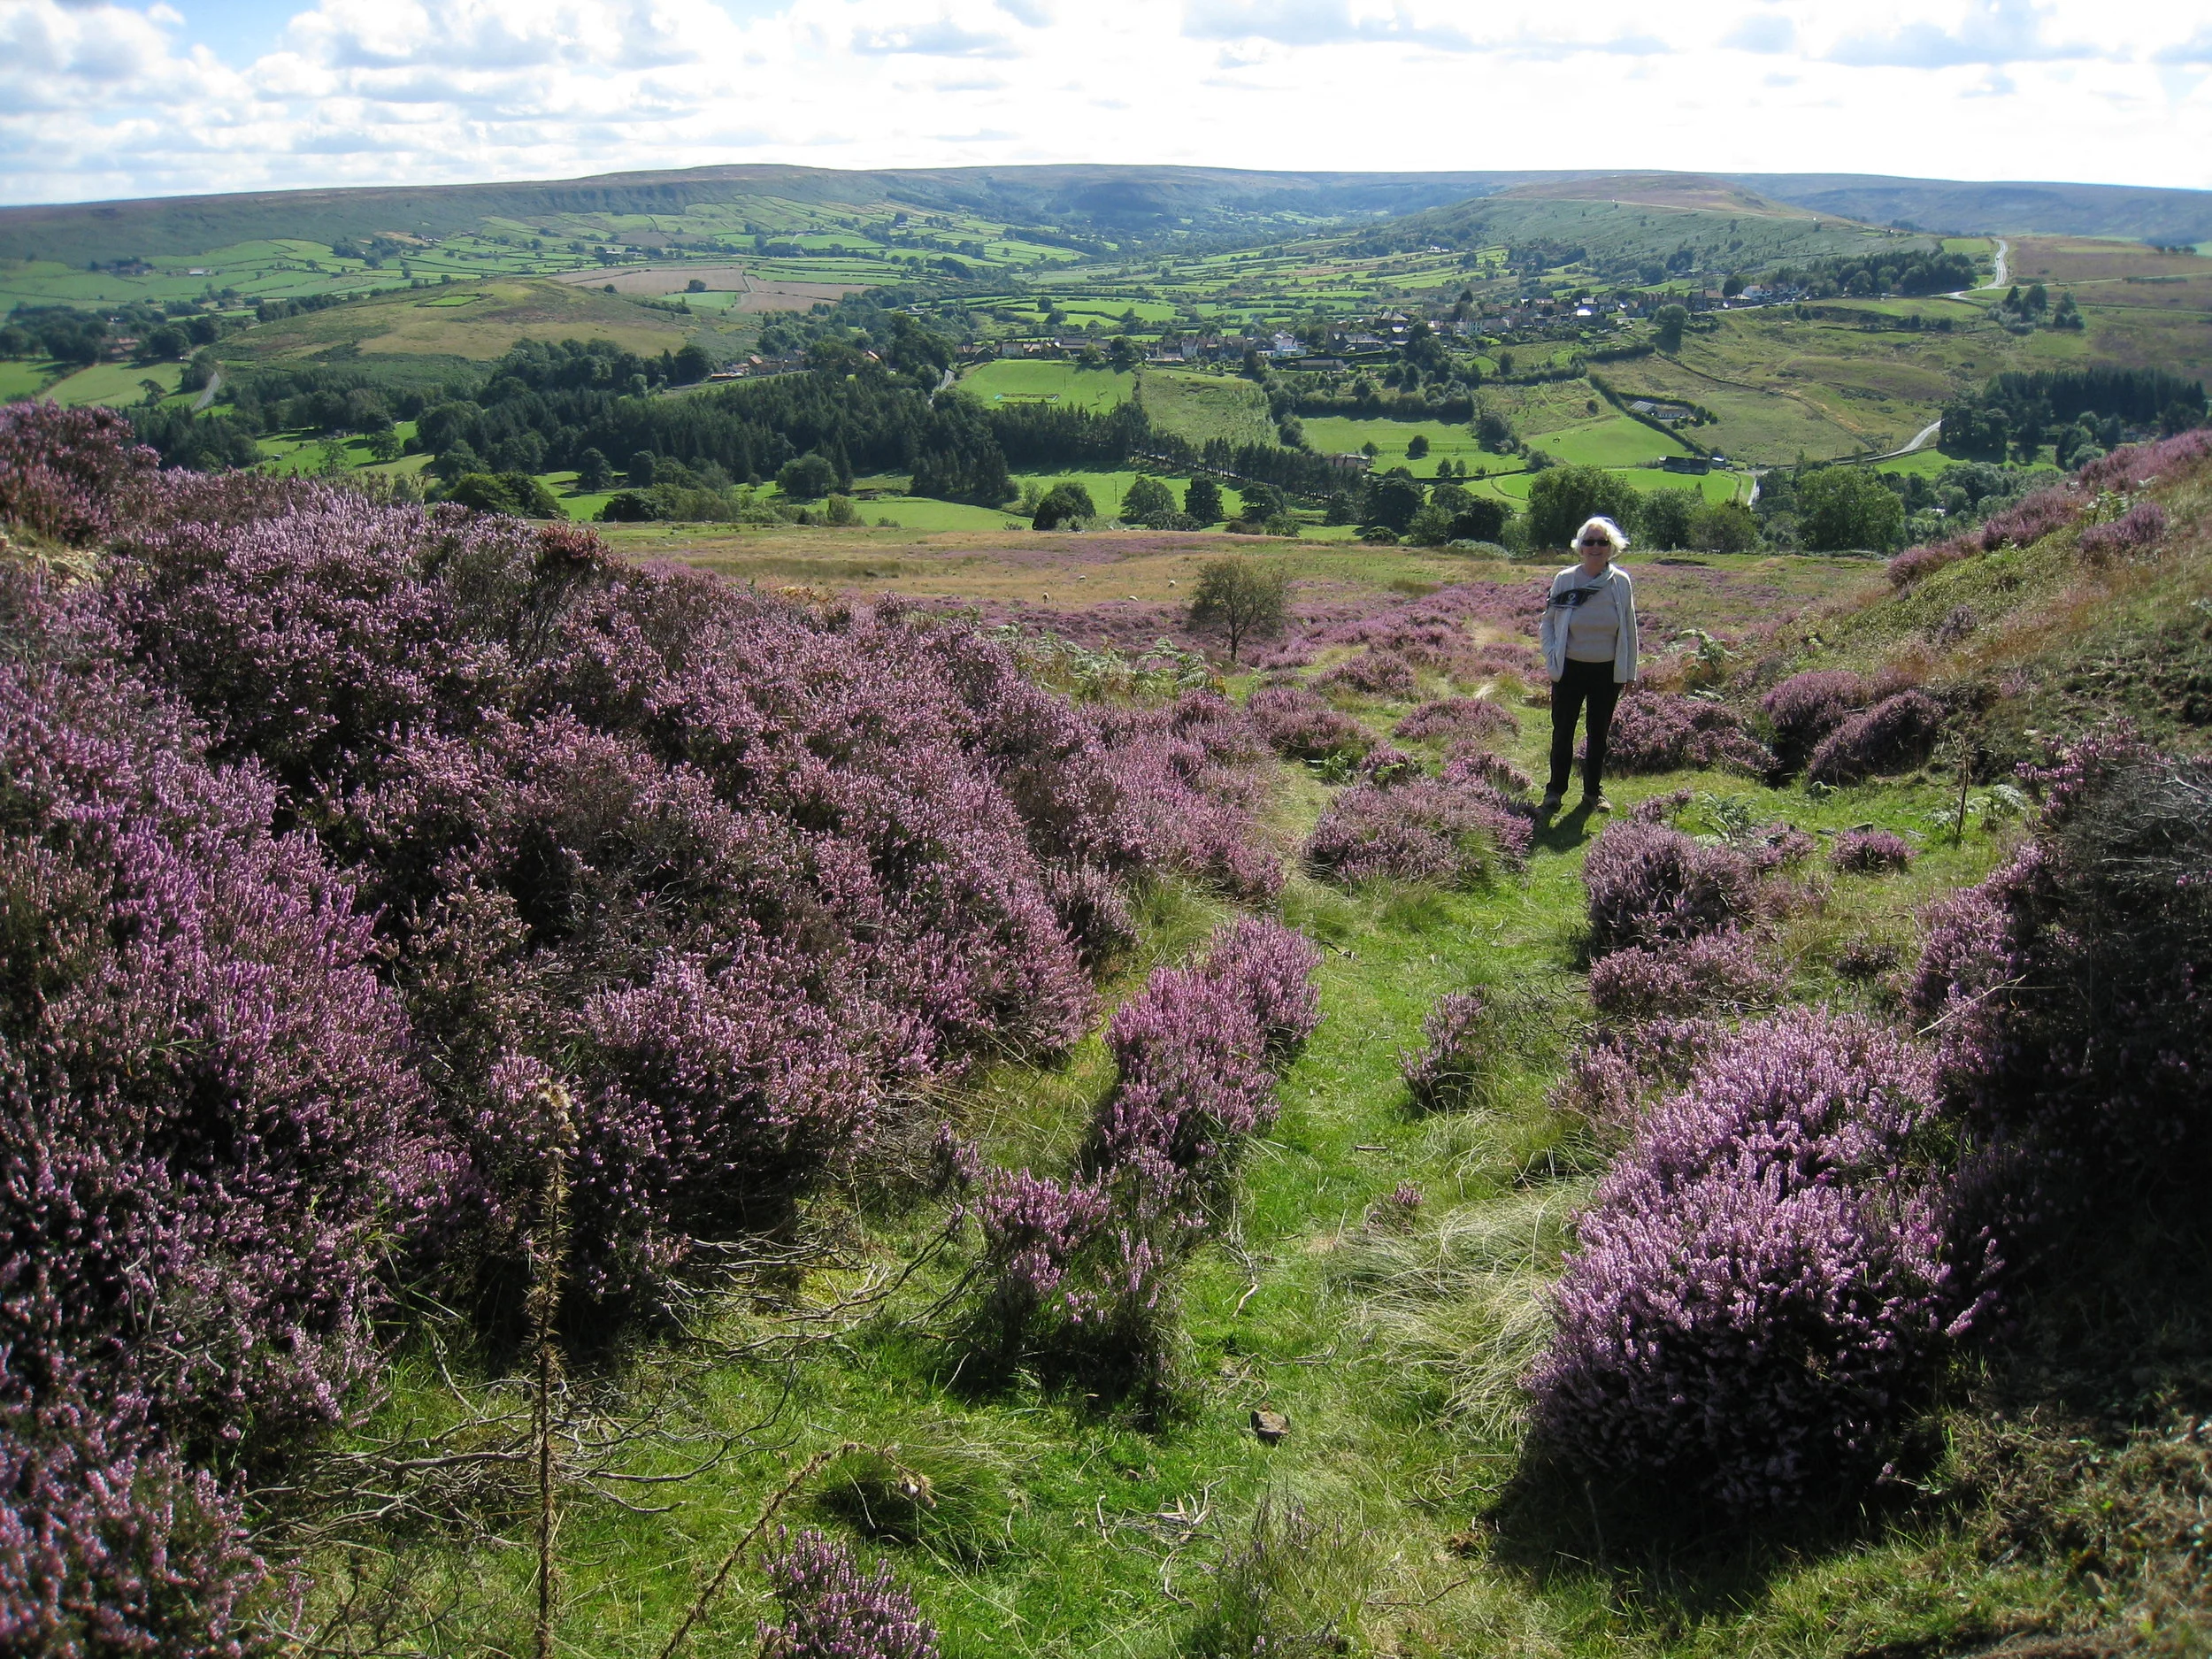
Yorkshire--Castleton Moor--Heather blooming on the Incline to the quarries--Carrol Benner Kindel
Castleton Moor--Heather blooming on the Incline to the quarries
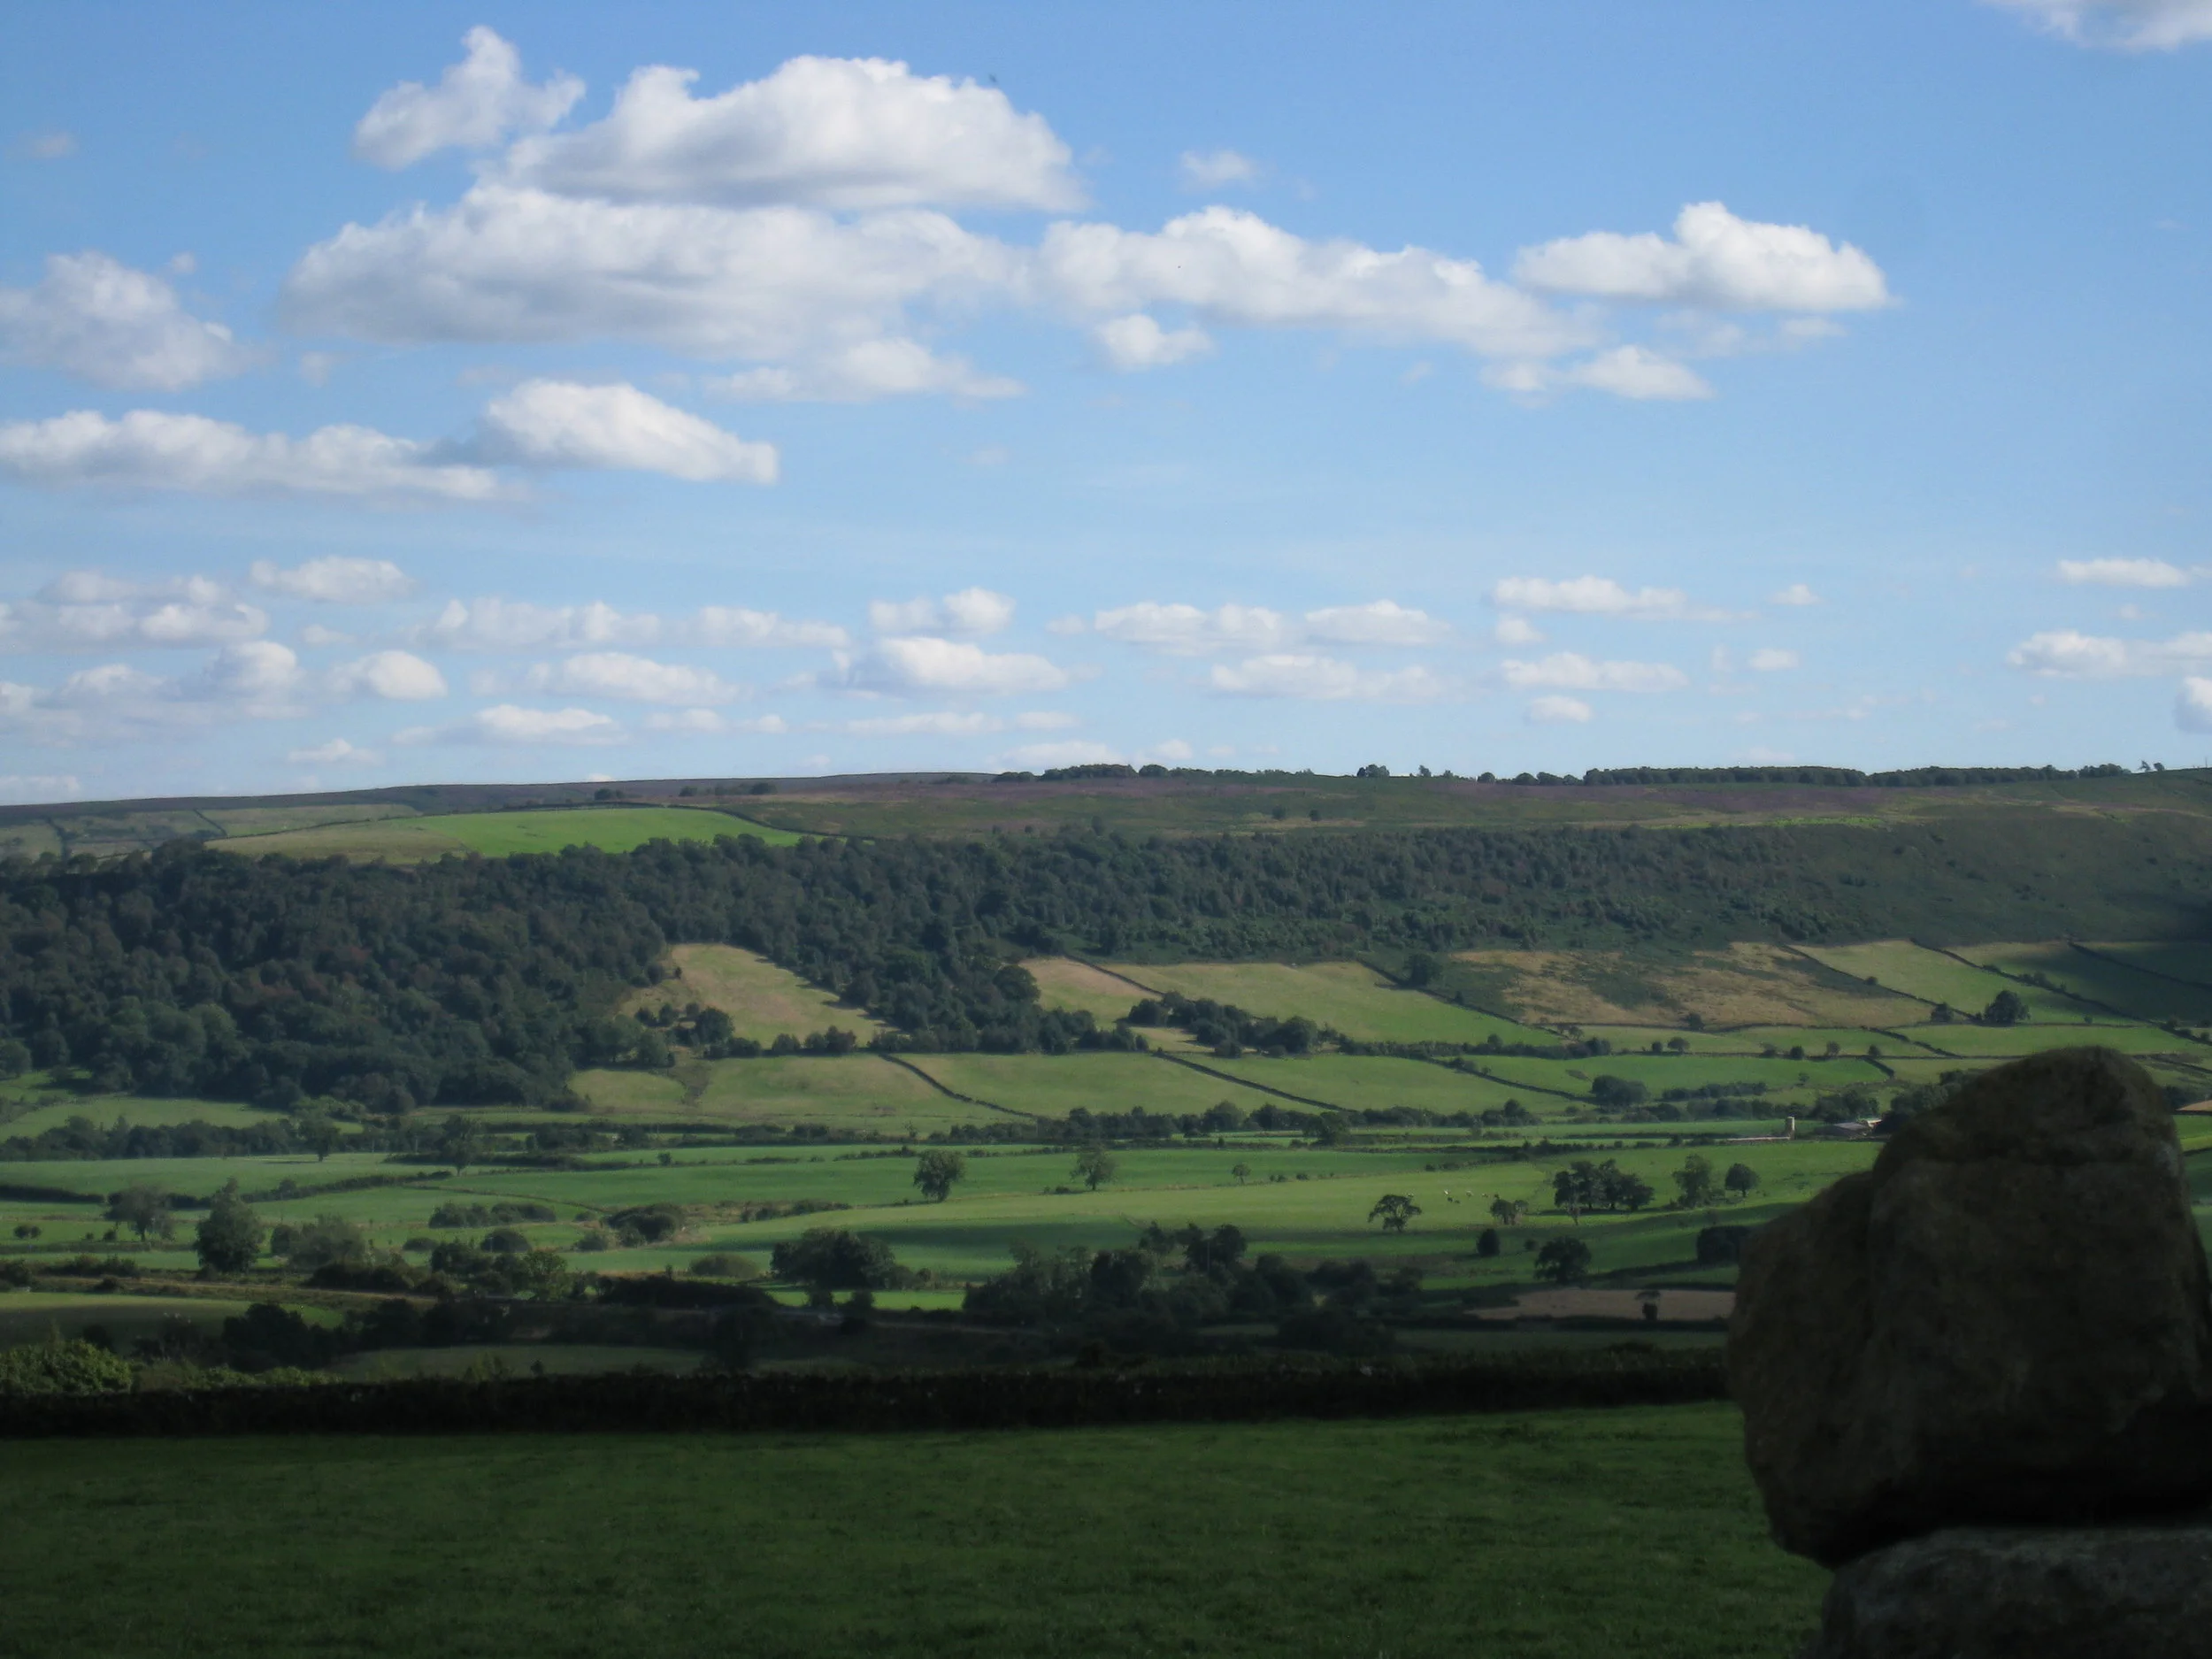
Yorkshire--Castleton Moor--Heather blooming on the Incline to the quarries--View across the Vale

Yorkshire--Castleton Moor--Heather blooming on the Incline to the quarries--View across the Vale
Yorkshire--Castleton Moor--Heather blooming on the Incline to the quarries--View across the Vale
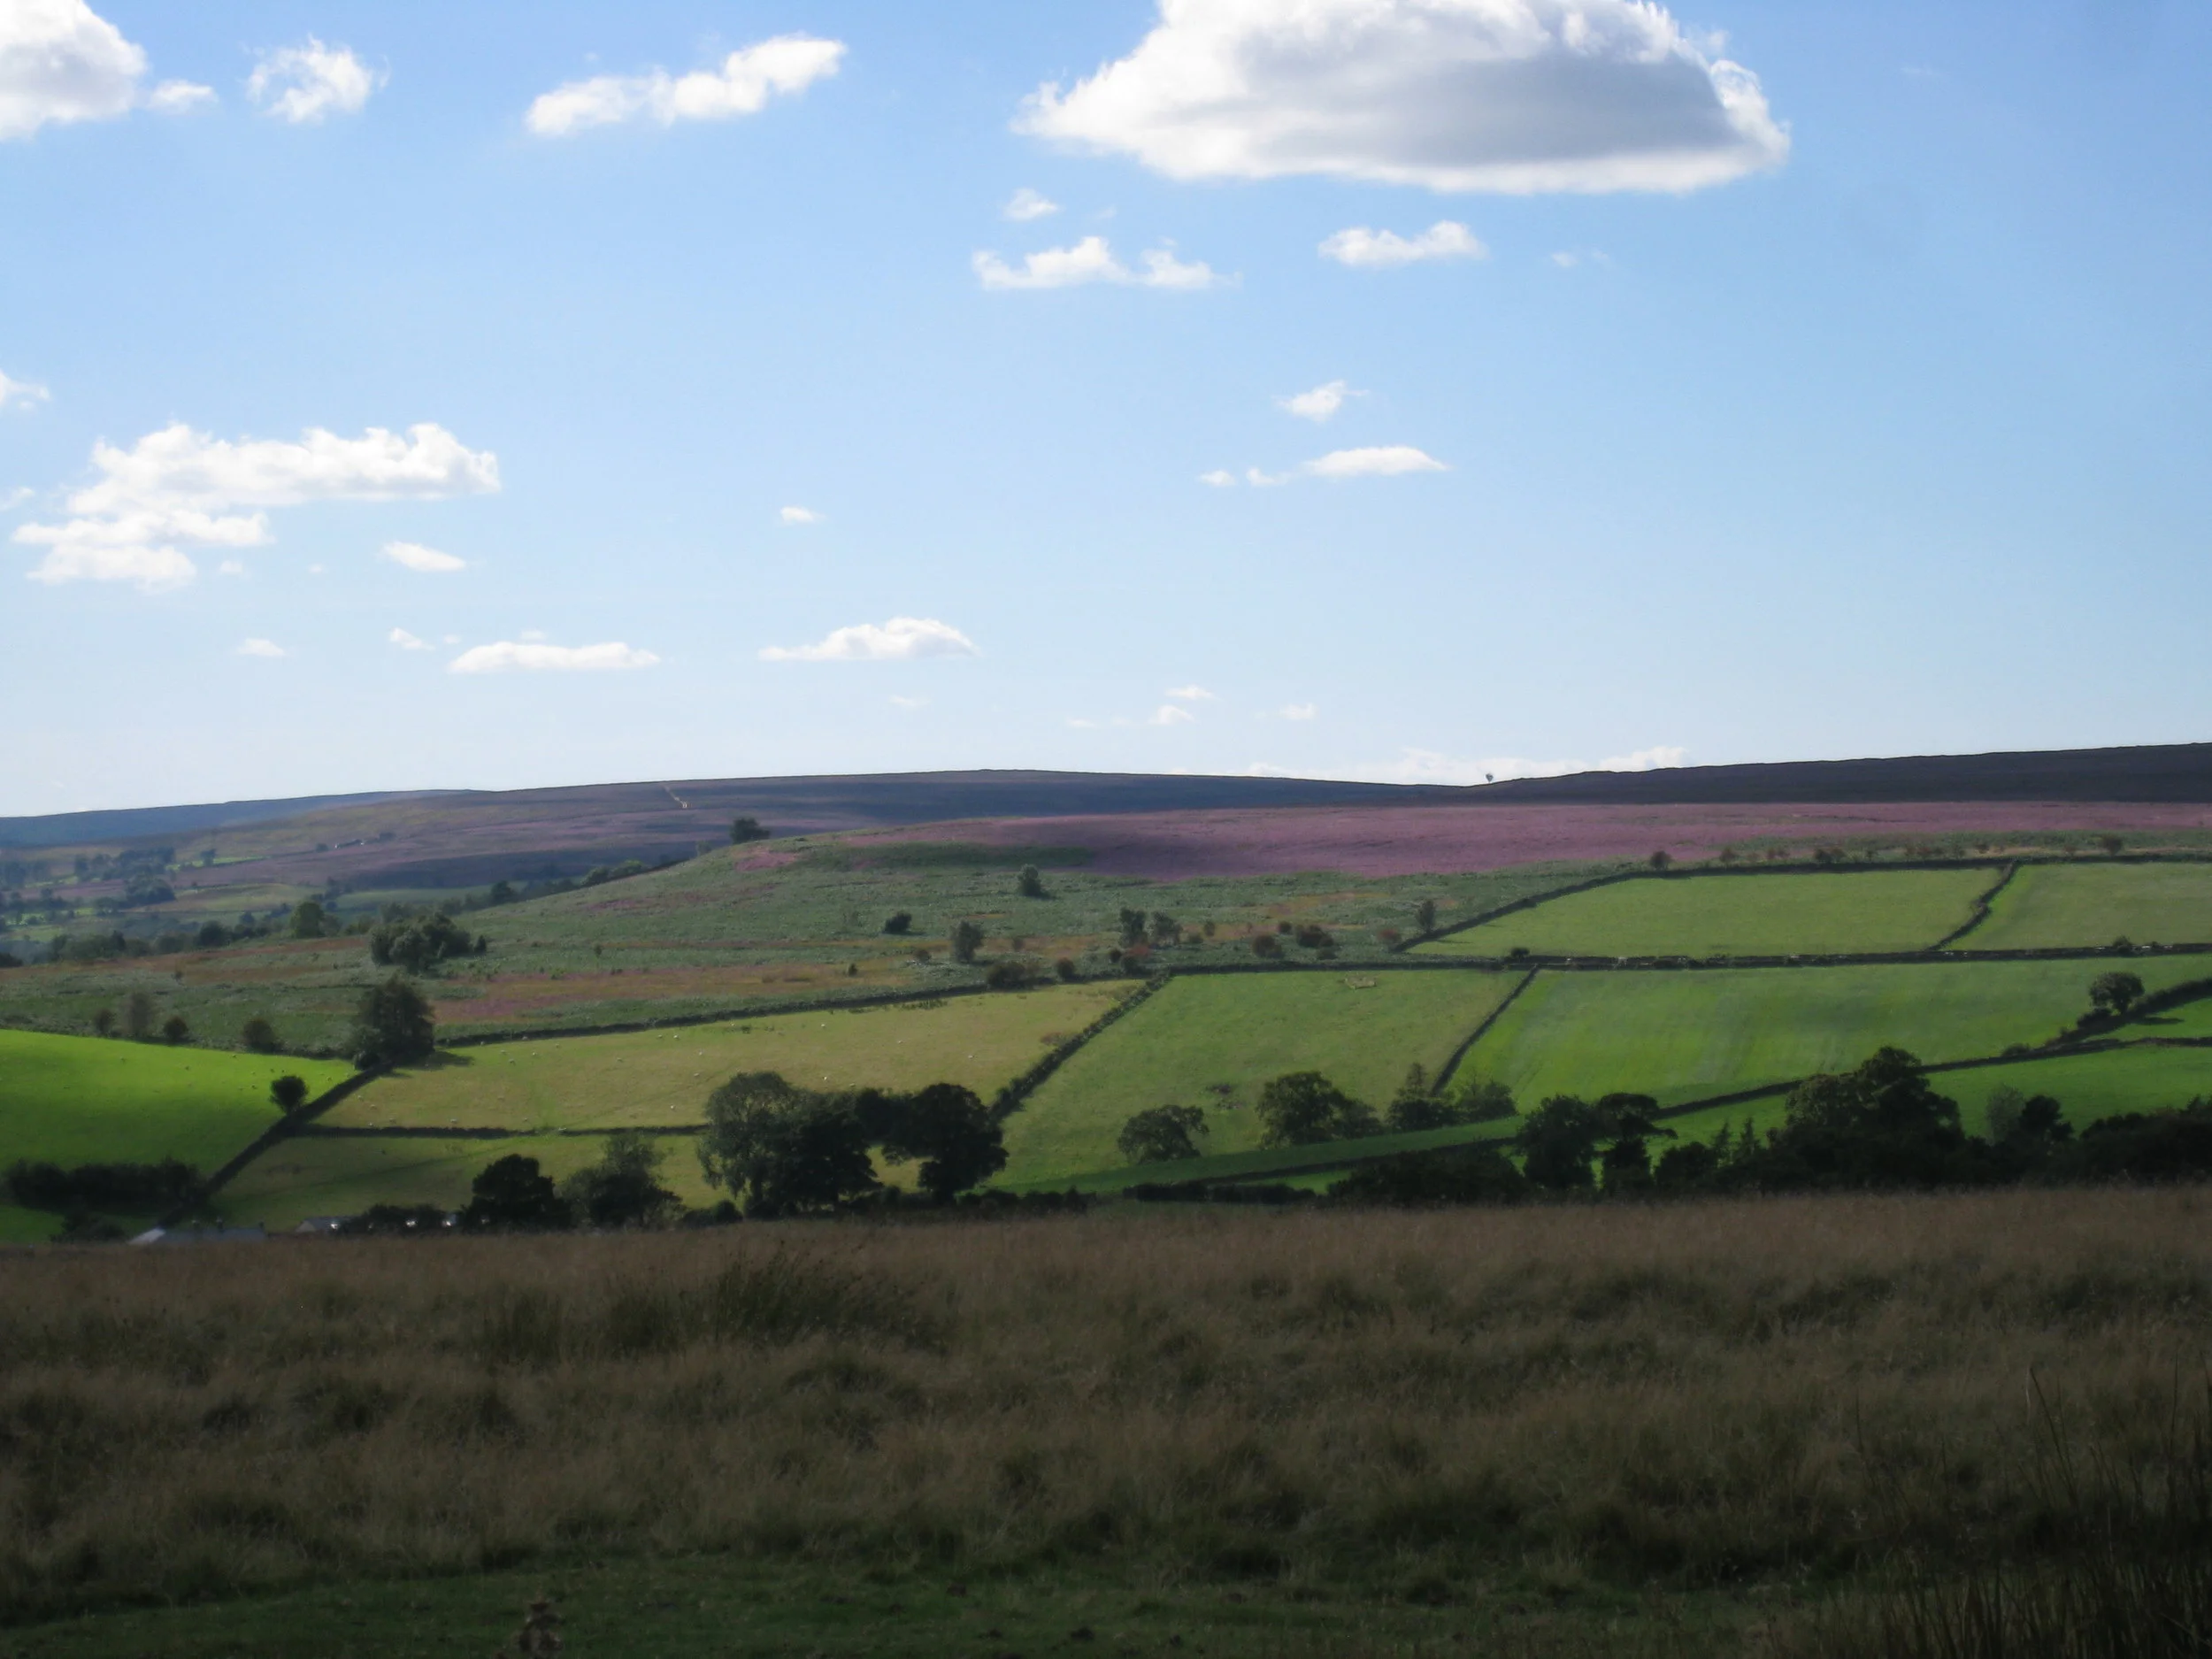
Yorkshire--Castleton Moor--Heather blooming on the Incline to the quarries--View across the Vale
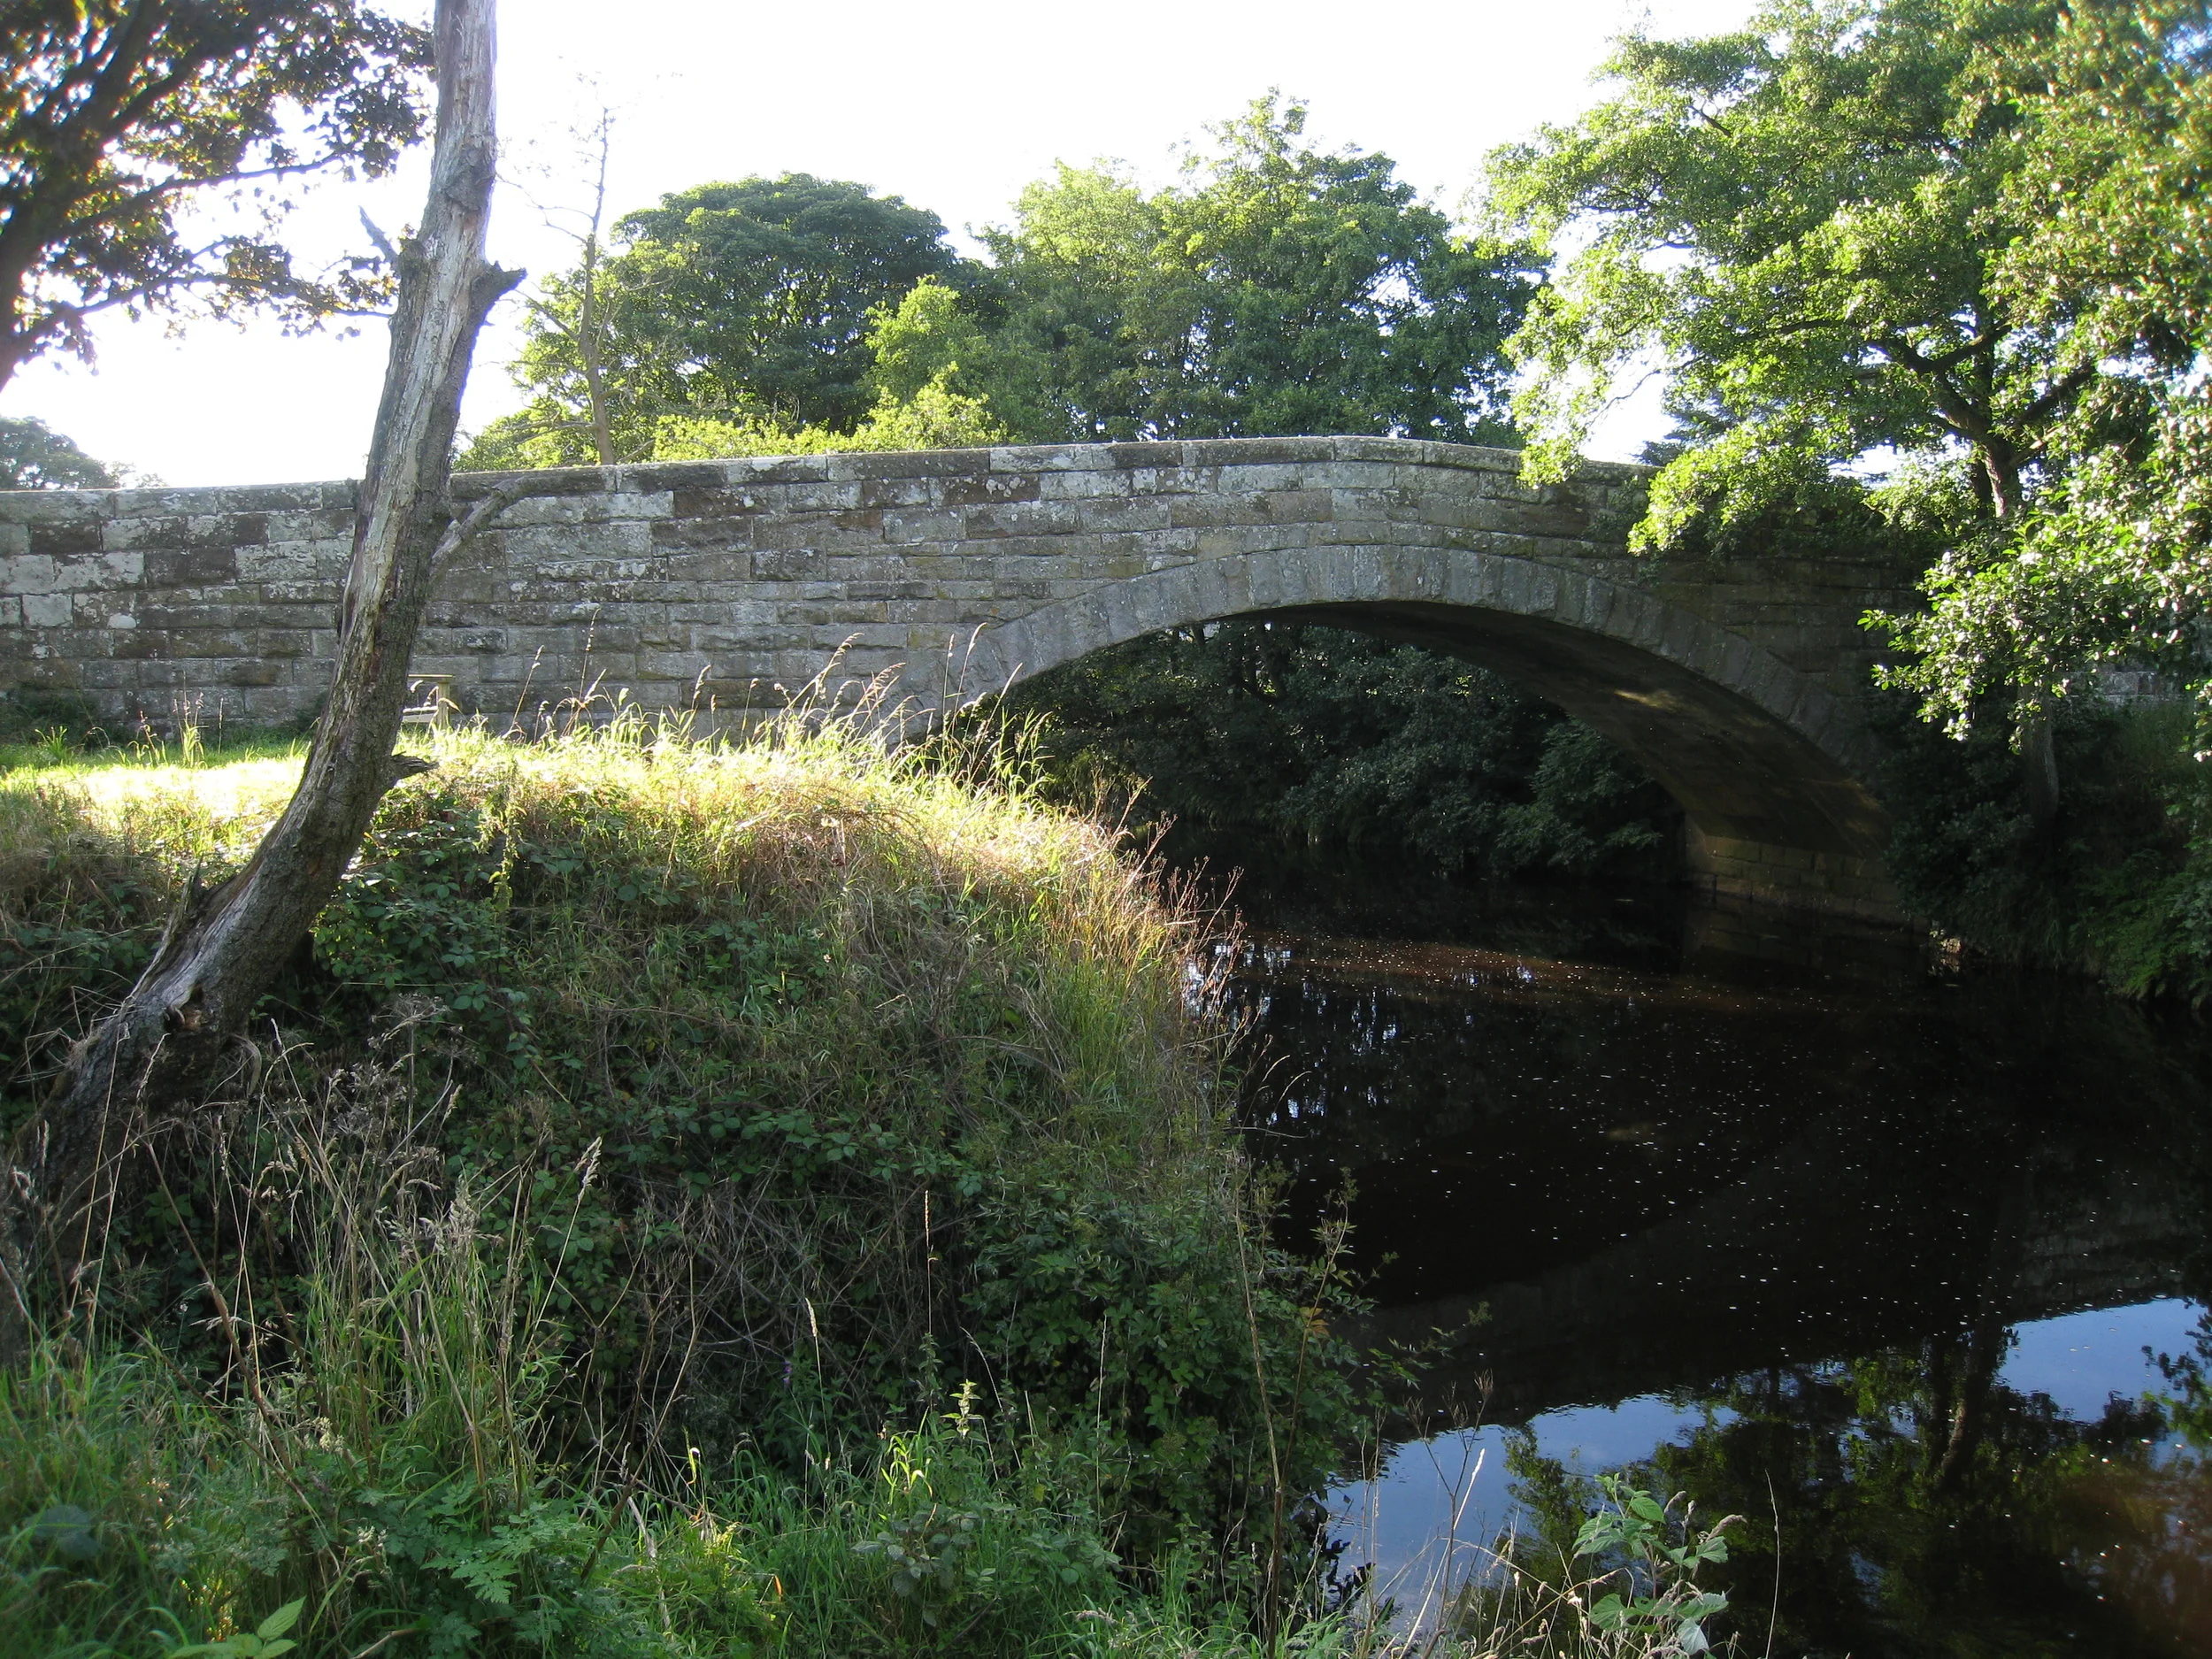
Danby--Bridge over the Esk River

Danby--Bridge over the Esk River at the rail station, with a mature Araucaria

North Yorkshire Moors Railway--The Eric Treacy Locomotive--Pickering Station

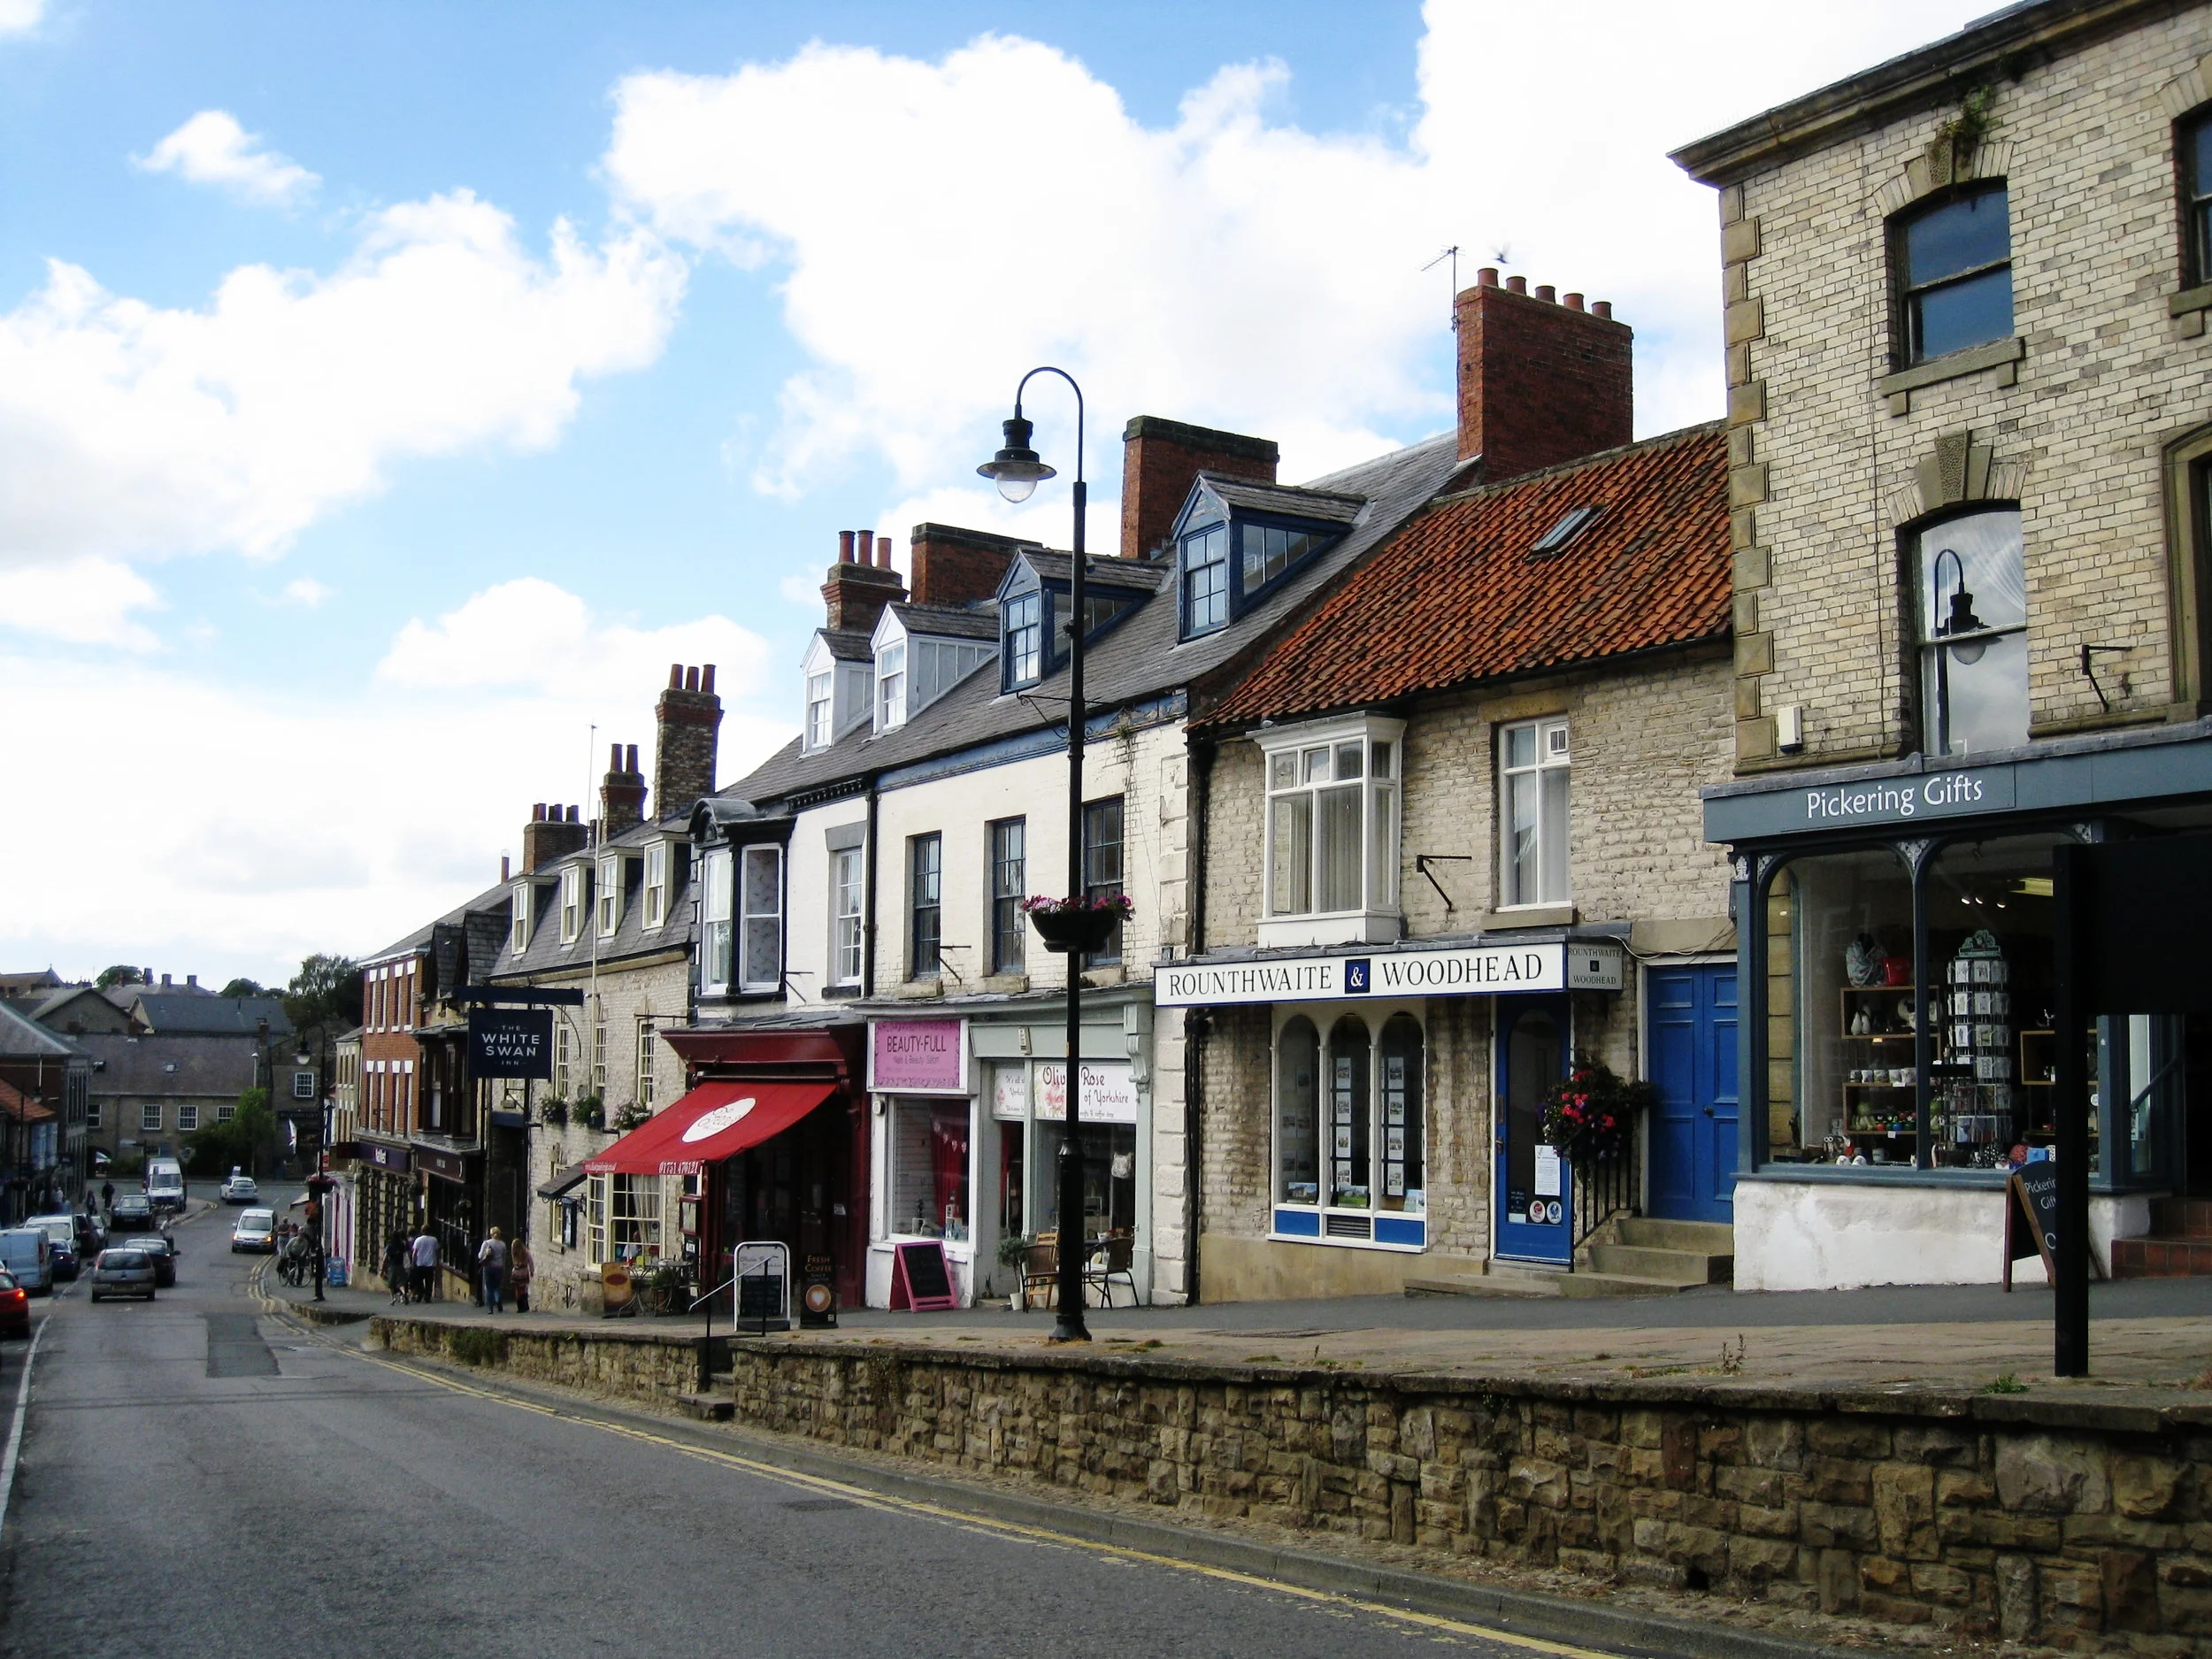
Pickering High Street

Pickering High Street--Maggie Hall, Graham and Peta

Pickering High Street

Pickering High Street--Maggie Hall, Graham and Peter
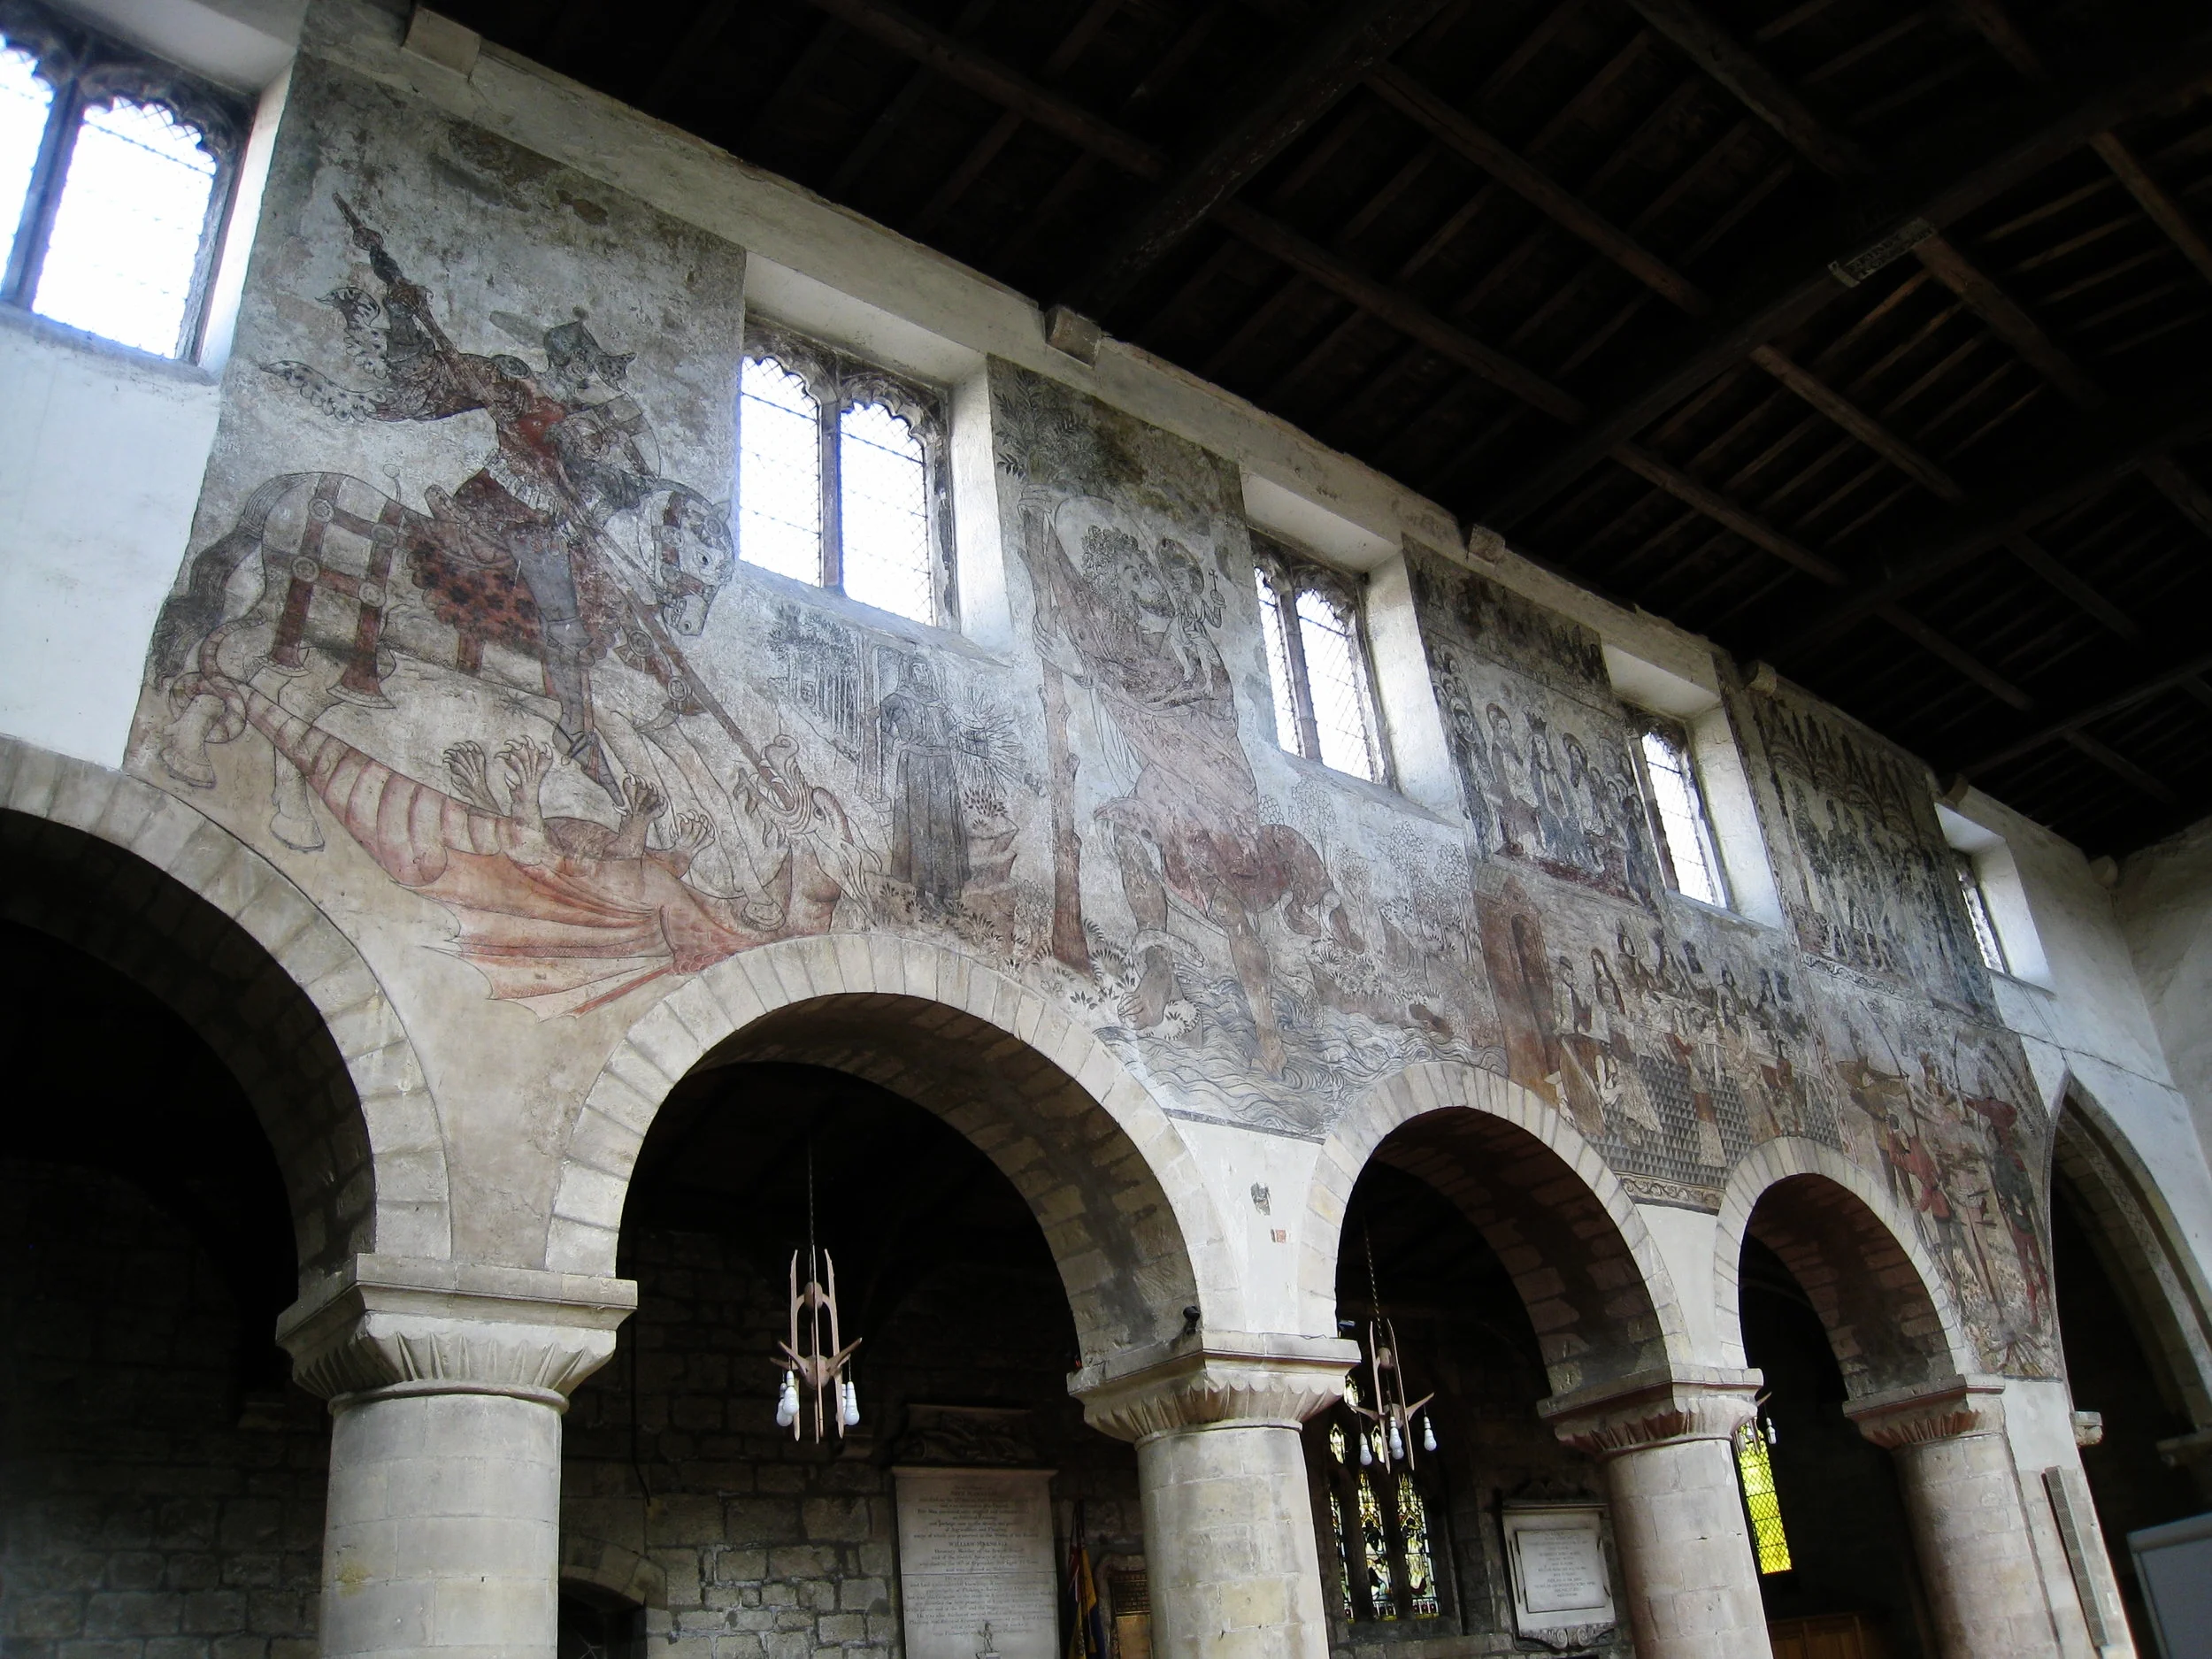
Pickering--Church Murals
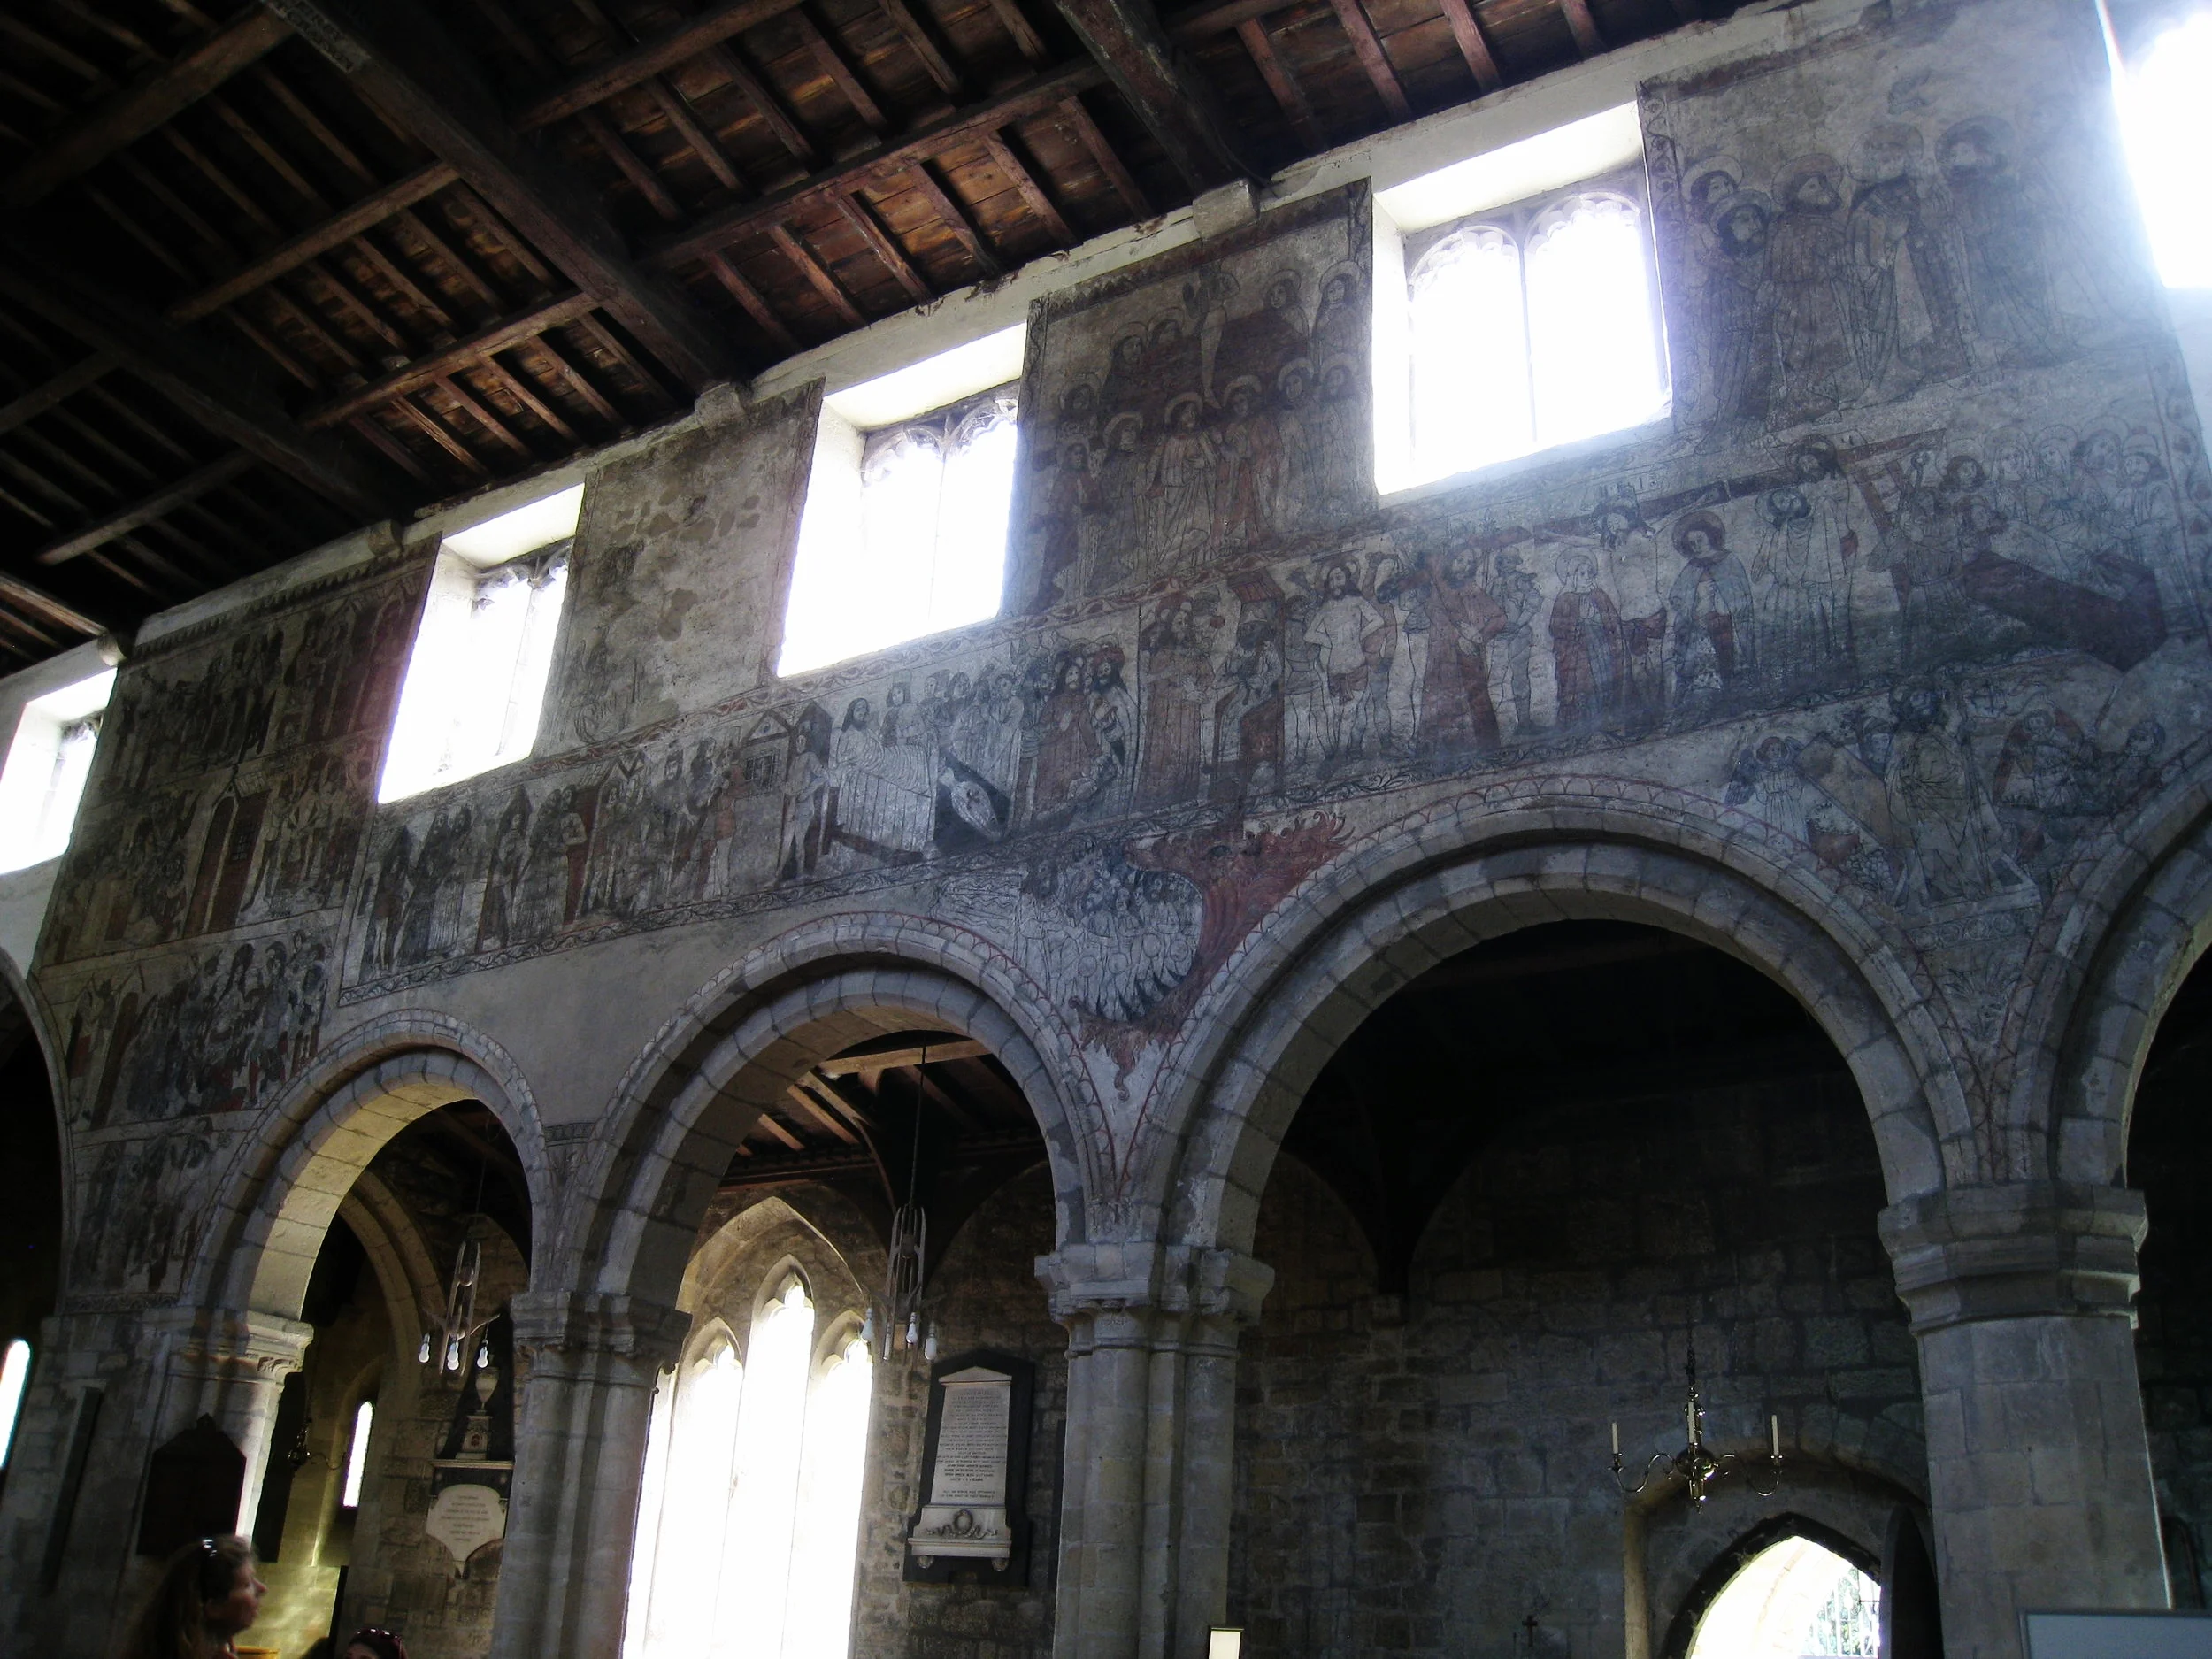
Pickering--Church Murals

Pickering--Church Murals
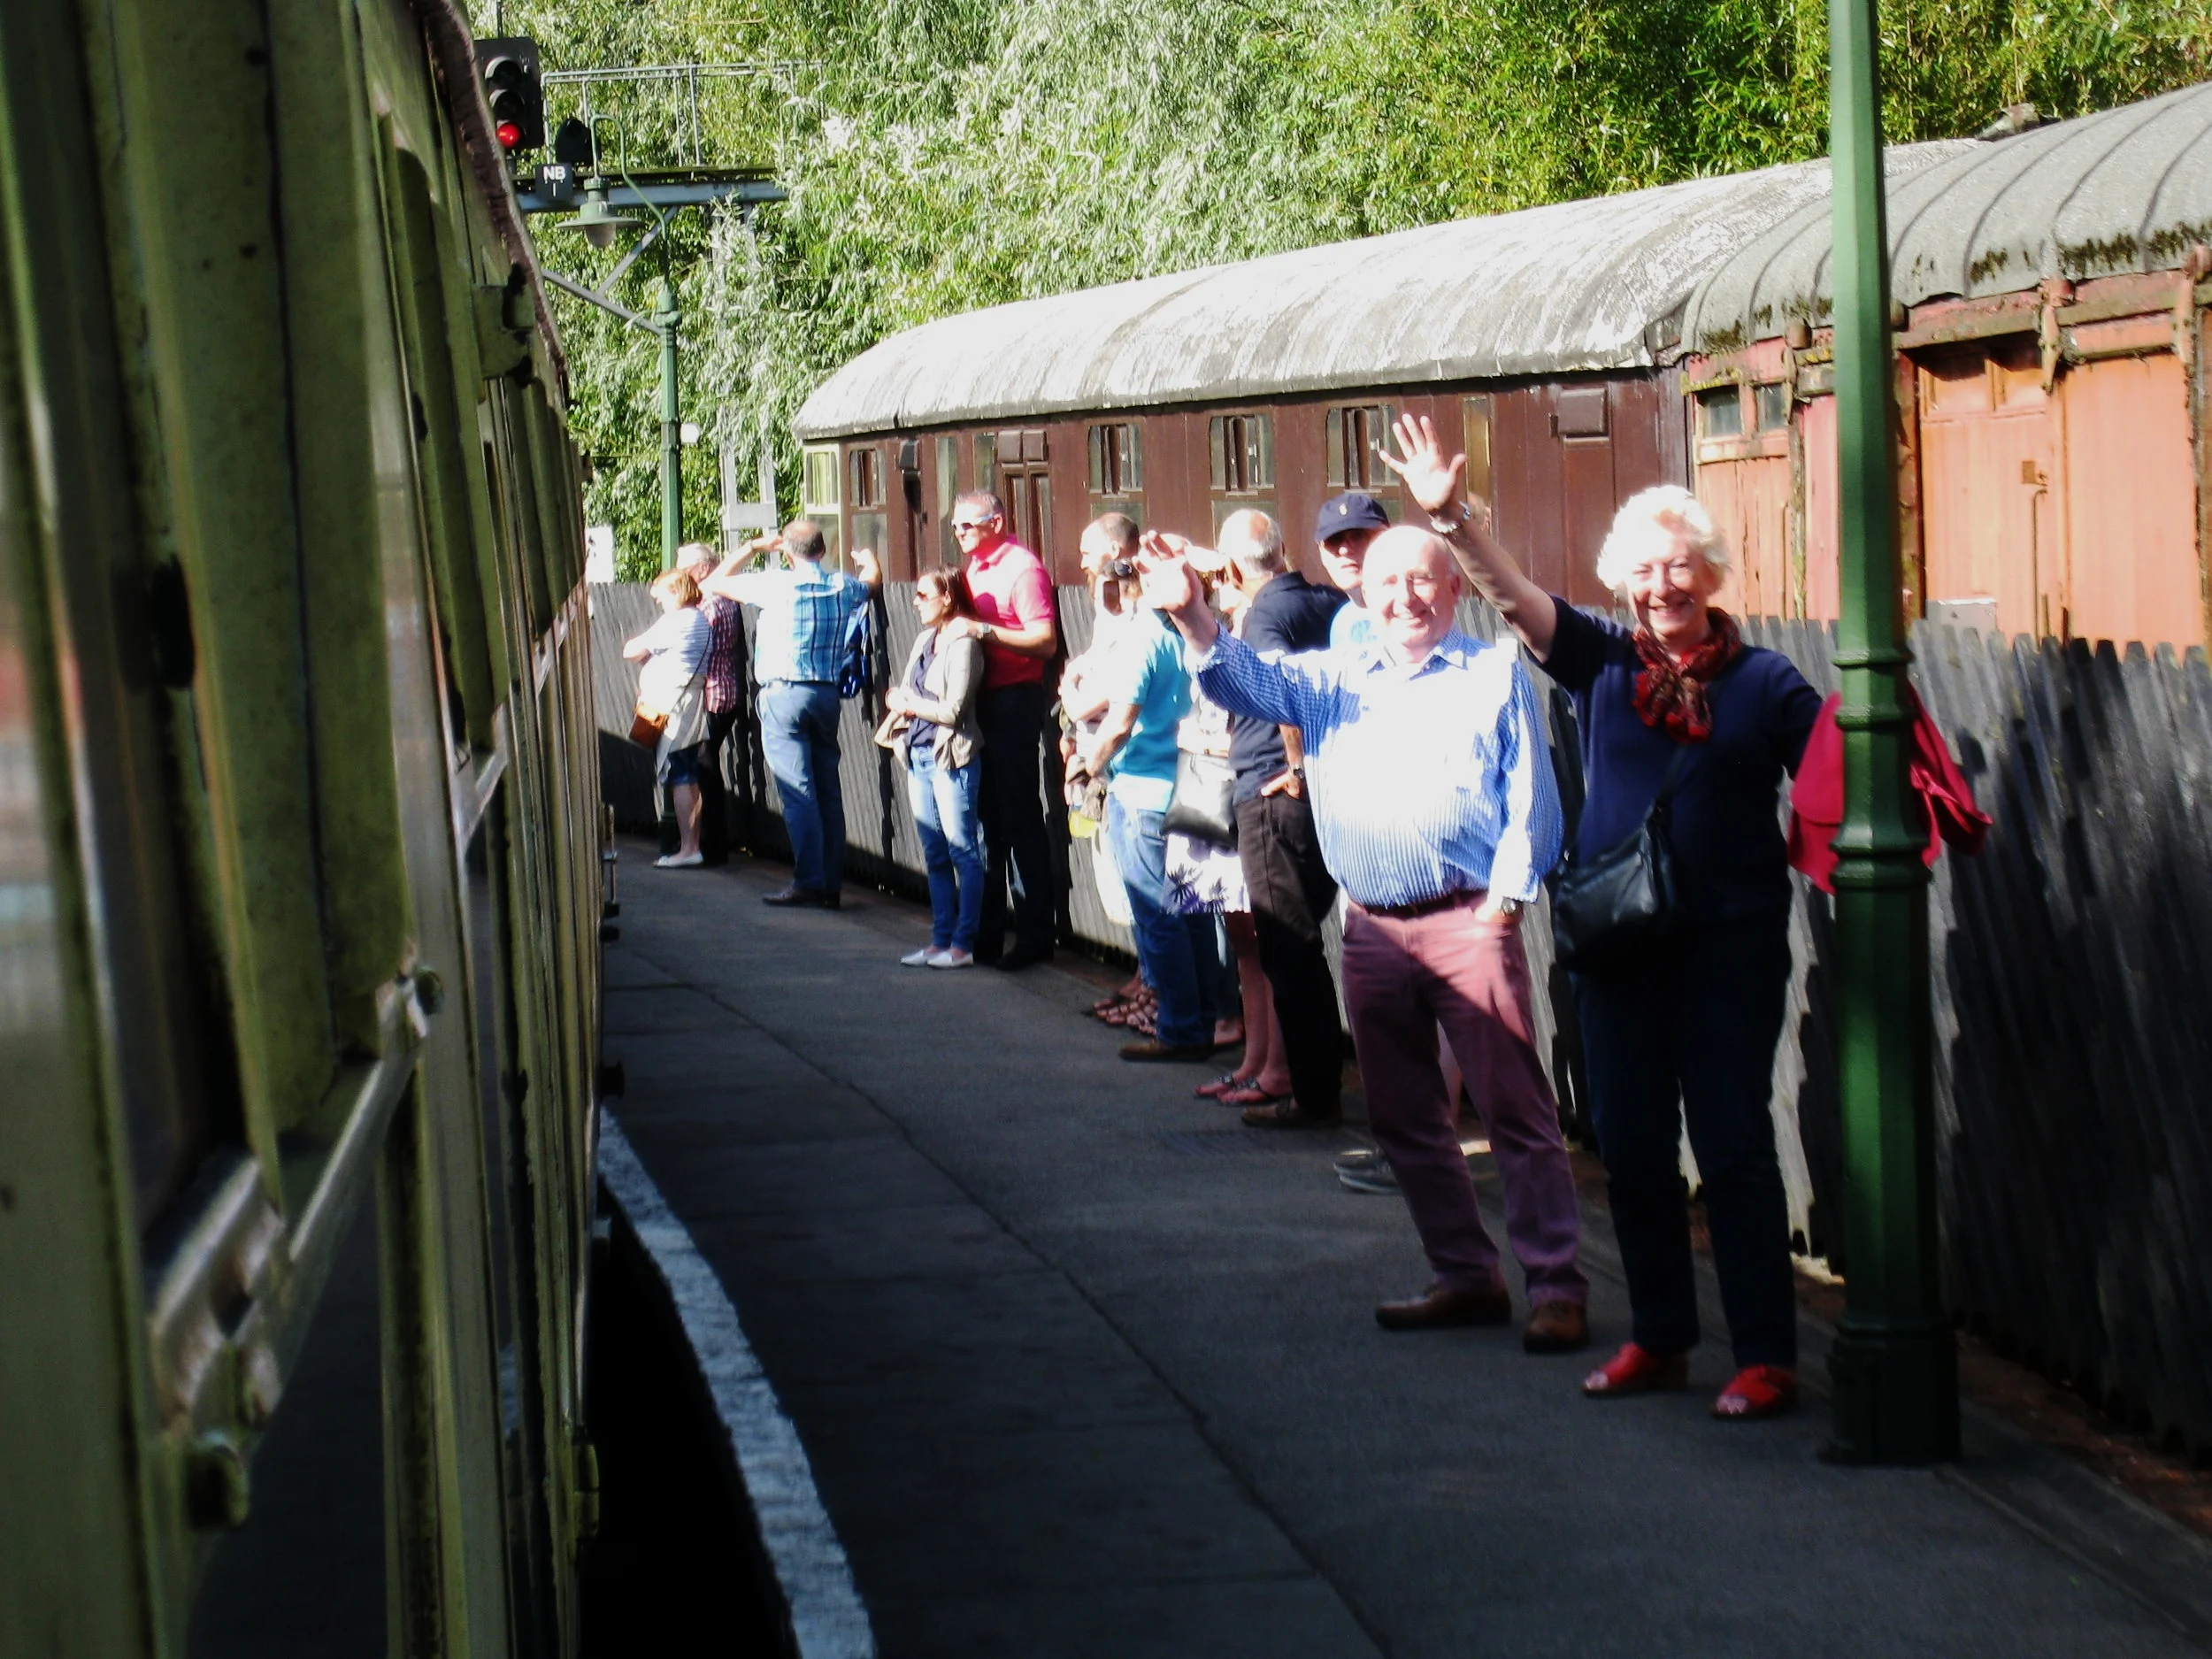
North Yorkshire Moors Railway--The Eric Treacy Locomotive--Pickering Station--Graham and Peta

Egton--Ag. Show--The view
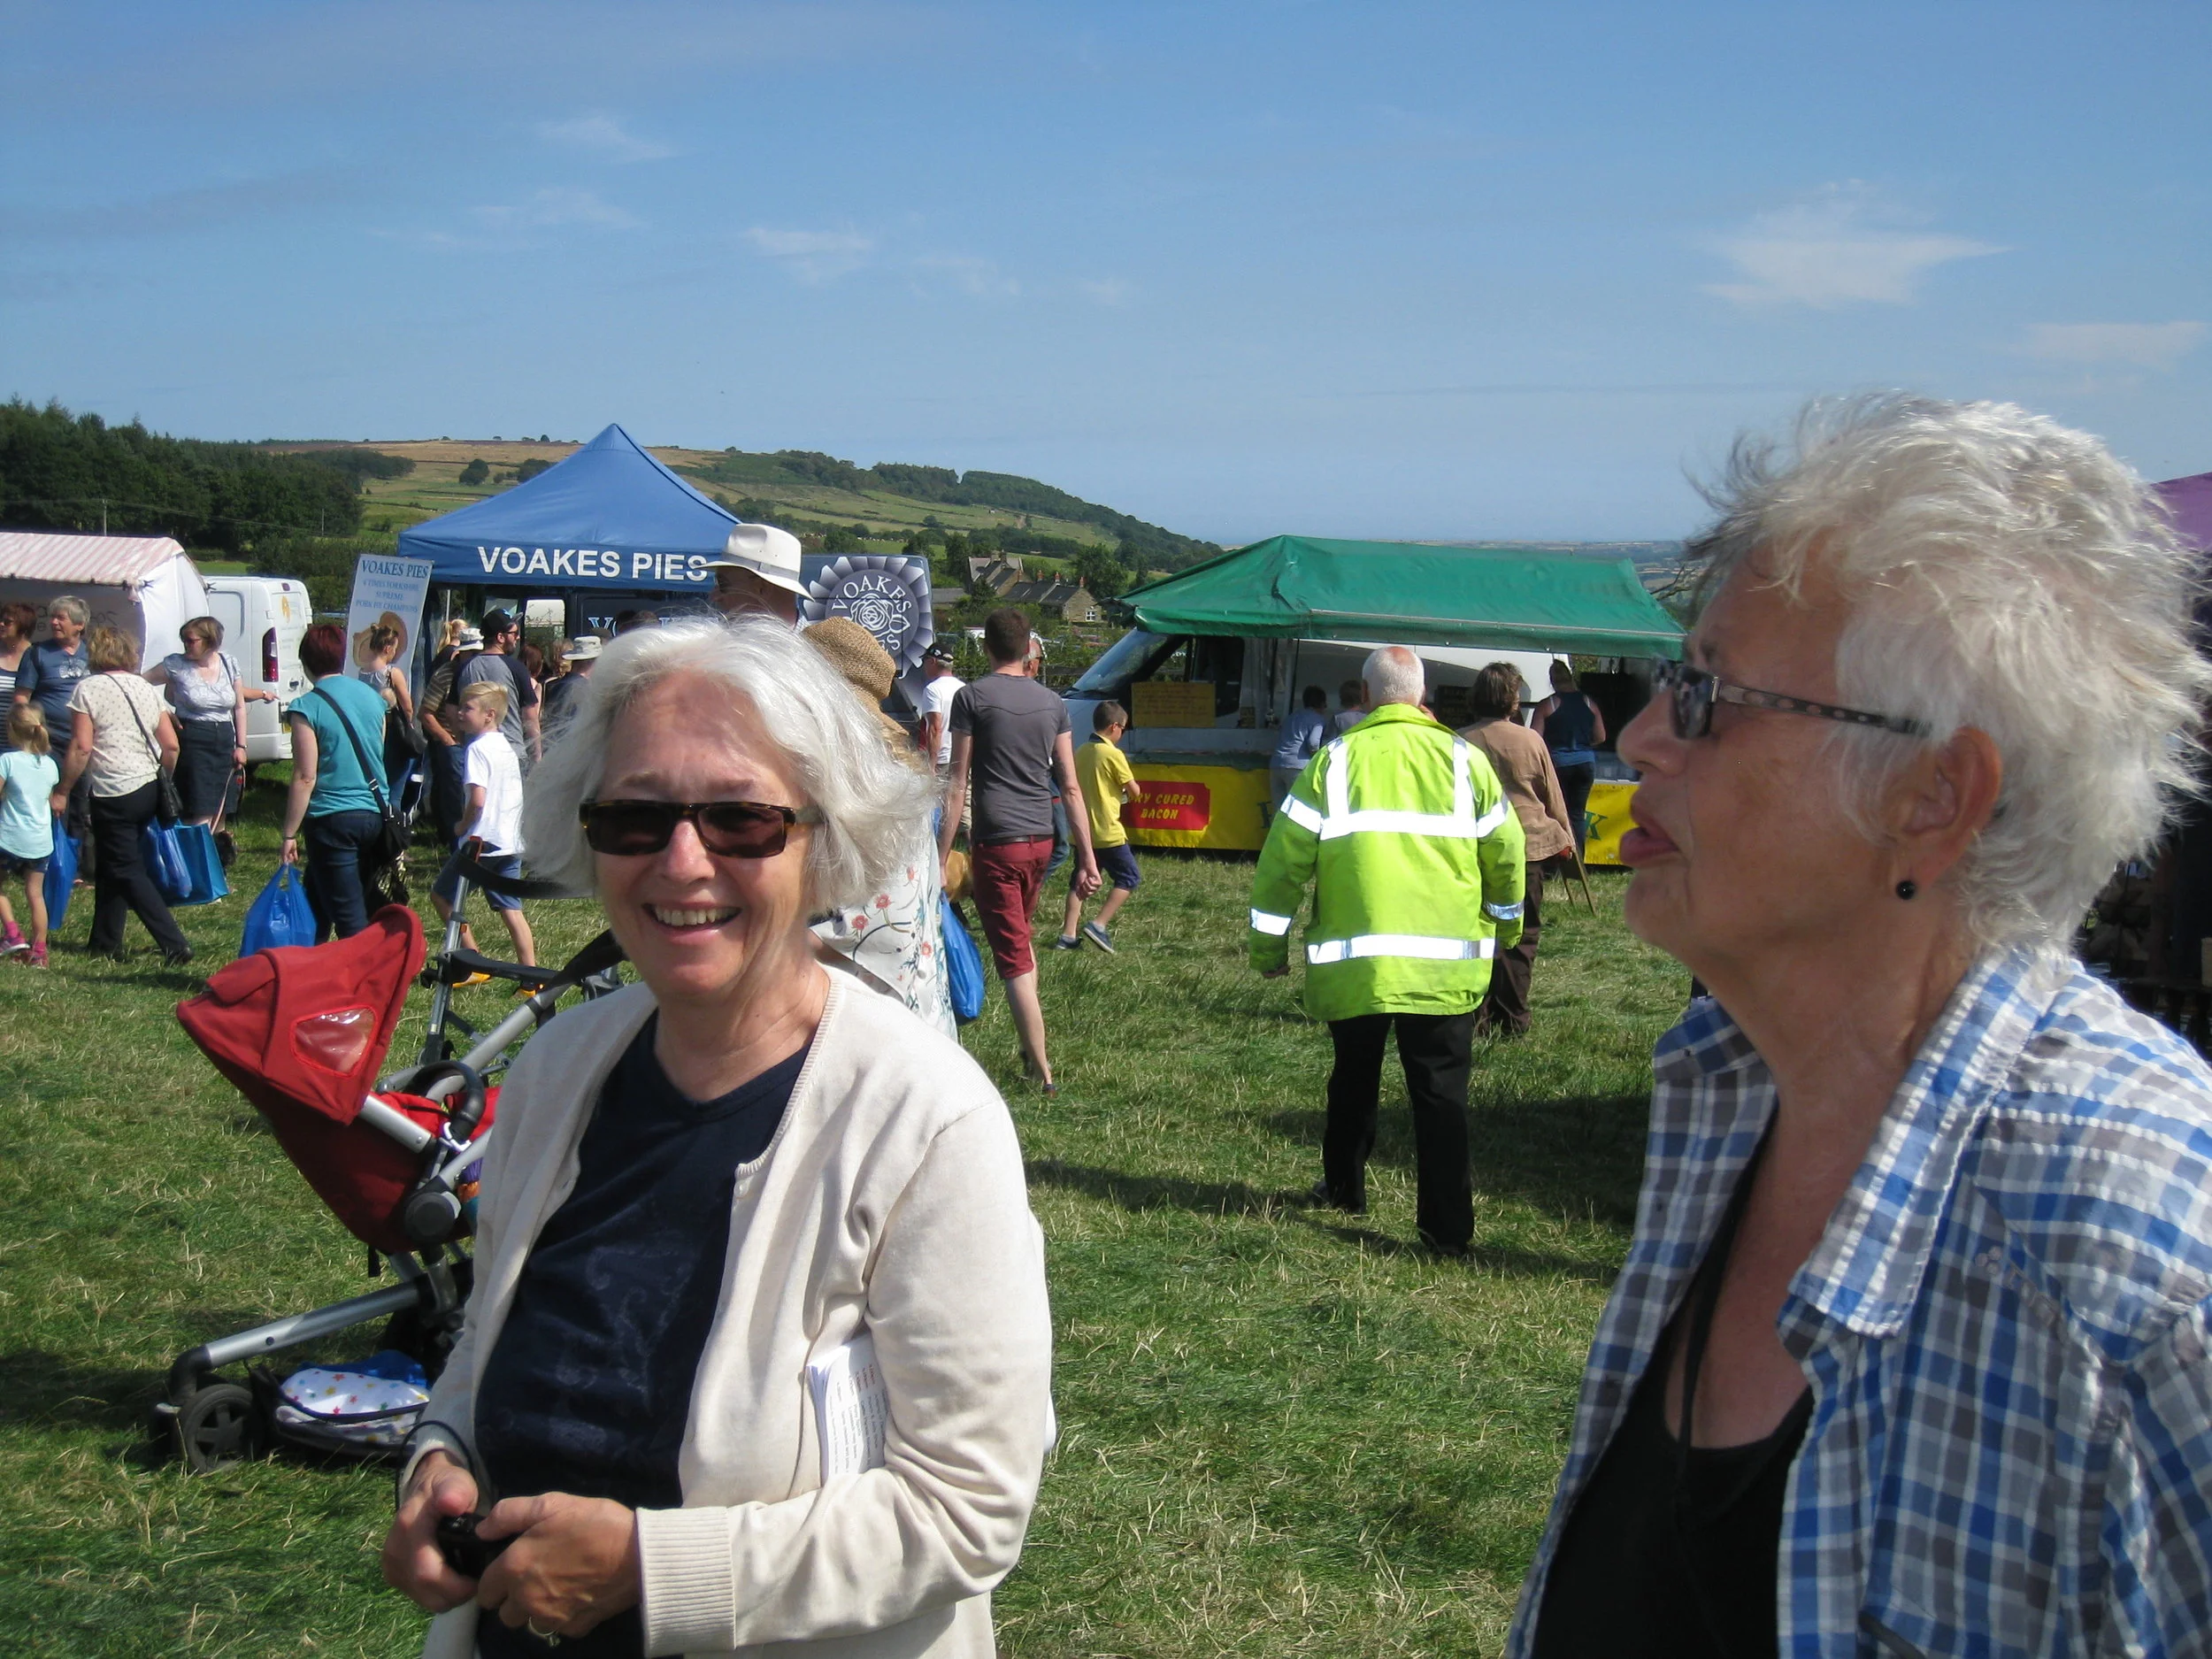
Egton--Ag. Show--The view with Carrol Benner Kindel and Maggie Hall

Egton--Ag. Show--The view

Egton--Ag. Show--The view with Carrol Benner Kindel , Eileen and Terry Shone and Maggie Hall
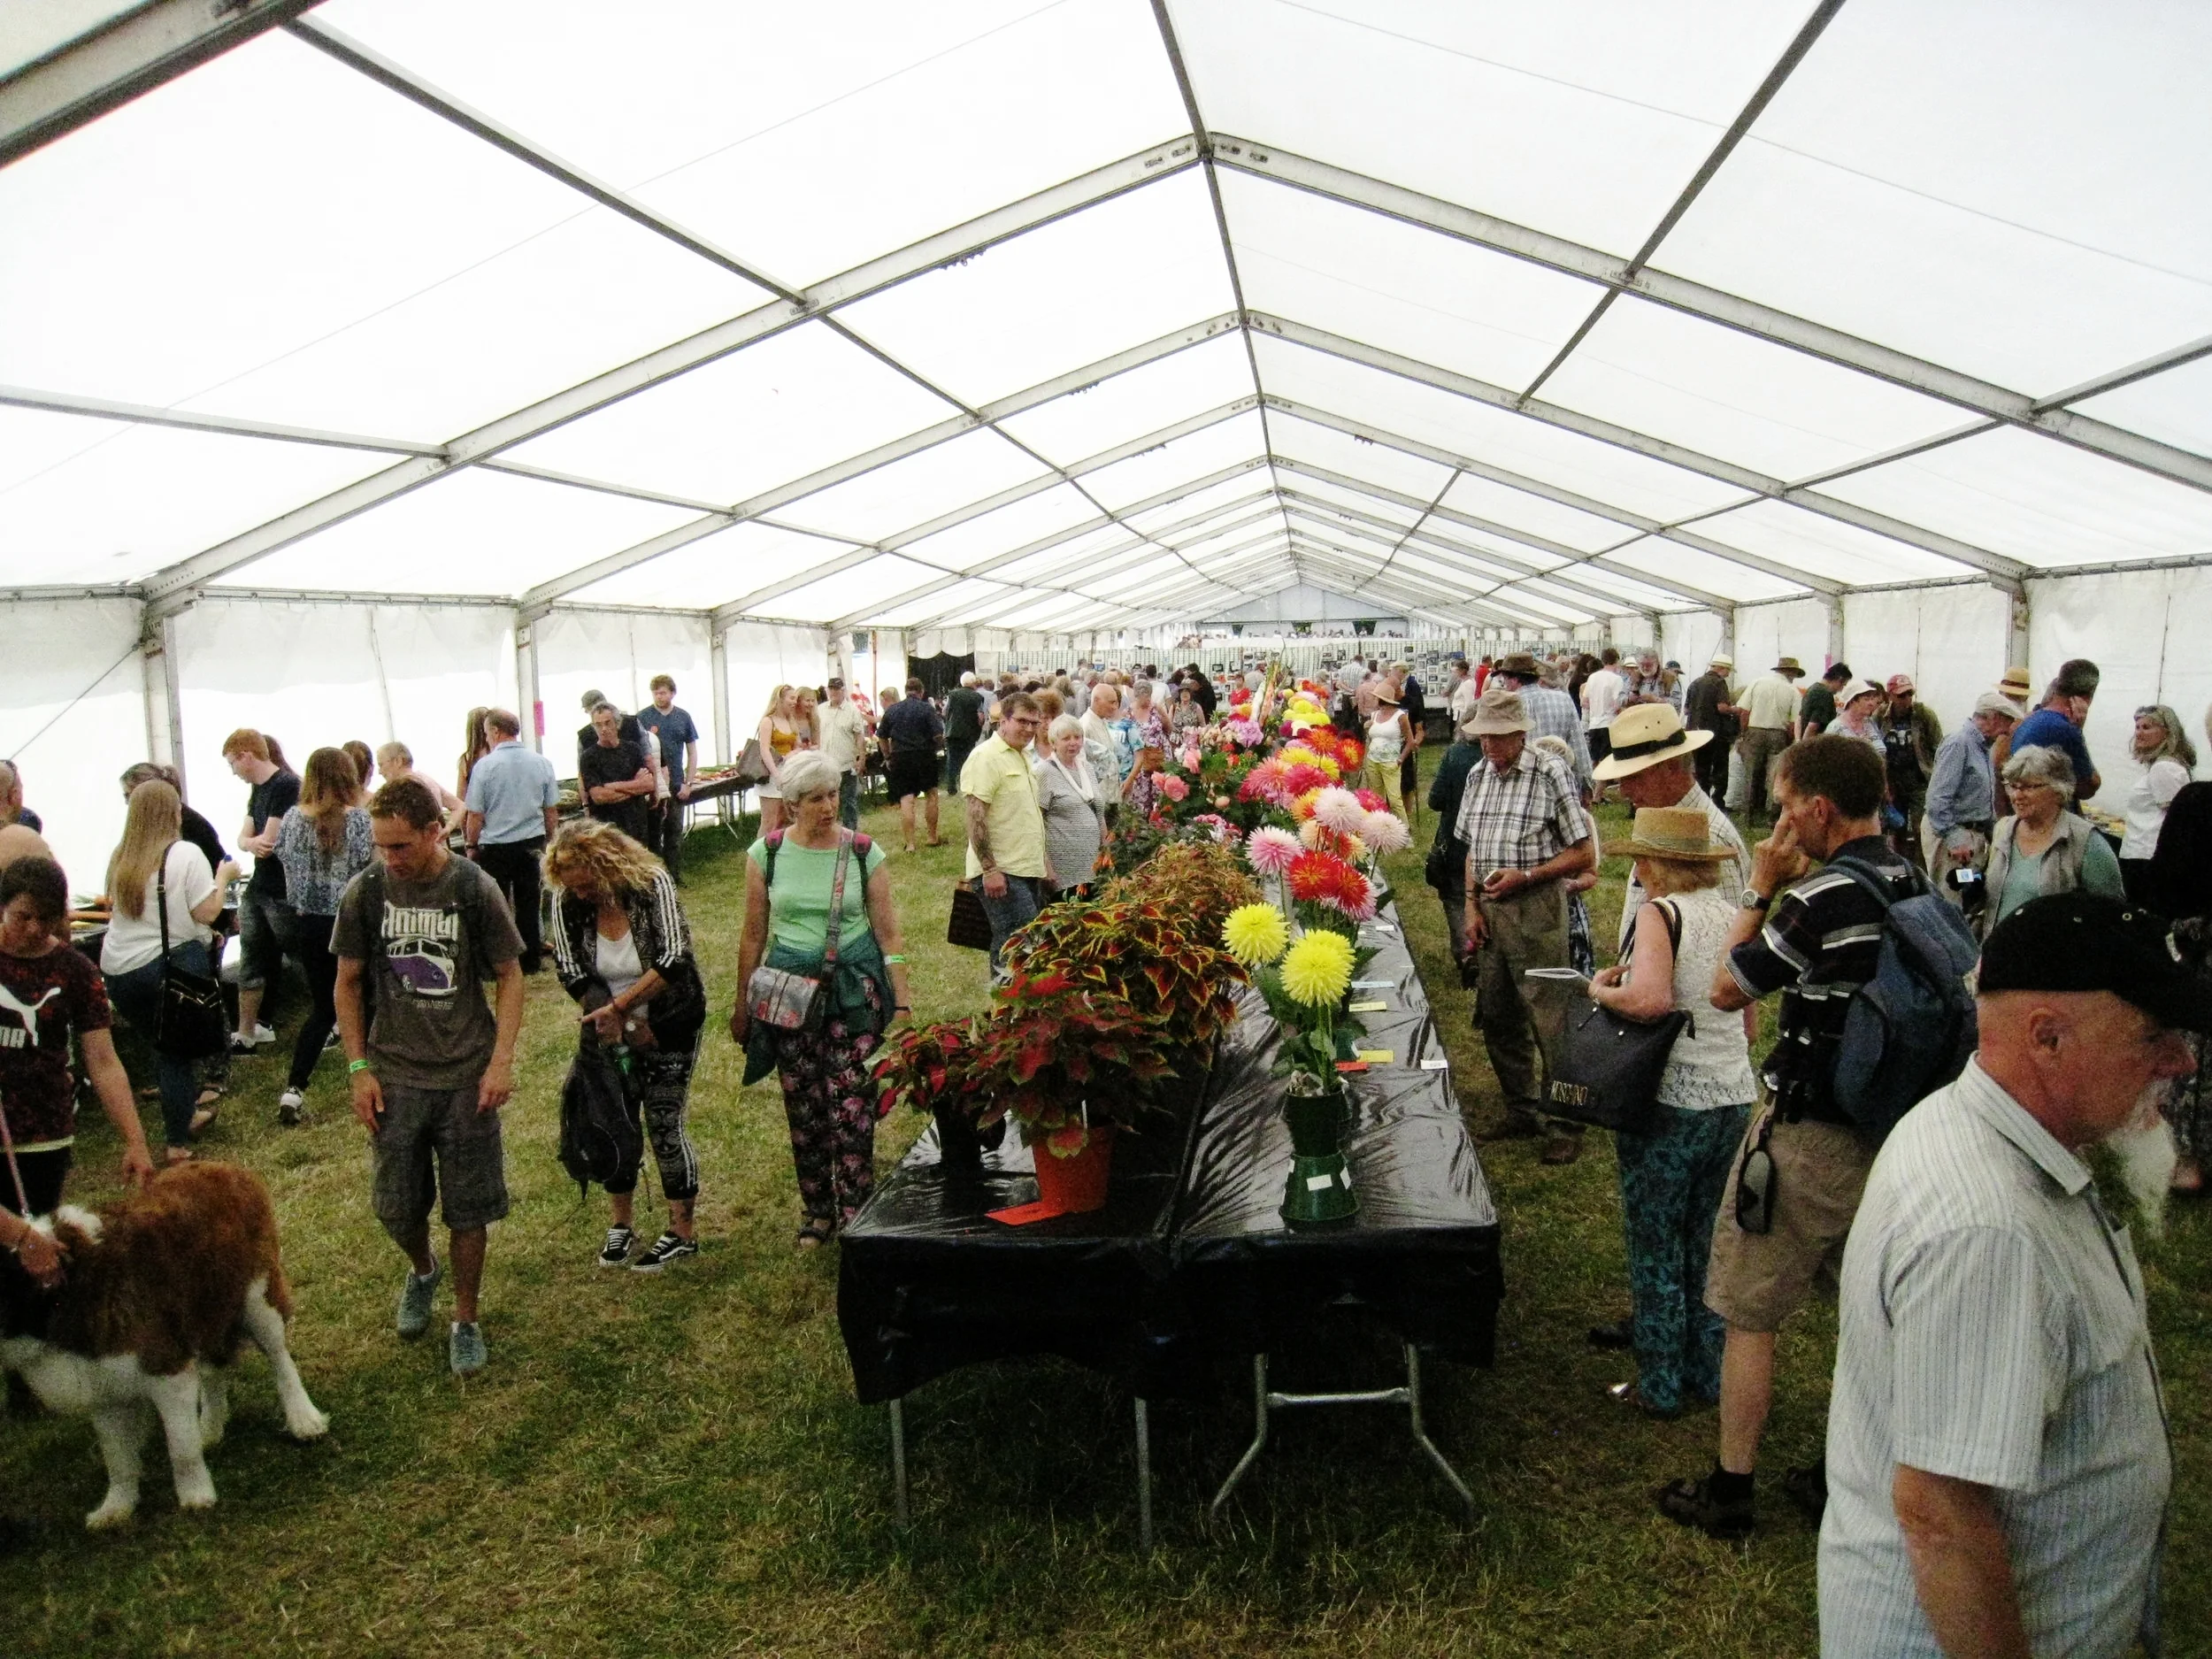
Egton--Ag. Show--Ag. Judging tent
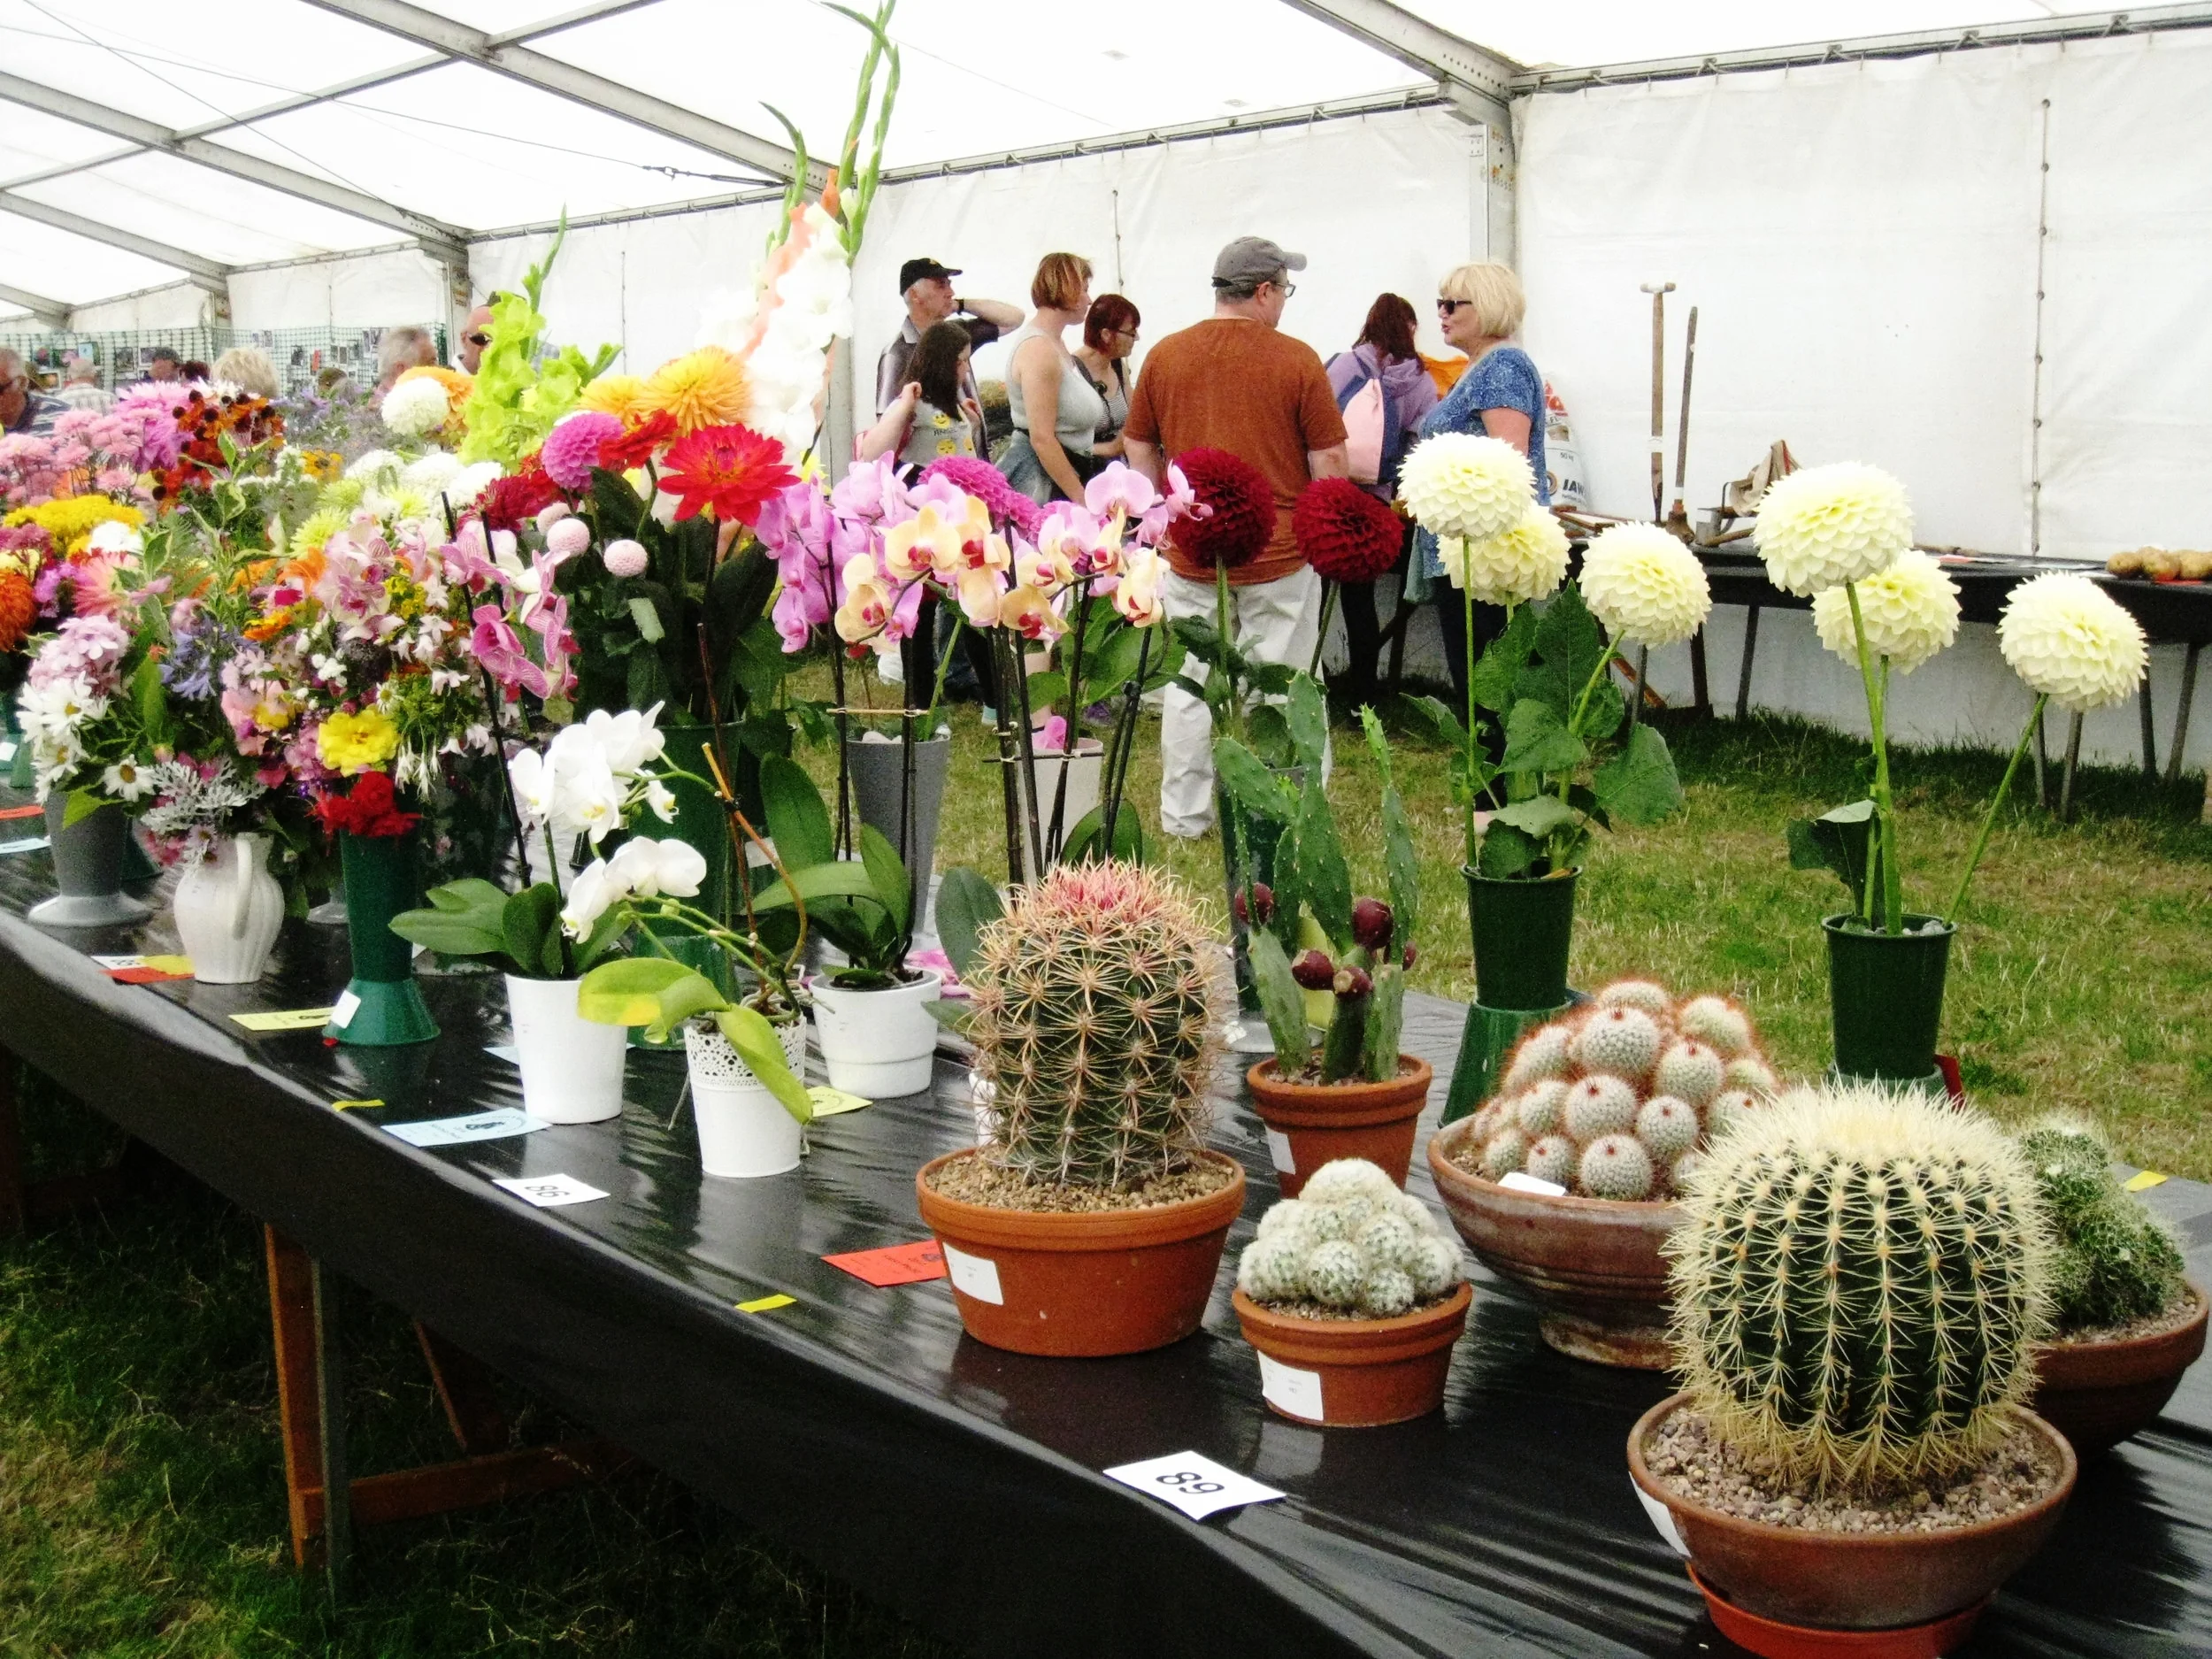
Egton--Ag. Show--Ag. Judging tent--Prize Flowers

Egton--Ag. Show--Ag. Judging tent--Prize Glads and Roses

Egton--Ag. Show--Ag. Judging tent--Prize parsnips

Egton--Ag. Show--Ag. Judging tent--Walking sticks judged

Egton--Ag. Show--Ag. Judging tent--Baked goods judging
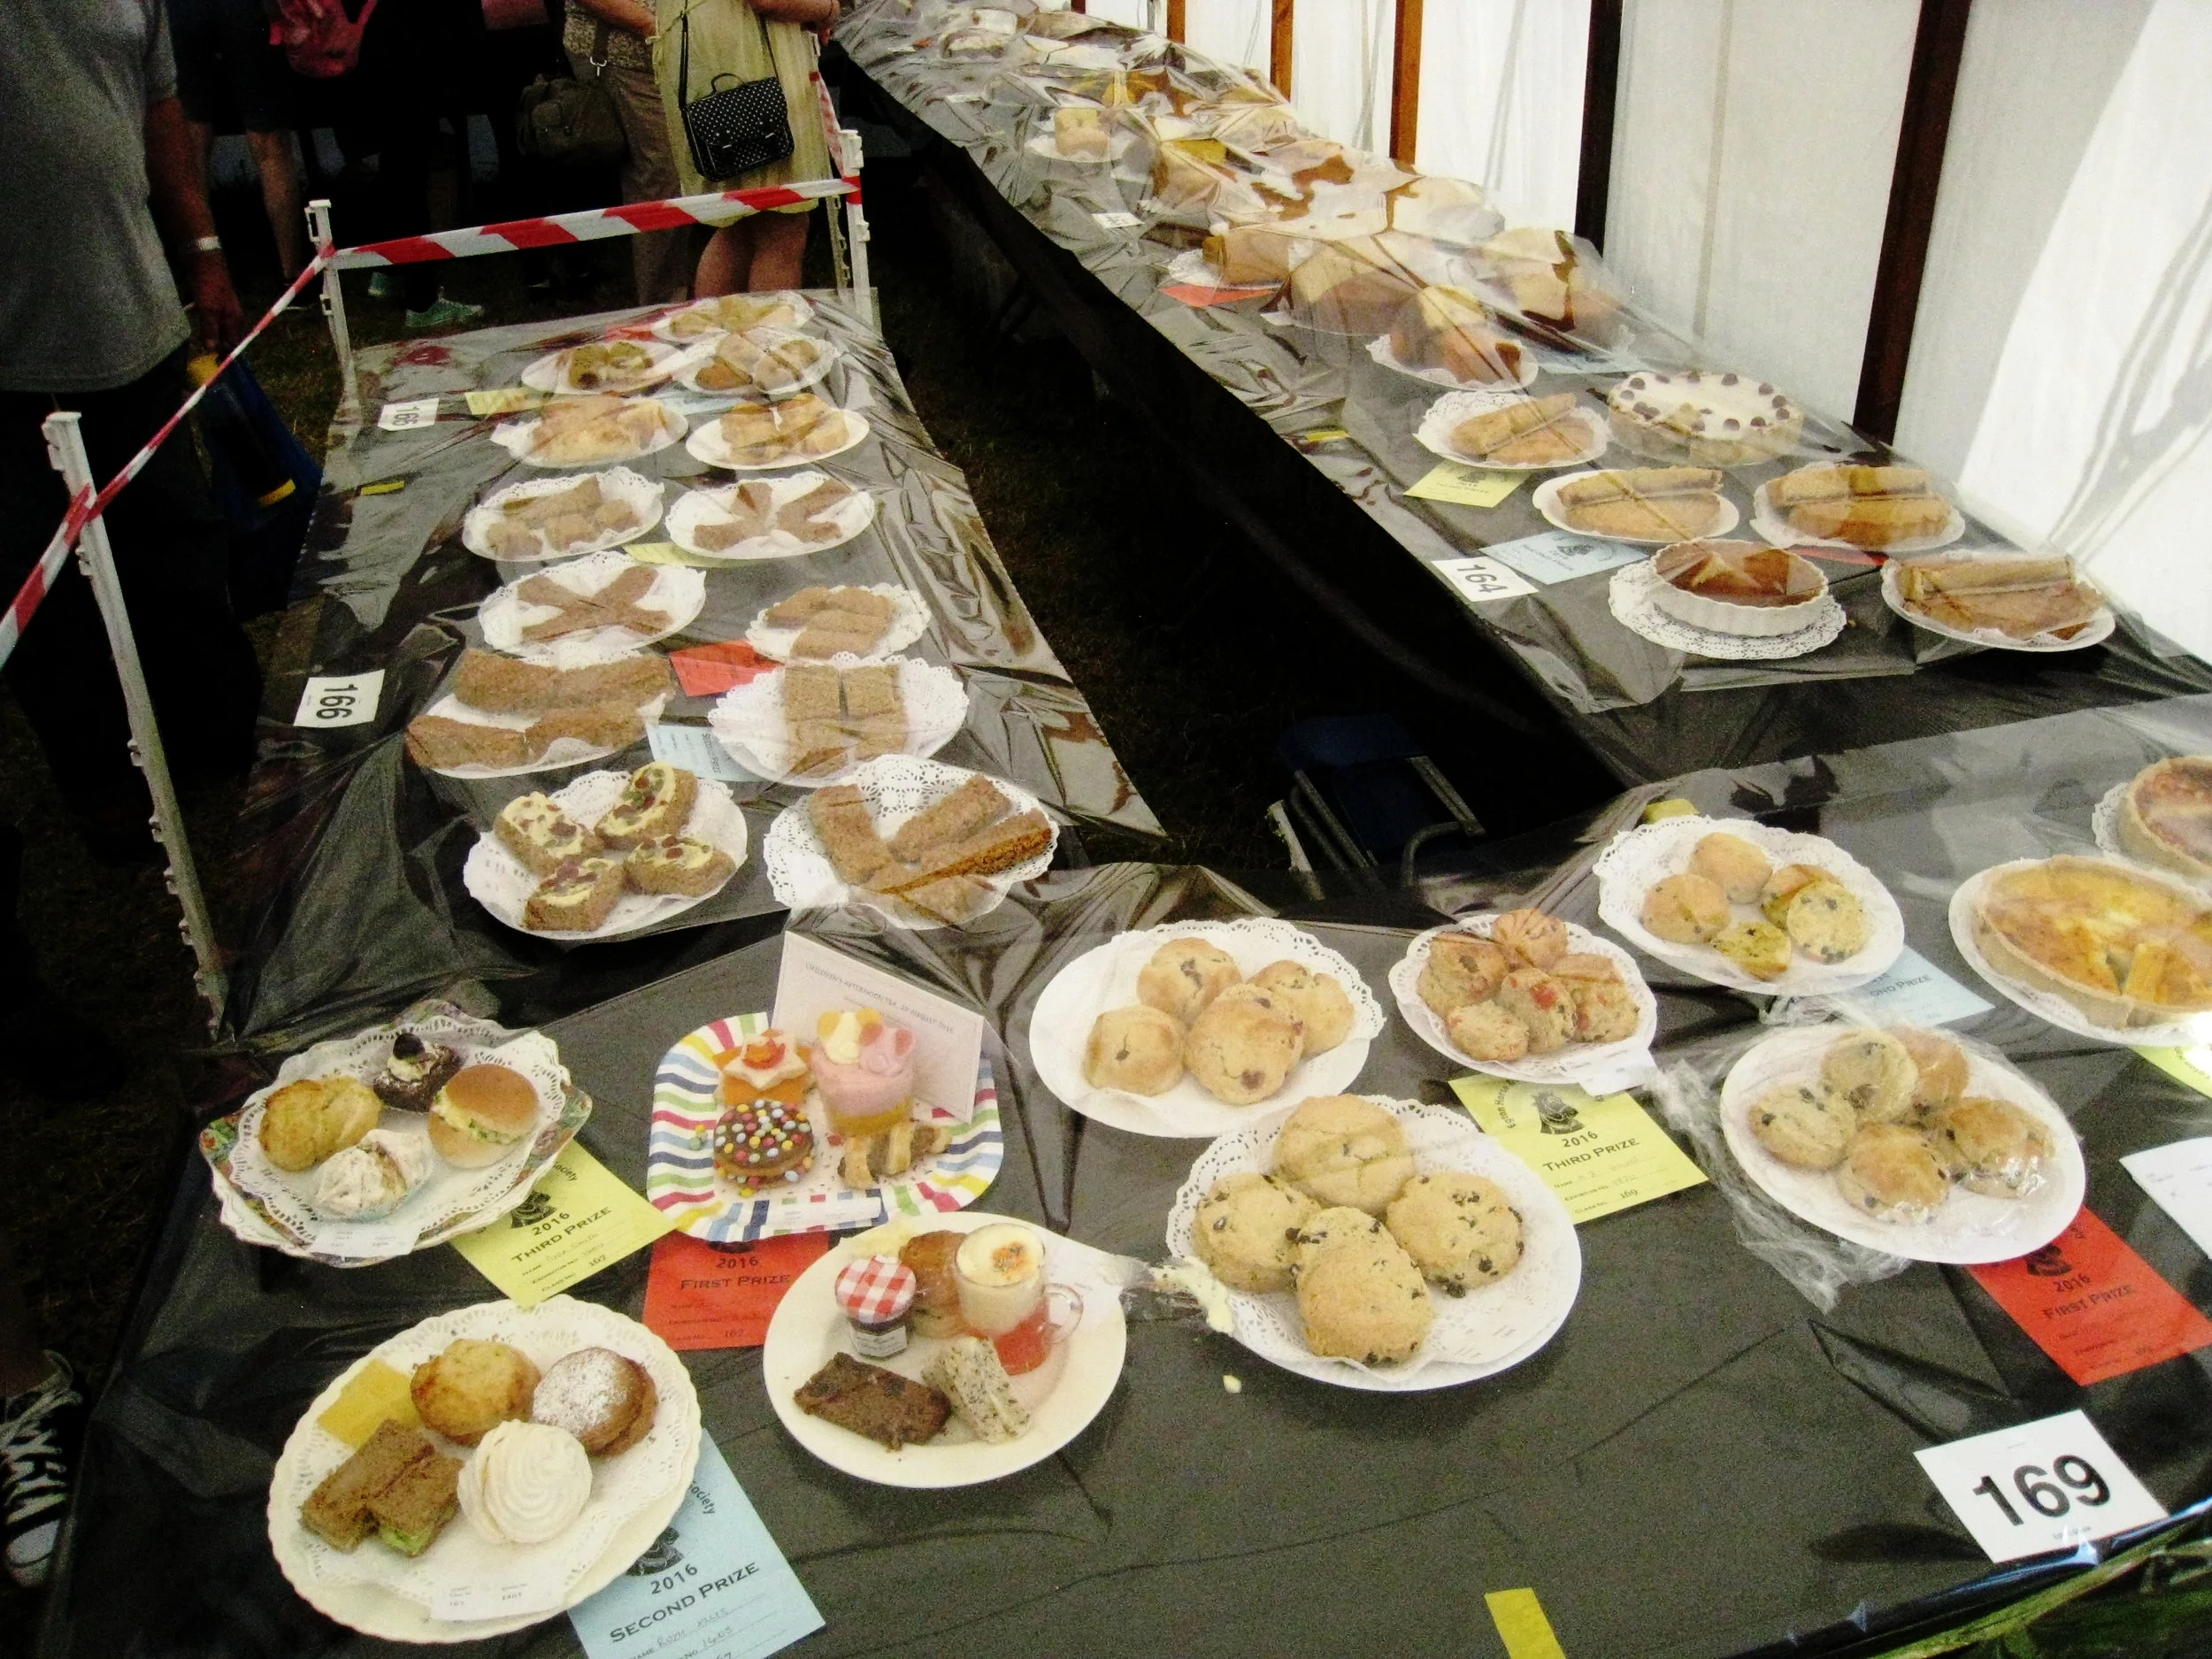
Egton--Ag. Show--Ag. Judging tent--Prize baked goods

Egton--Ag. Show--Sheep
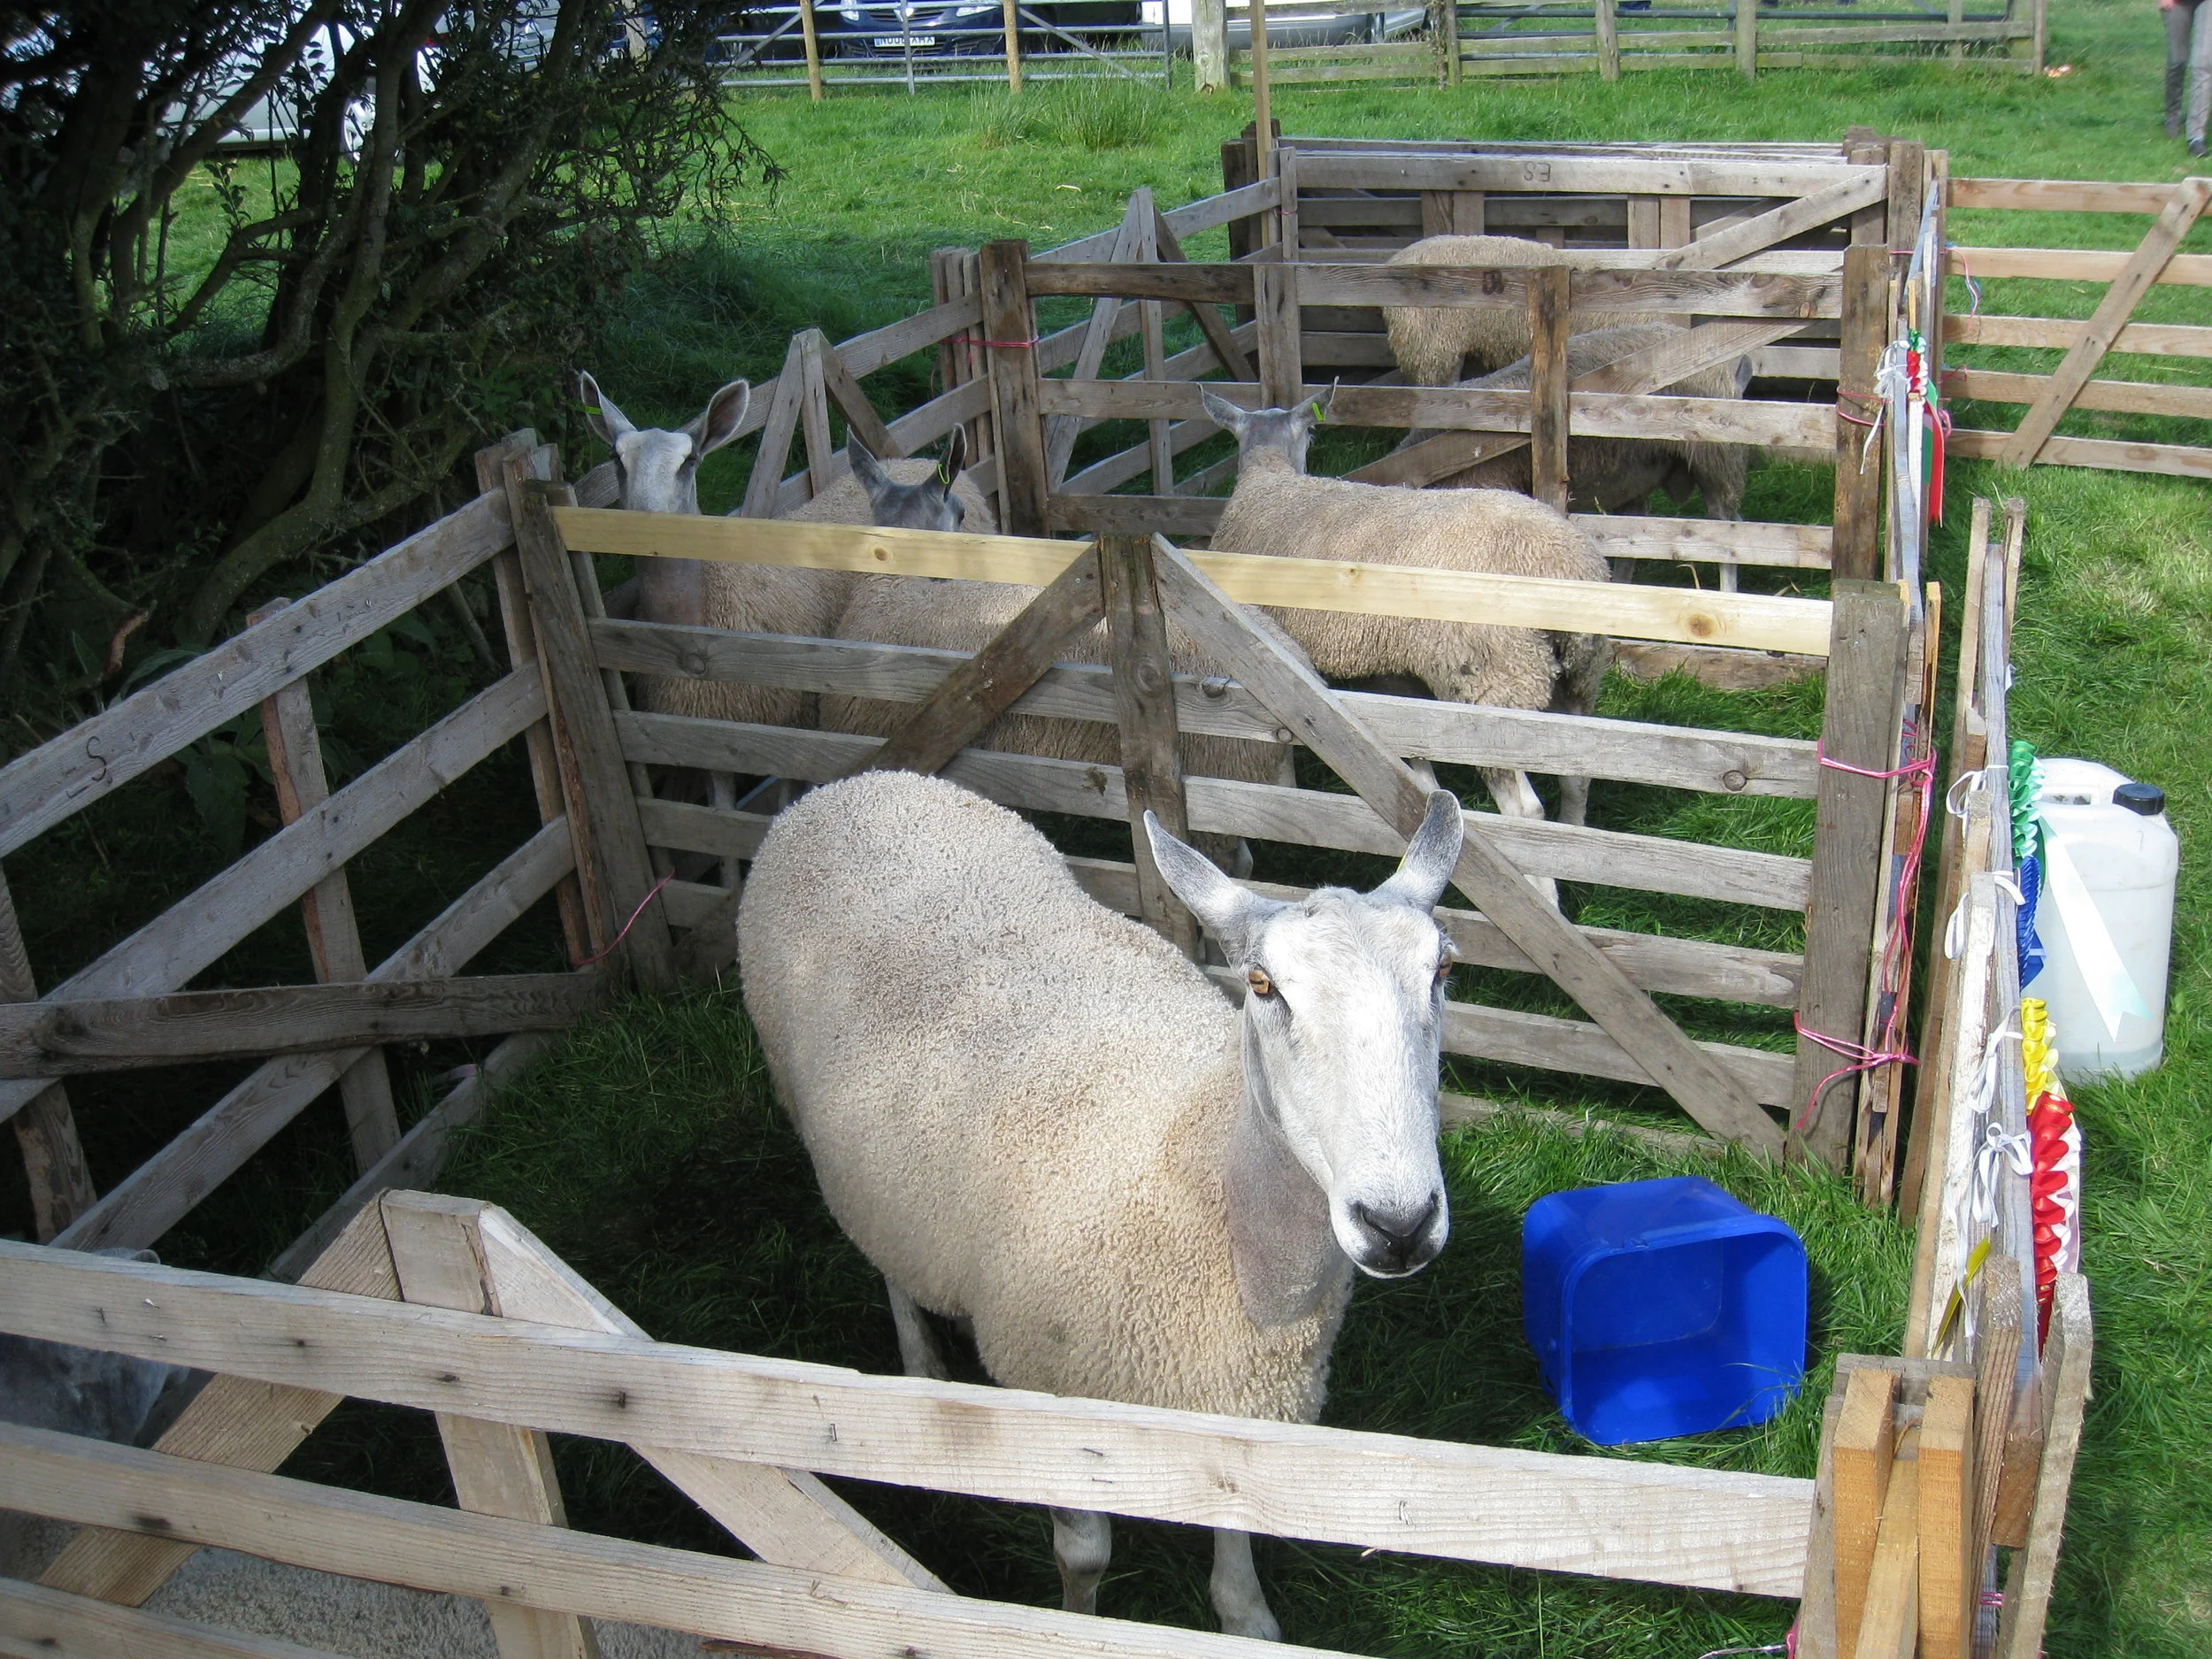
Egton--Ag. Show--Sheep

Egton--Ag. Show--Cattle

Egton--Ag. Show--Dog Judging
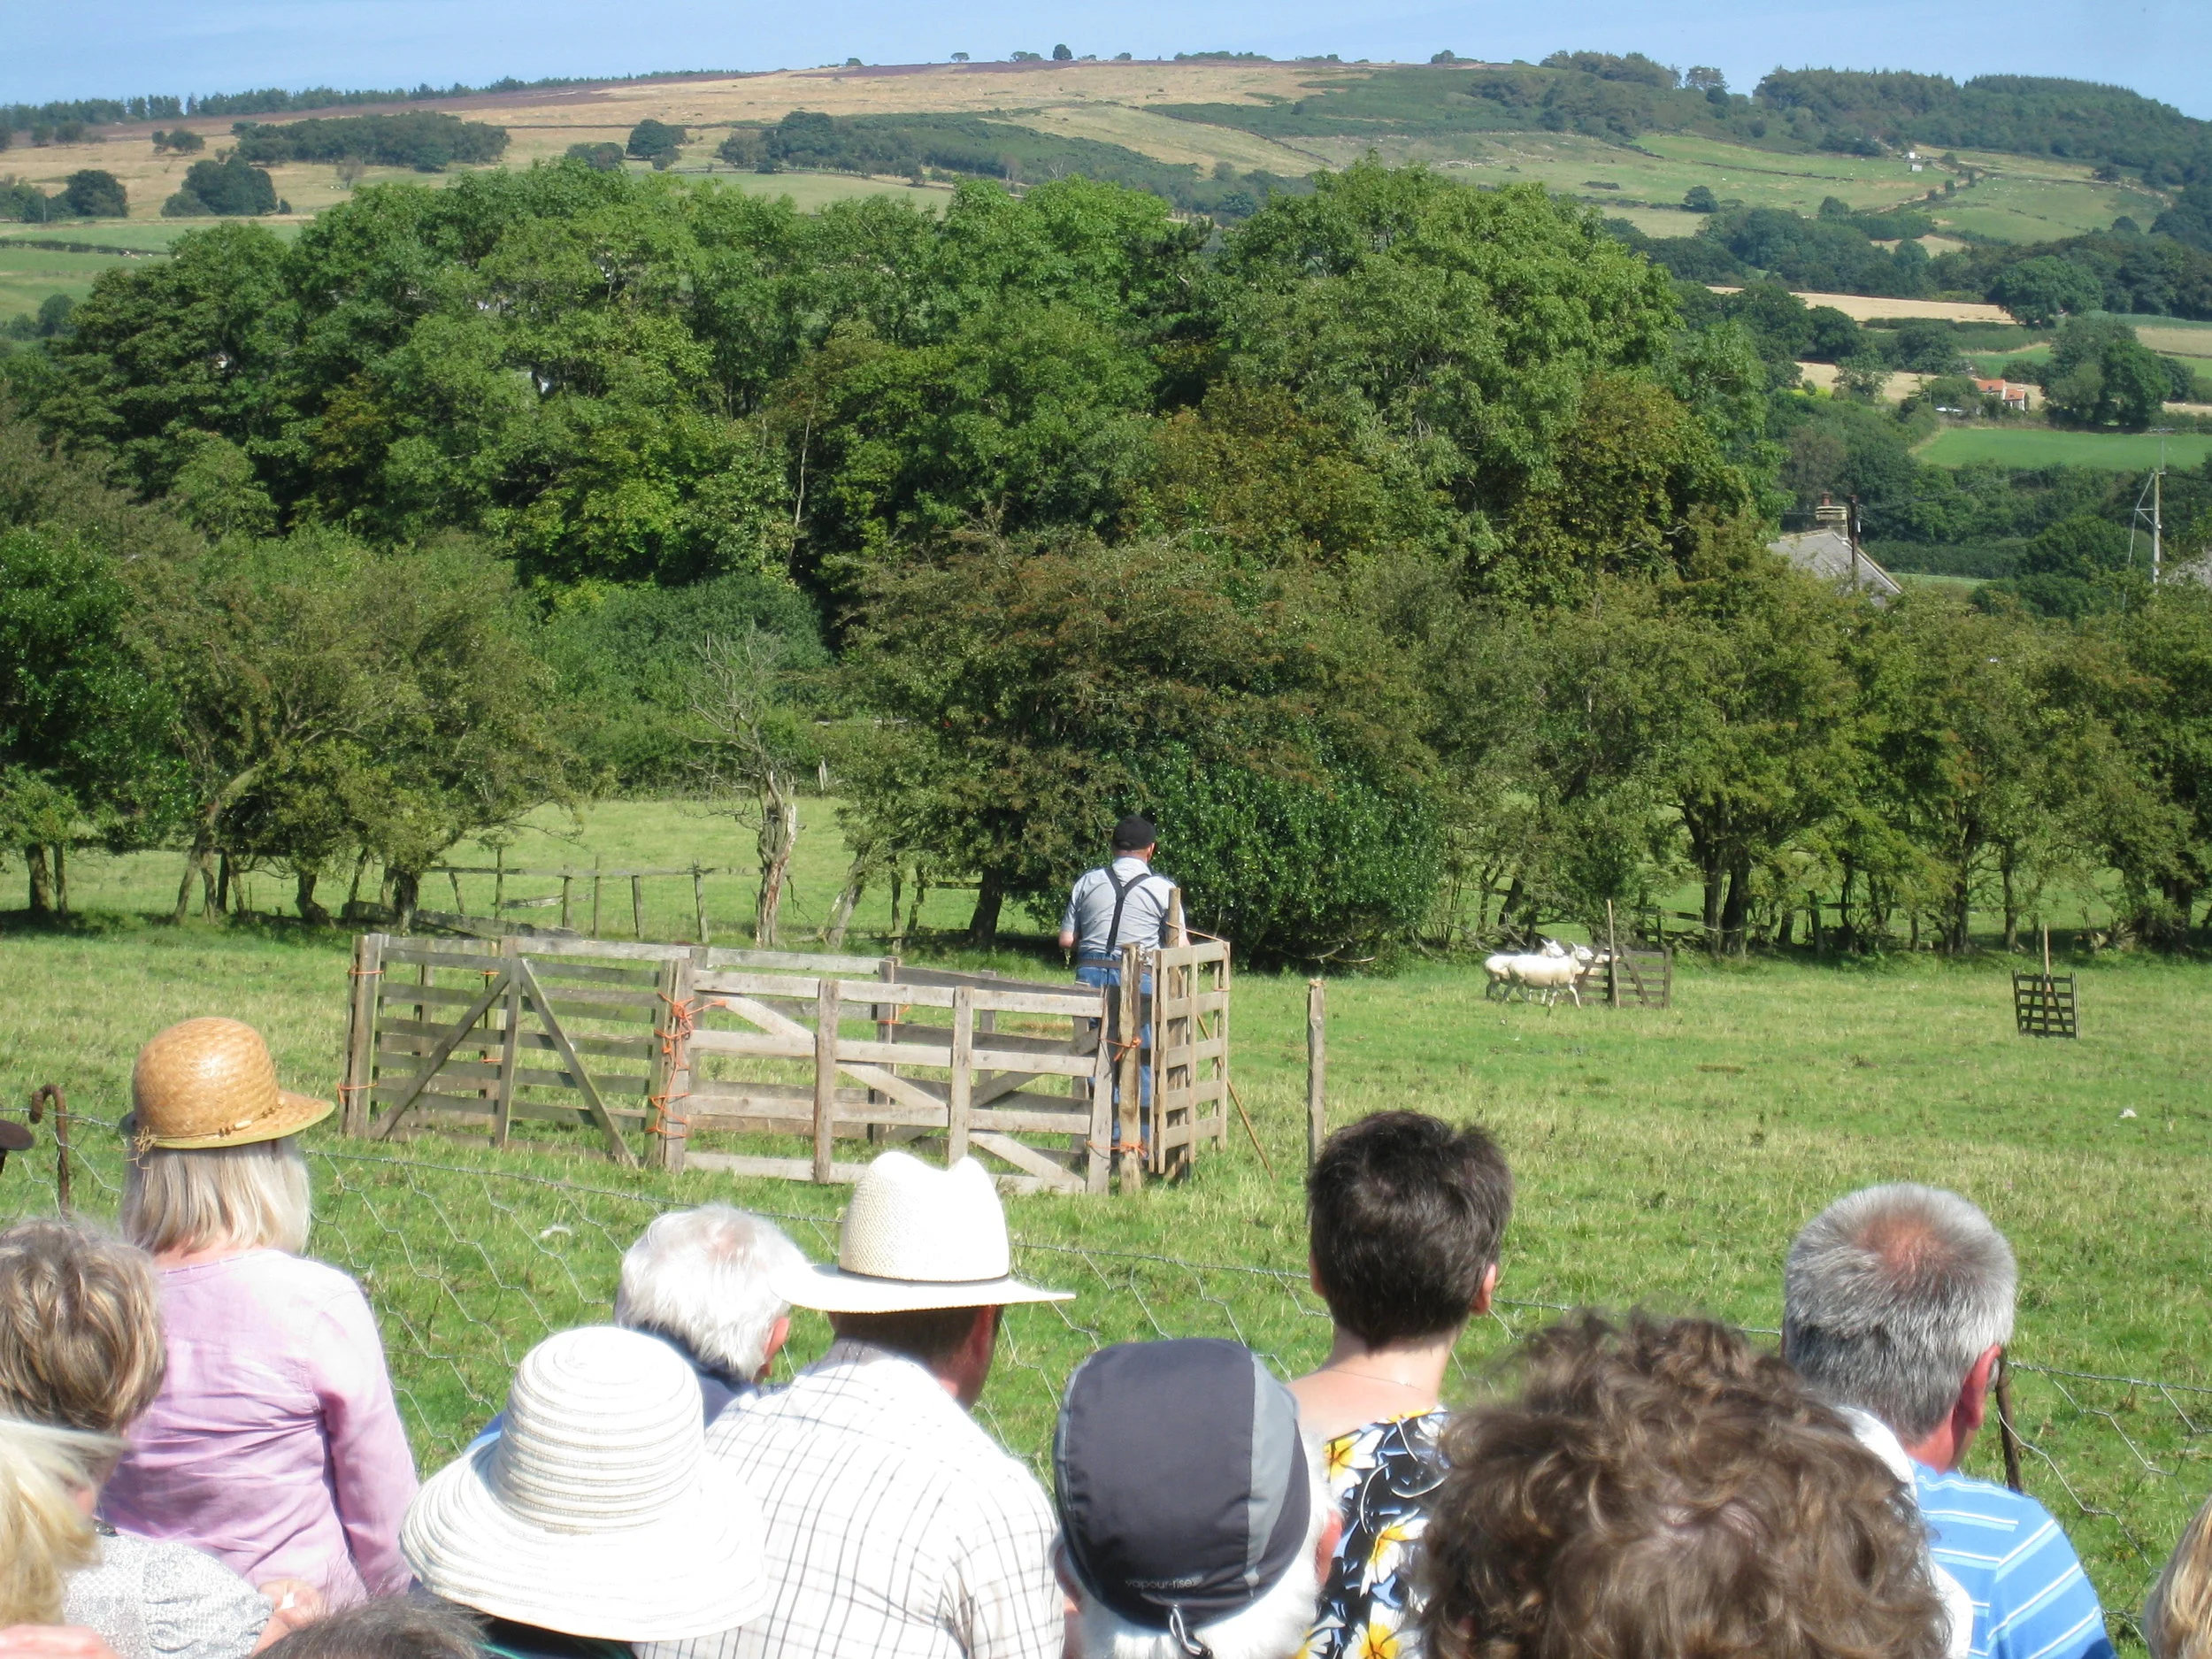
Egton--Ag. Show--Sheep Dog competition
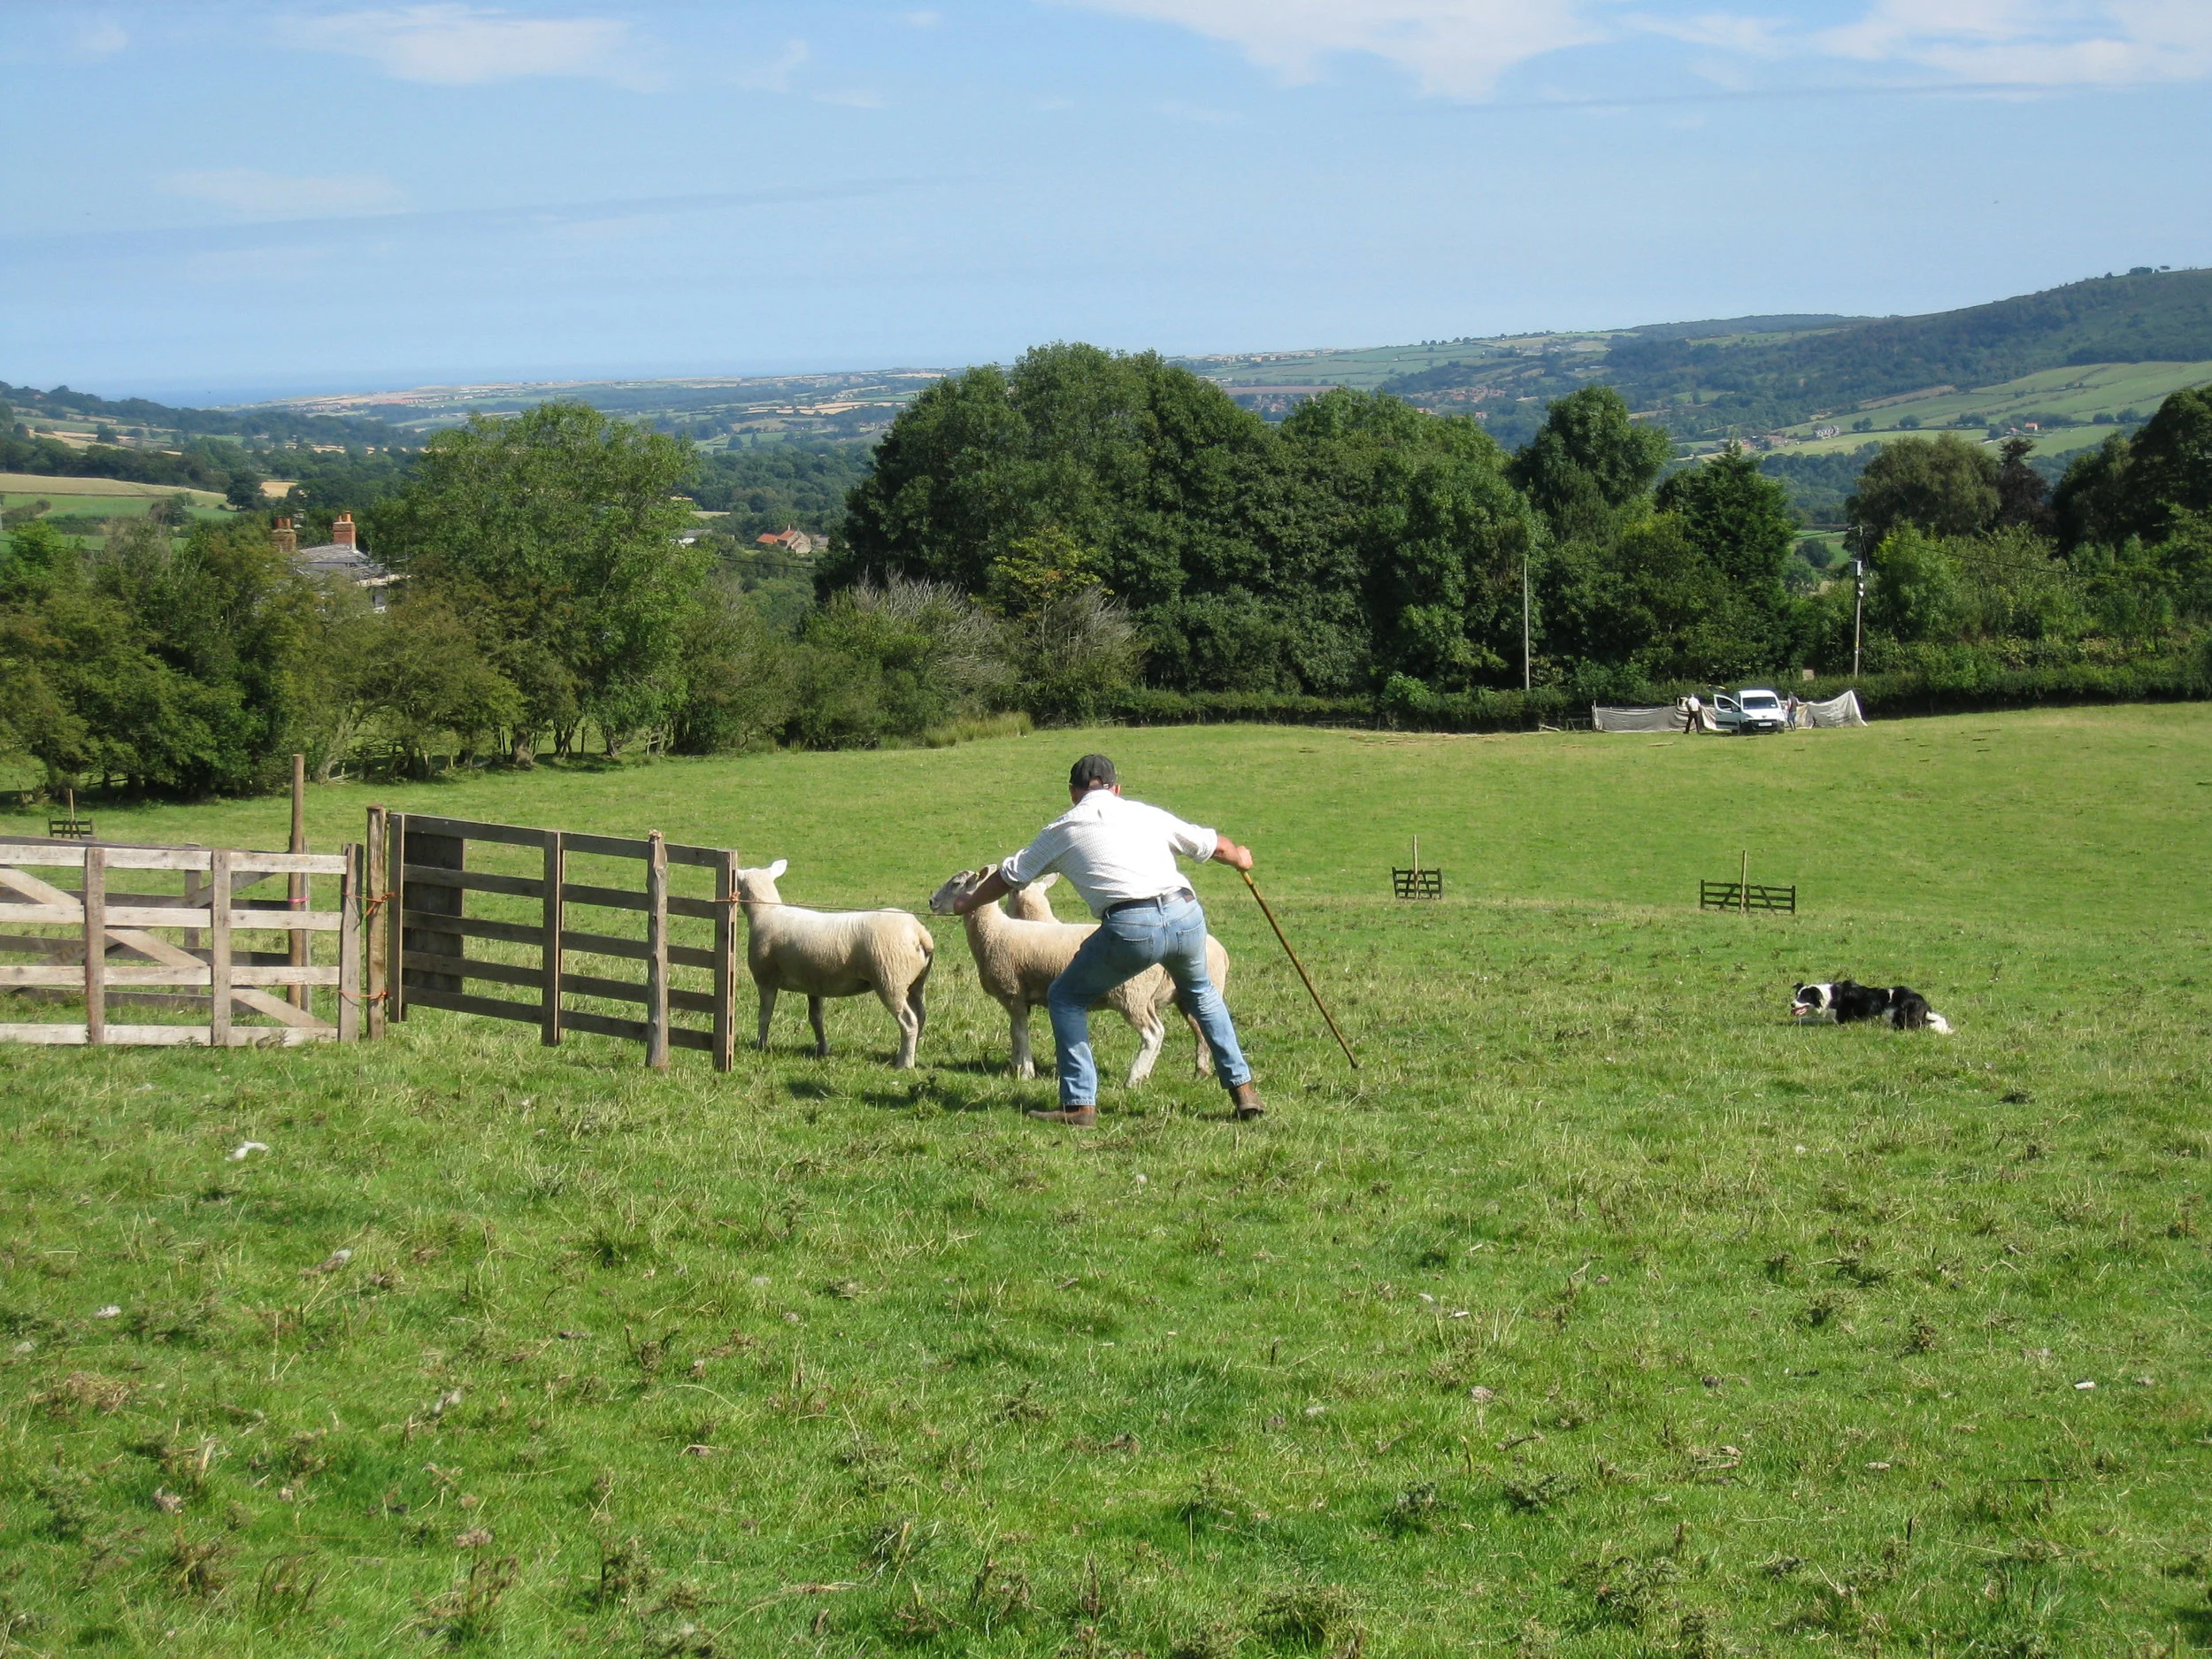
Egton--Ag. Show--Sheep Dog competition

Egton--Ag. Show--The view--Young equestrian competitor

Egton--Ag. Show--Fancy Dress equestrians
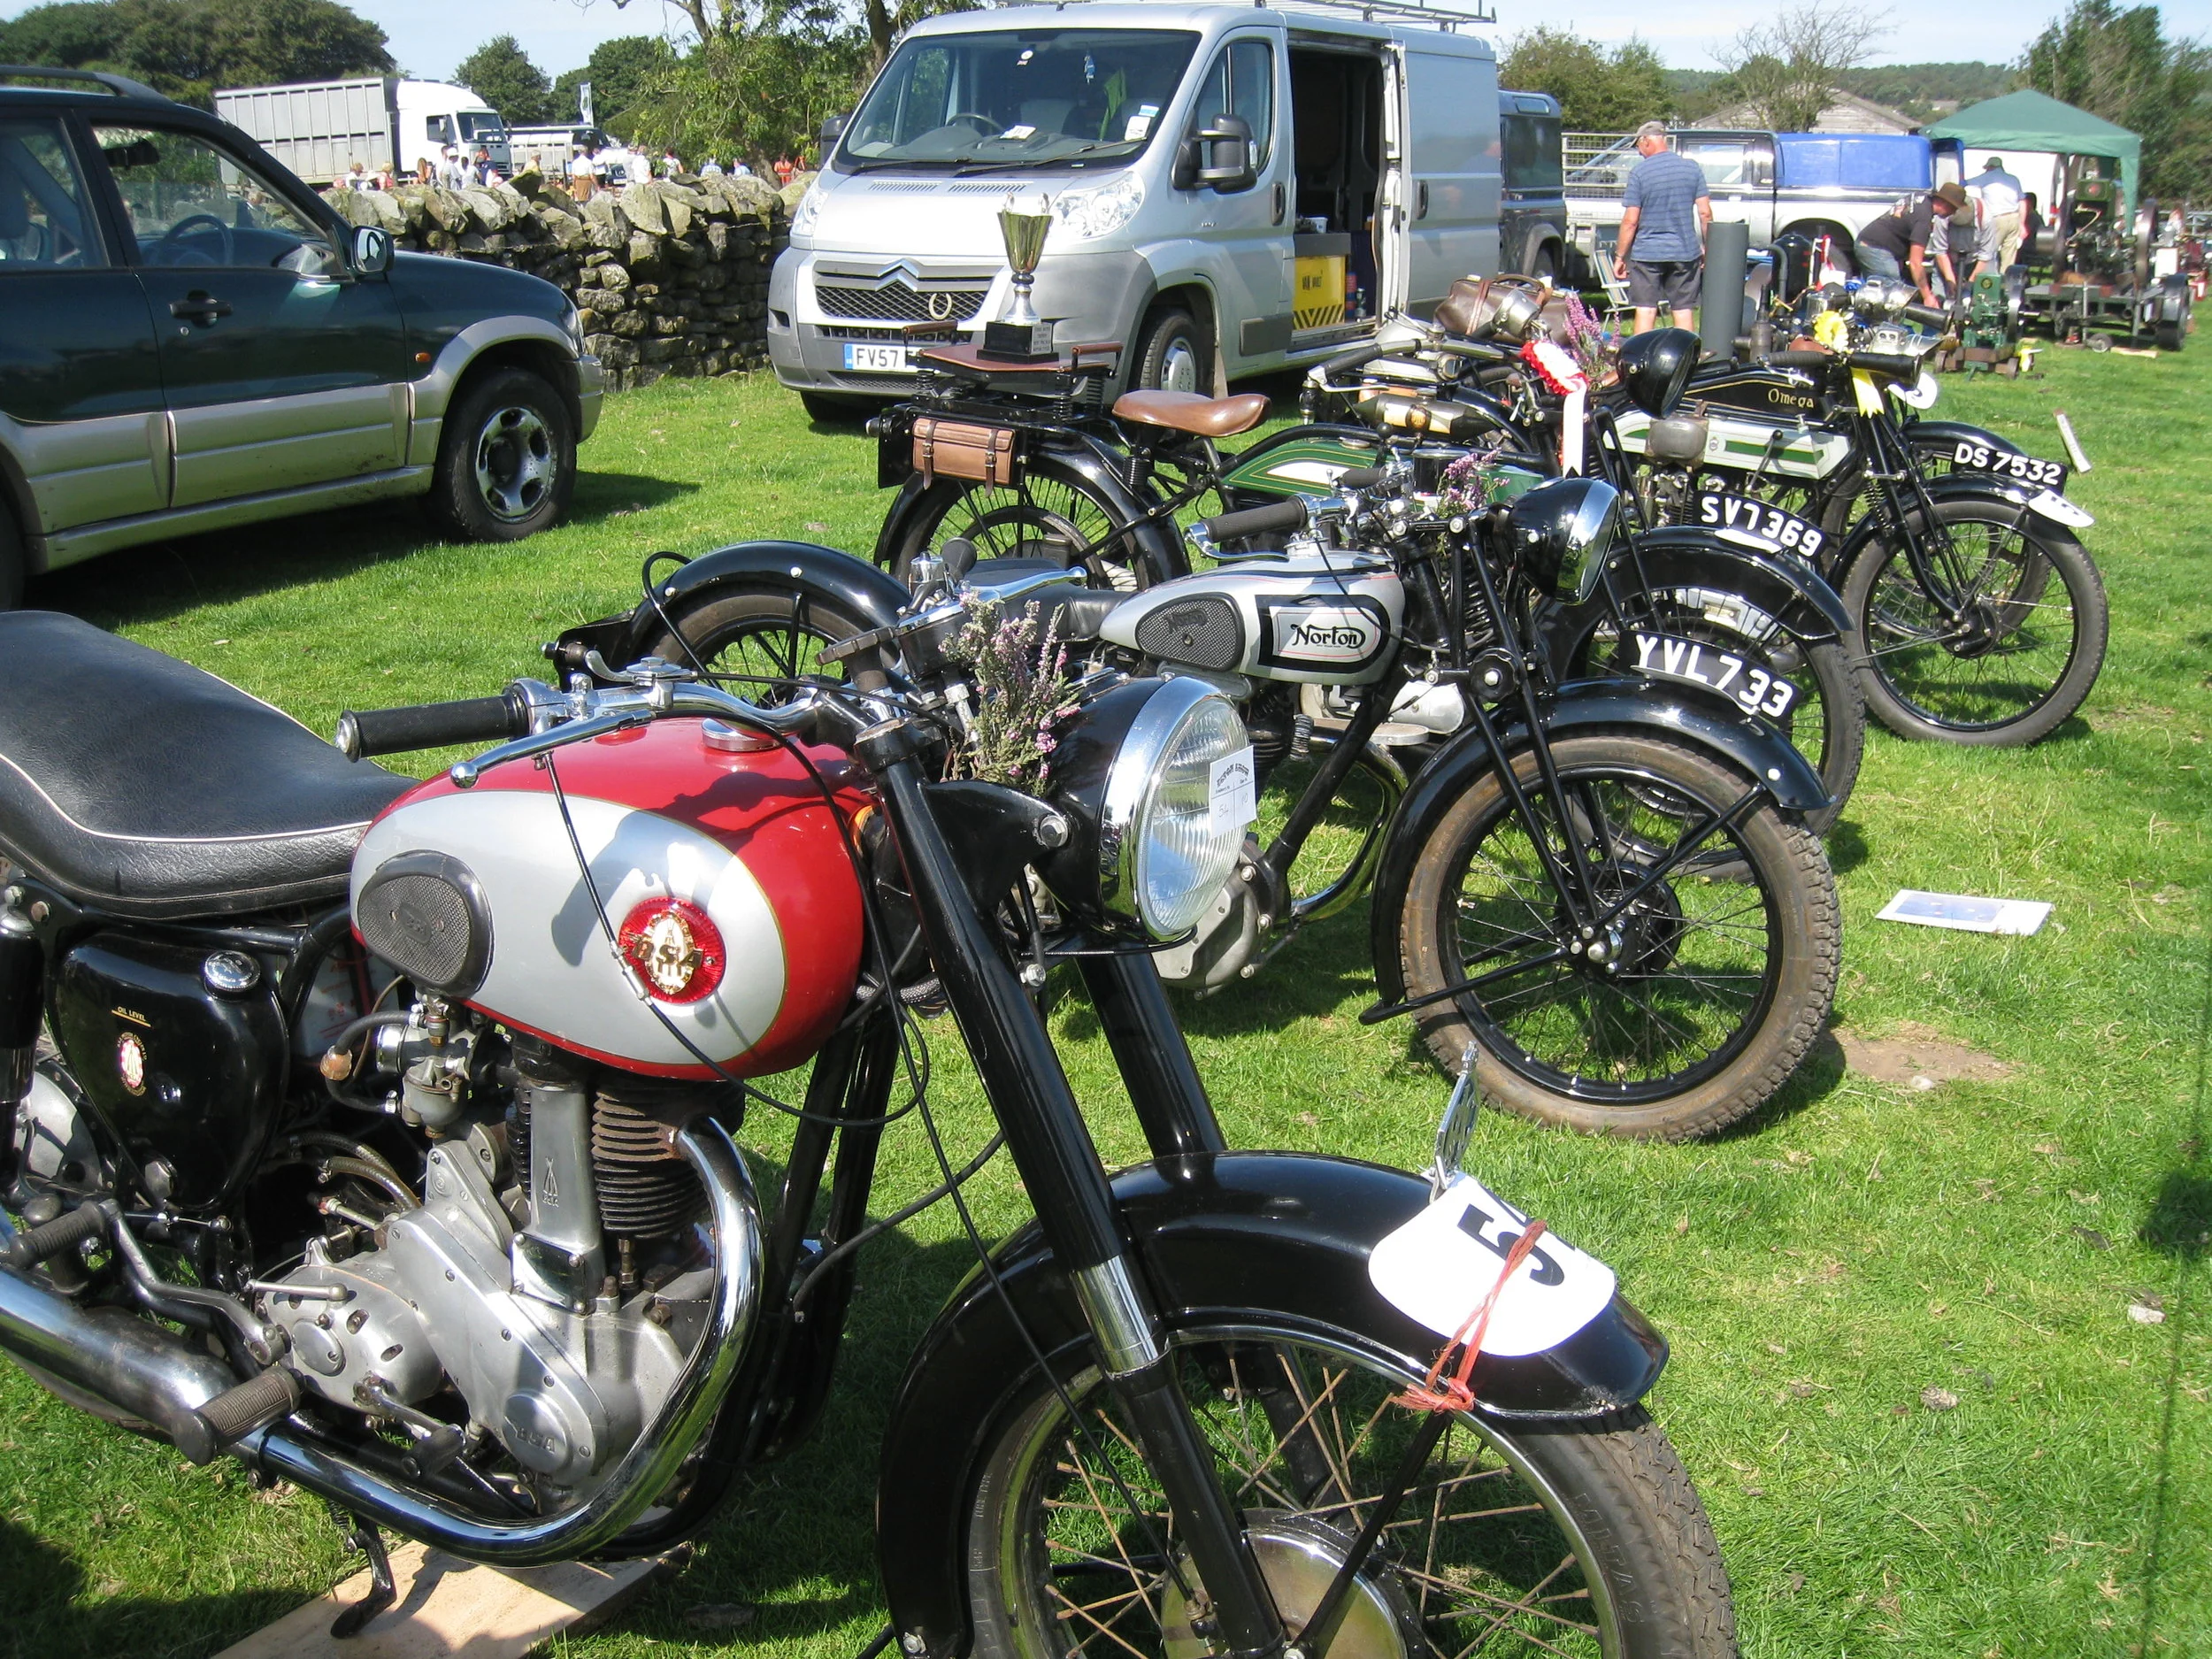
Egton--Ag. Show--Old motorcycles
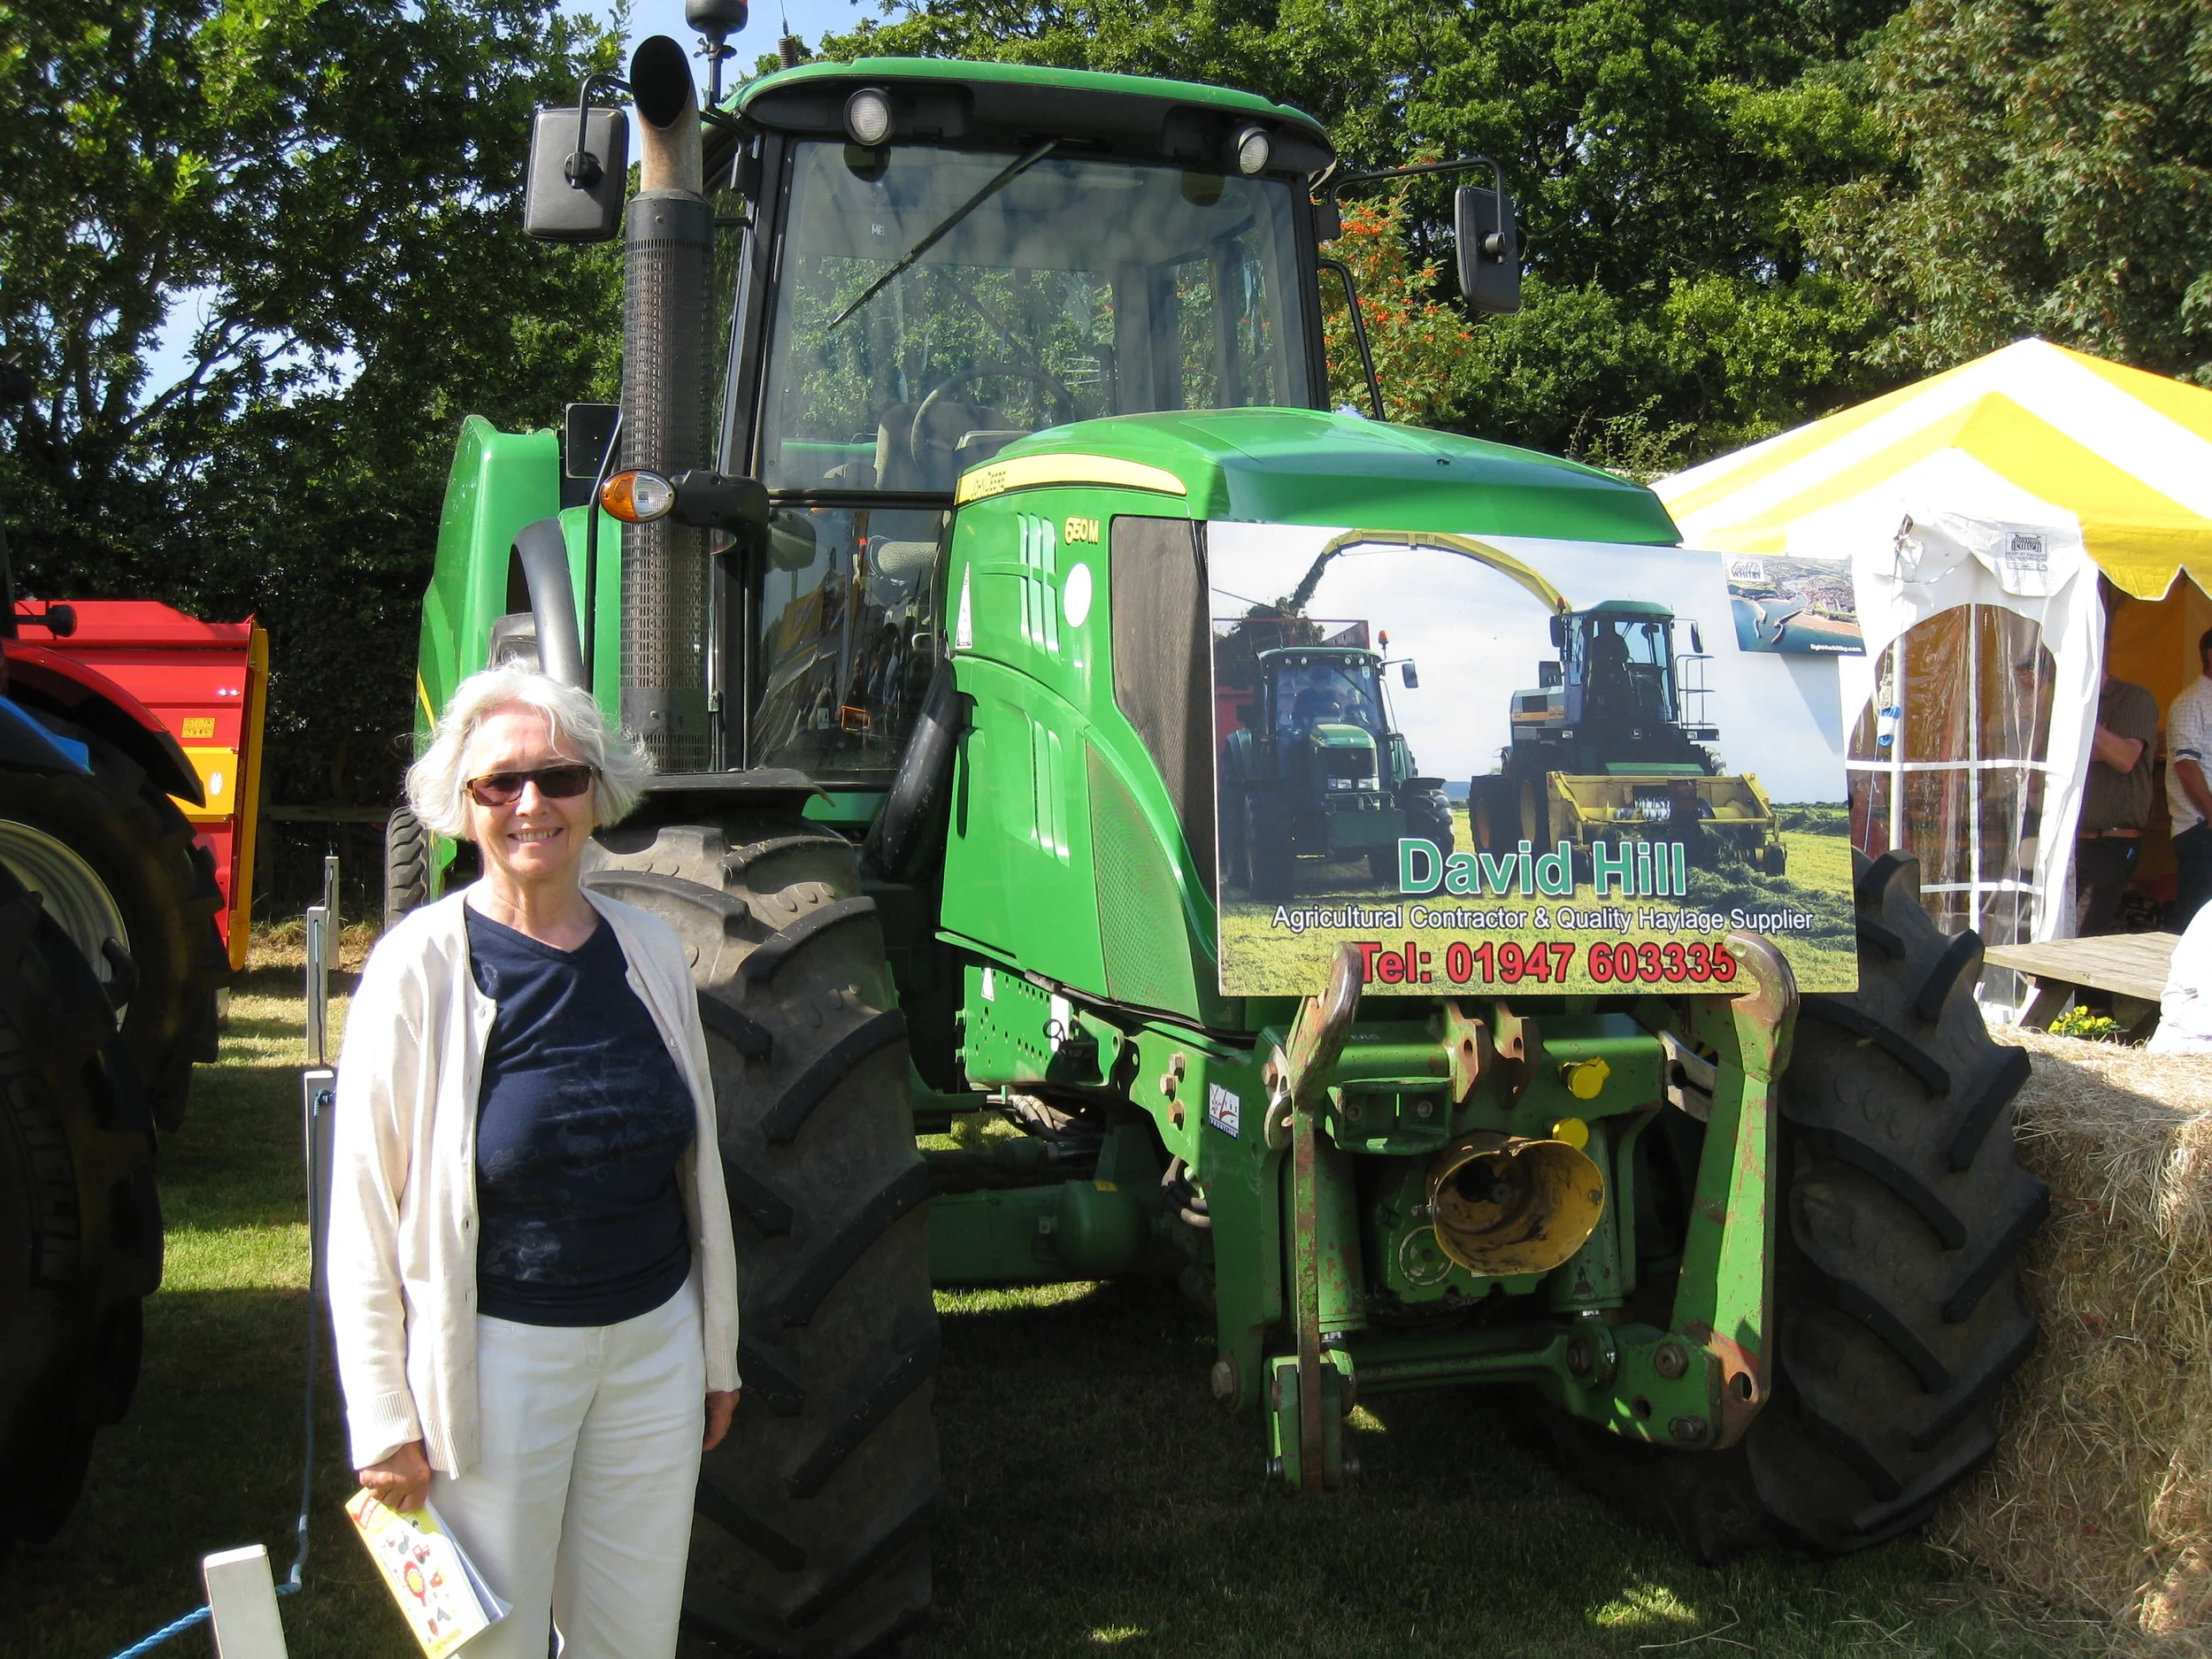
Egton--Ag. Show--Machinery--Carrol Benner Kindel with John Deere

Egton--Ag. Show--Carrol Benner Kindel and Maggie Hall on Bus from Ag. Fair

Whitby--2011--On the Cinder Path to Robin Hood's Bay--Carrol Kindel, Harald Grieser and Christin Grieser
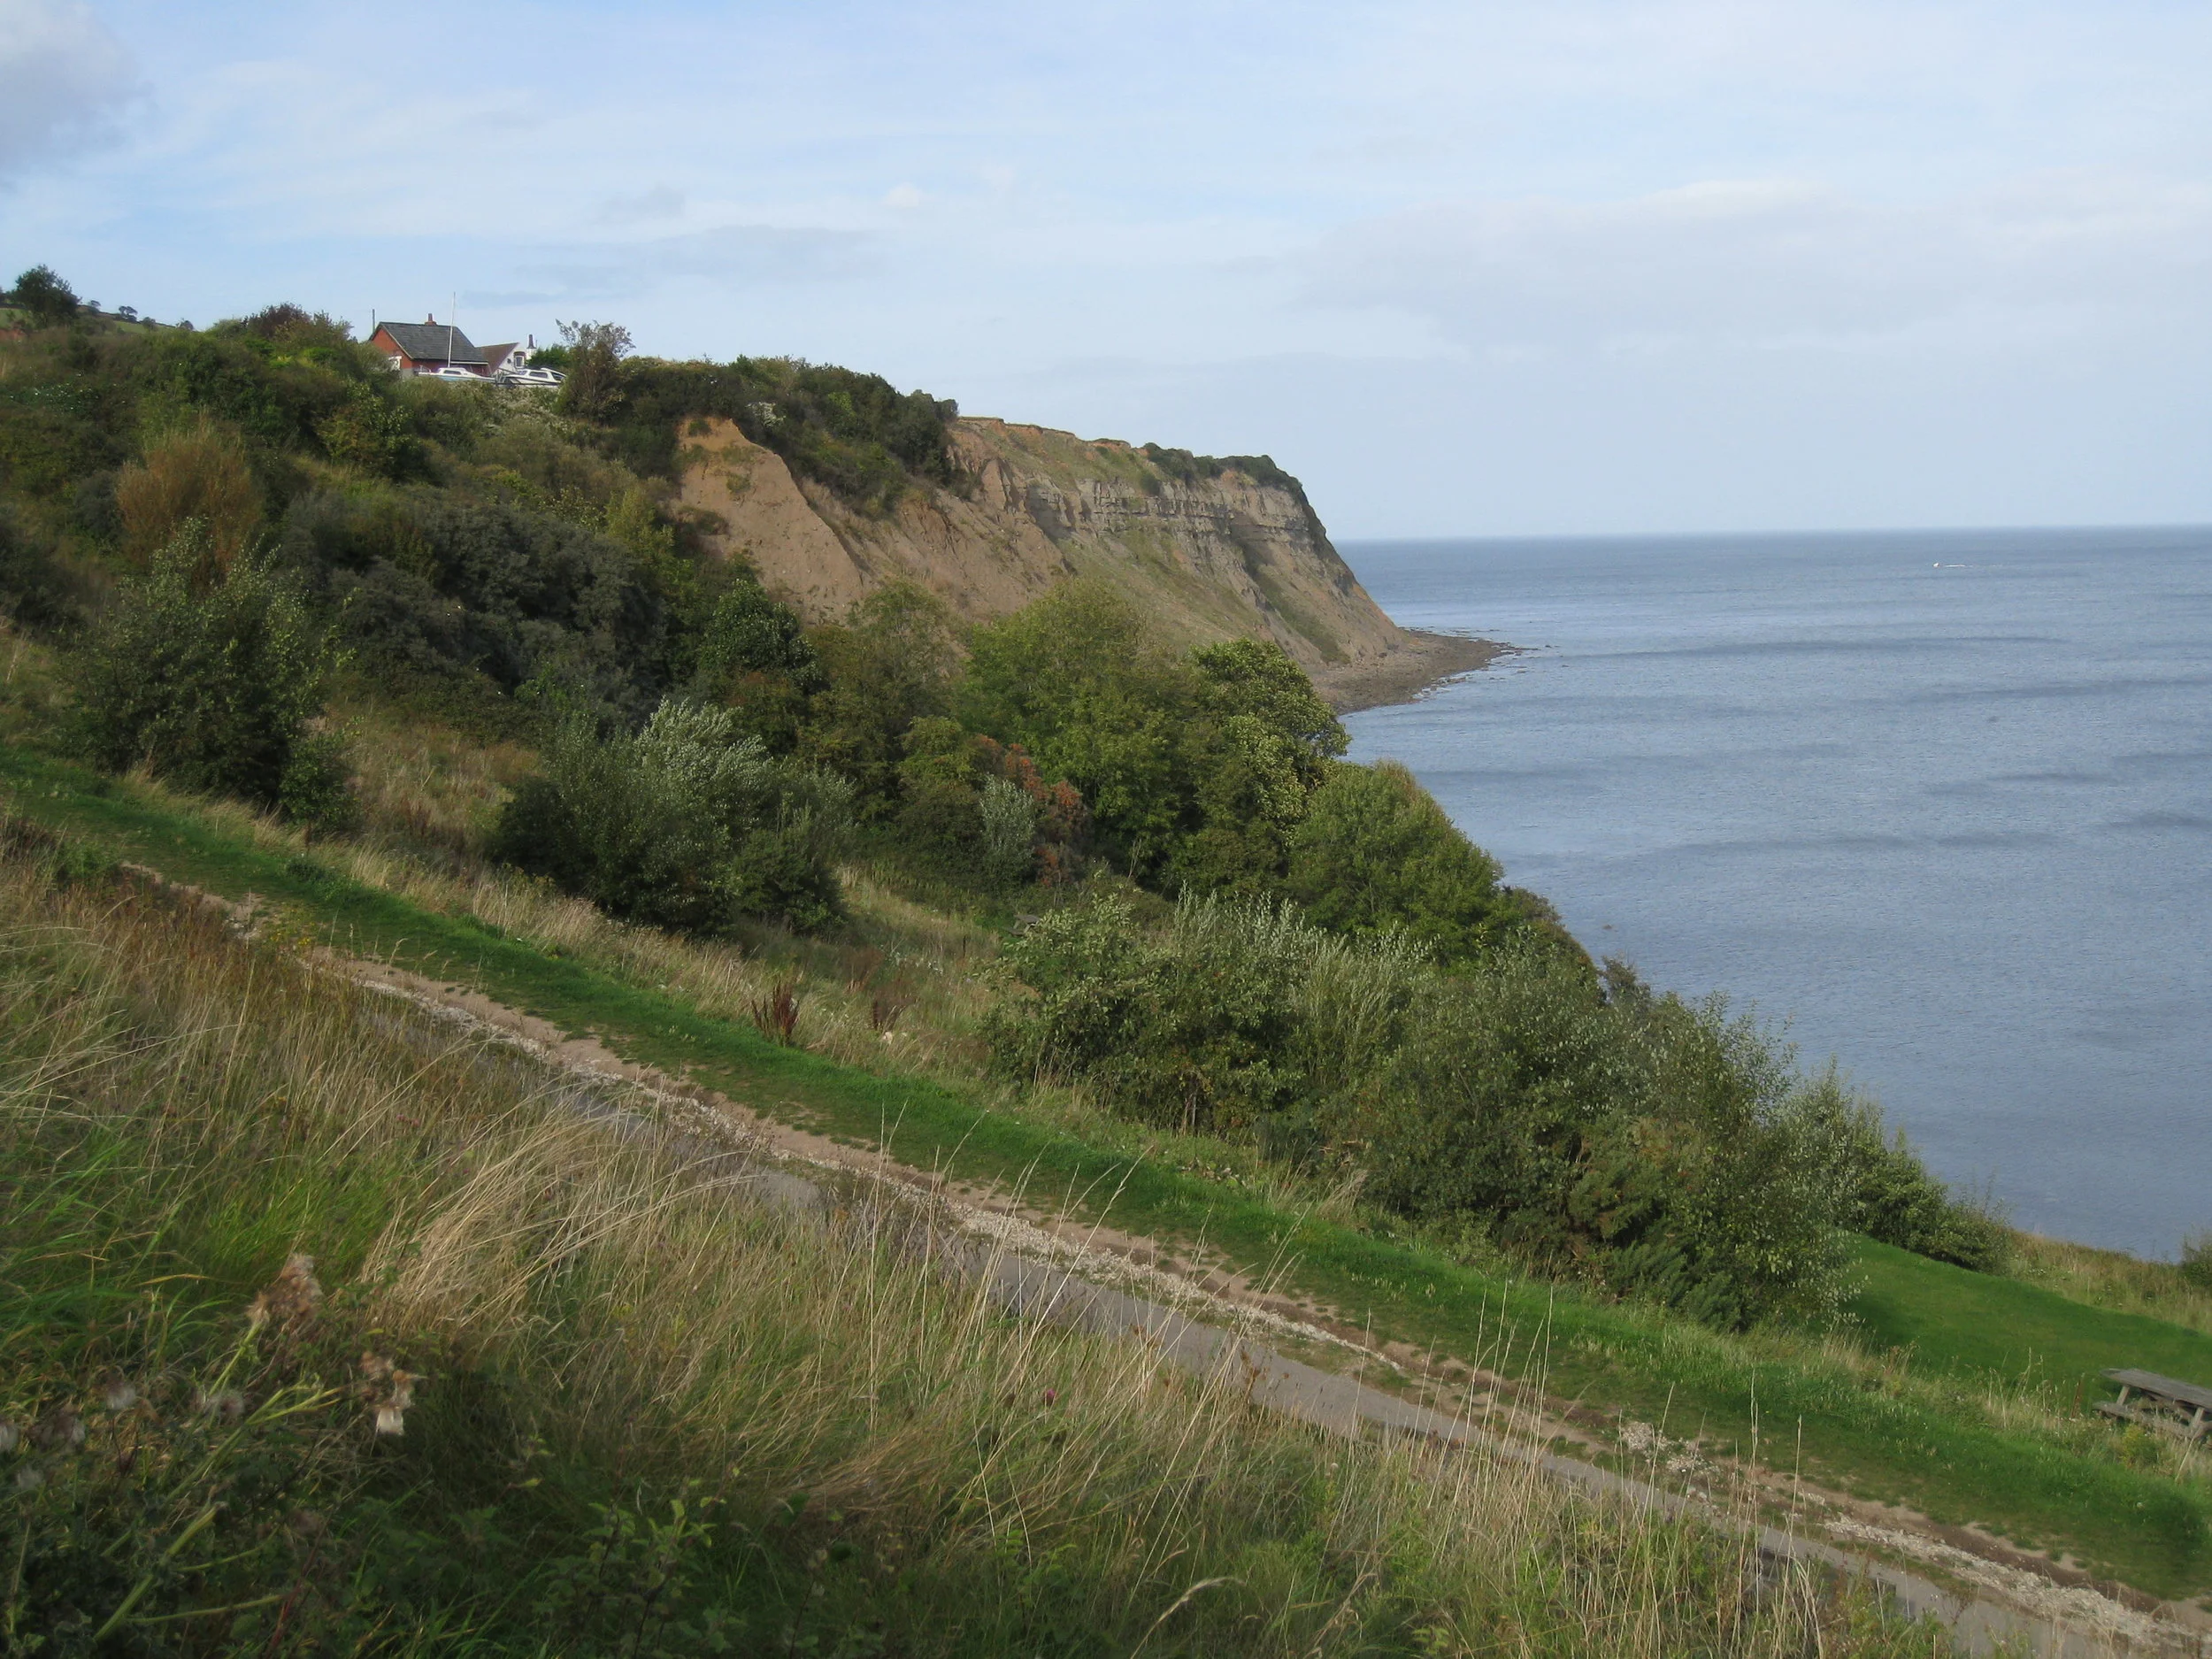
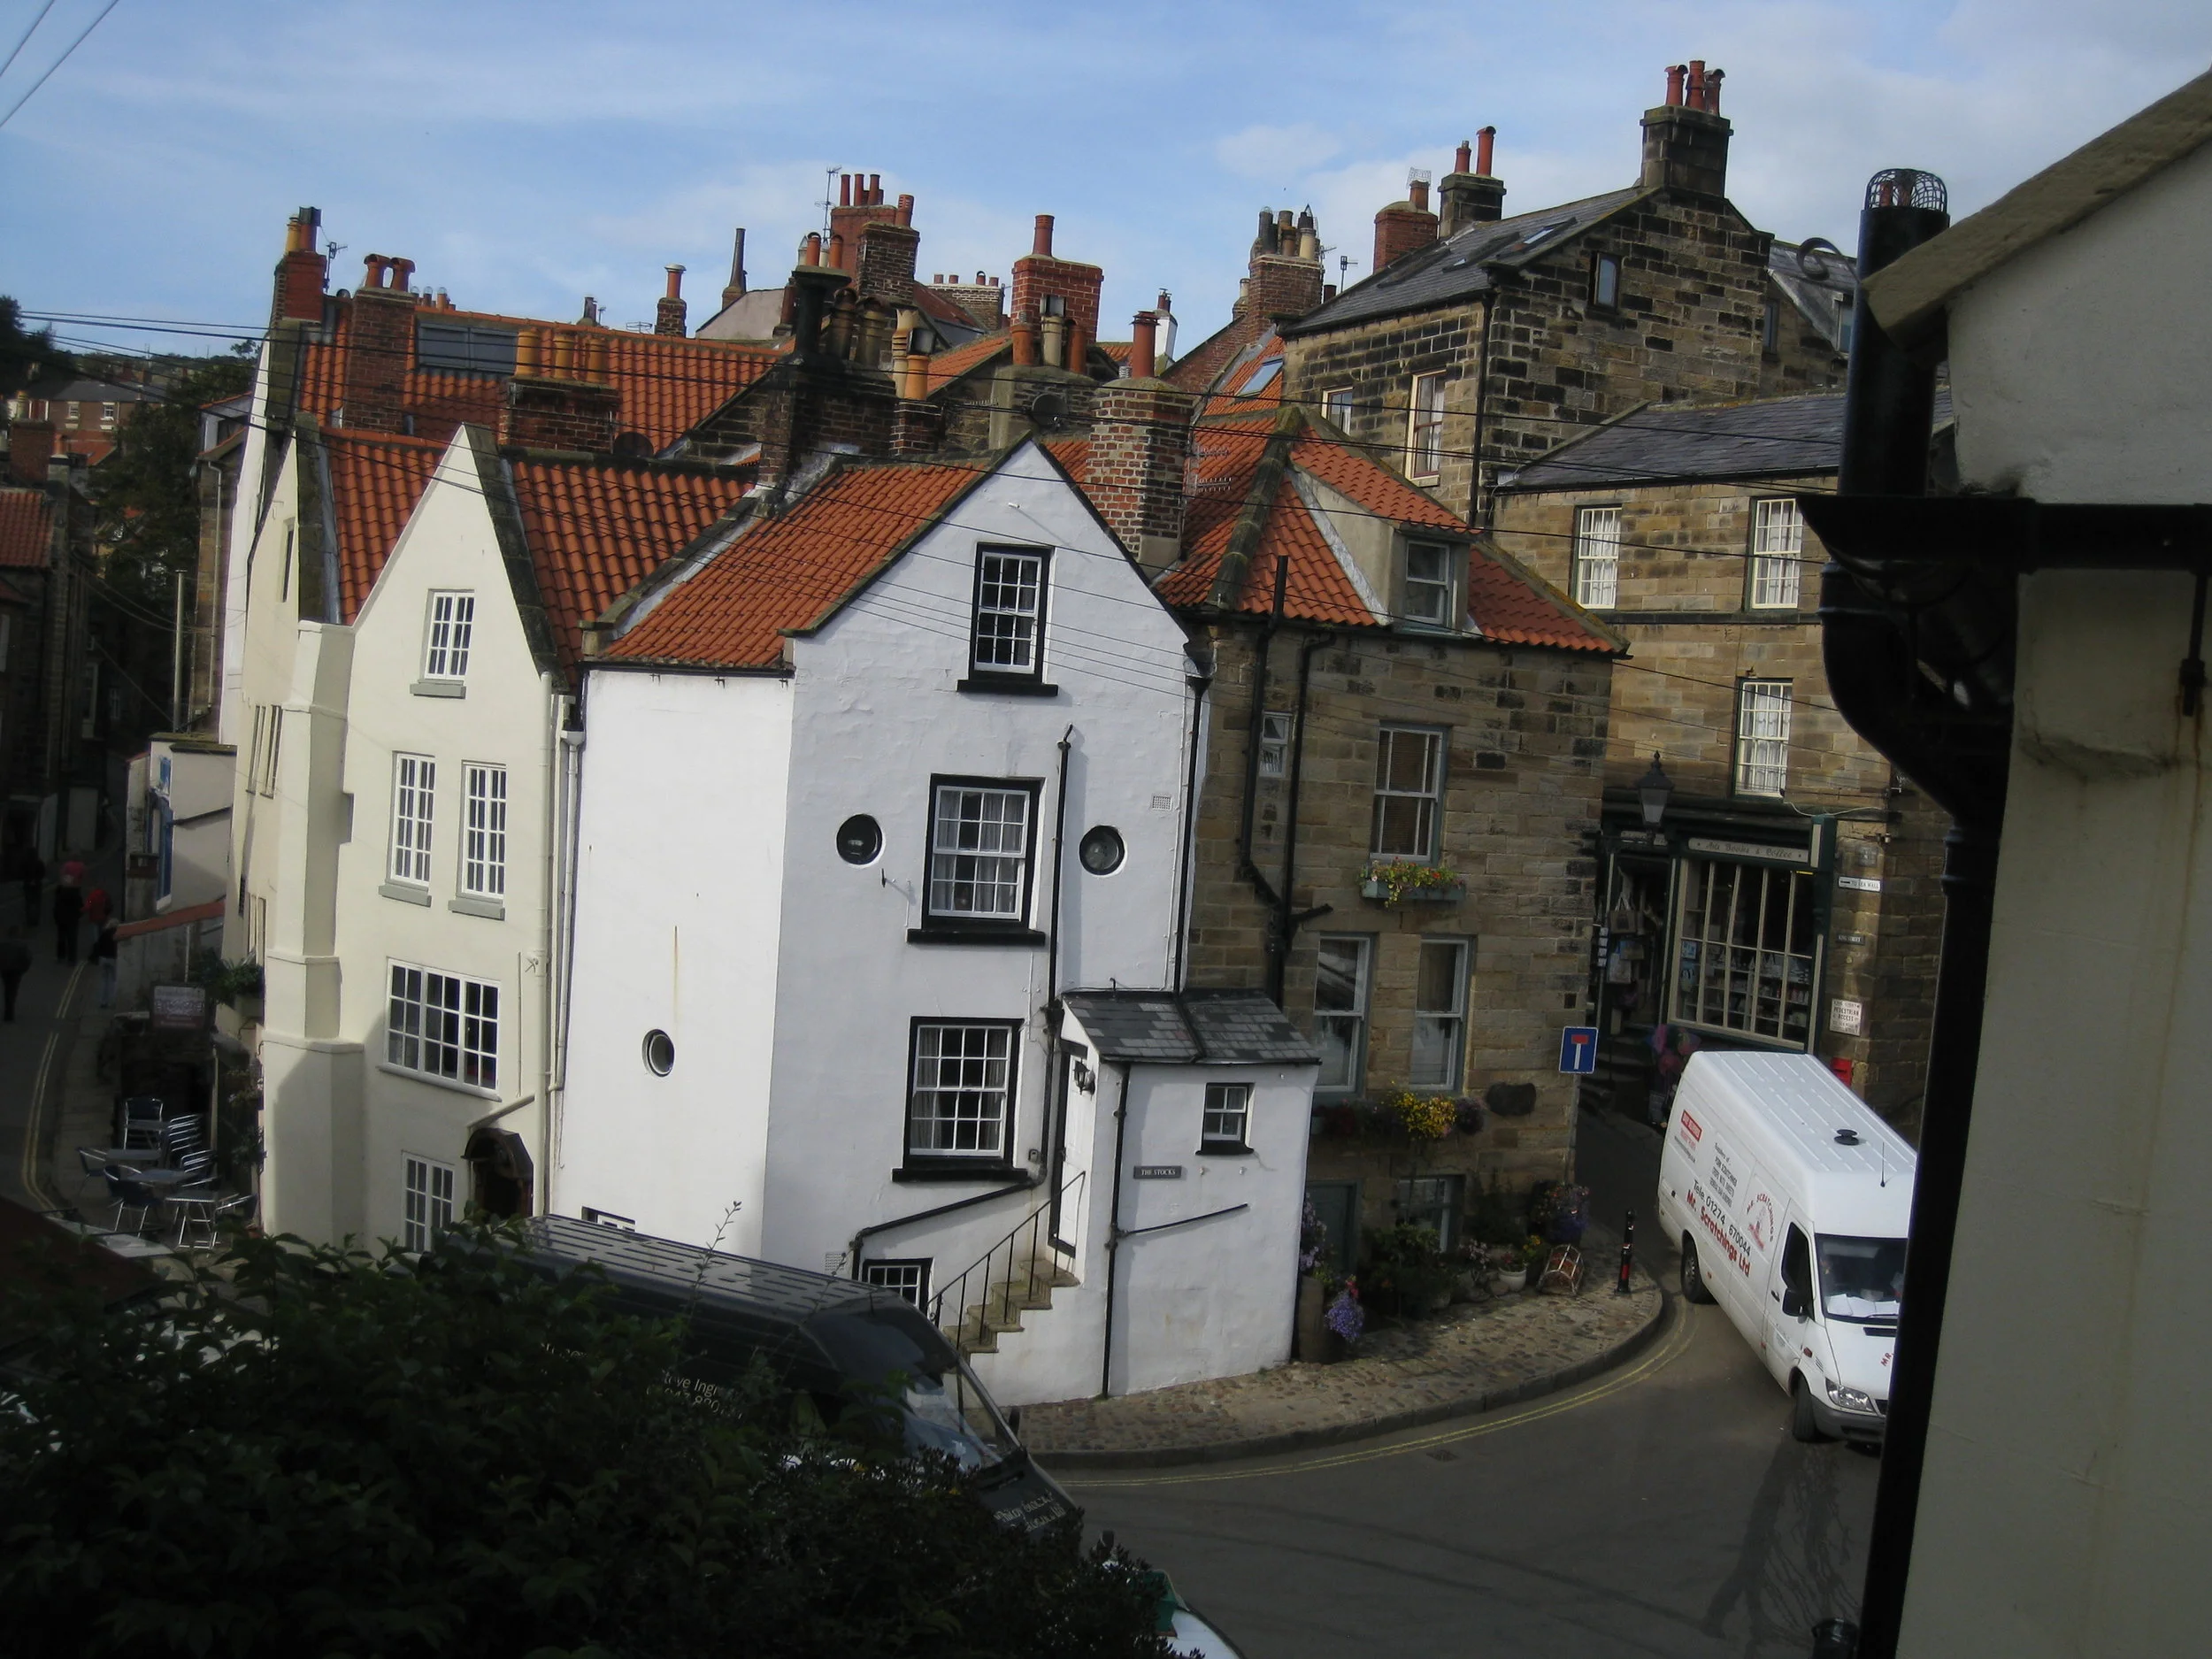
Robin Hood's Bay--2011
Robin Hood's Bay--2011
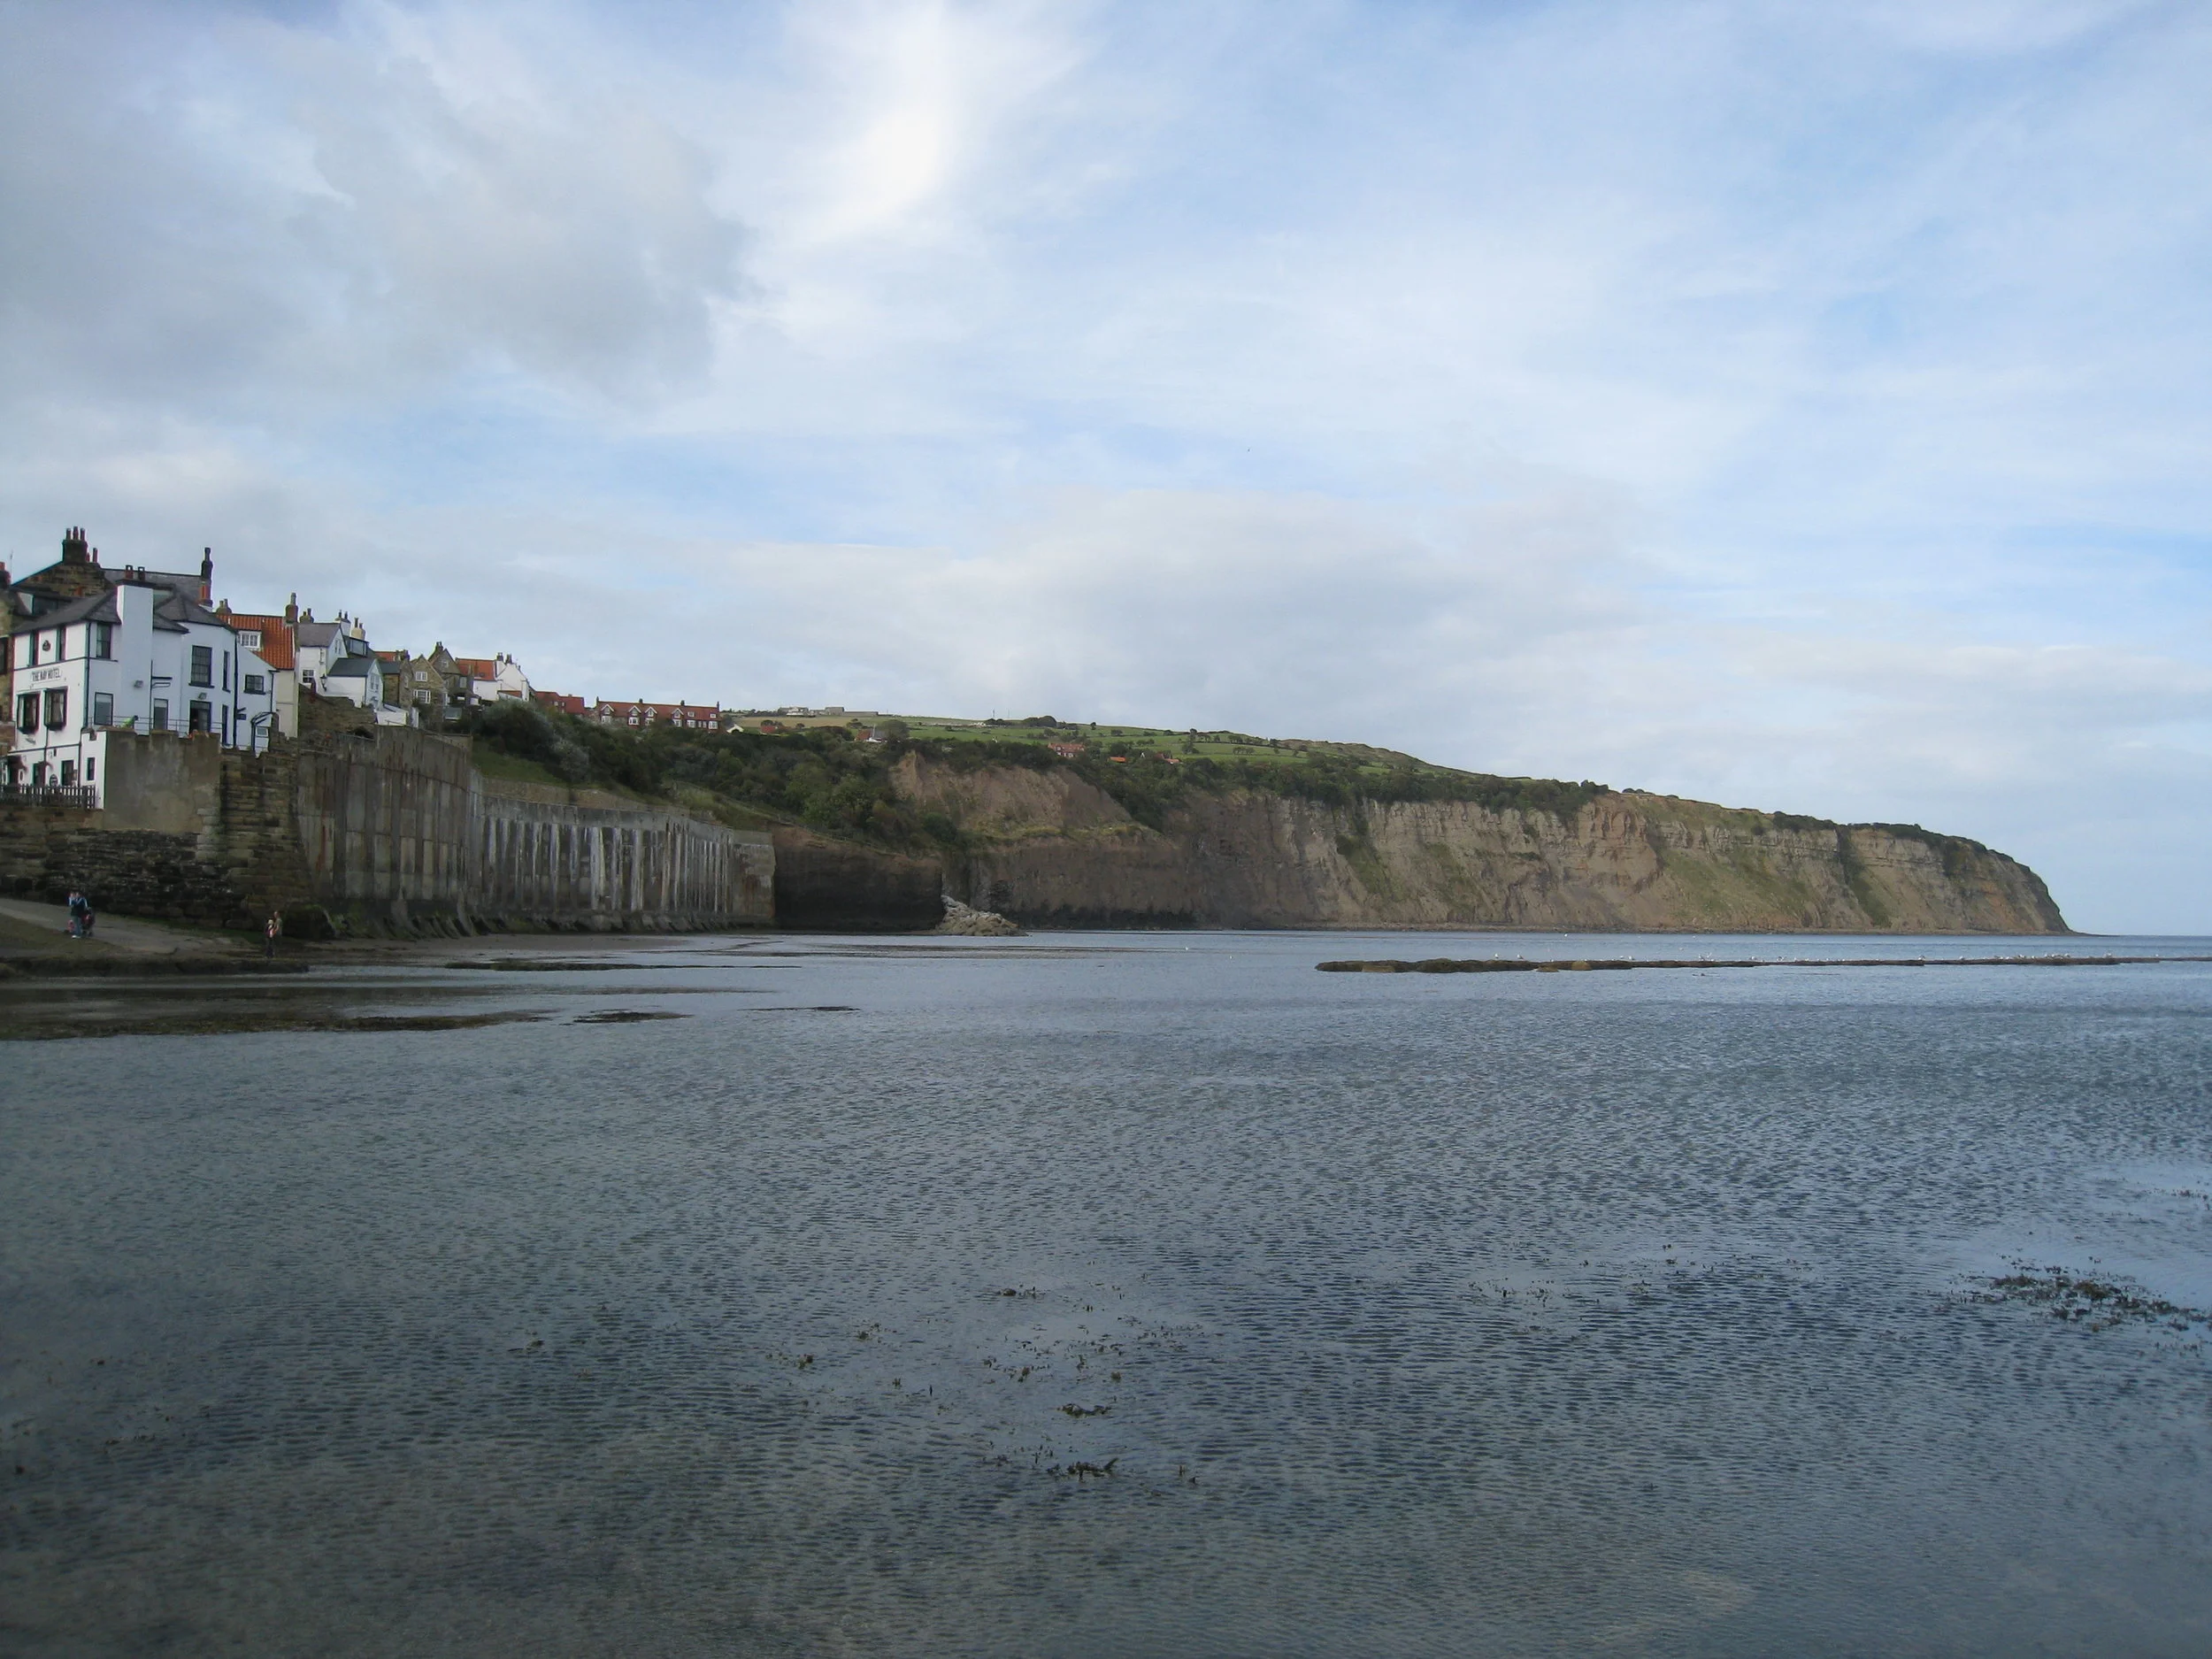
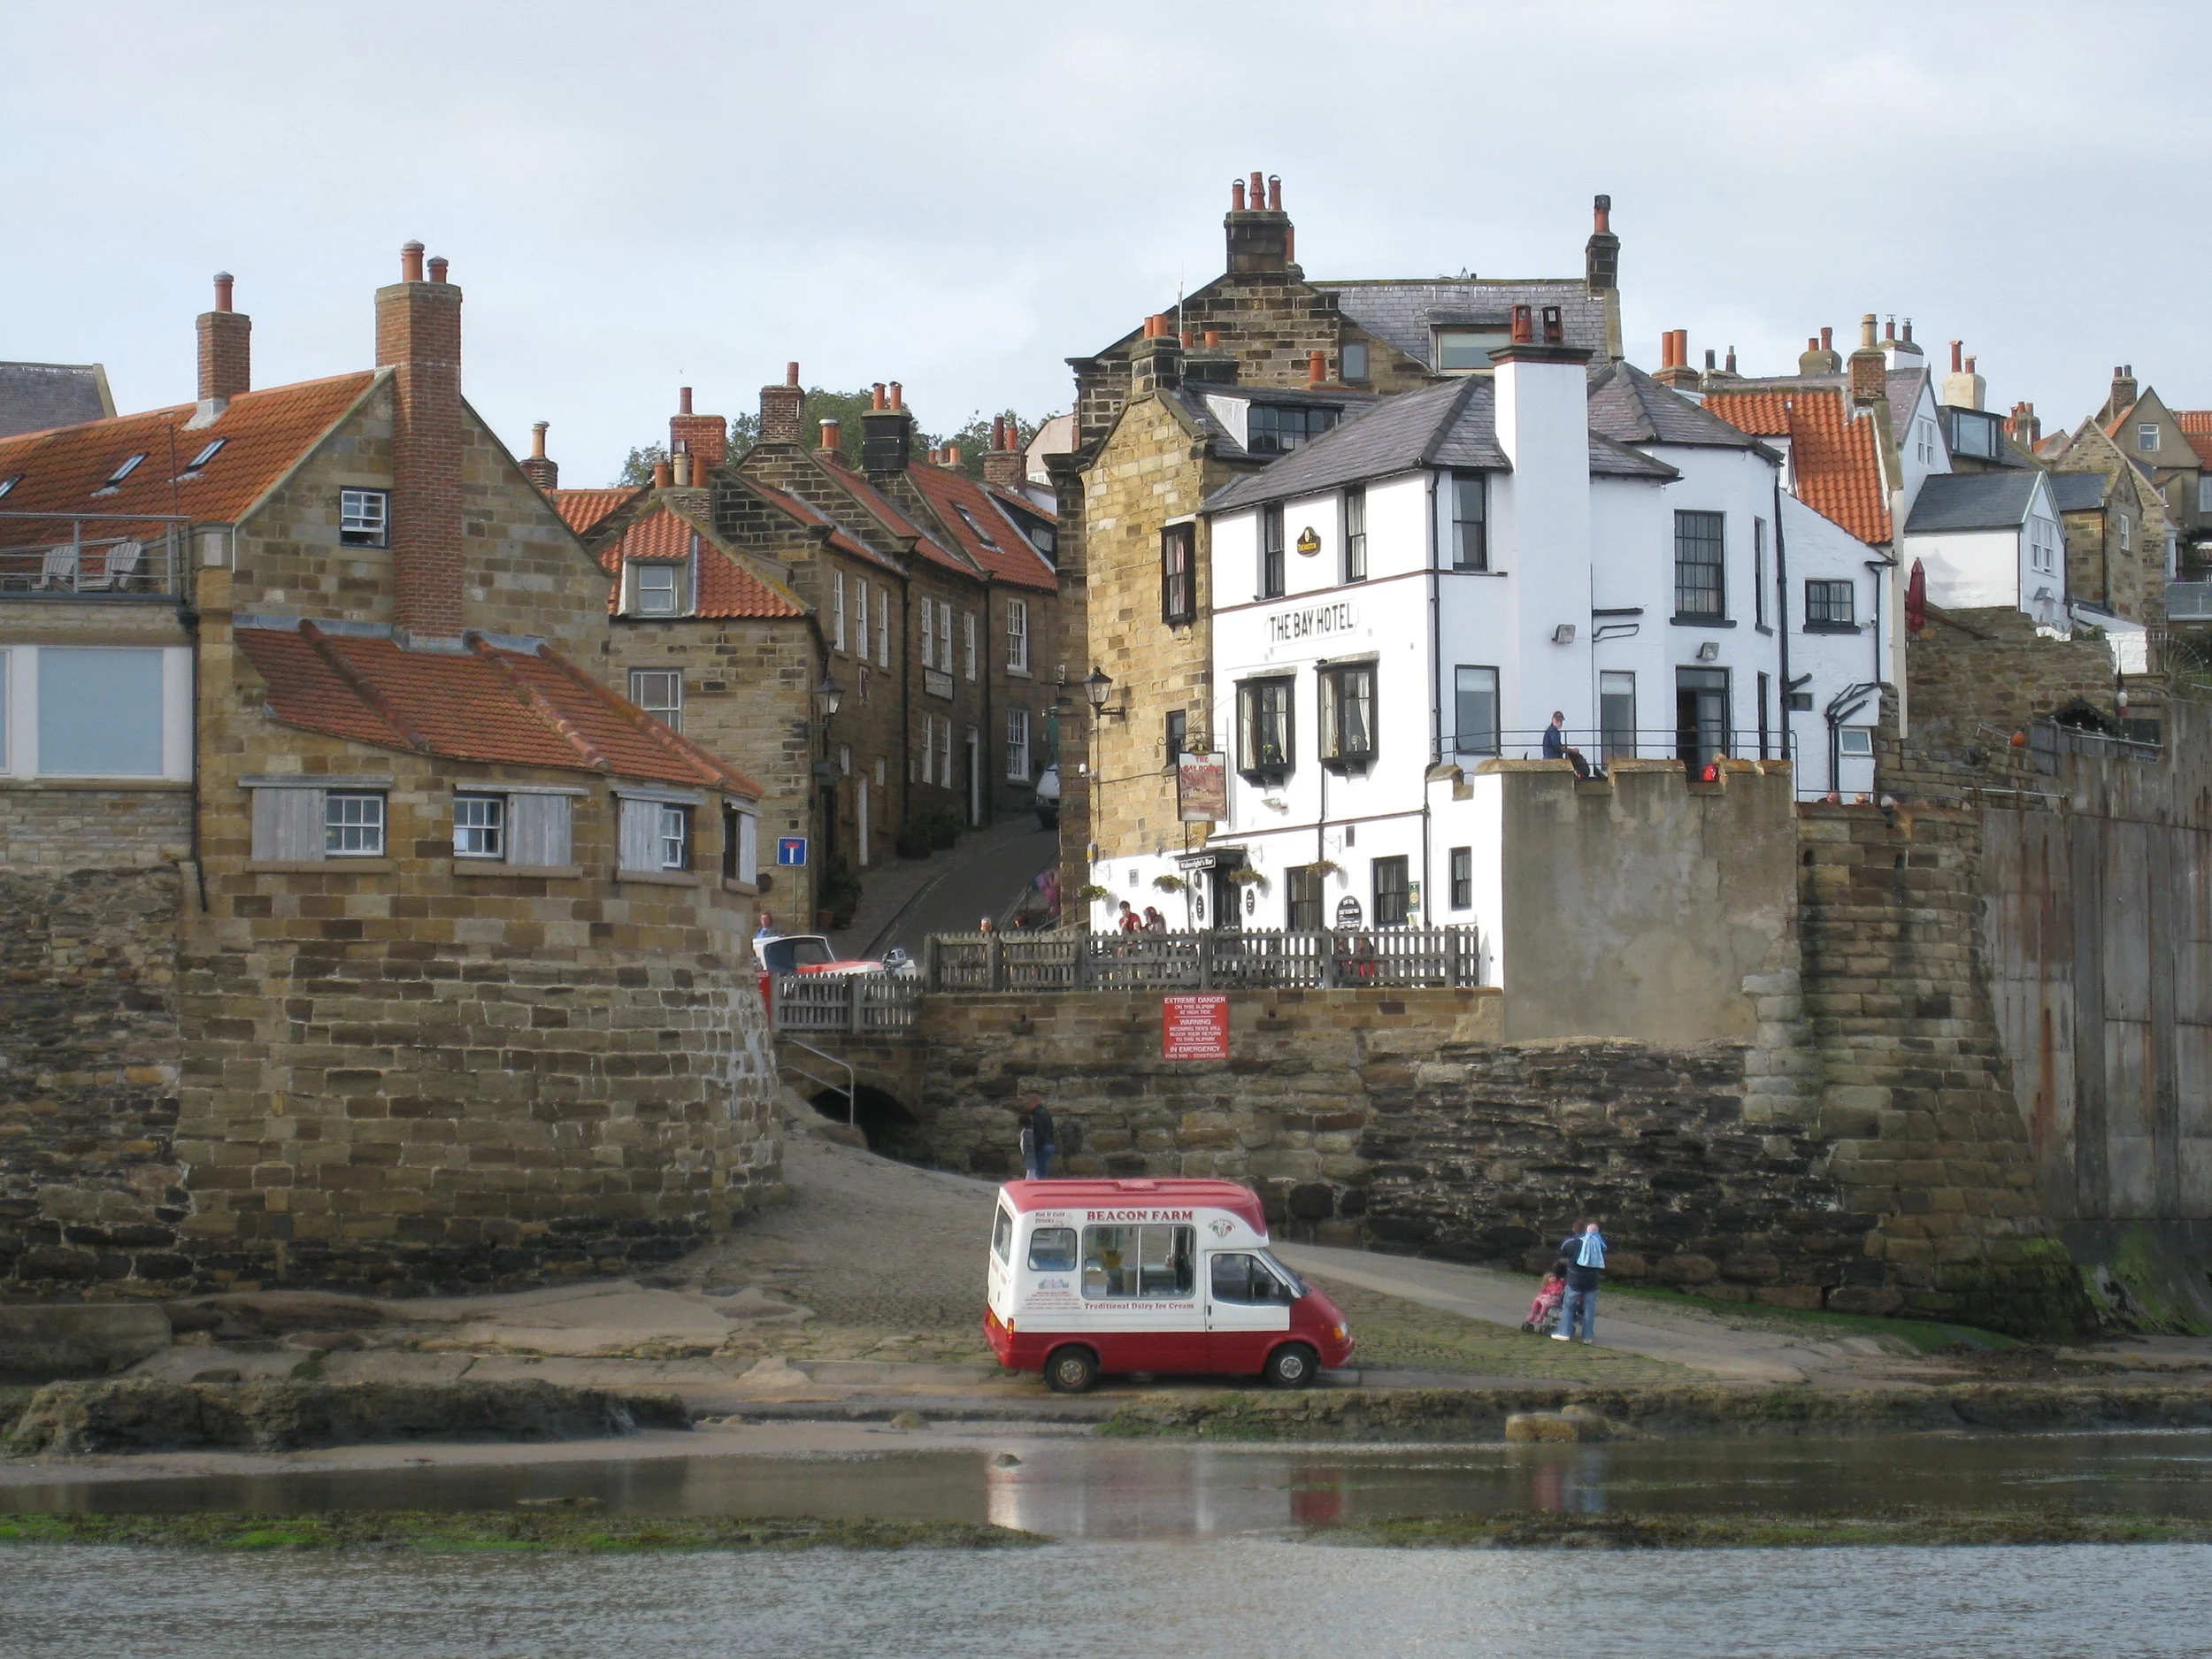
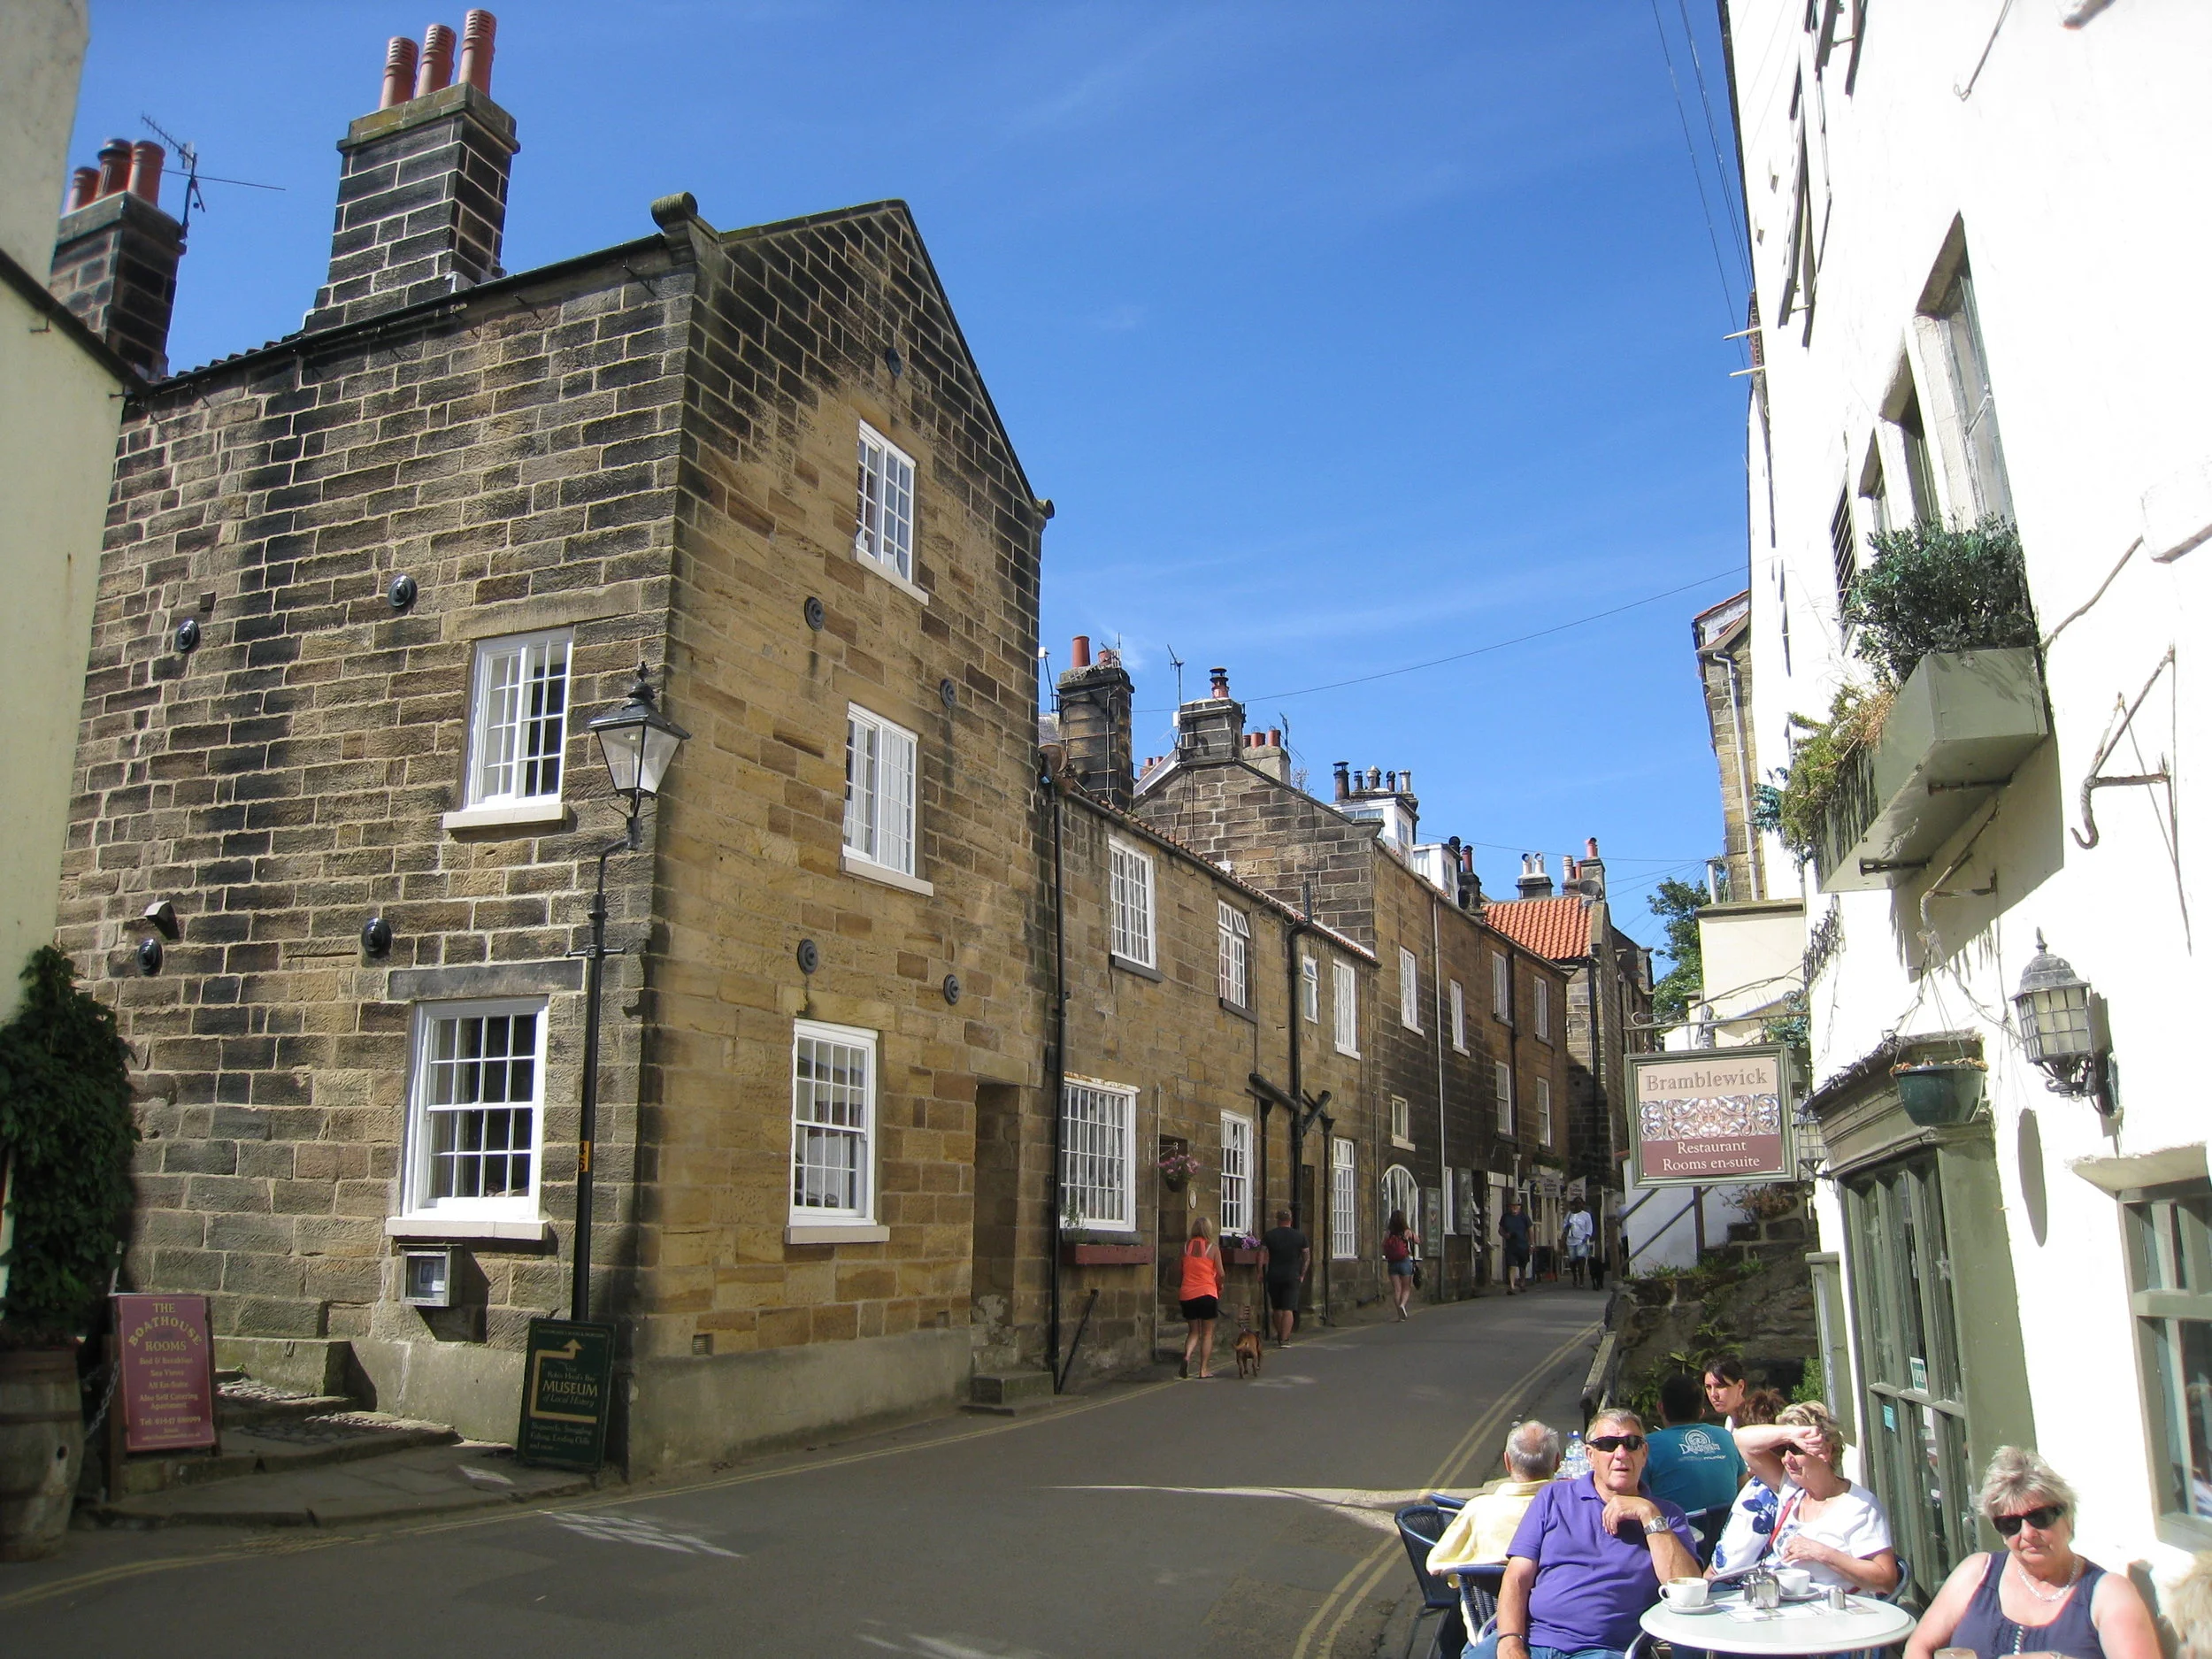
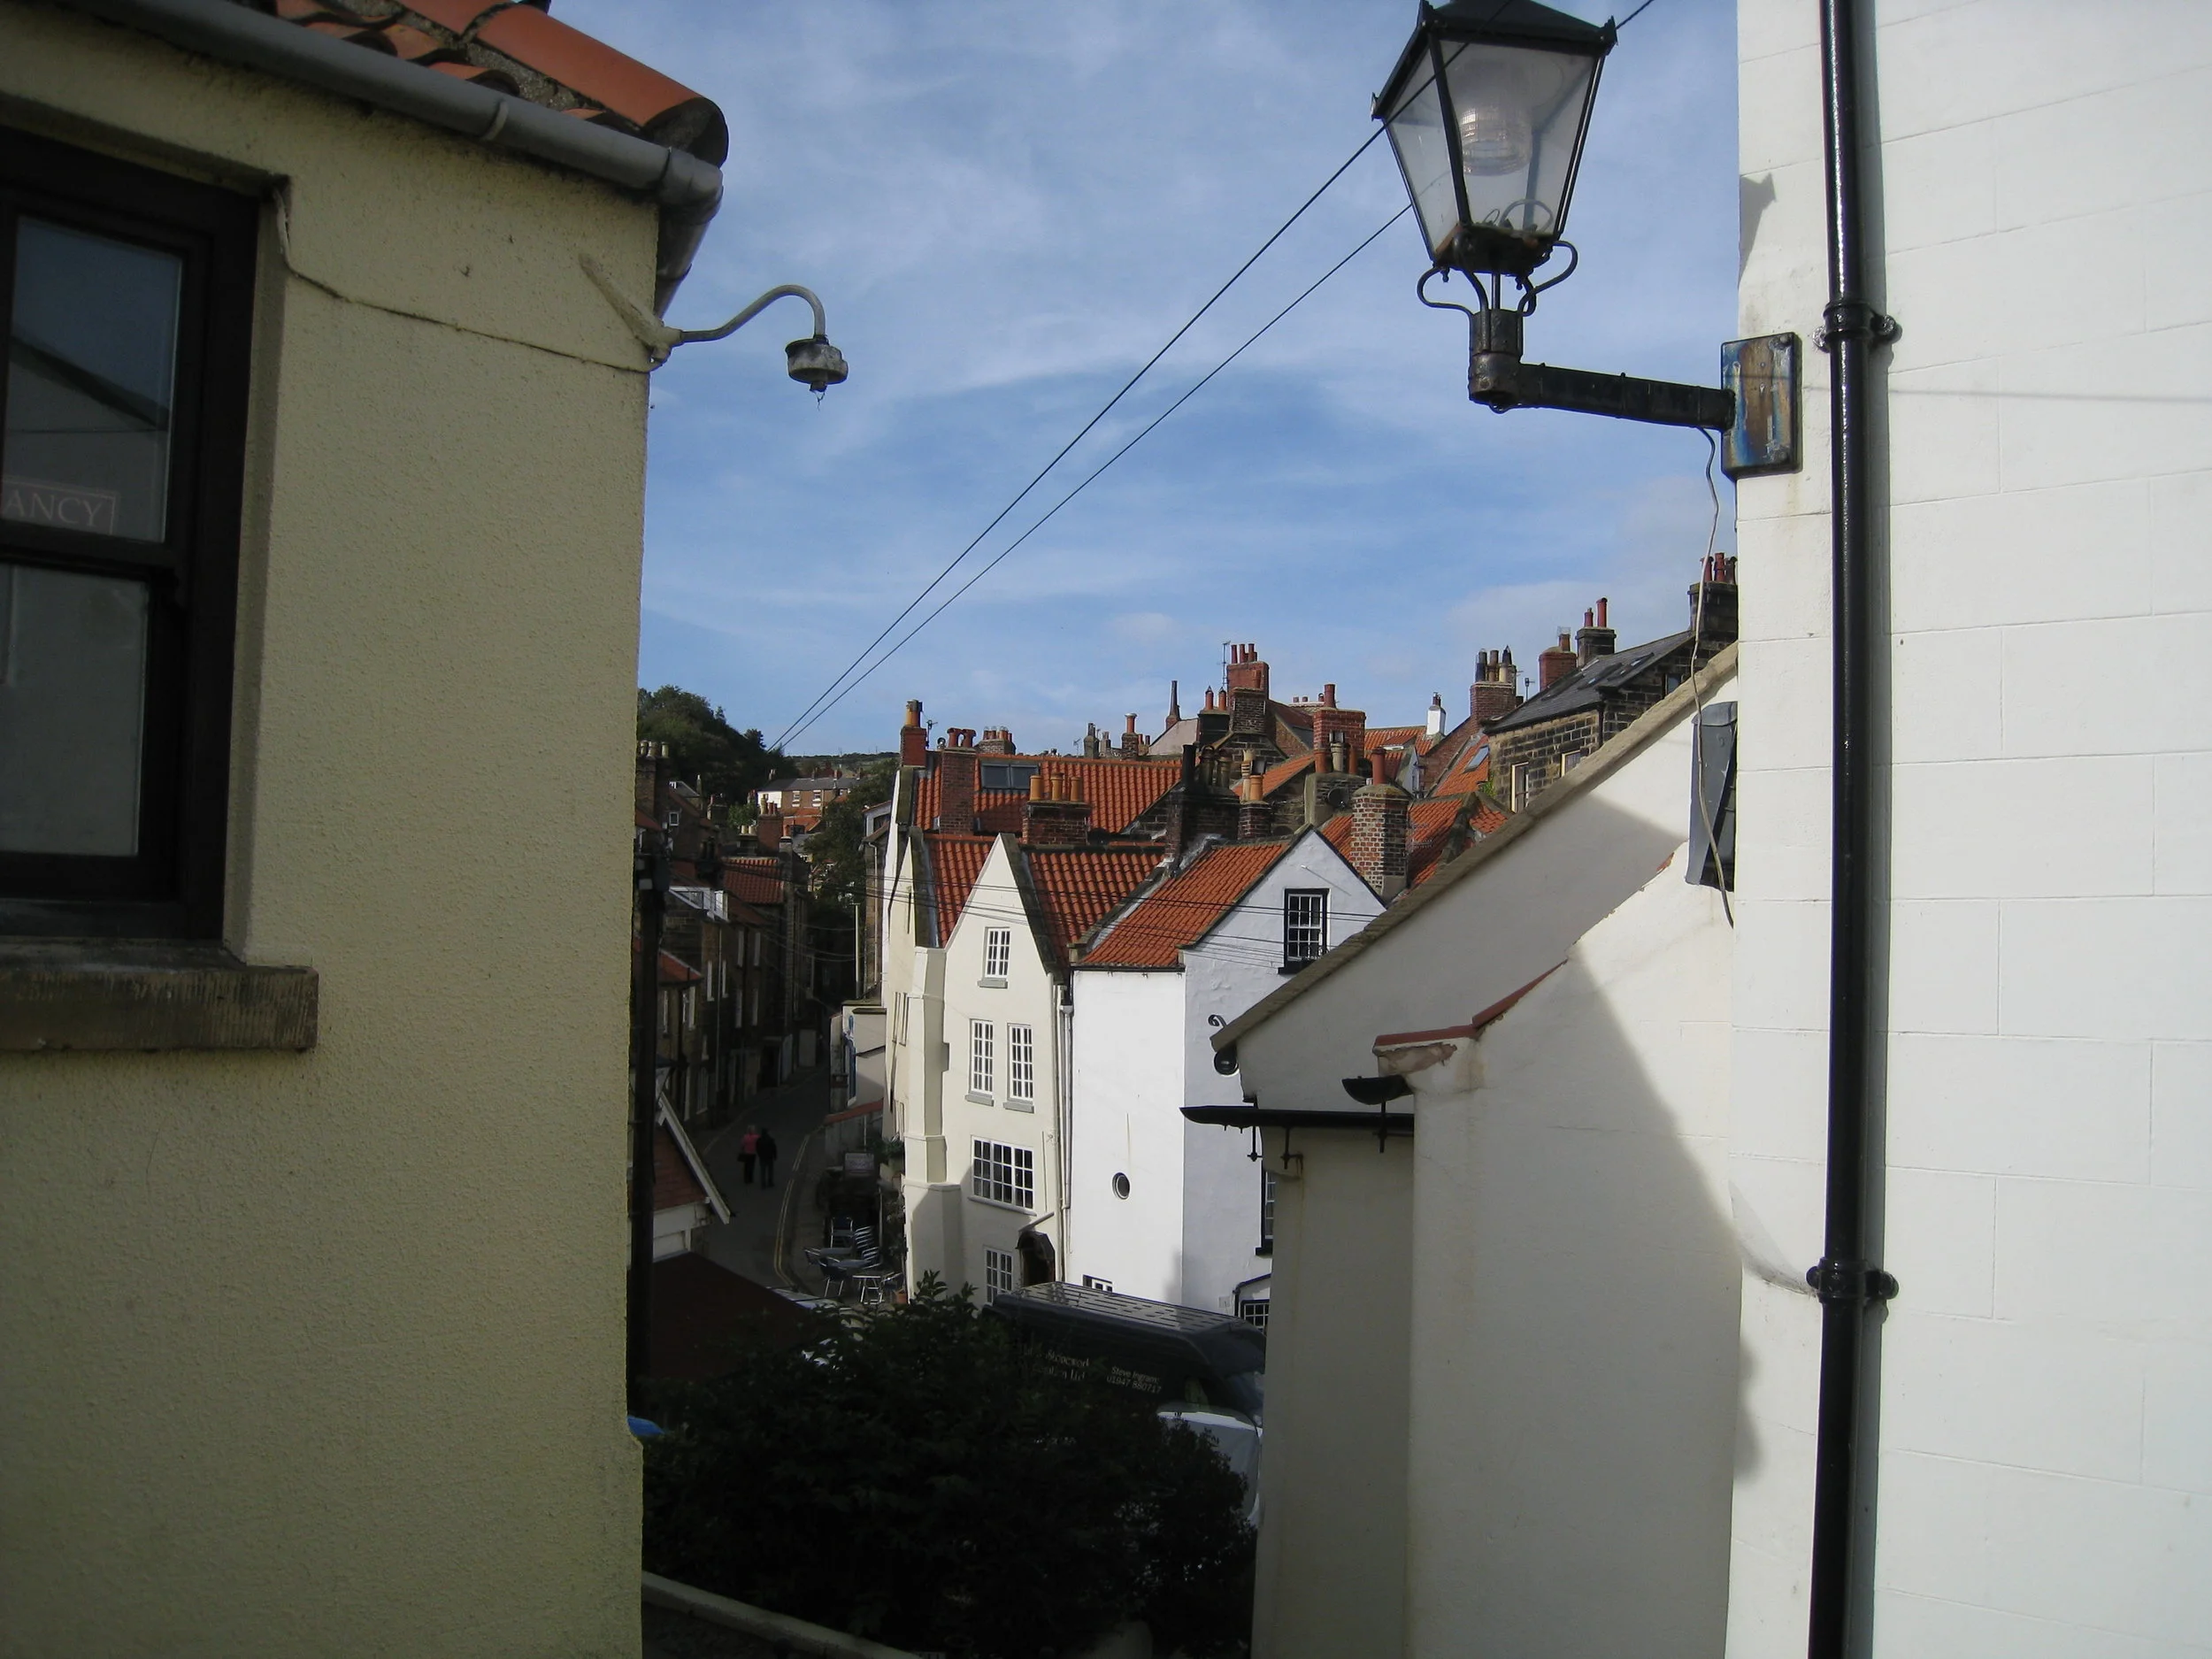
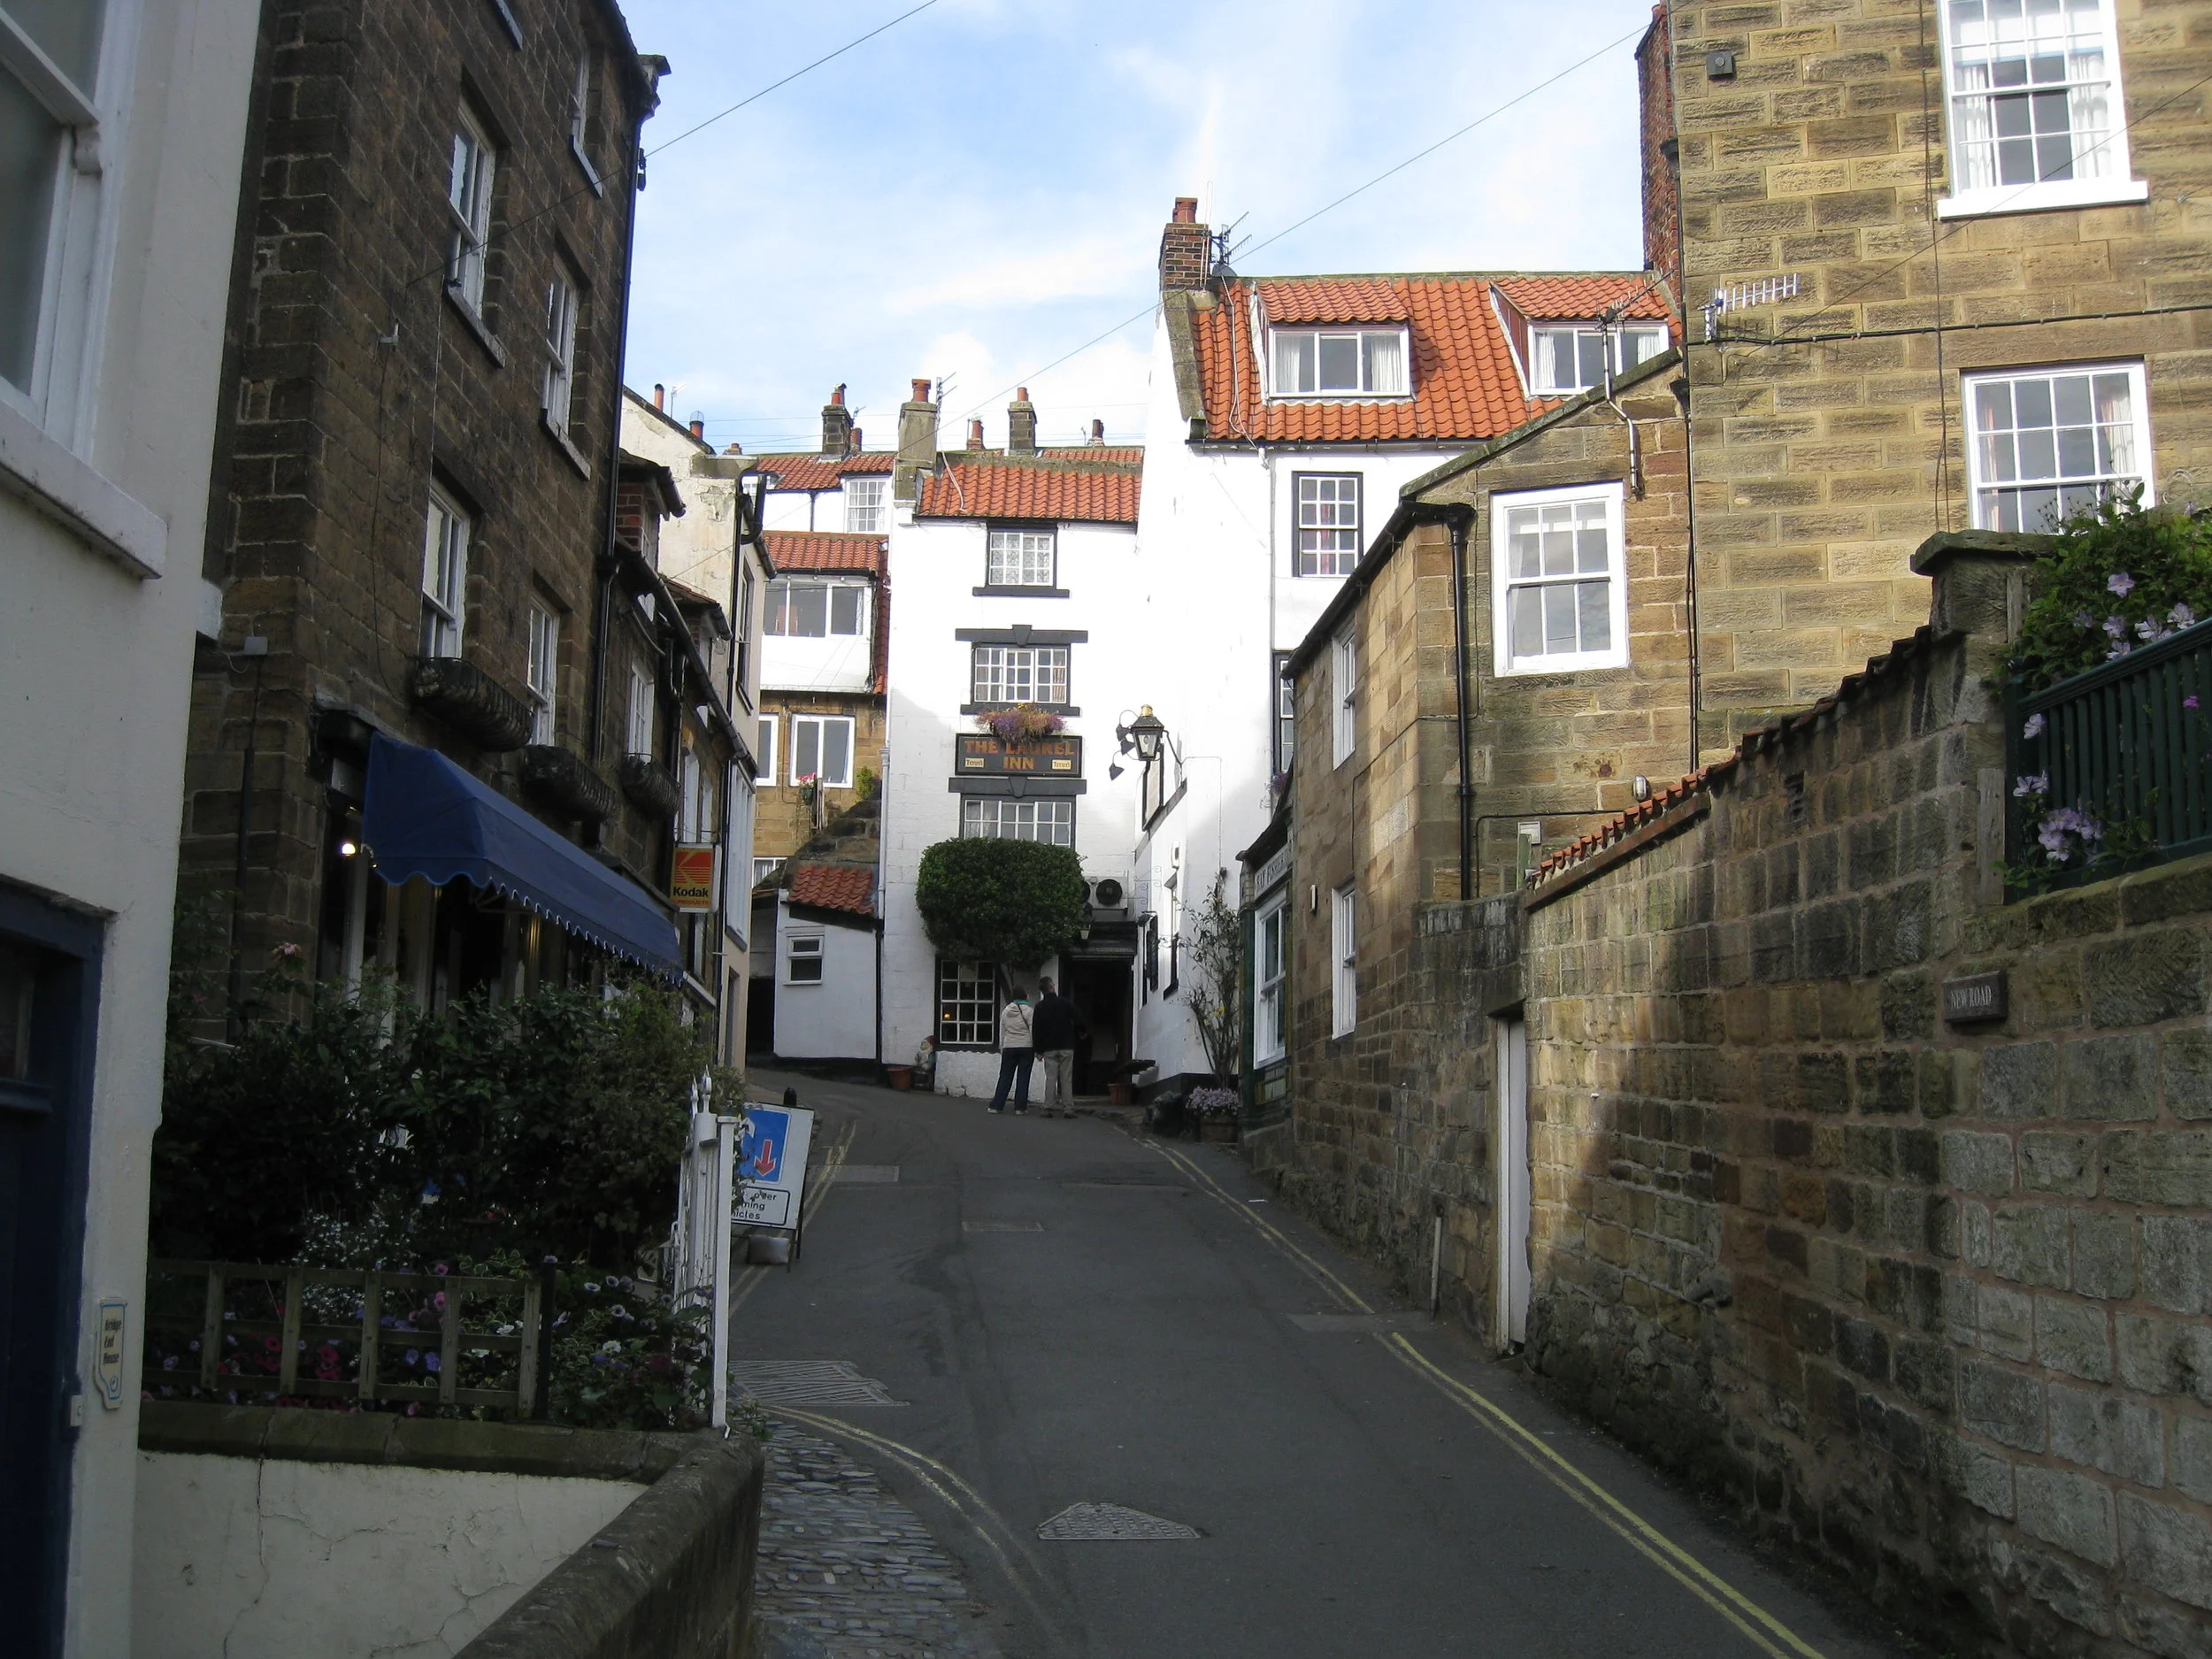
Whitby--Robin Hood's Bay 2016

Whitby--Robin Hood's Bay 2016
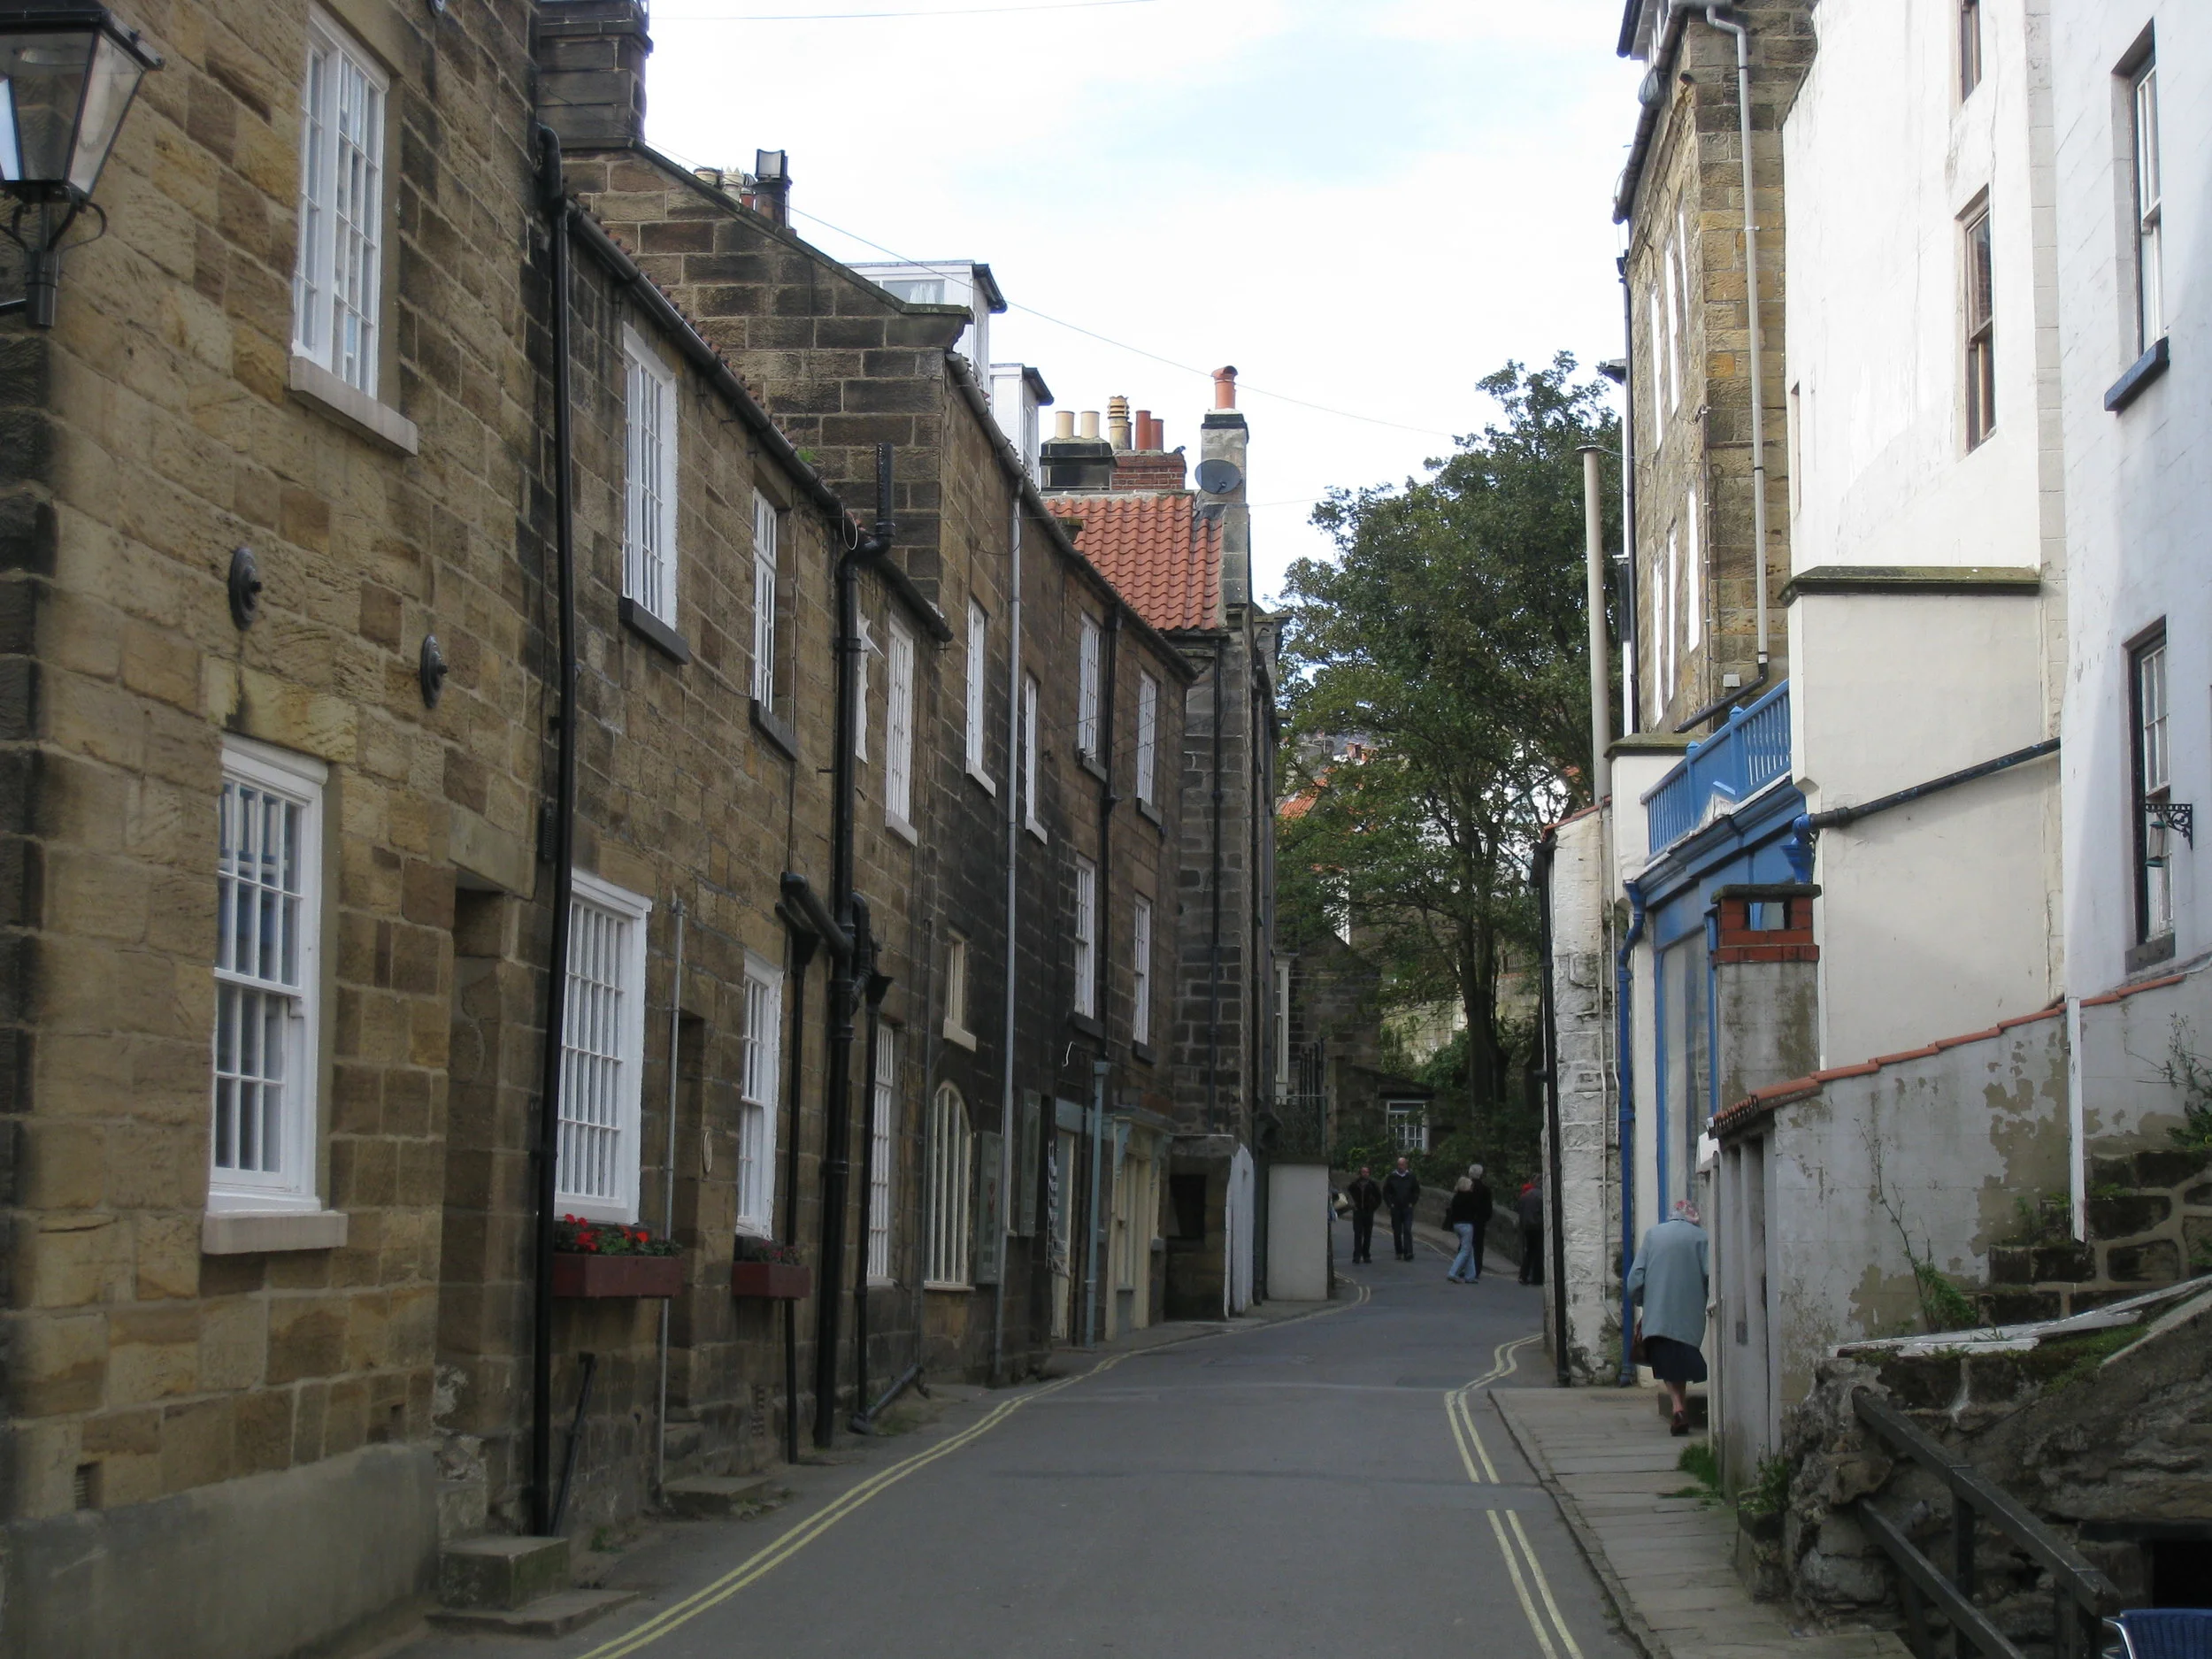
Robin Hood's Bay--2011
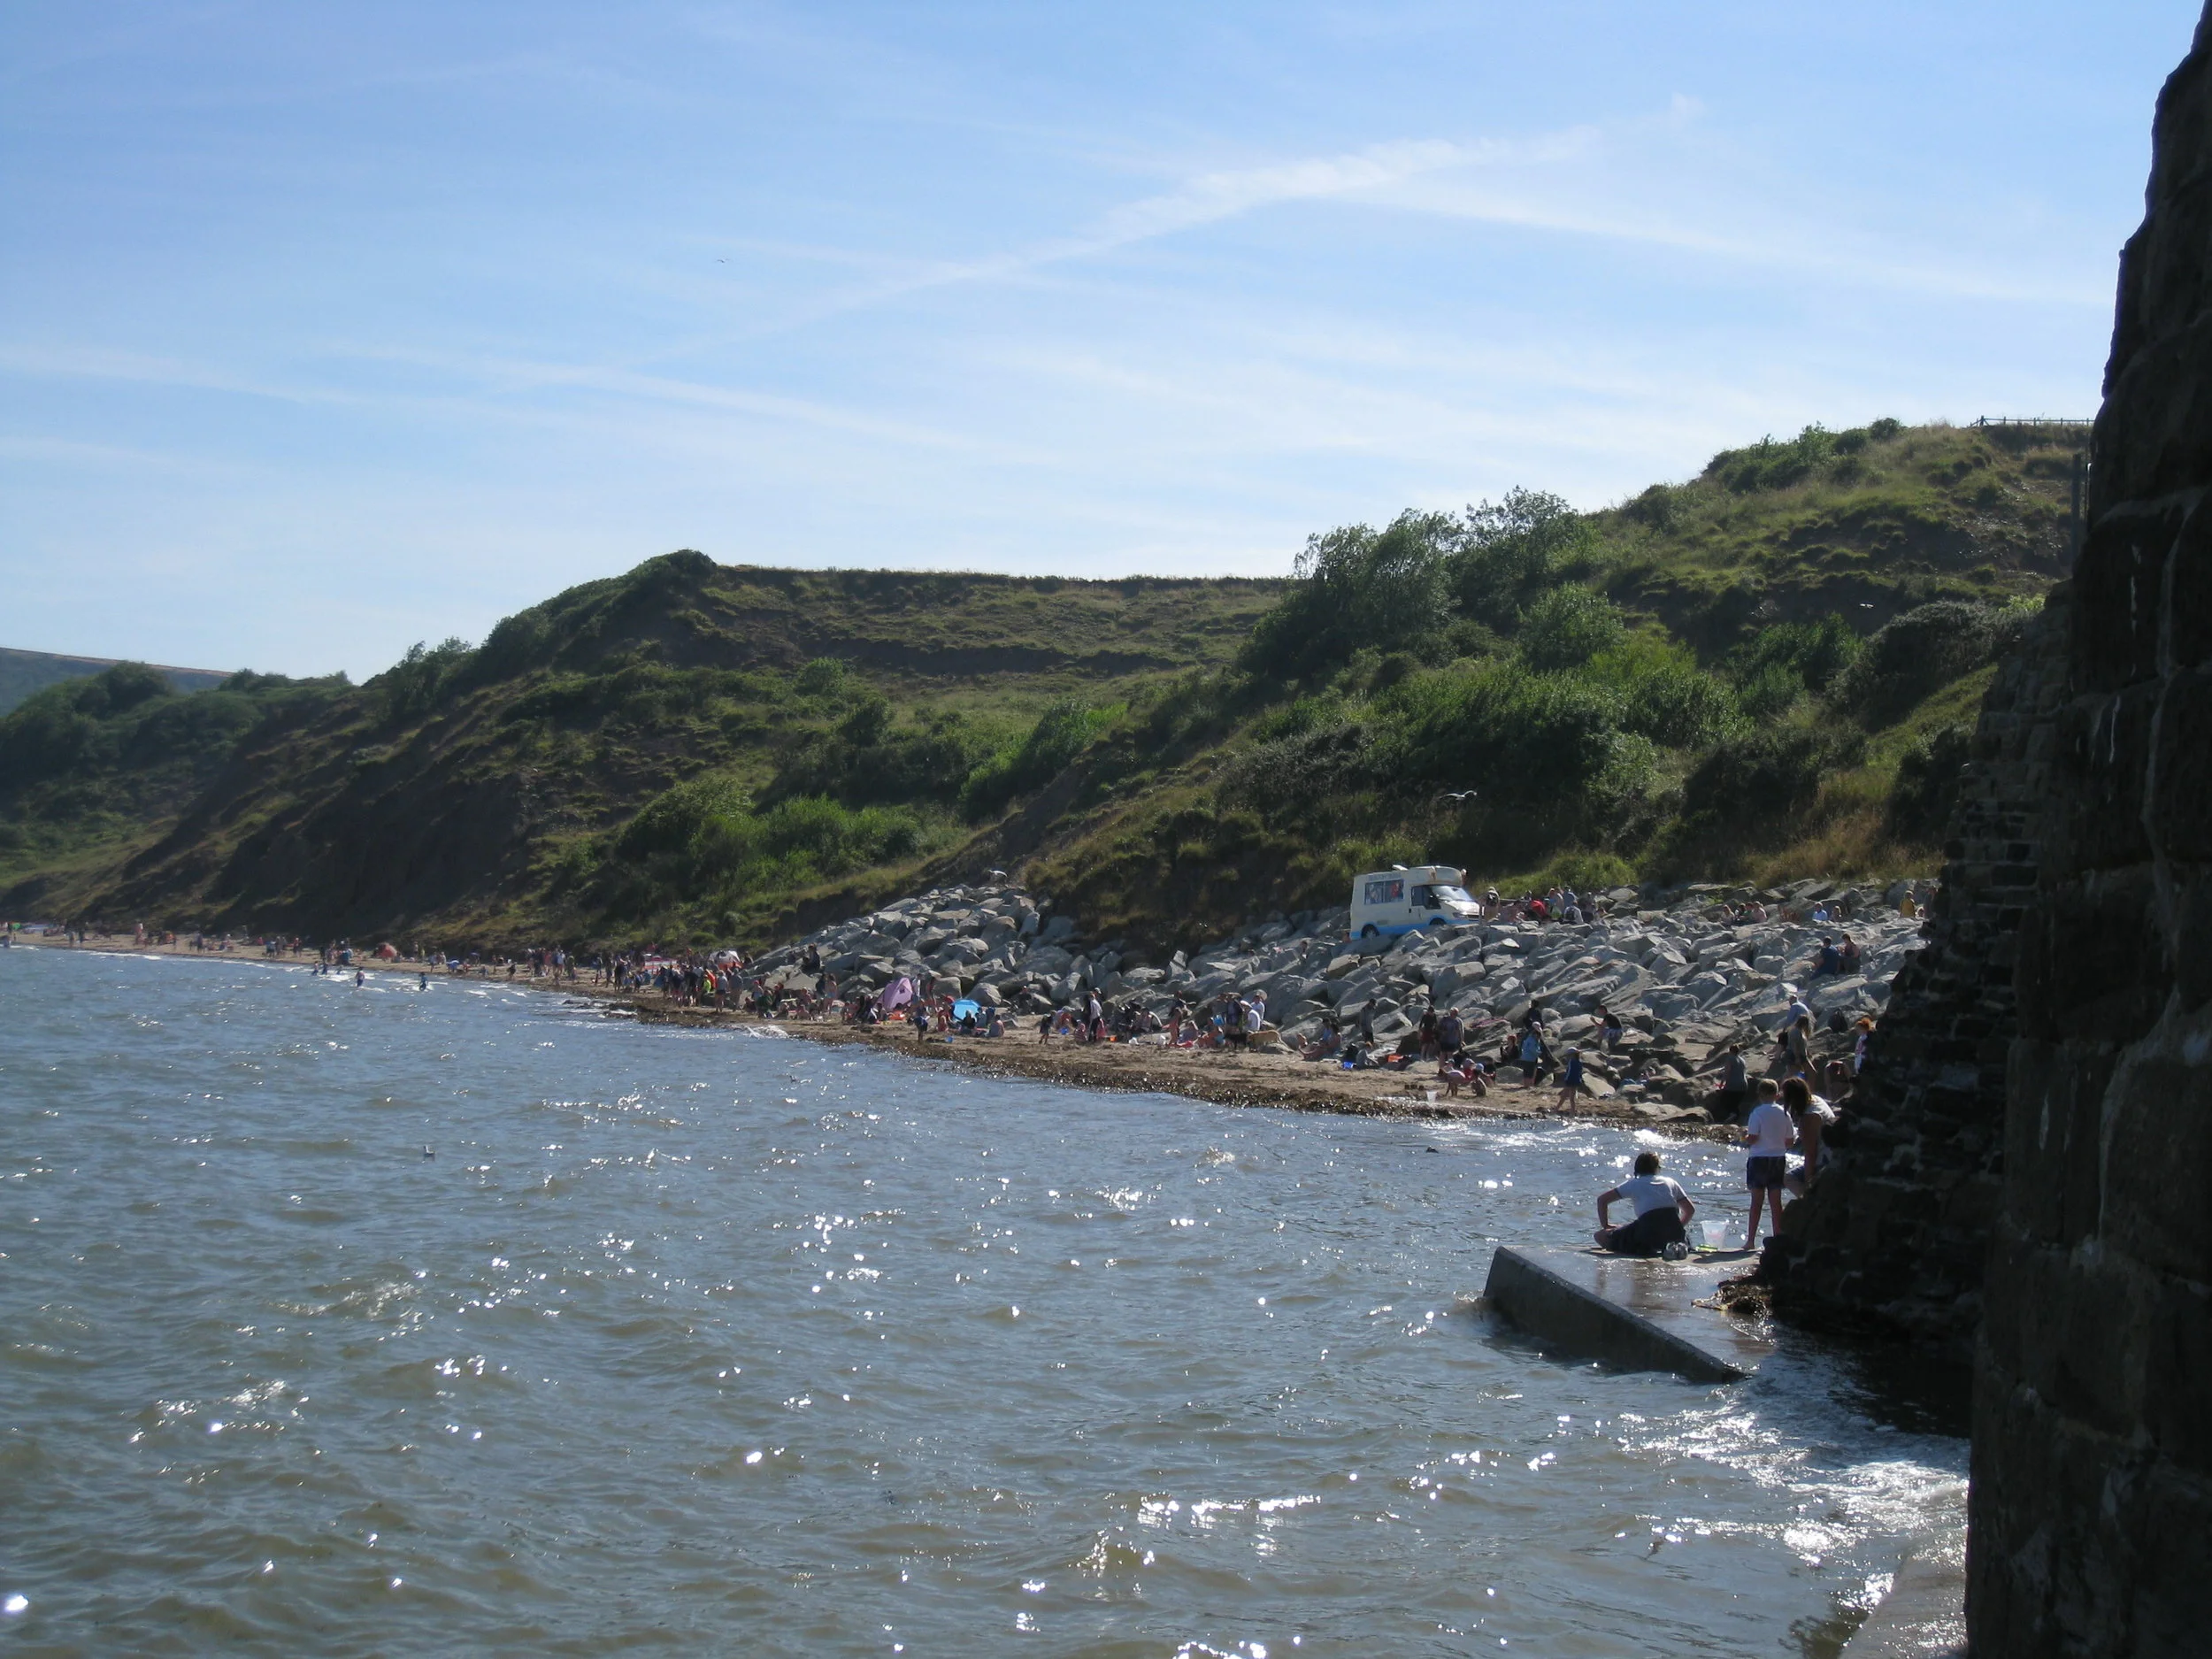
Whitby--Robin Hood's Bay 2016
Robin Hood's Bay--2011

Whitby--Robin Hood's Bay 2016
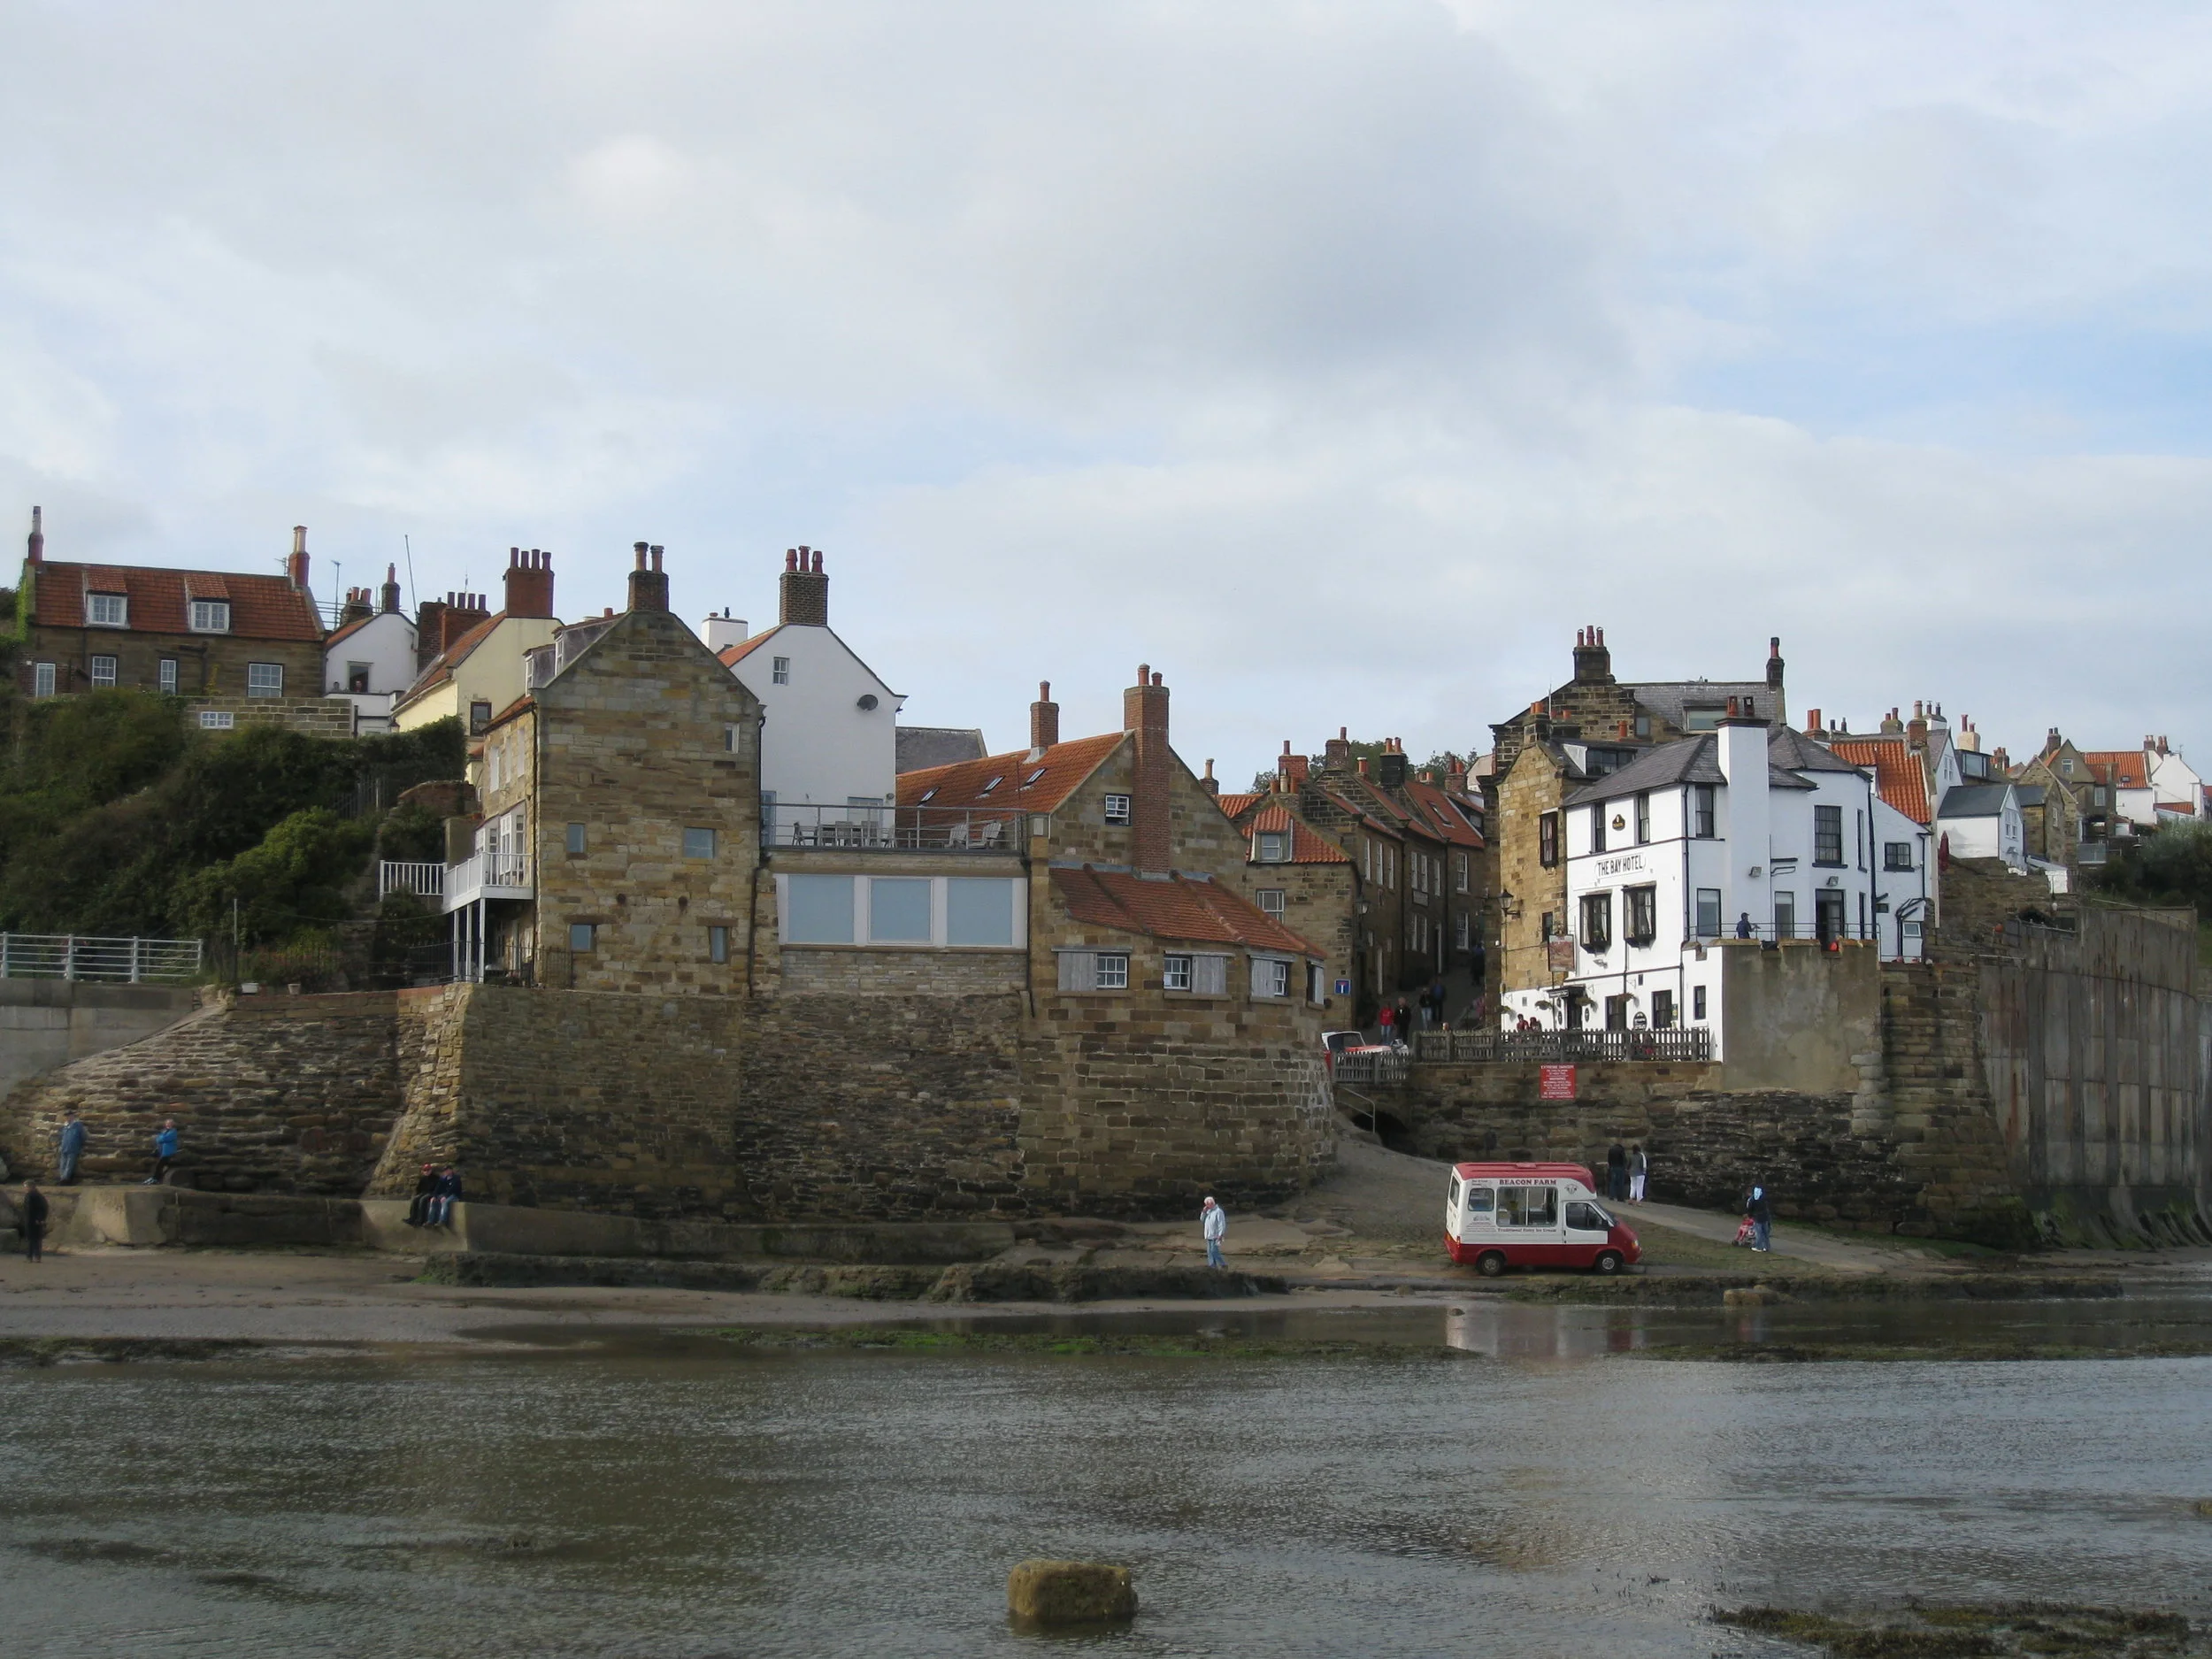
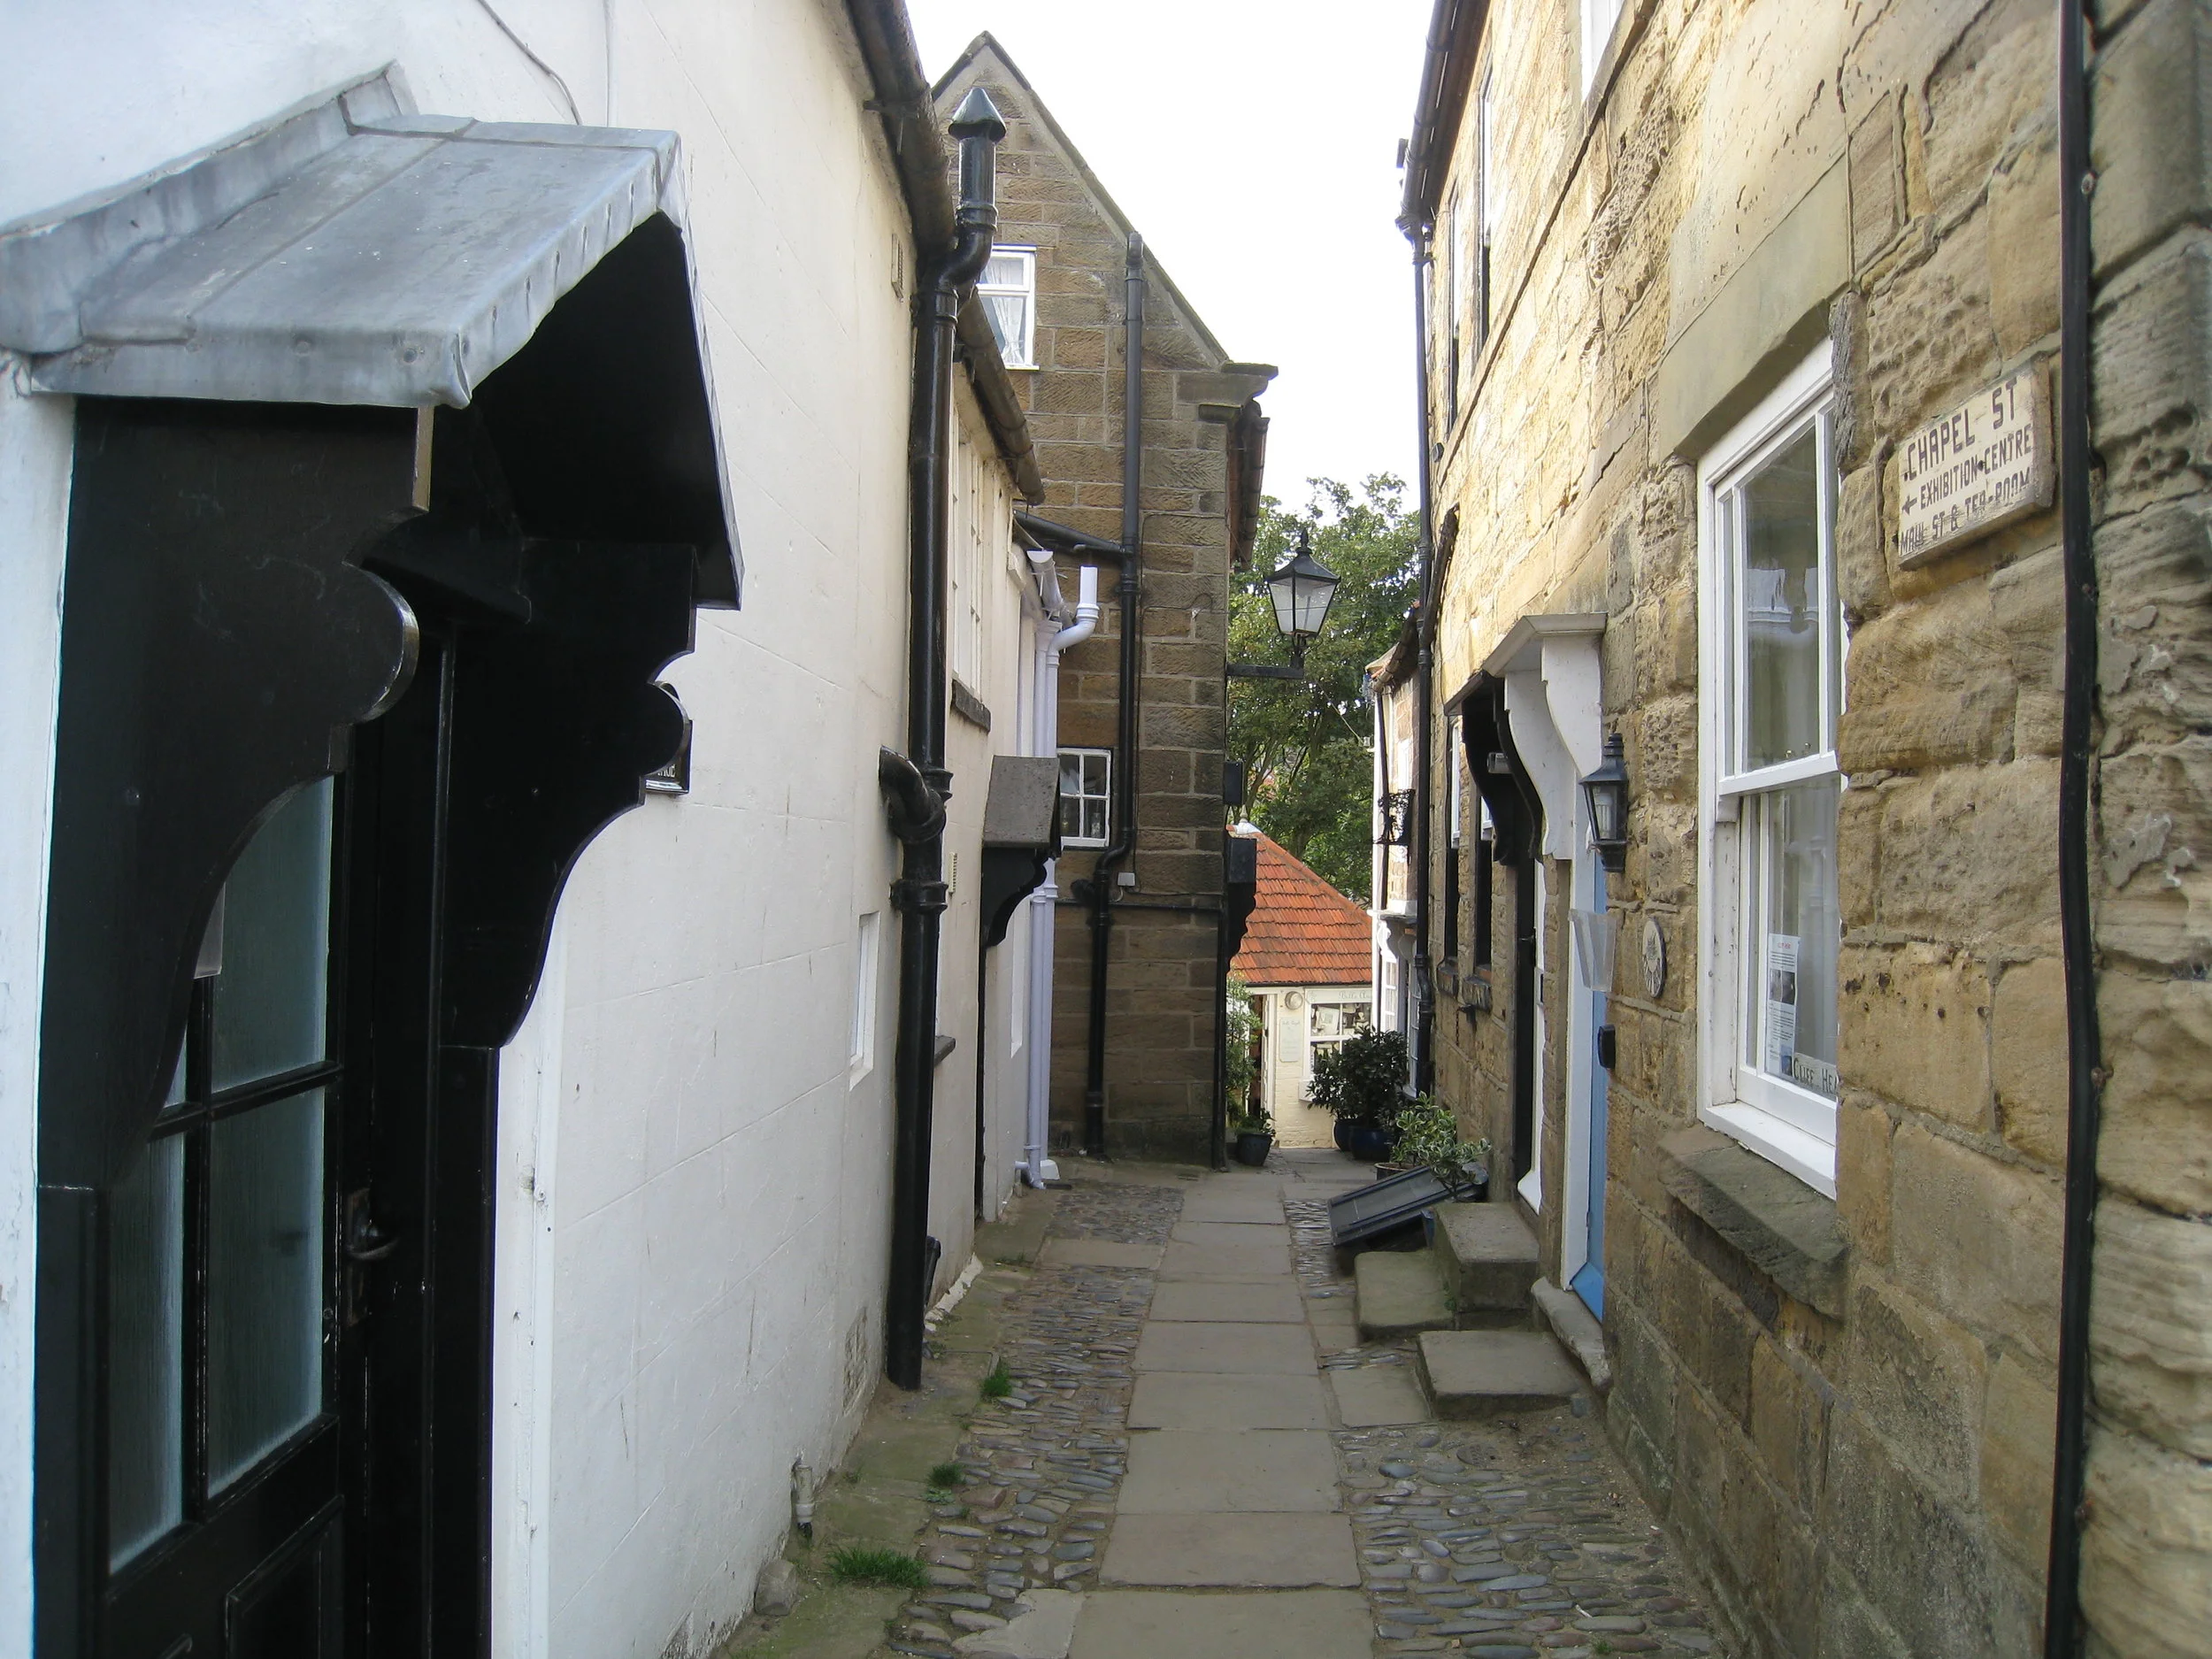
Whitby--Robin Hood's Bay 2016
Robin Hood's Bay--2011
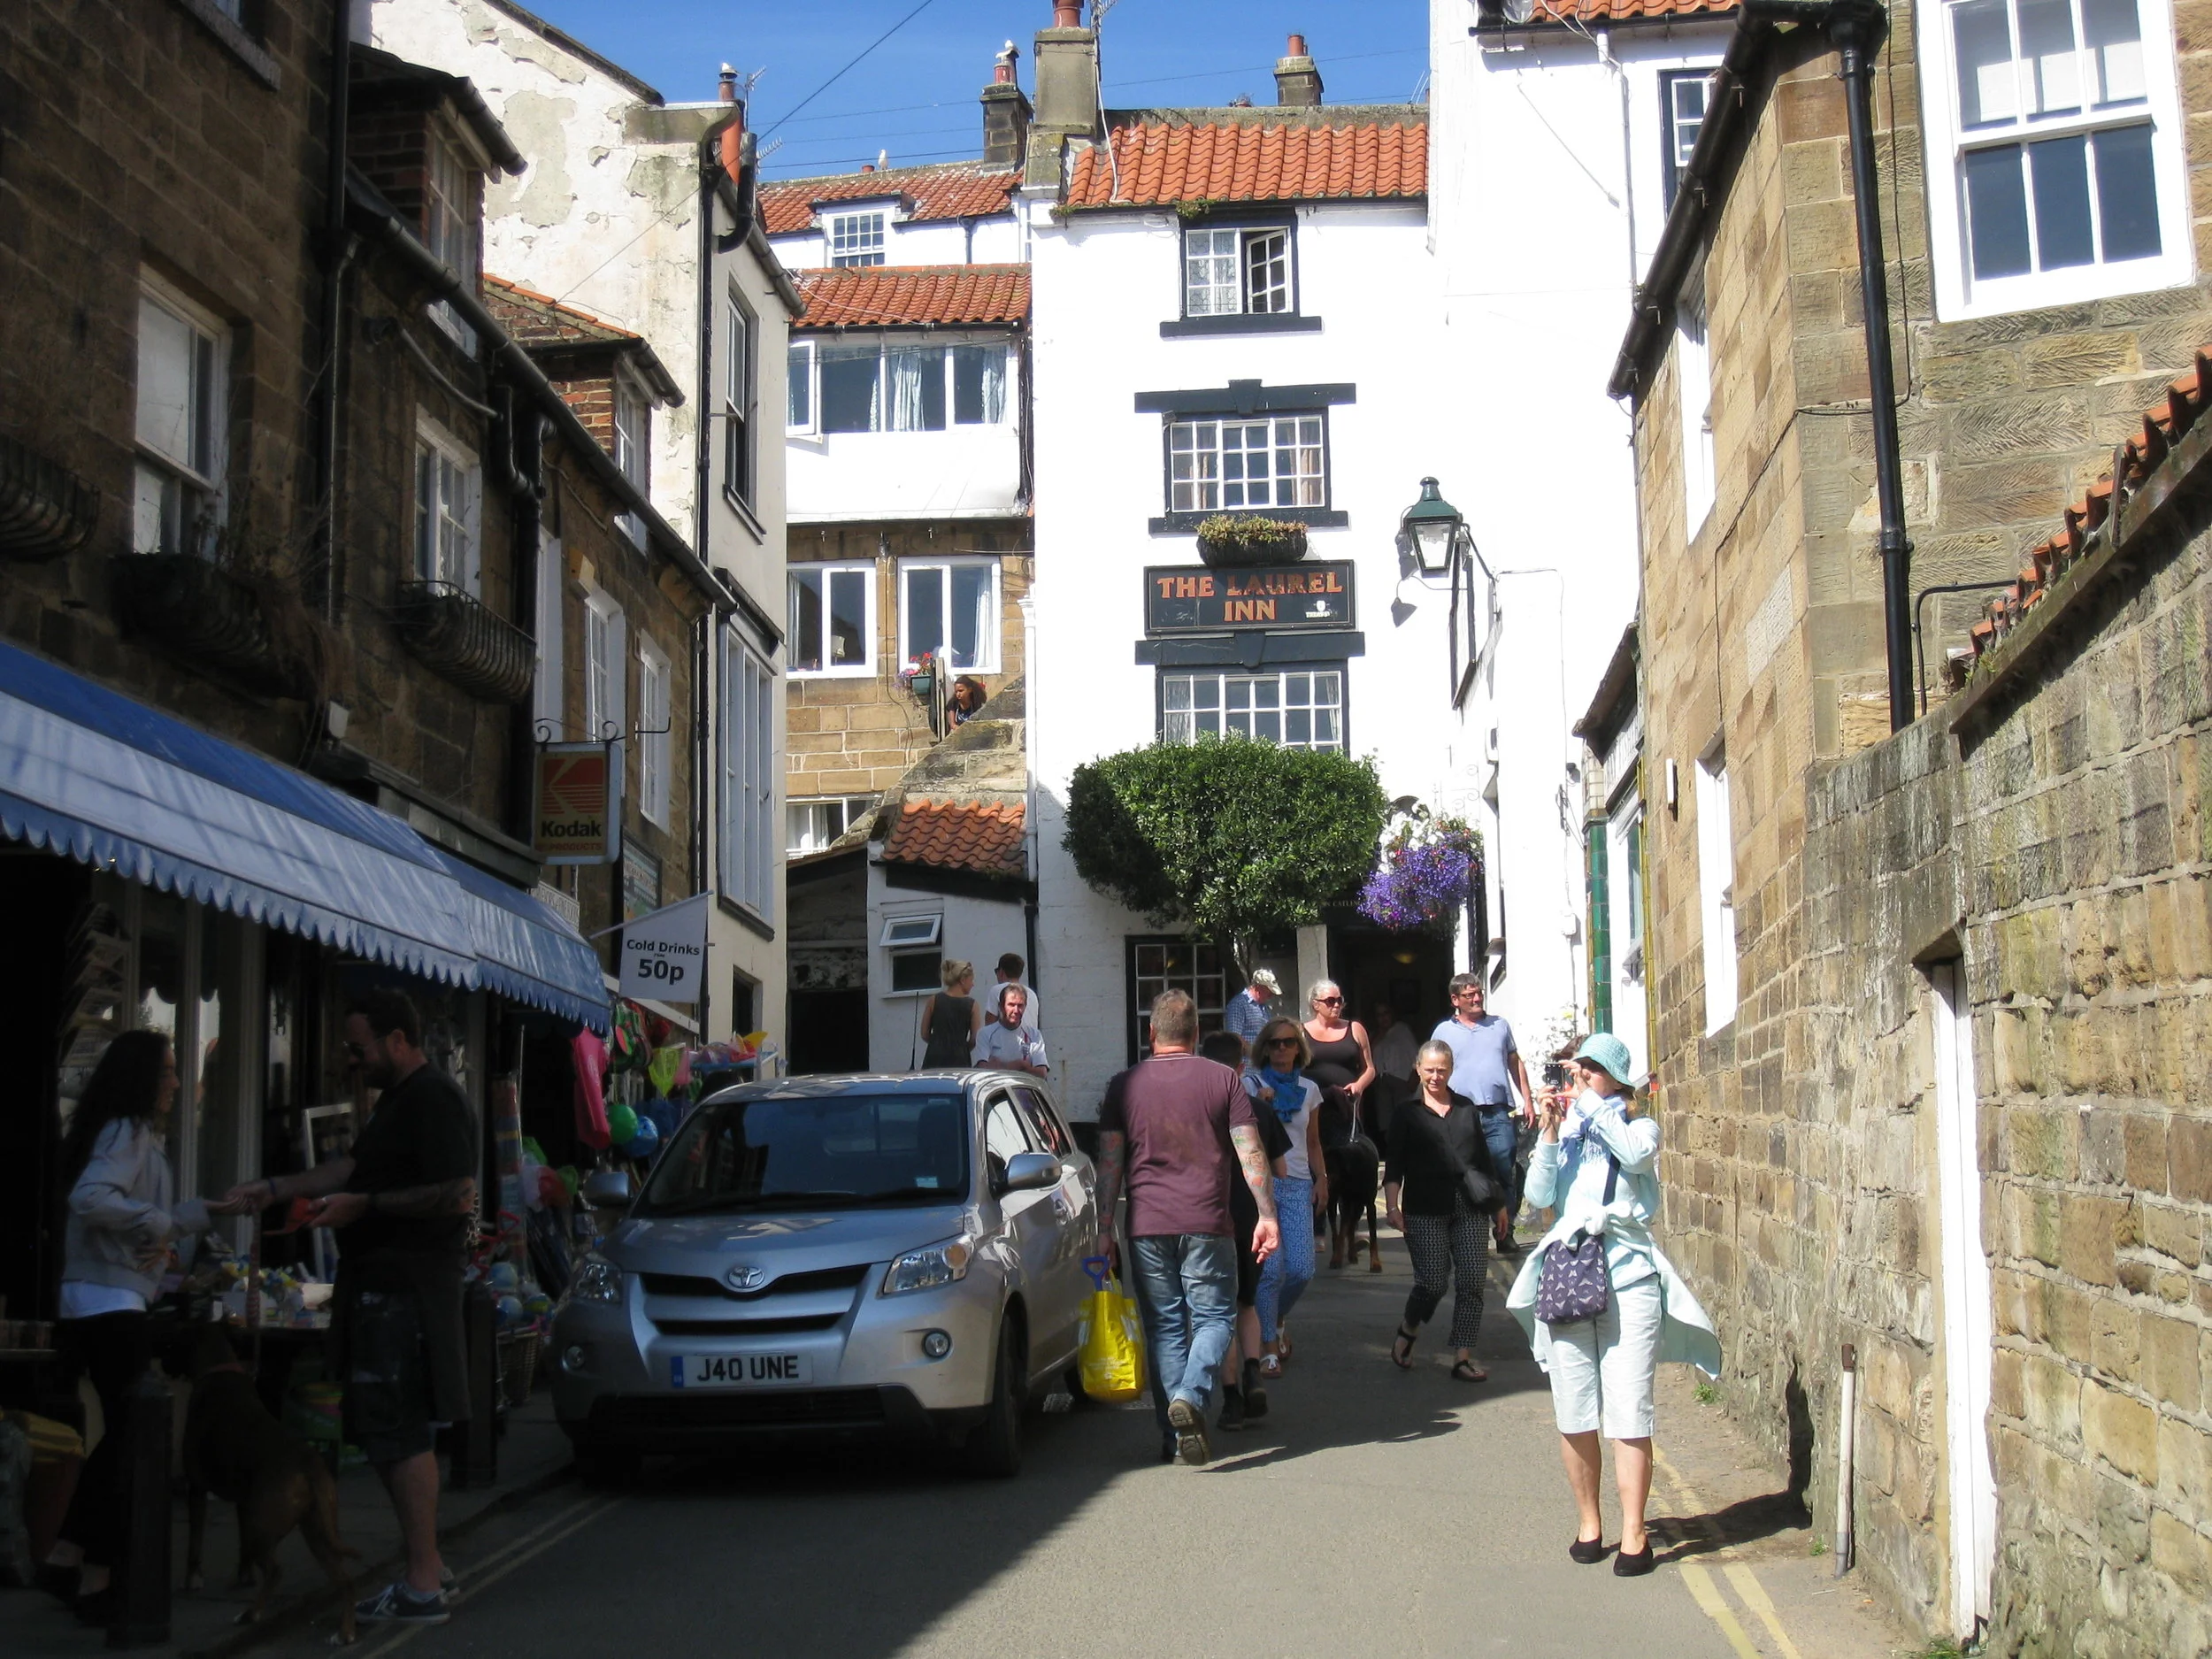
Whitby--Robin Hood's Bay 2016
Robin Hood's Bay--2011

Robin Hood's Bay--2011--The Bay Pub--Harald Grieser, Christin Grieser Kindel and Carrol Benner Kindel

Robin Hood's Bay--2011
Robin Hood's Bay--2011
Robin Hood's Bay--2011
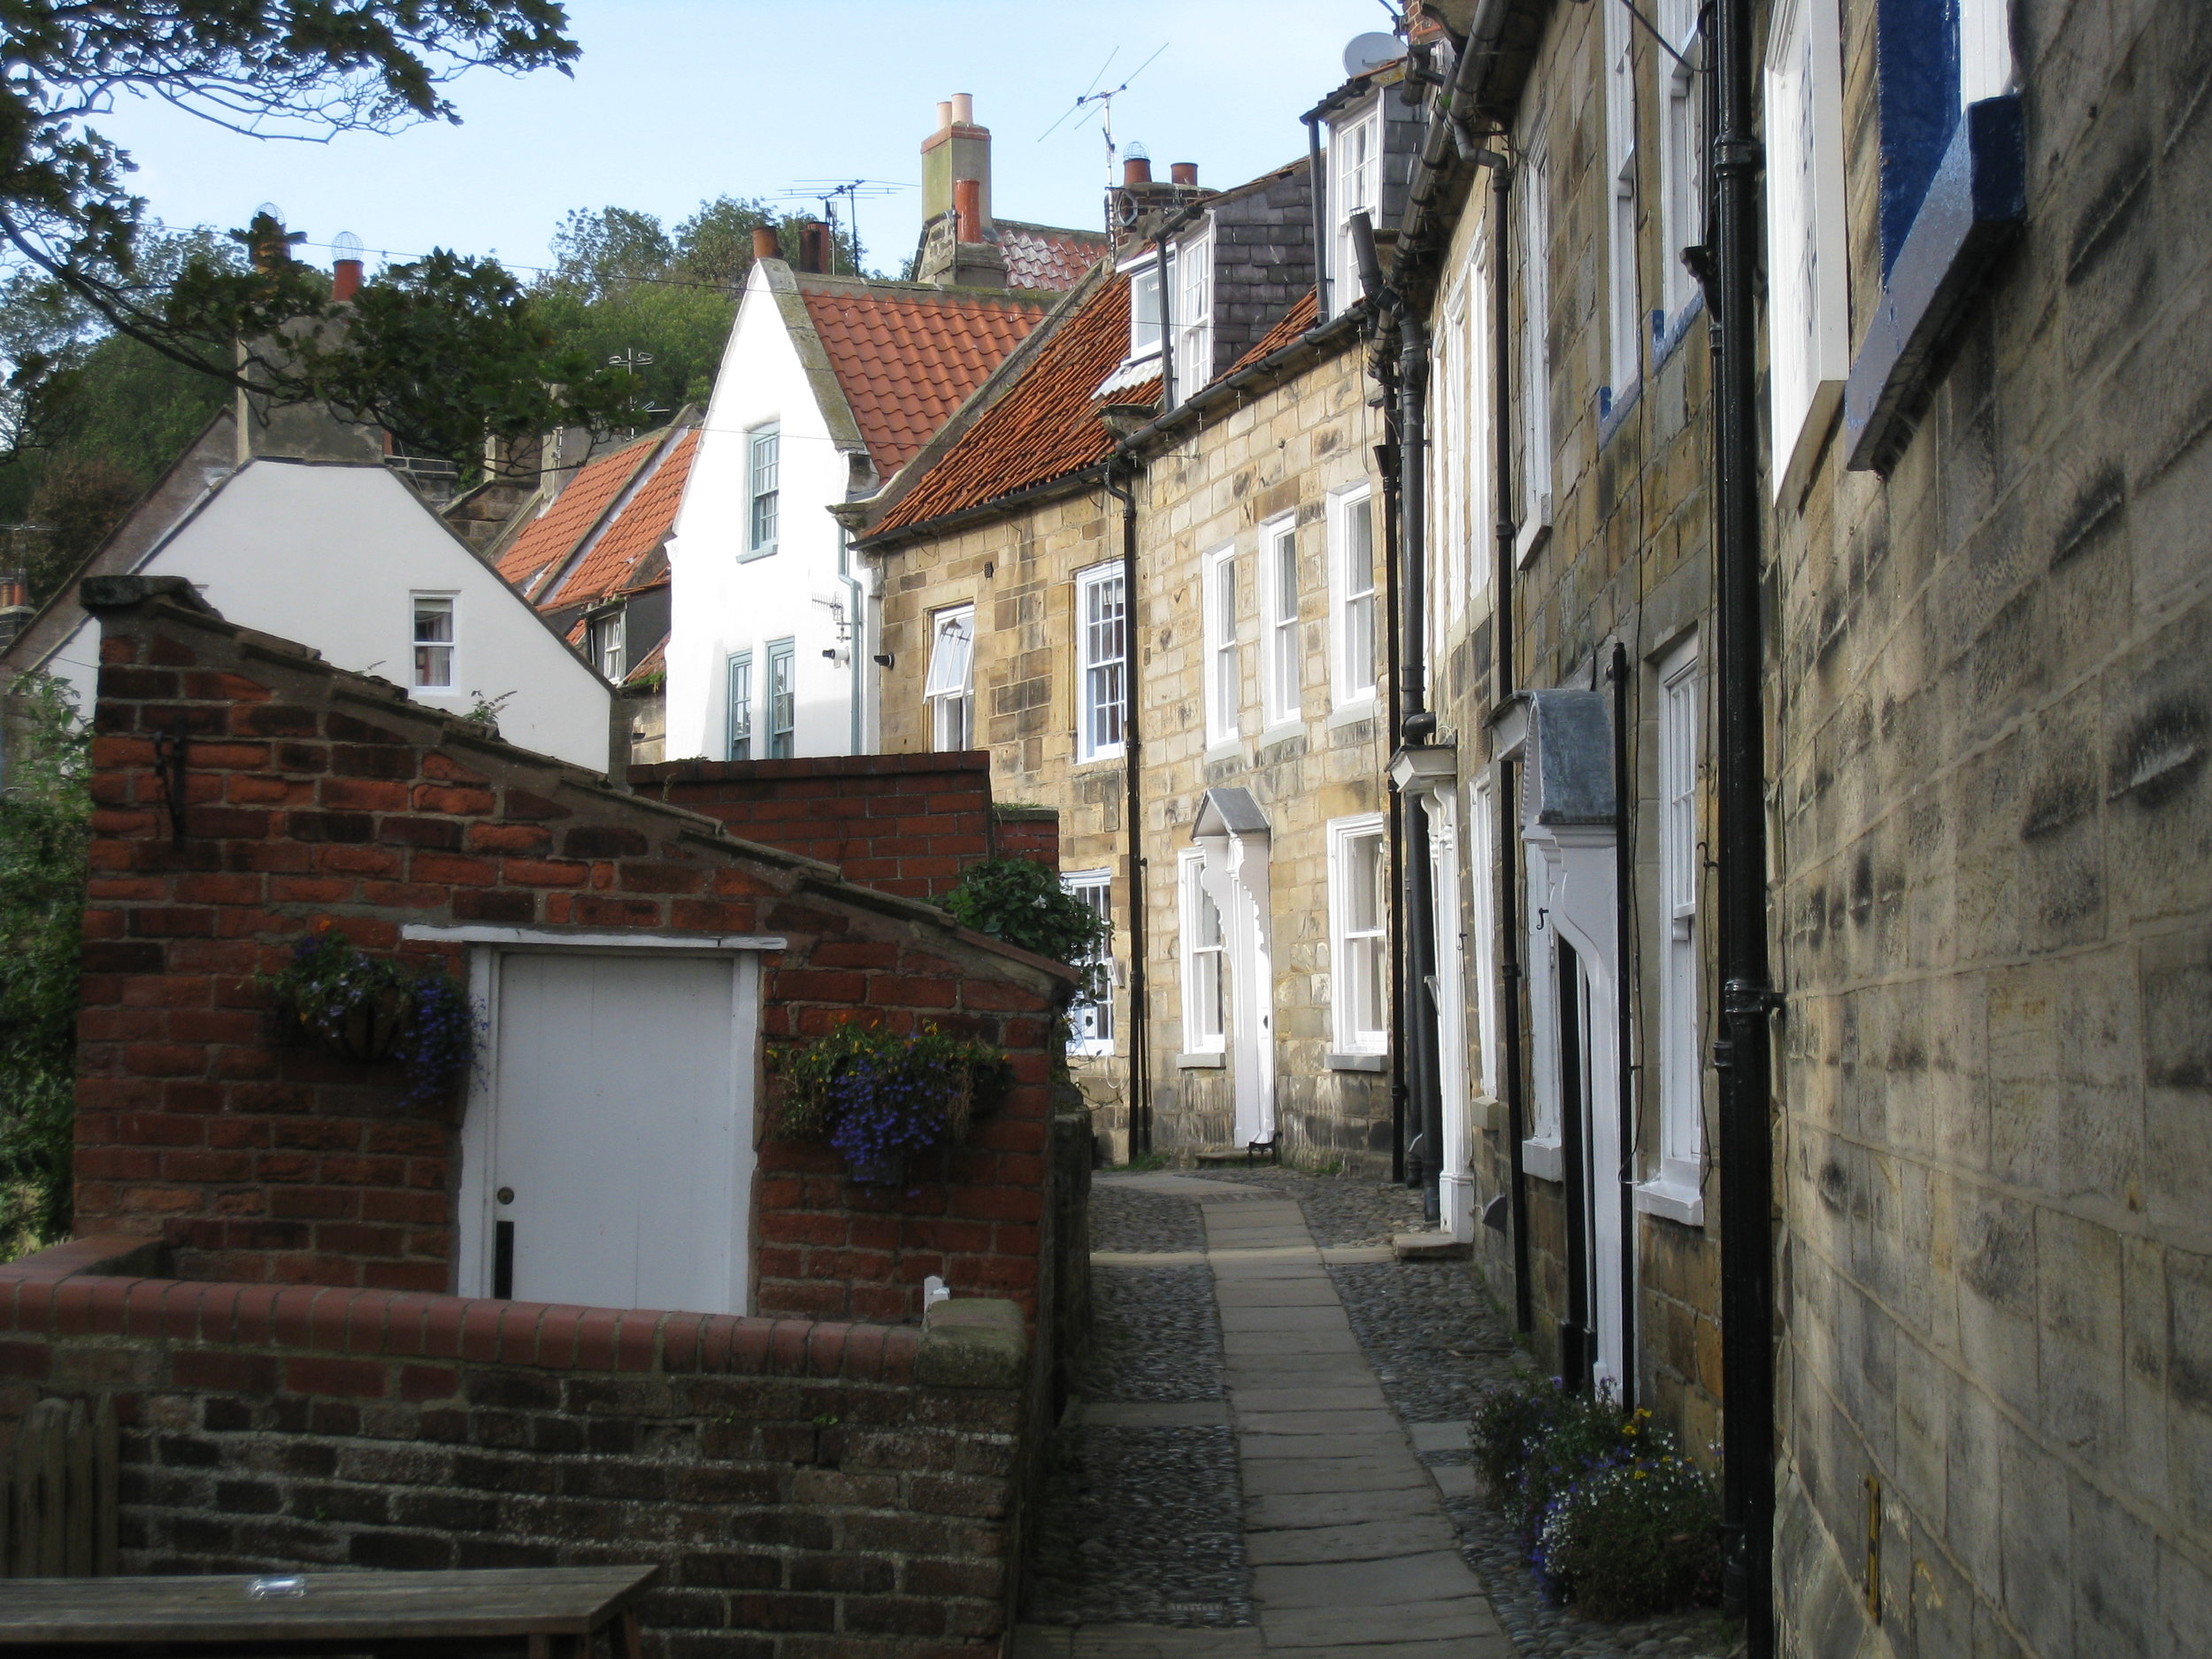
Robin Hood's Bay--2011
Robin Hood's Bay--2011

Robin Hood's Bay--2011
Robin Hood's Bay--2011